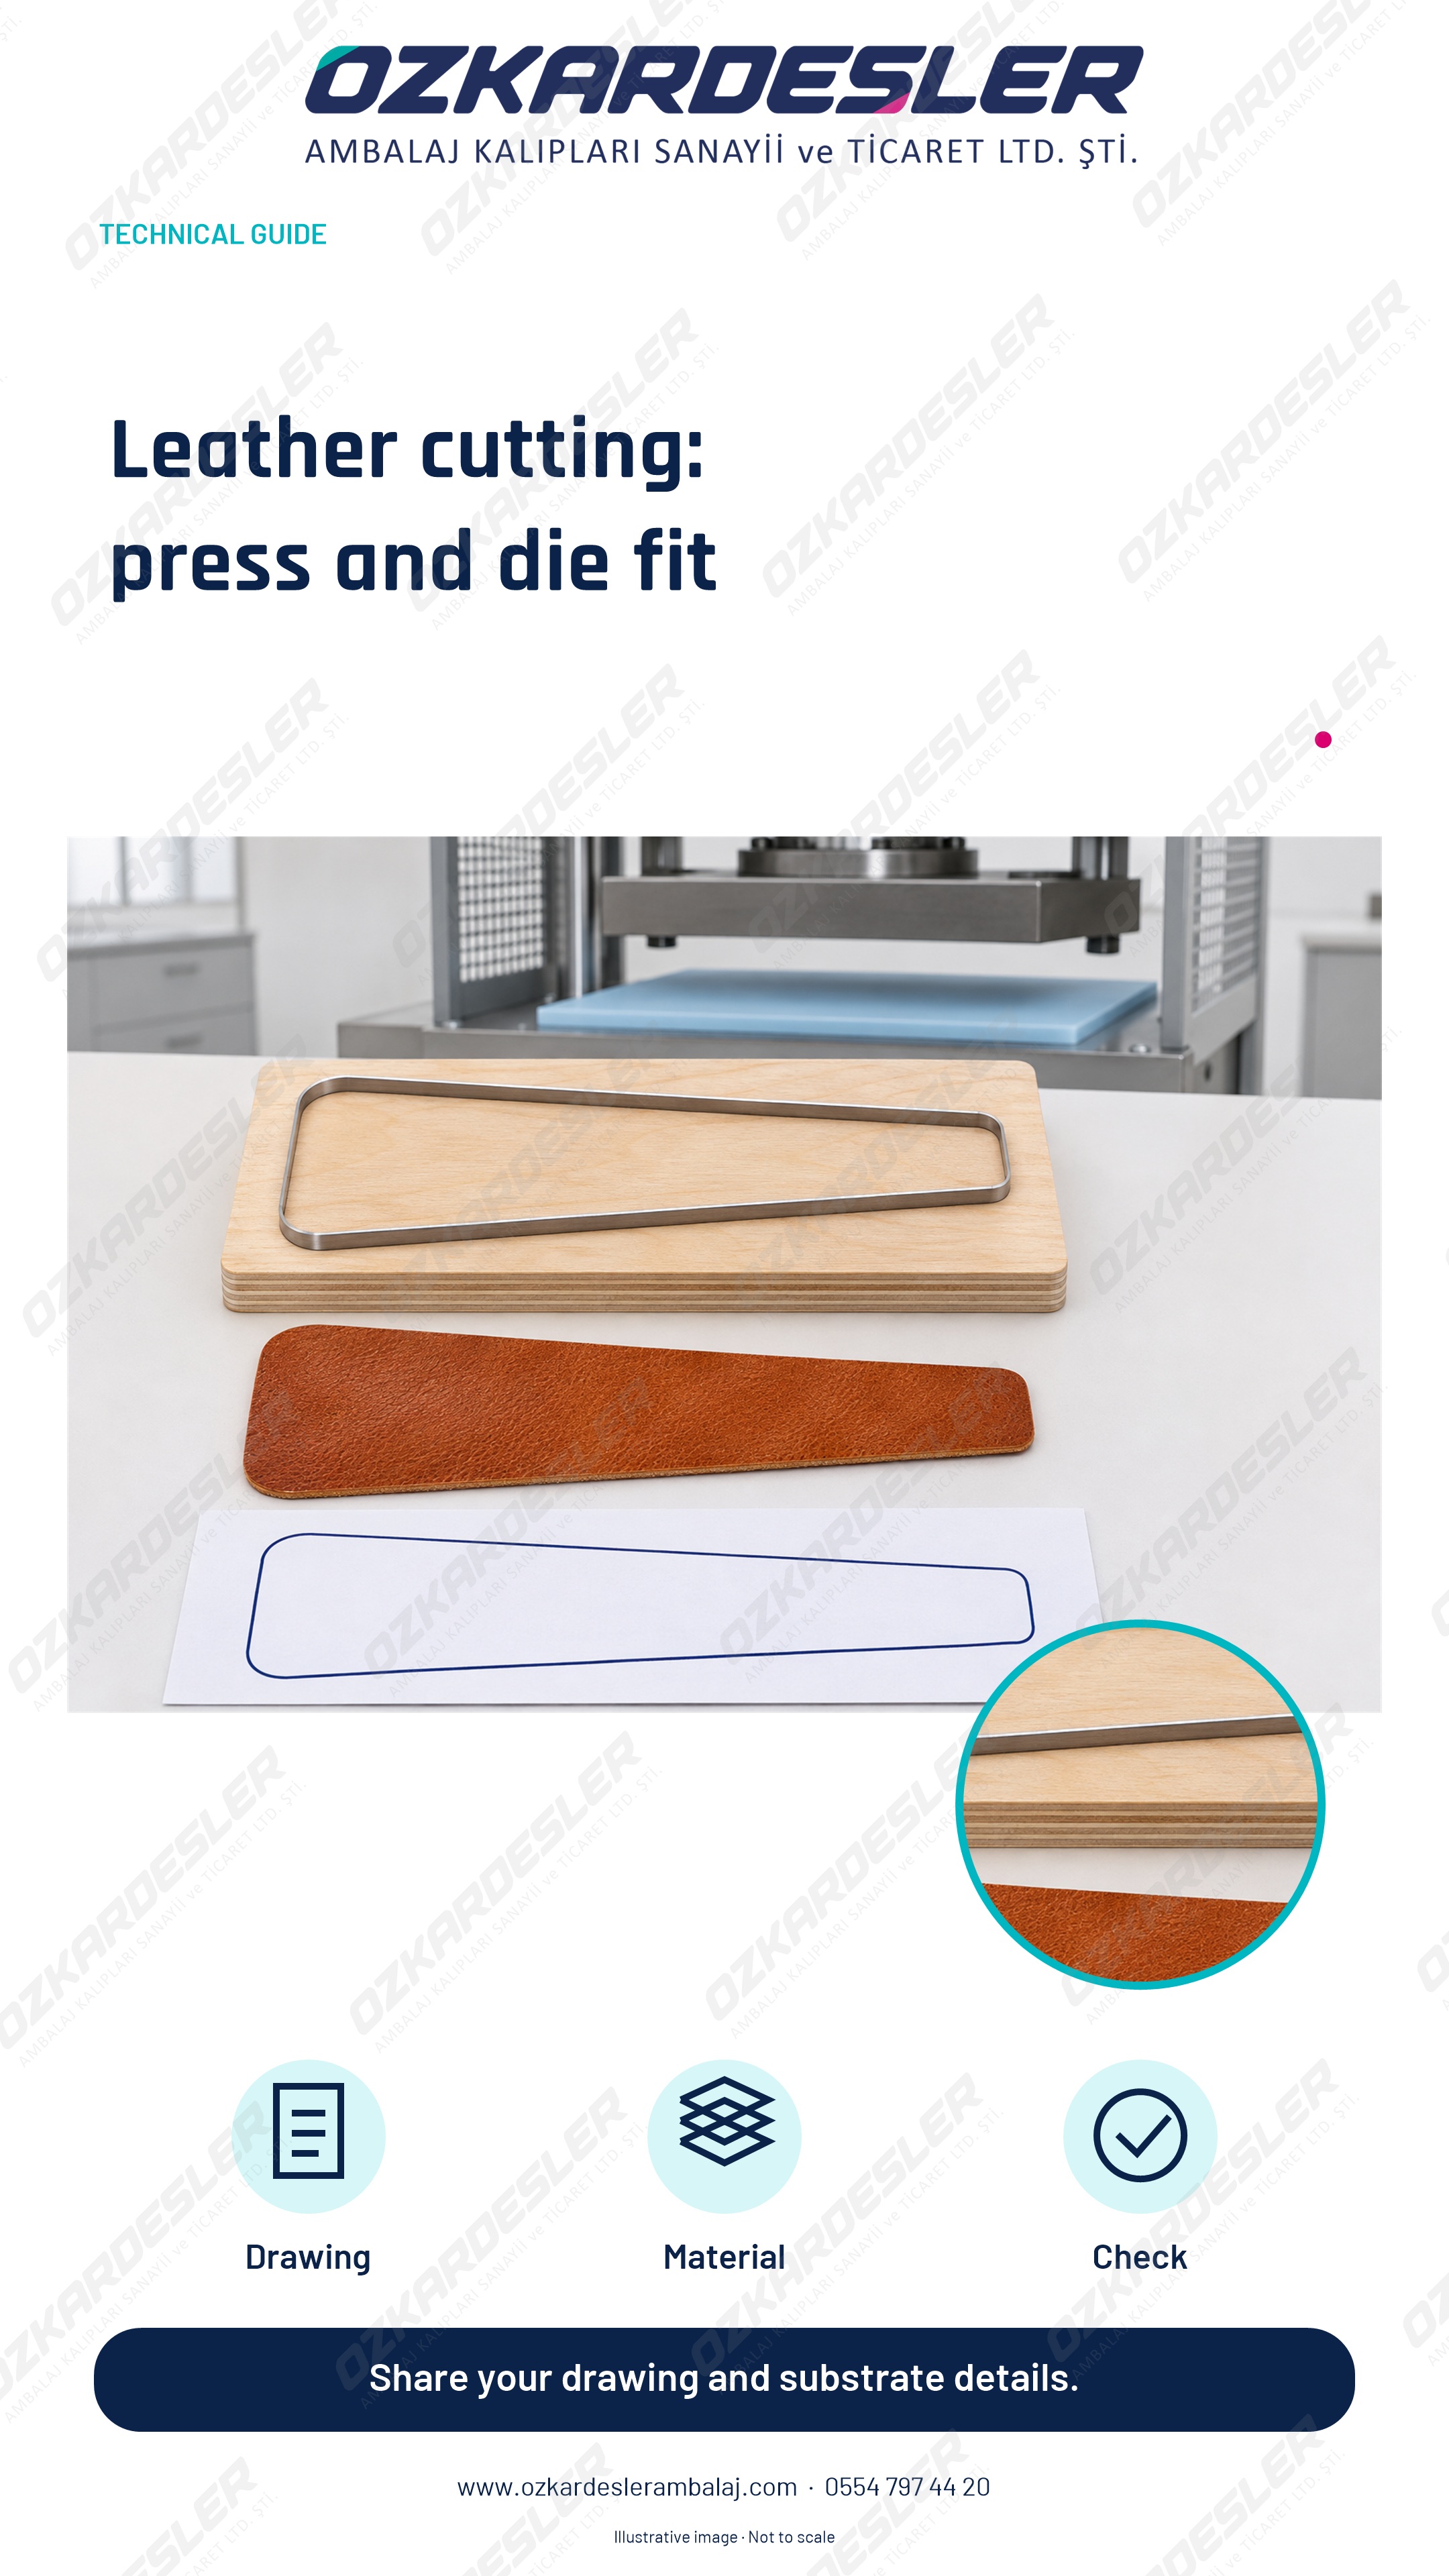
Leather Cutting Press and Die Compatibility: Reading the First Piece
Use the first leather cut to document how the press, die, cutting pad and material work together.
Read the article →
KNOWLEDGE FROM PRODUCTION
Technical notes addressing die, material, and production compatibility together.
Use the first leather cut to document how the press, die, cutting pad and material work together.
Read the article →START ACCORDING TO YOUR NEEDS
Open technical articles by topic; directly access the guide related to your drawing, material, and production question.
Clarify your file, dimensions, and quote scope before starting work.
Evaluate cracking, thickness, grain direction, and counterplate compatibility together.
Technical guides from the cutting line to controlled waste separation.
Through-cutting, kiss-cutting, liner, sheet layout, and defect inspection.
Consider product placement, box erection, and usage together.
Preparation information for leather, textiles, plastics, foam, and other structures.
Blind embossing, Braille, EngView and production equipment selection.
Share your drawing, material and machine information.
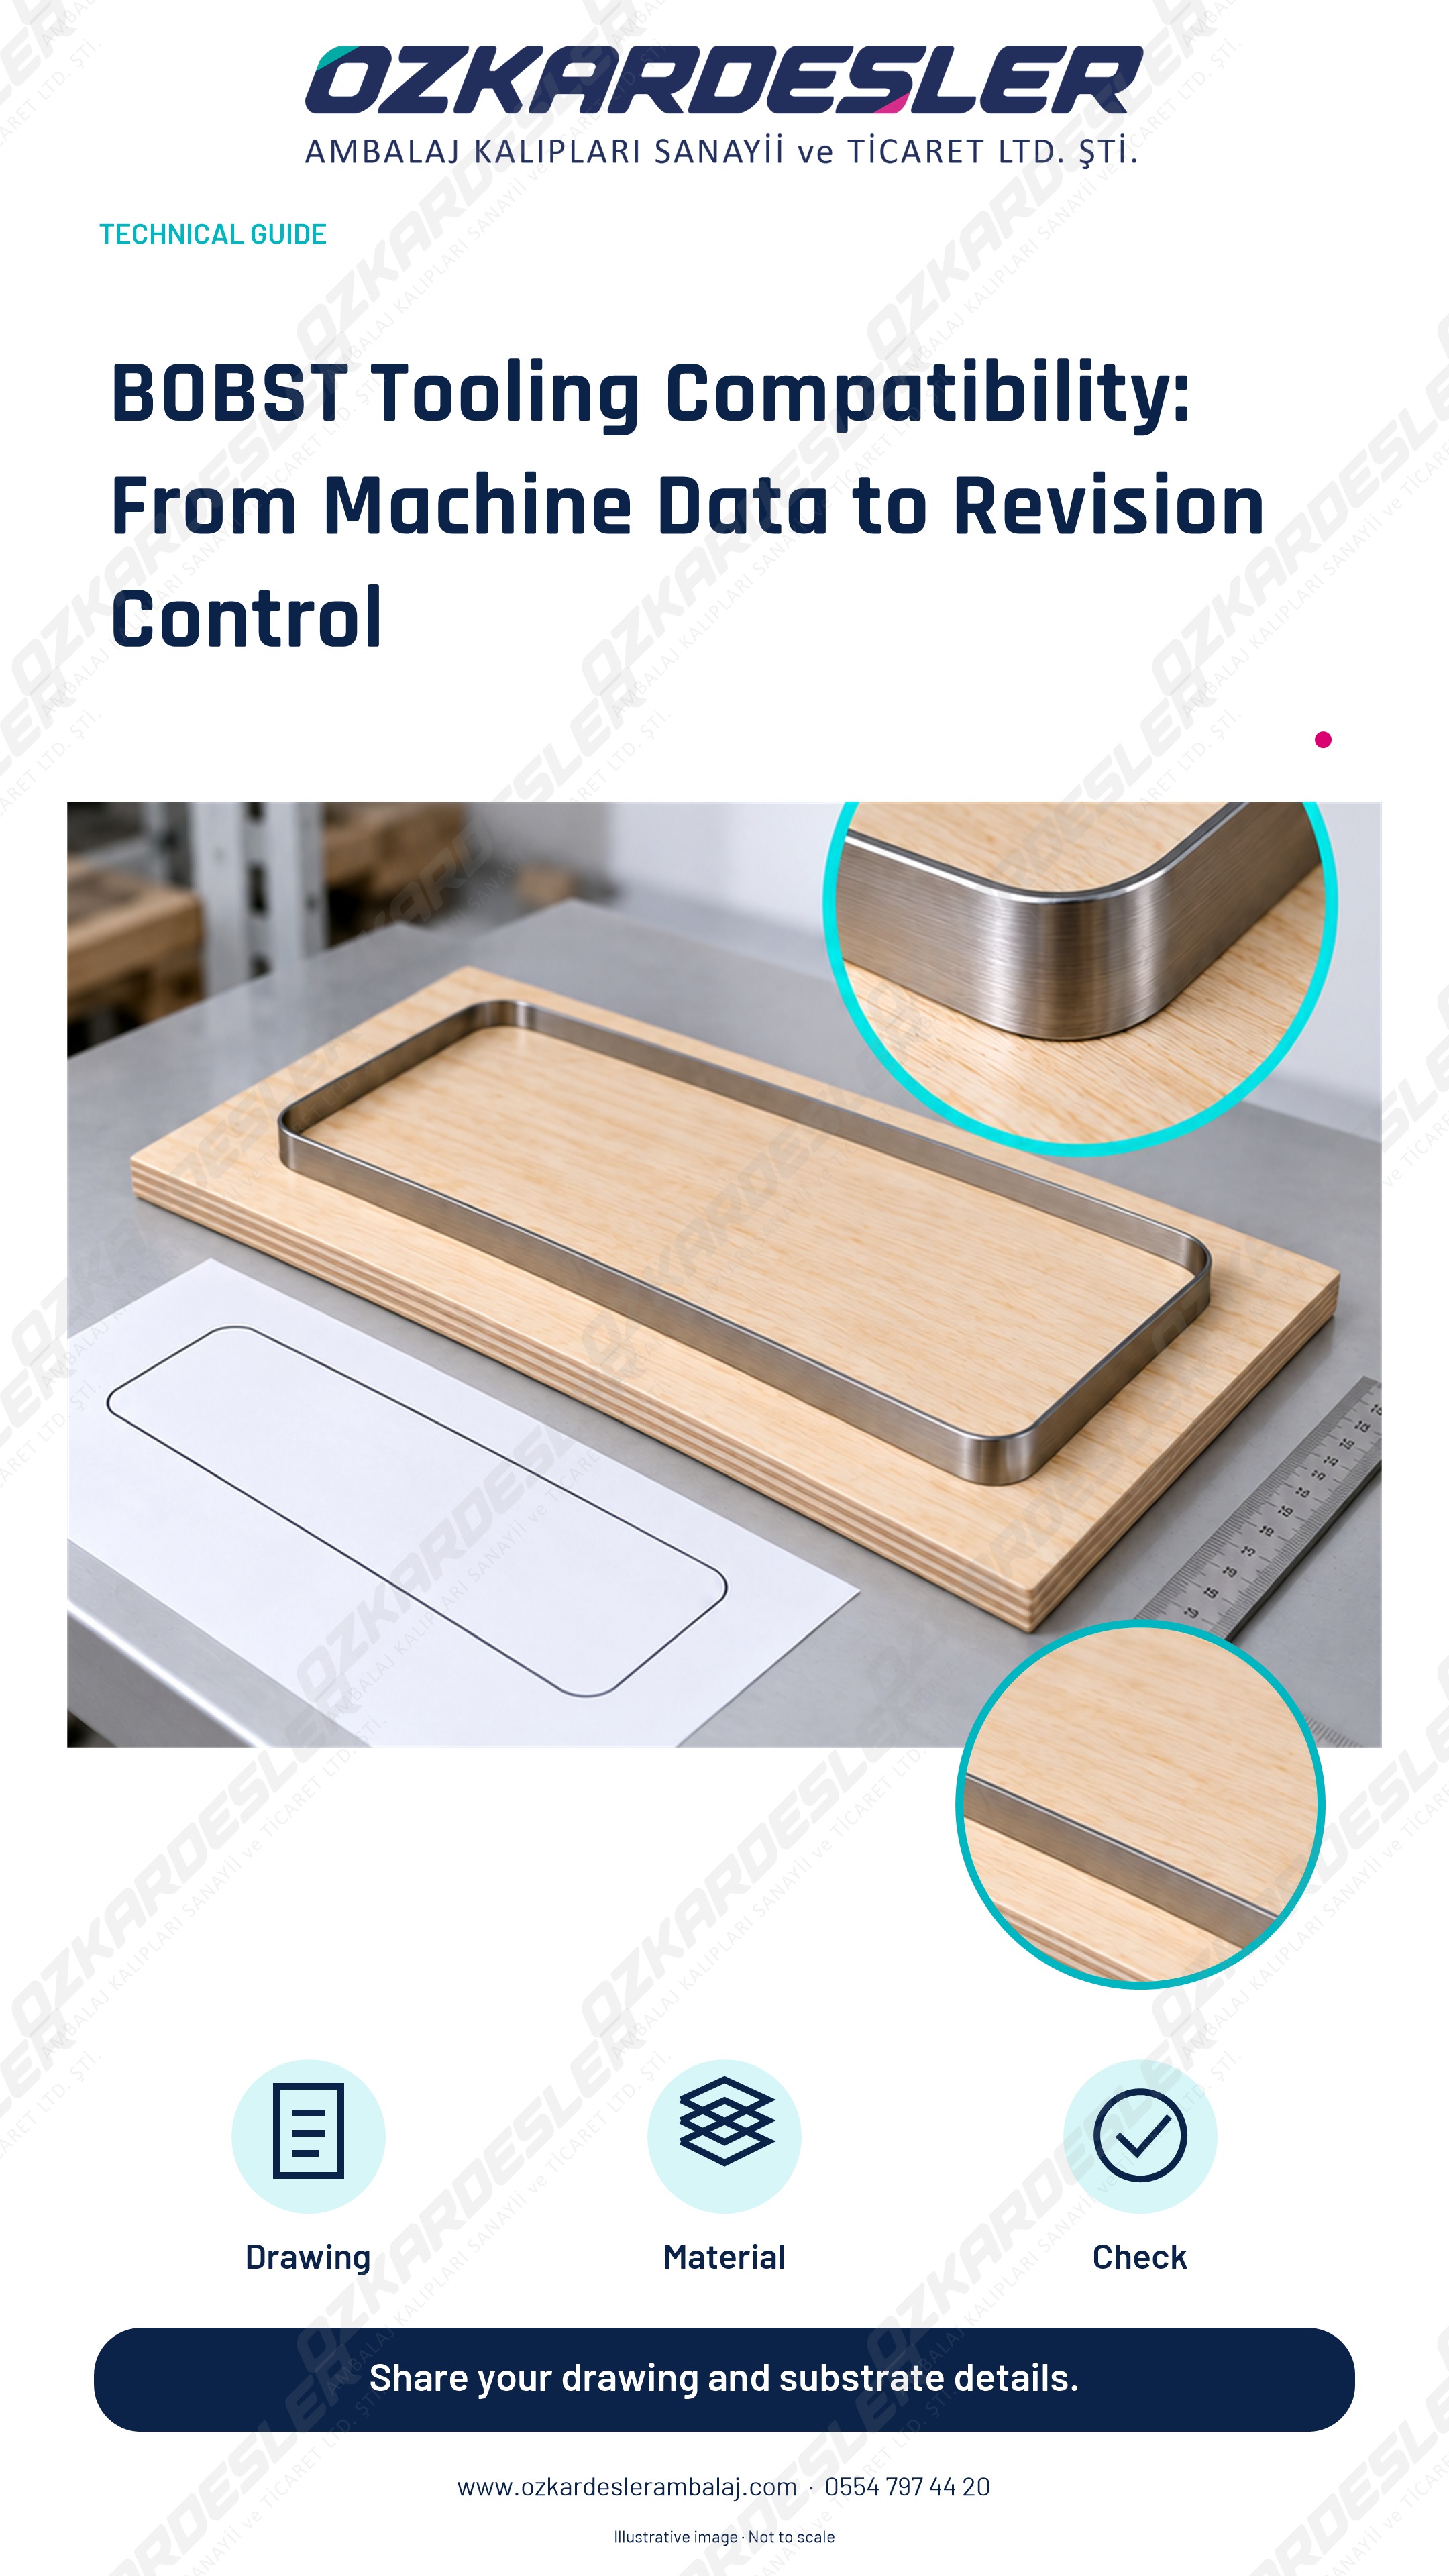
Define the machine, board, reference direction and tooling scope together. Review the information needed for replacement parts and comparable quotations.
Read the article →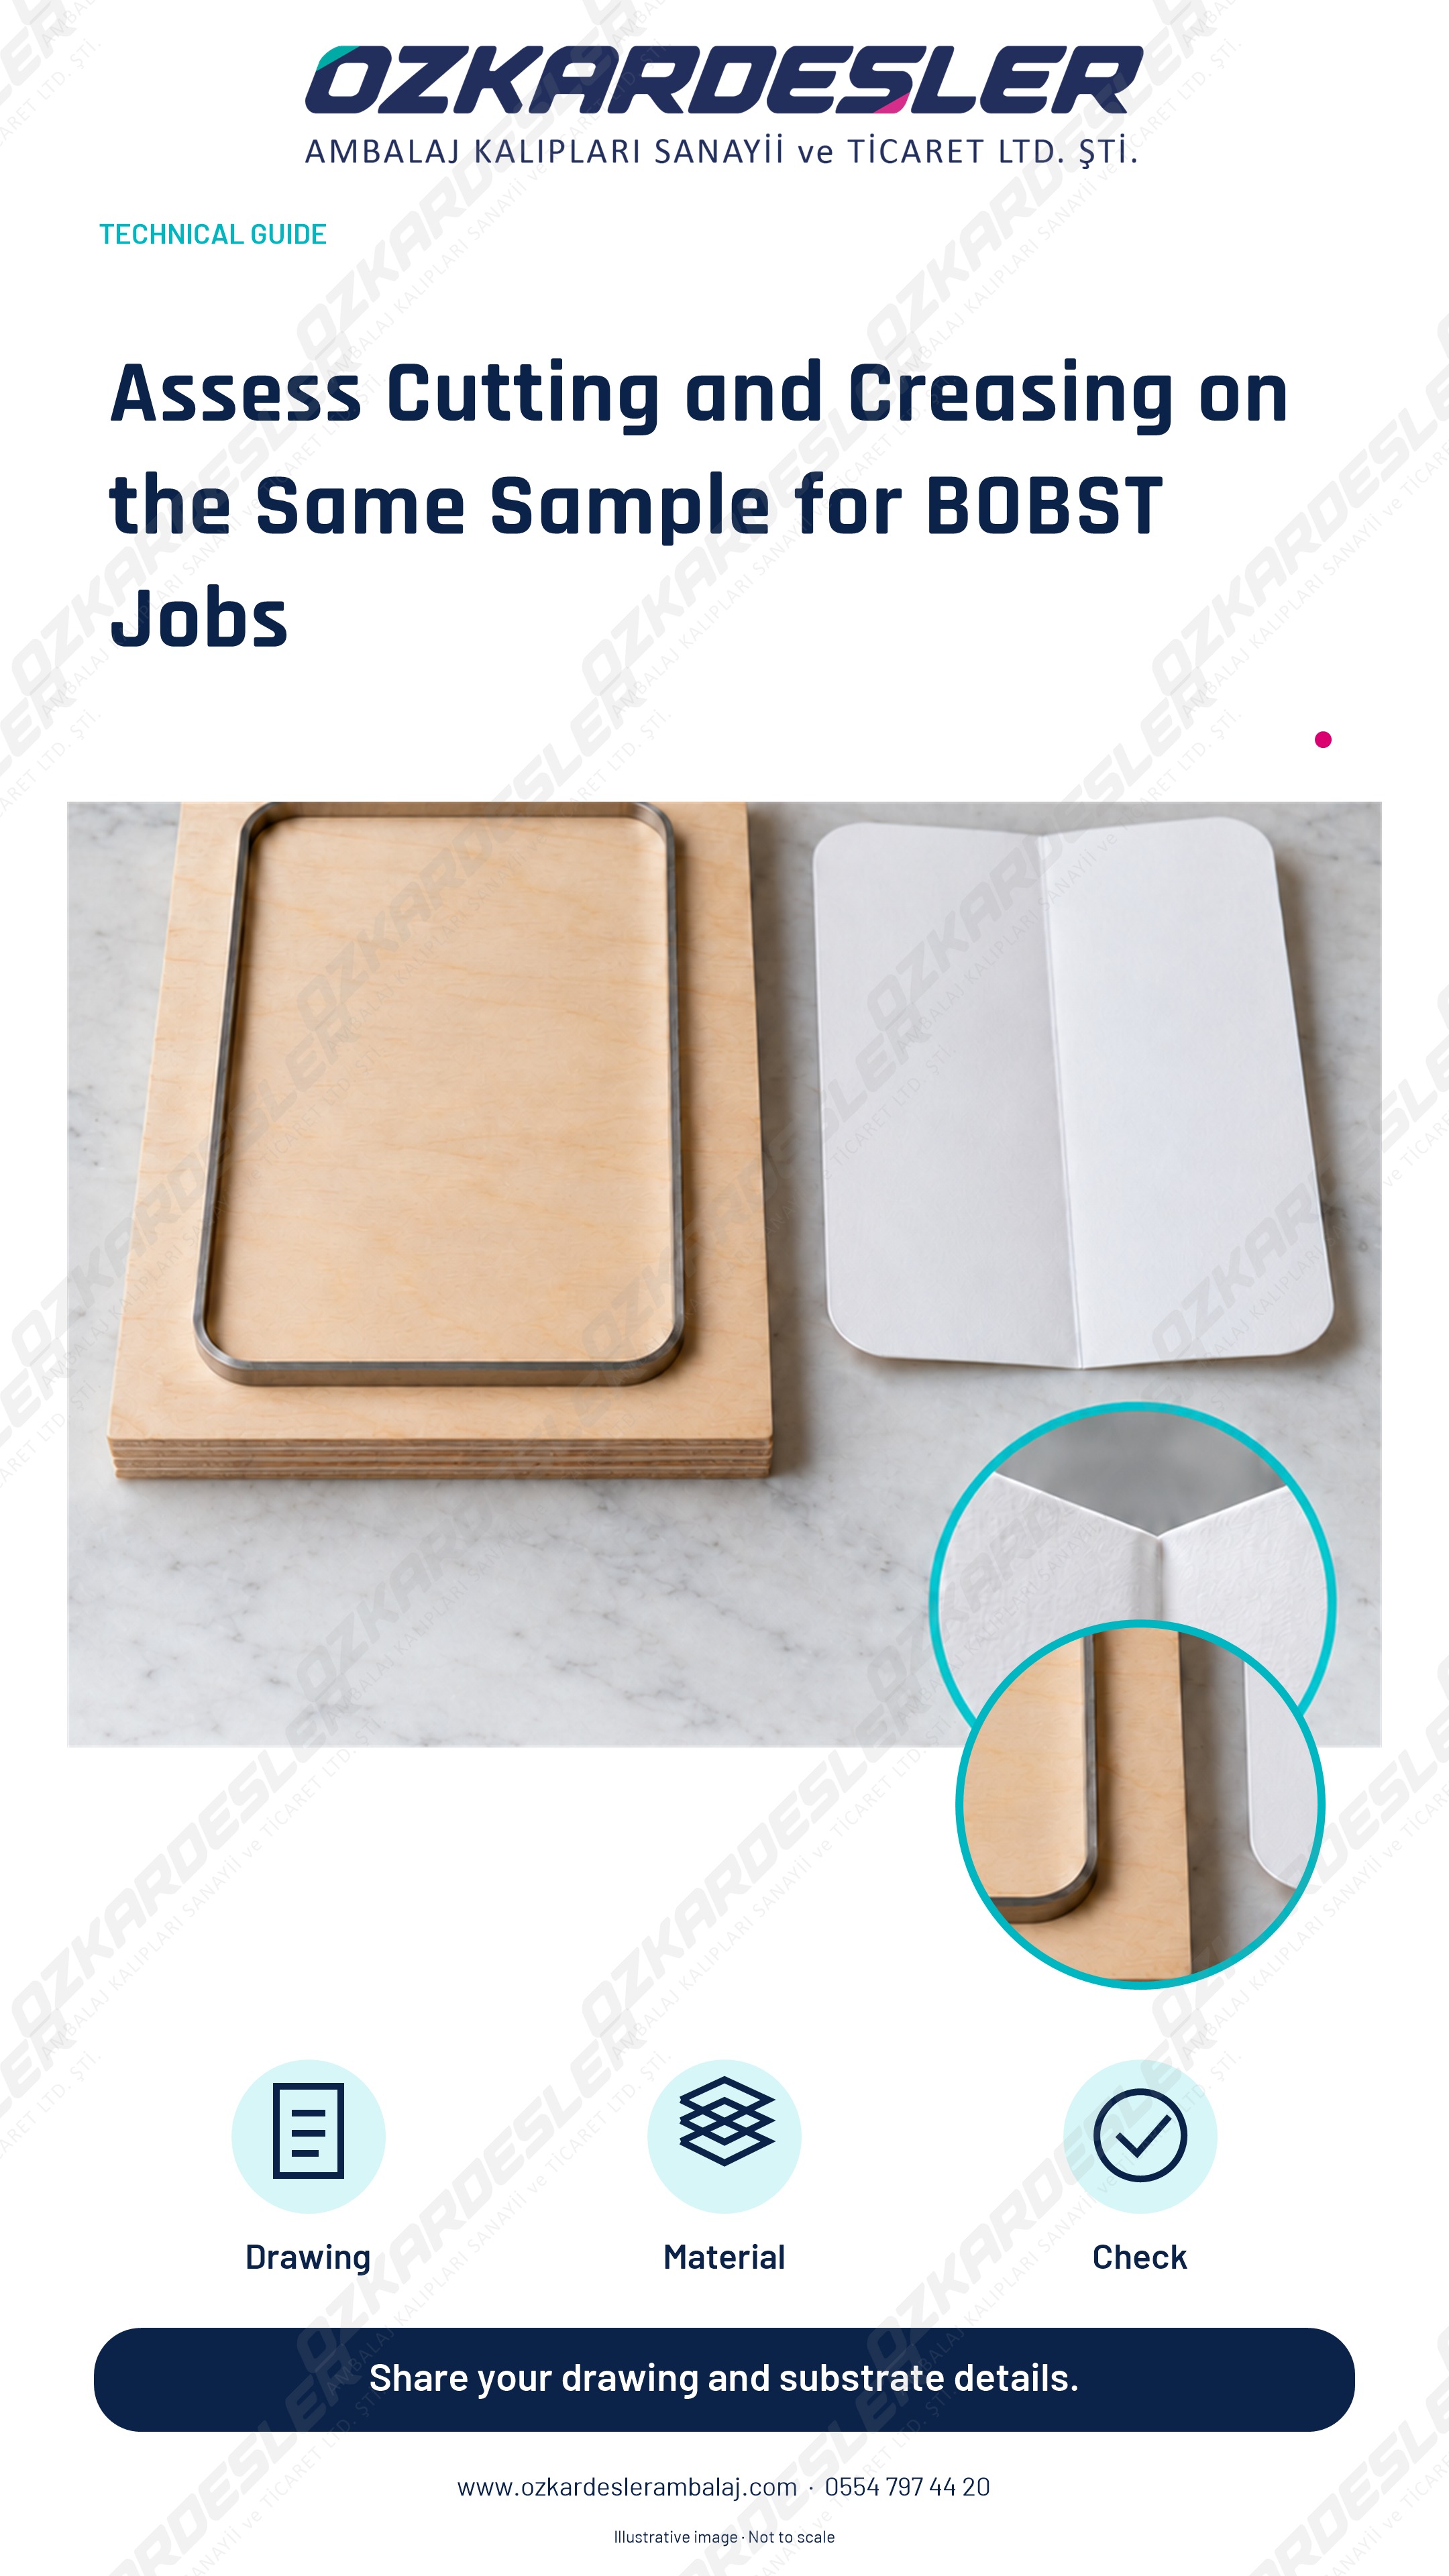
Review the cutting outline, crease, counterplate and substrate together. A practical approach from drawing checks to sample approval for BOBST jobs.
Read the article →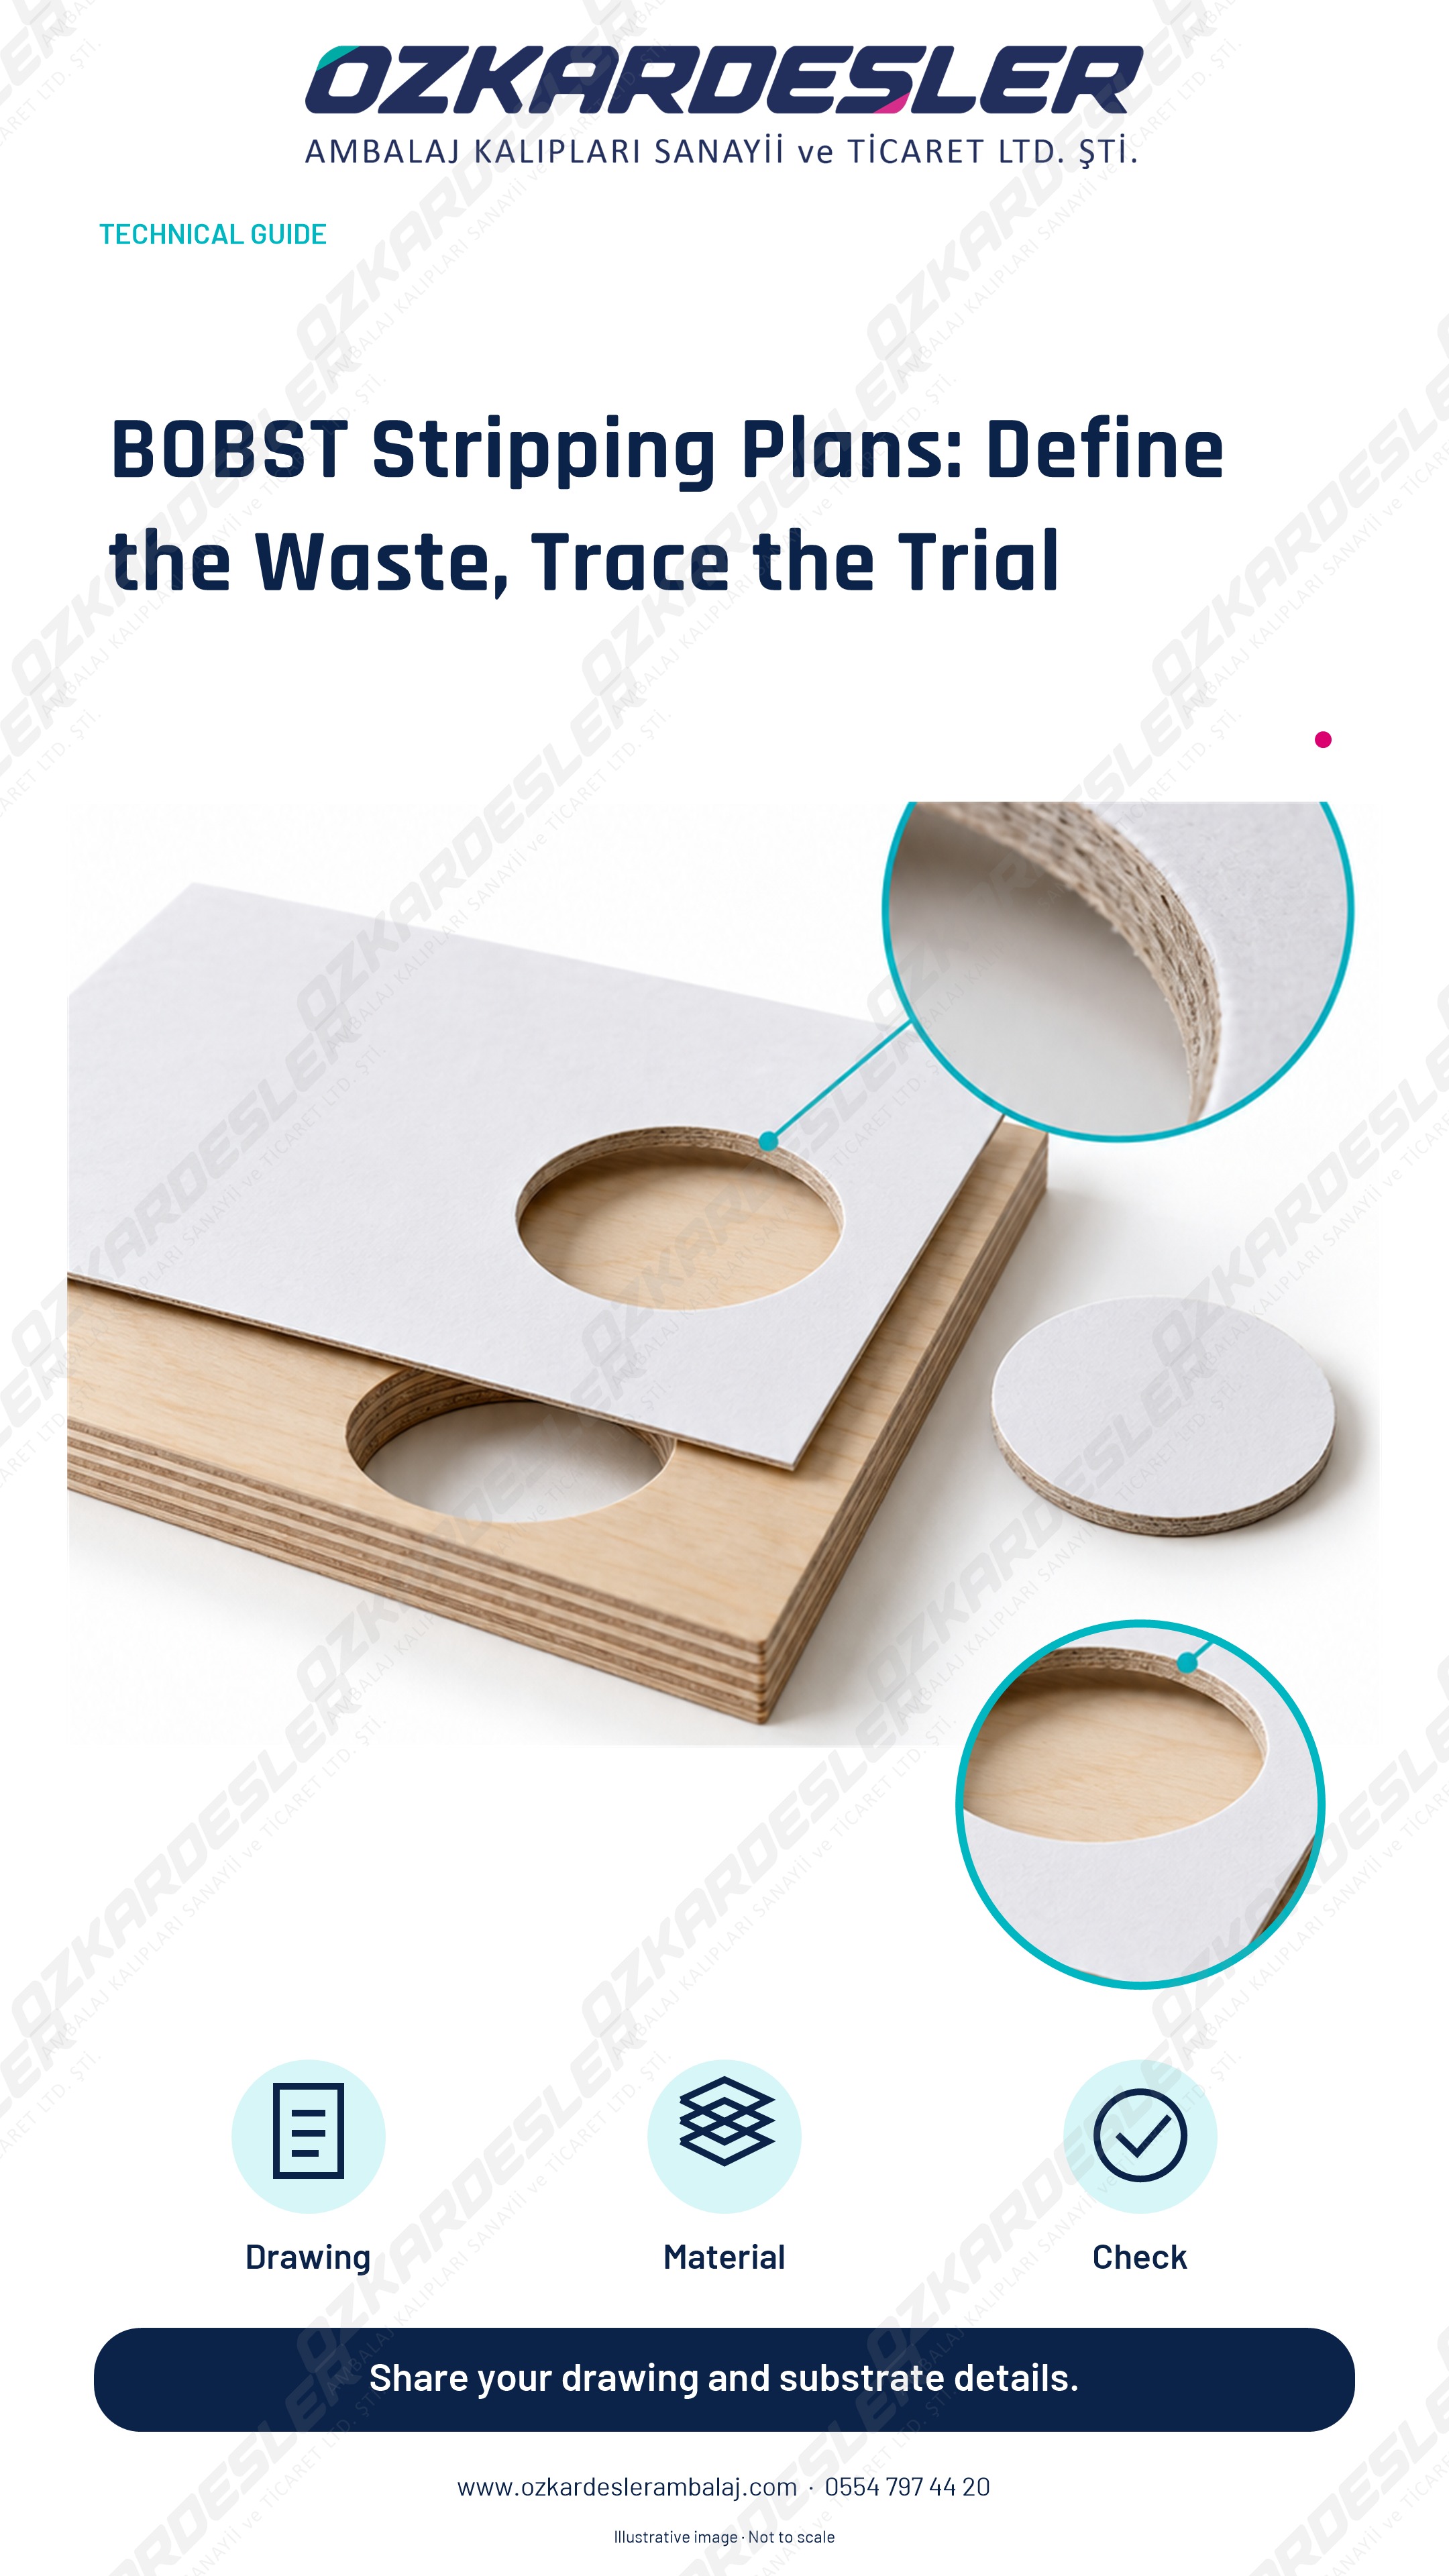
Assess internal waste, narrow strips, retaining connections and sheet direction together. Track stripping revisions with position-specific trial records.
Read the article →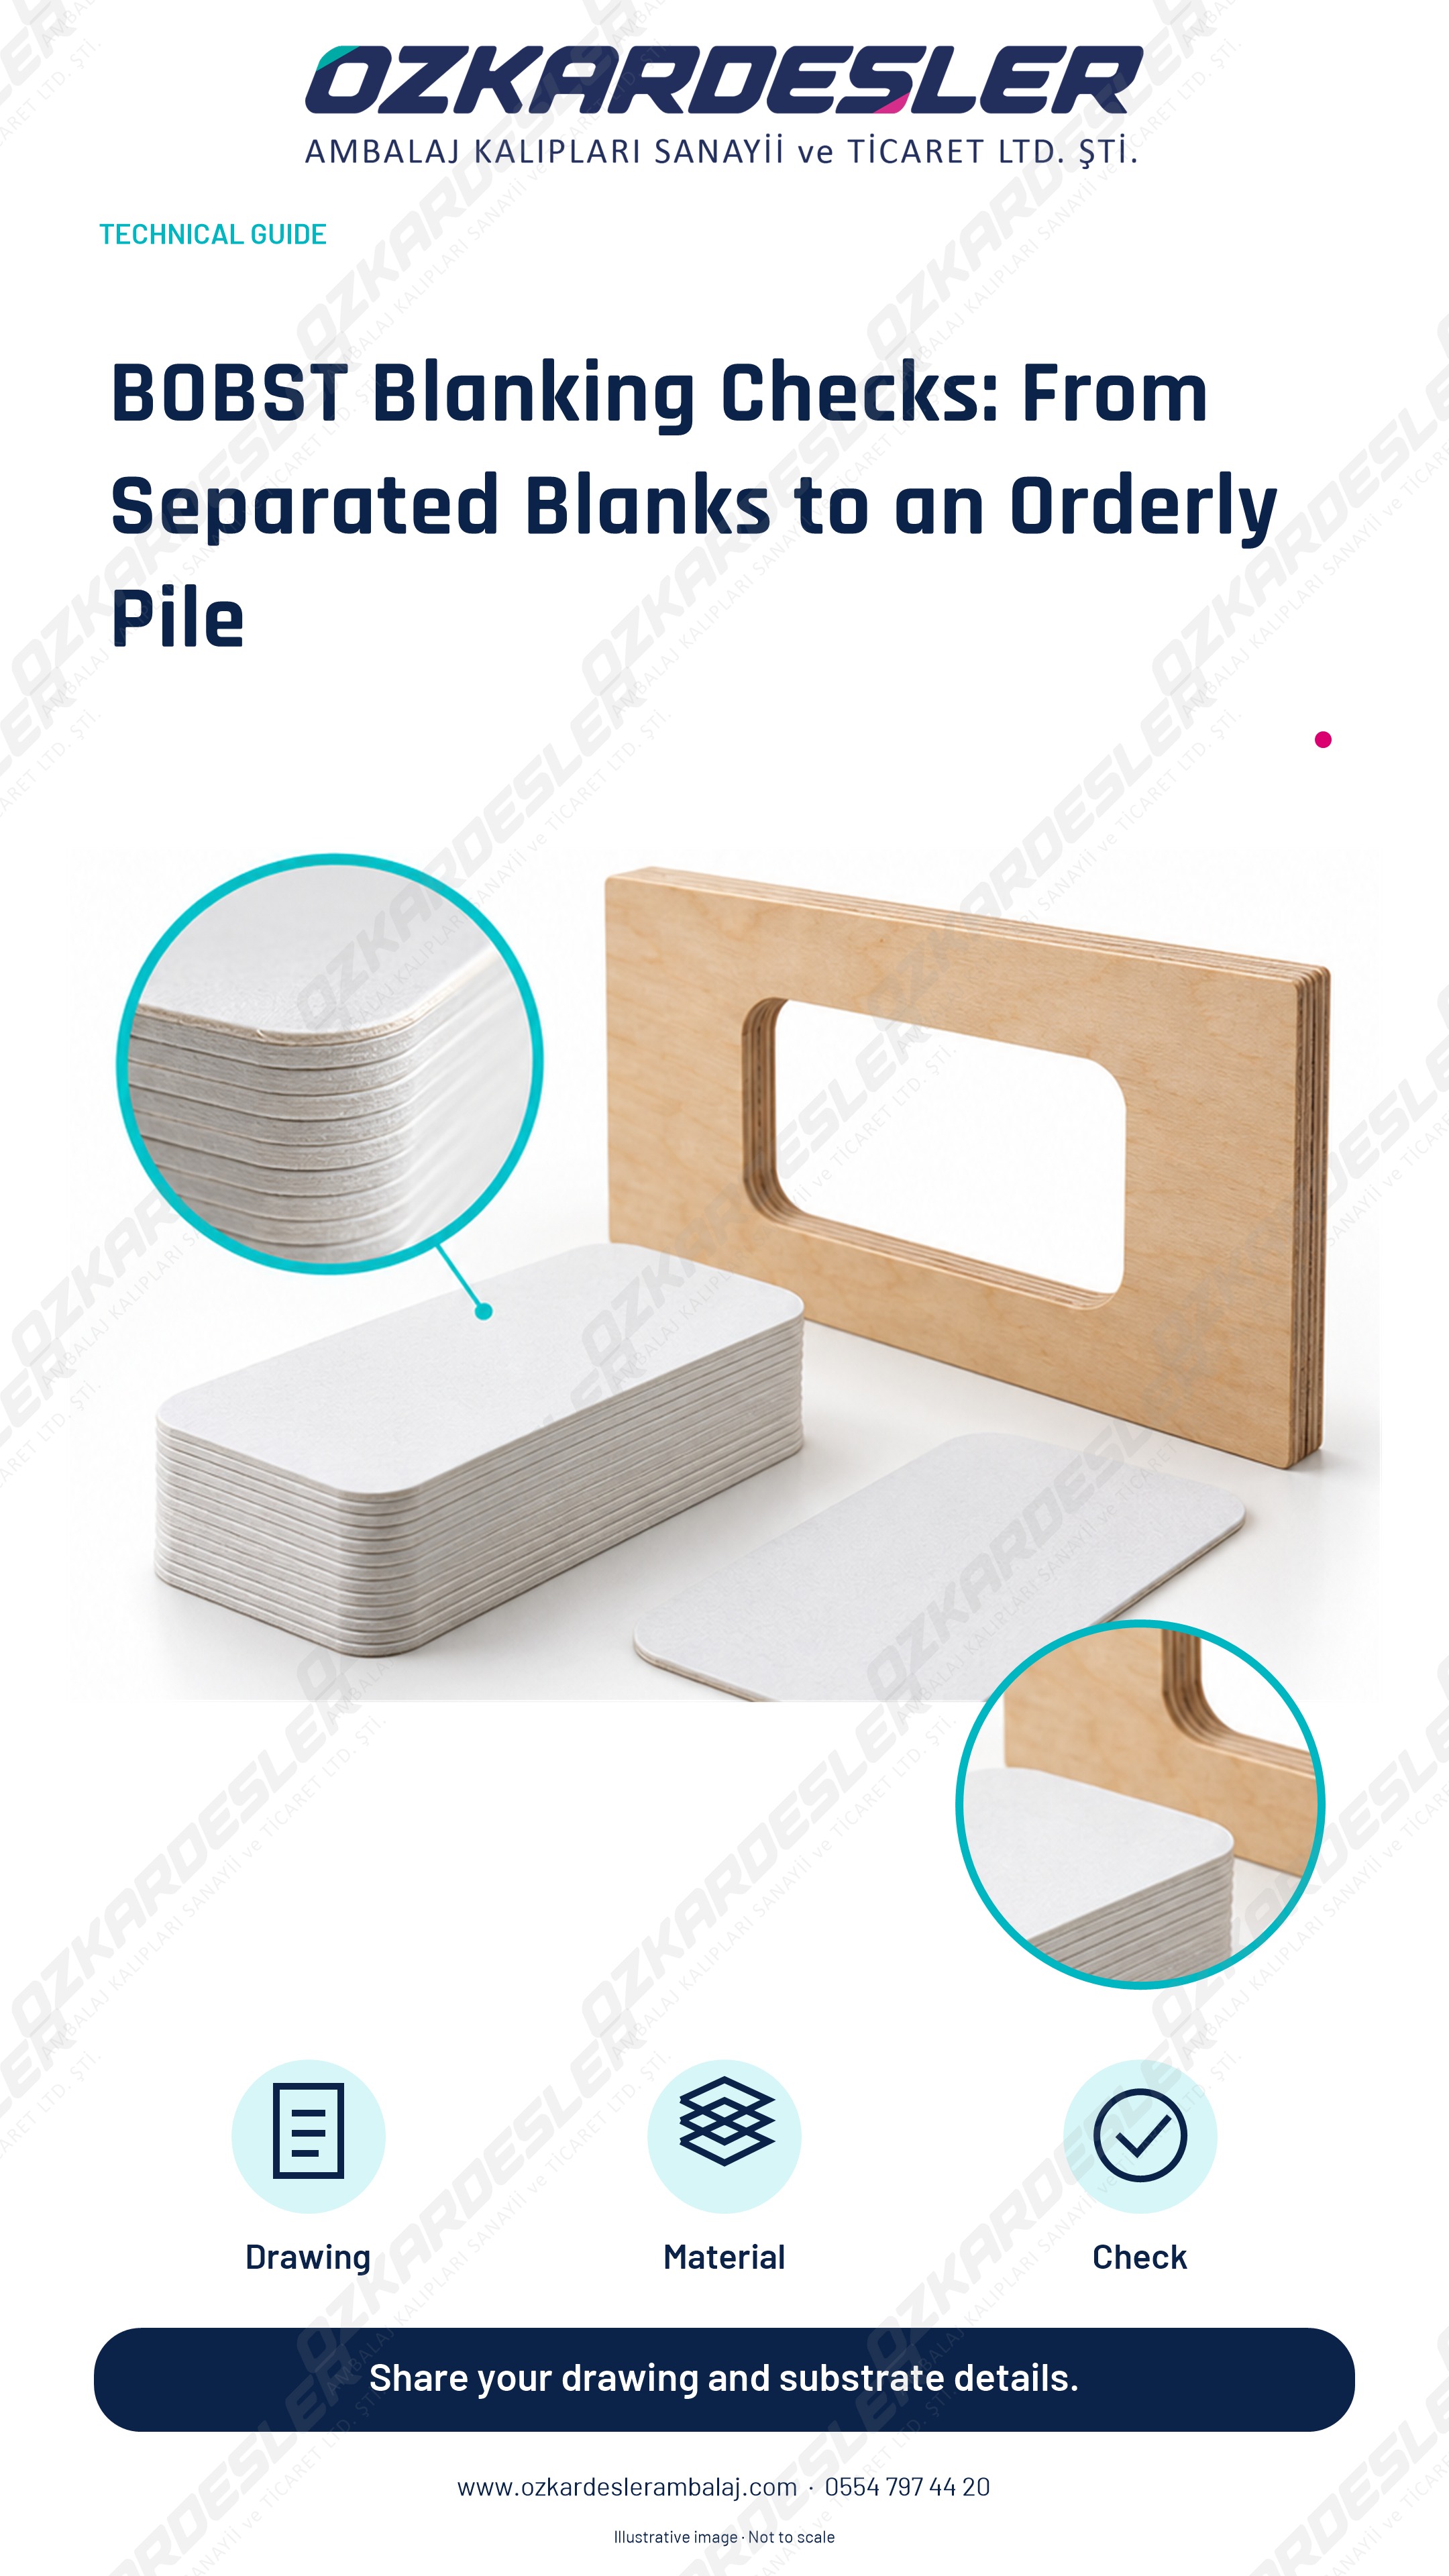
Assess blanking through edge condition, separation behaviour and pile quality. Keep sample acceptance and repeat-production checks traceable.
Read the article →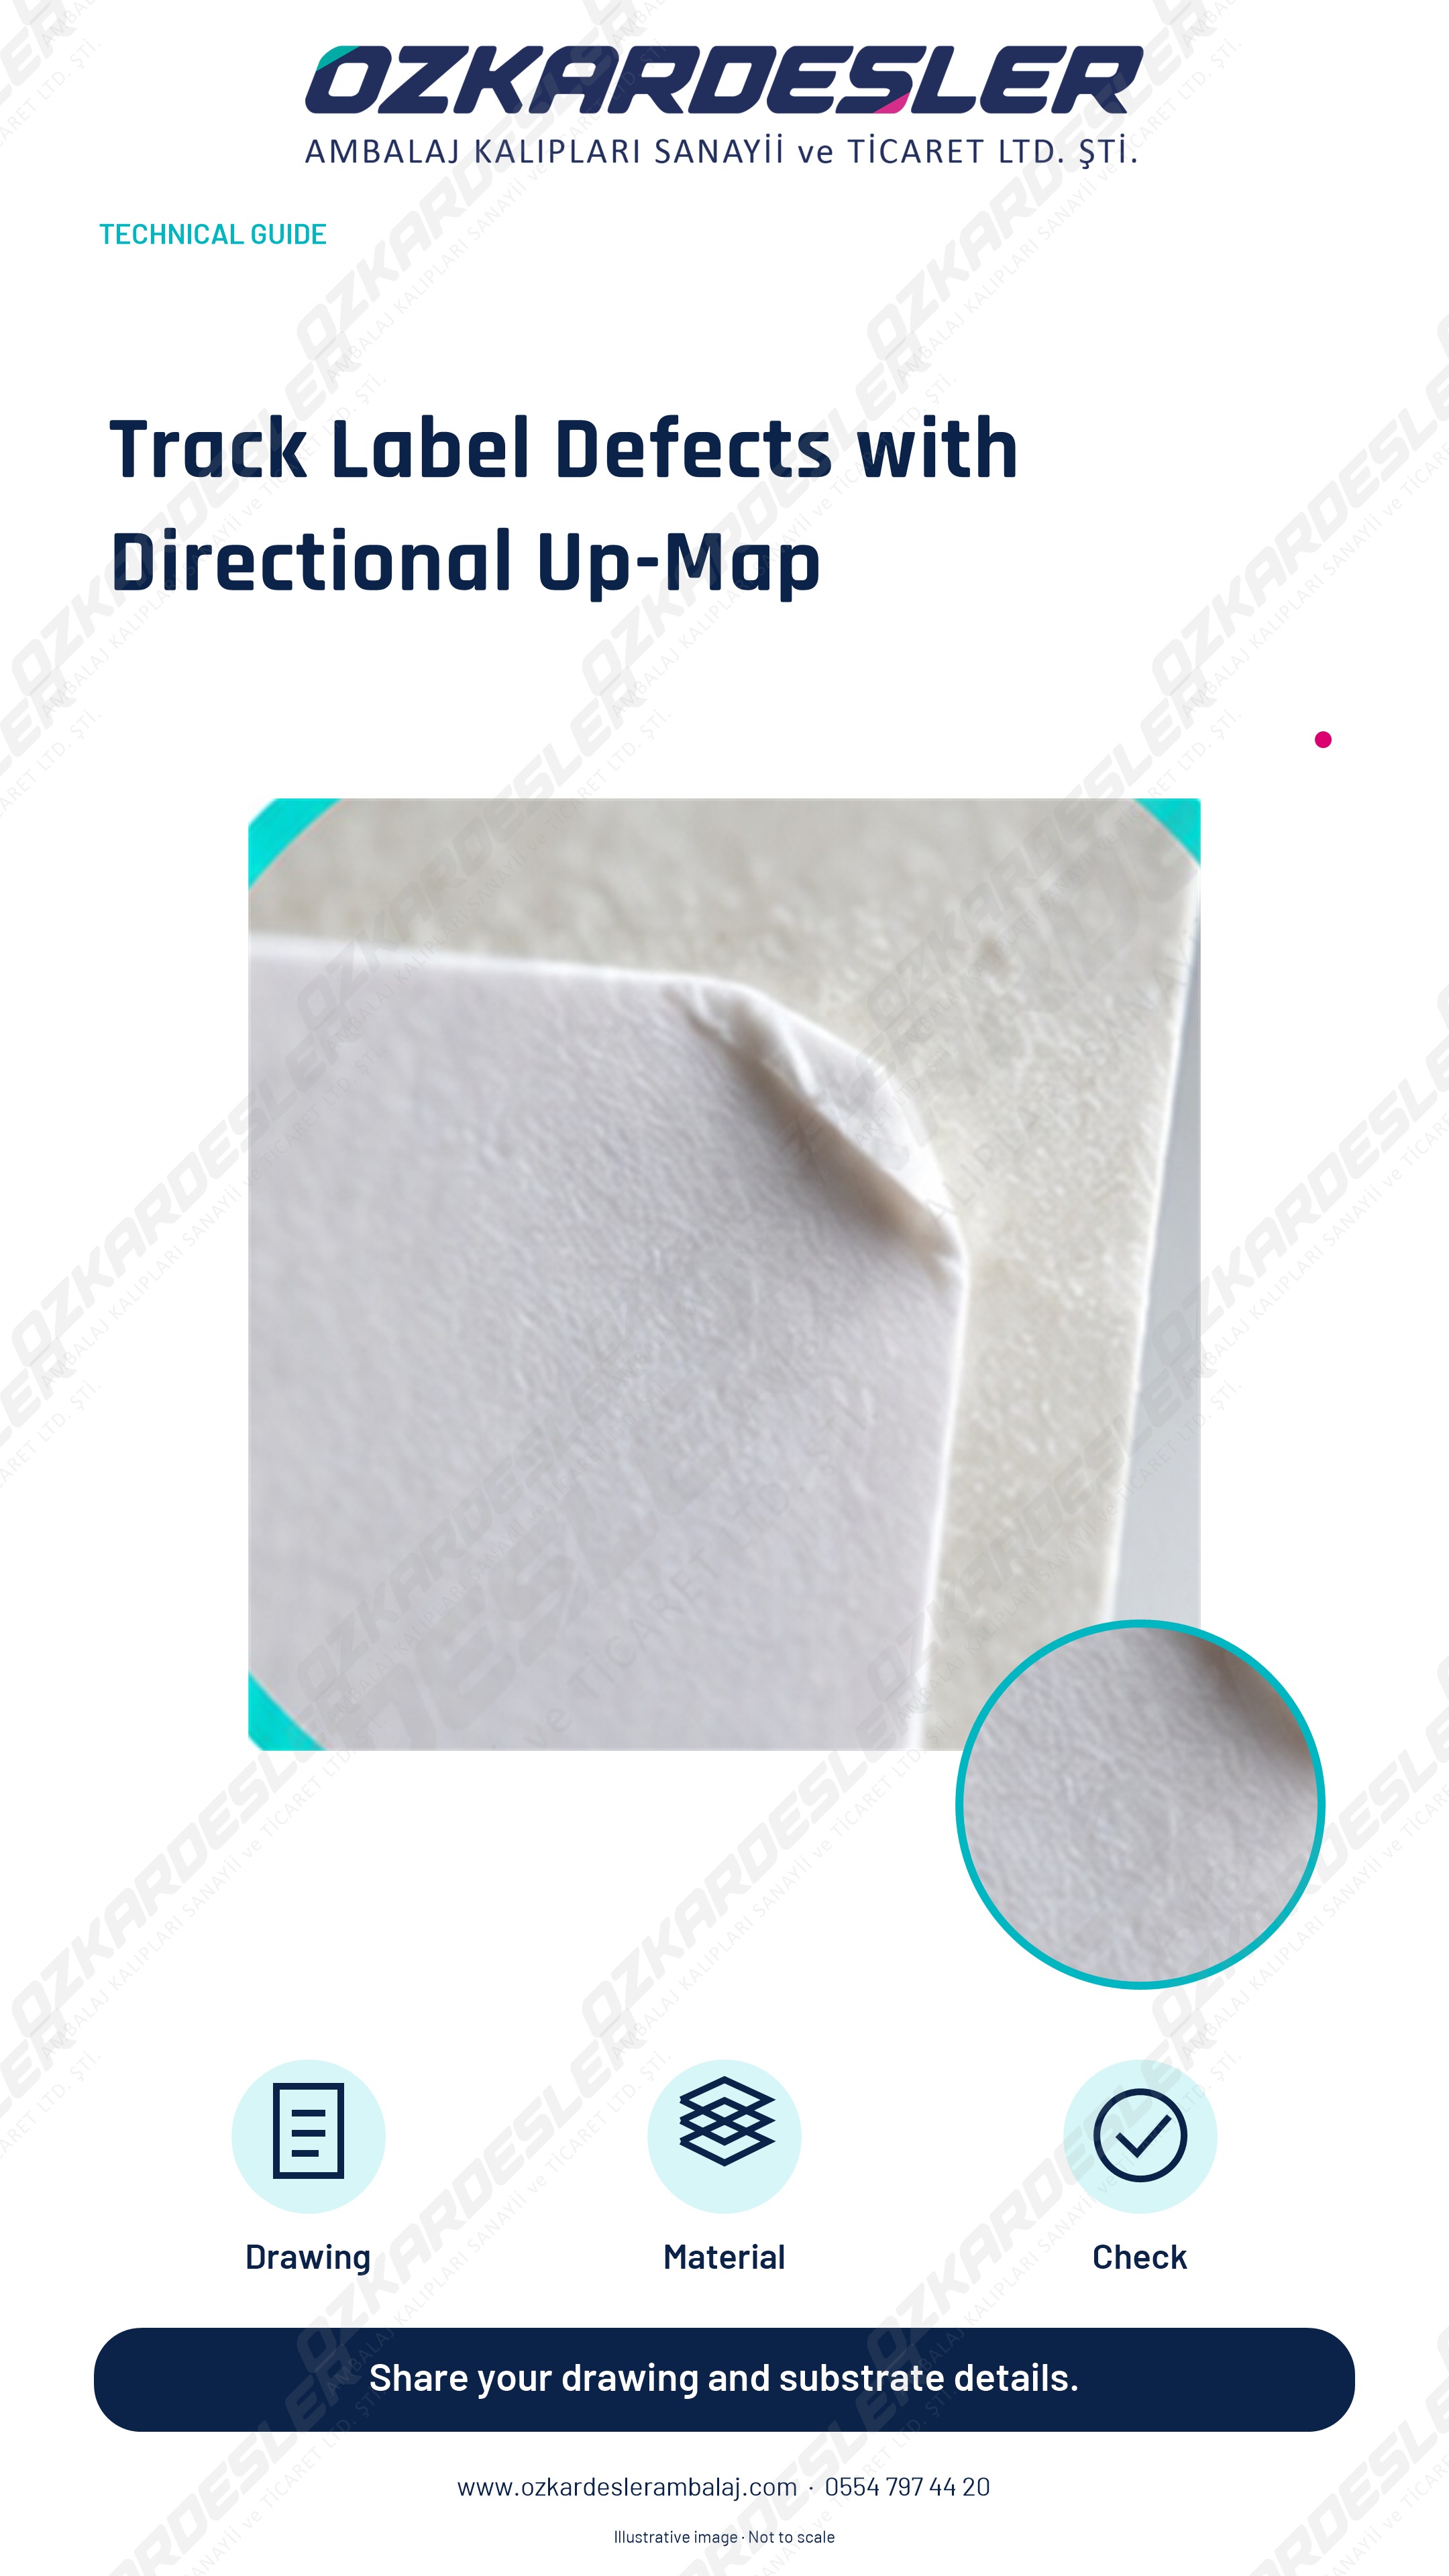
Record defect positions in label cutting using feed direction and up-codes; perform a controlled comparison across consecutive sheets.
Read the article →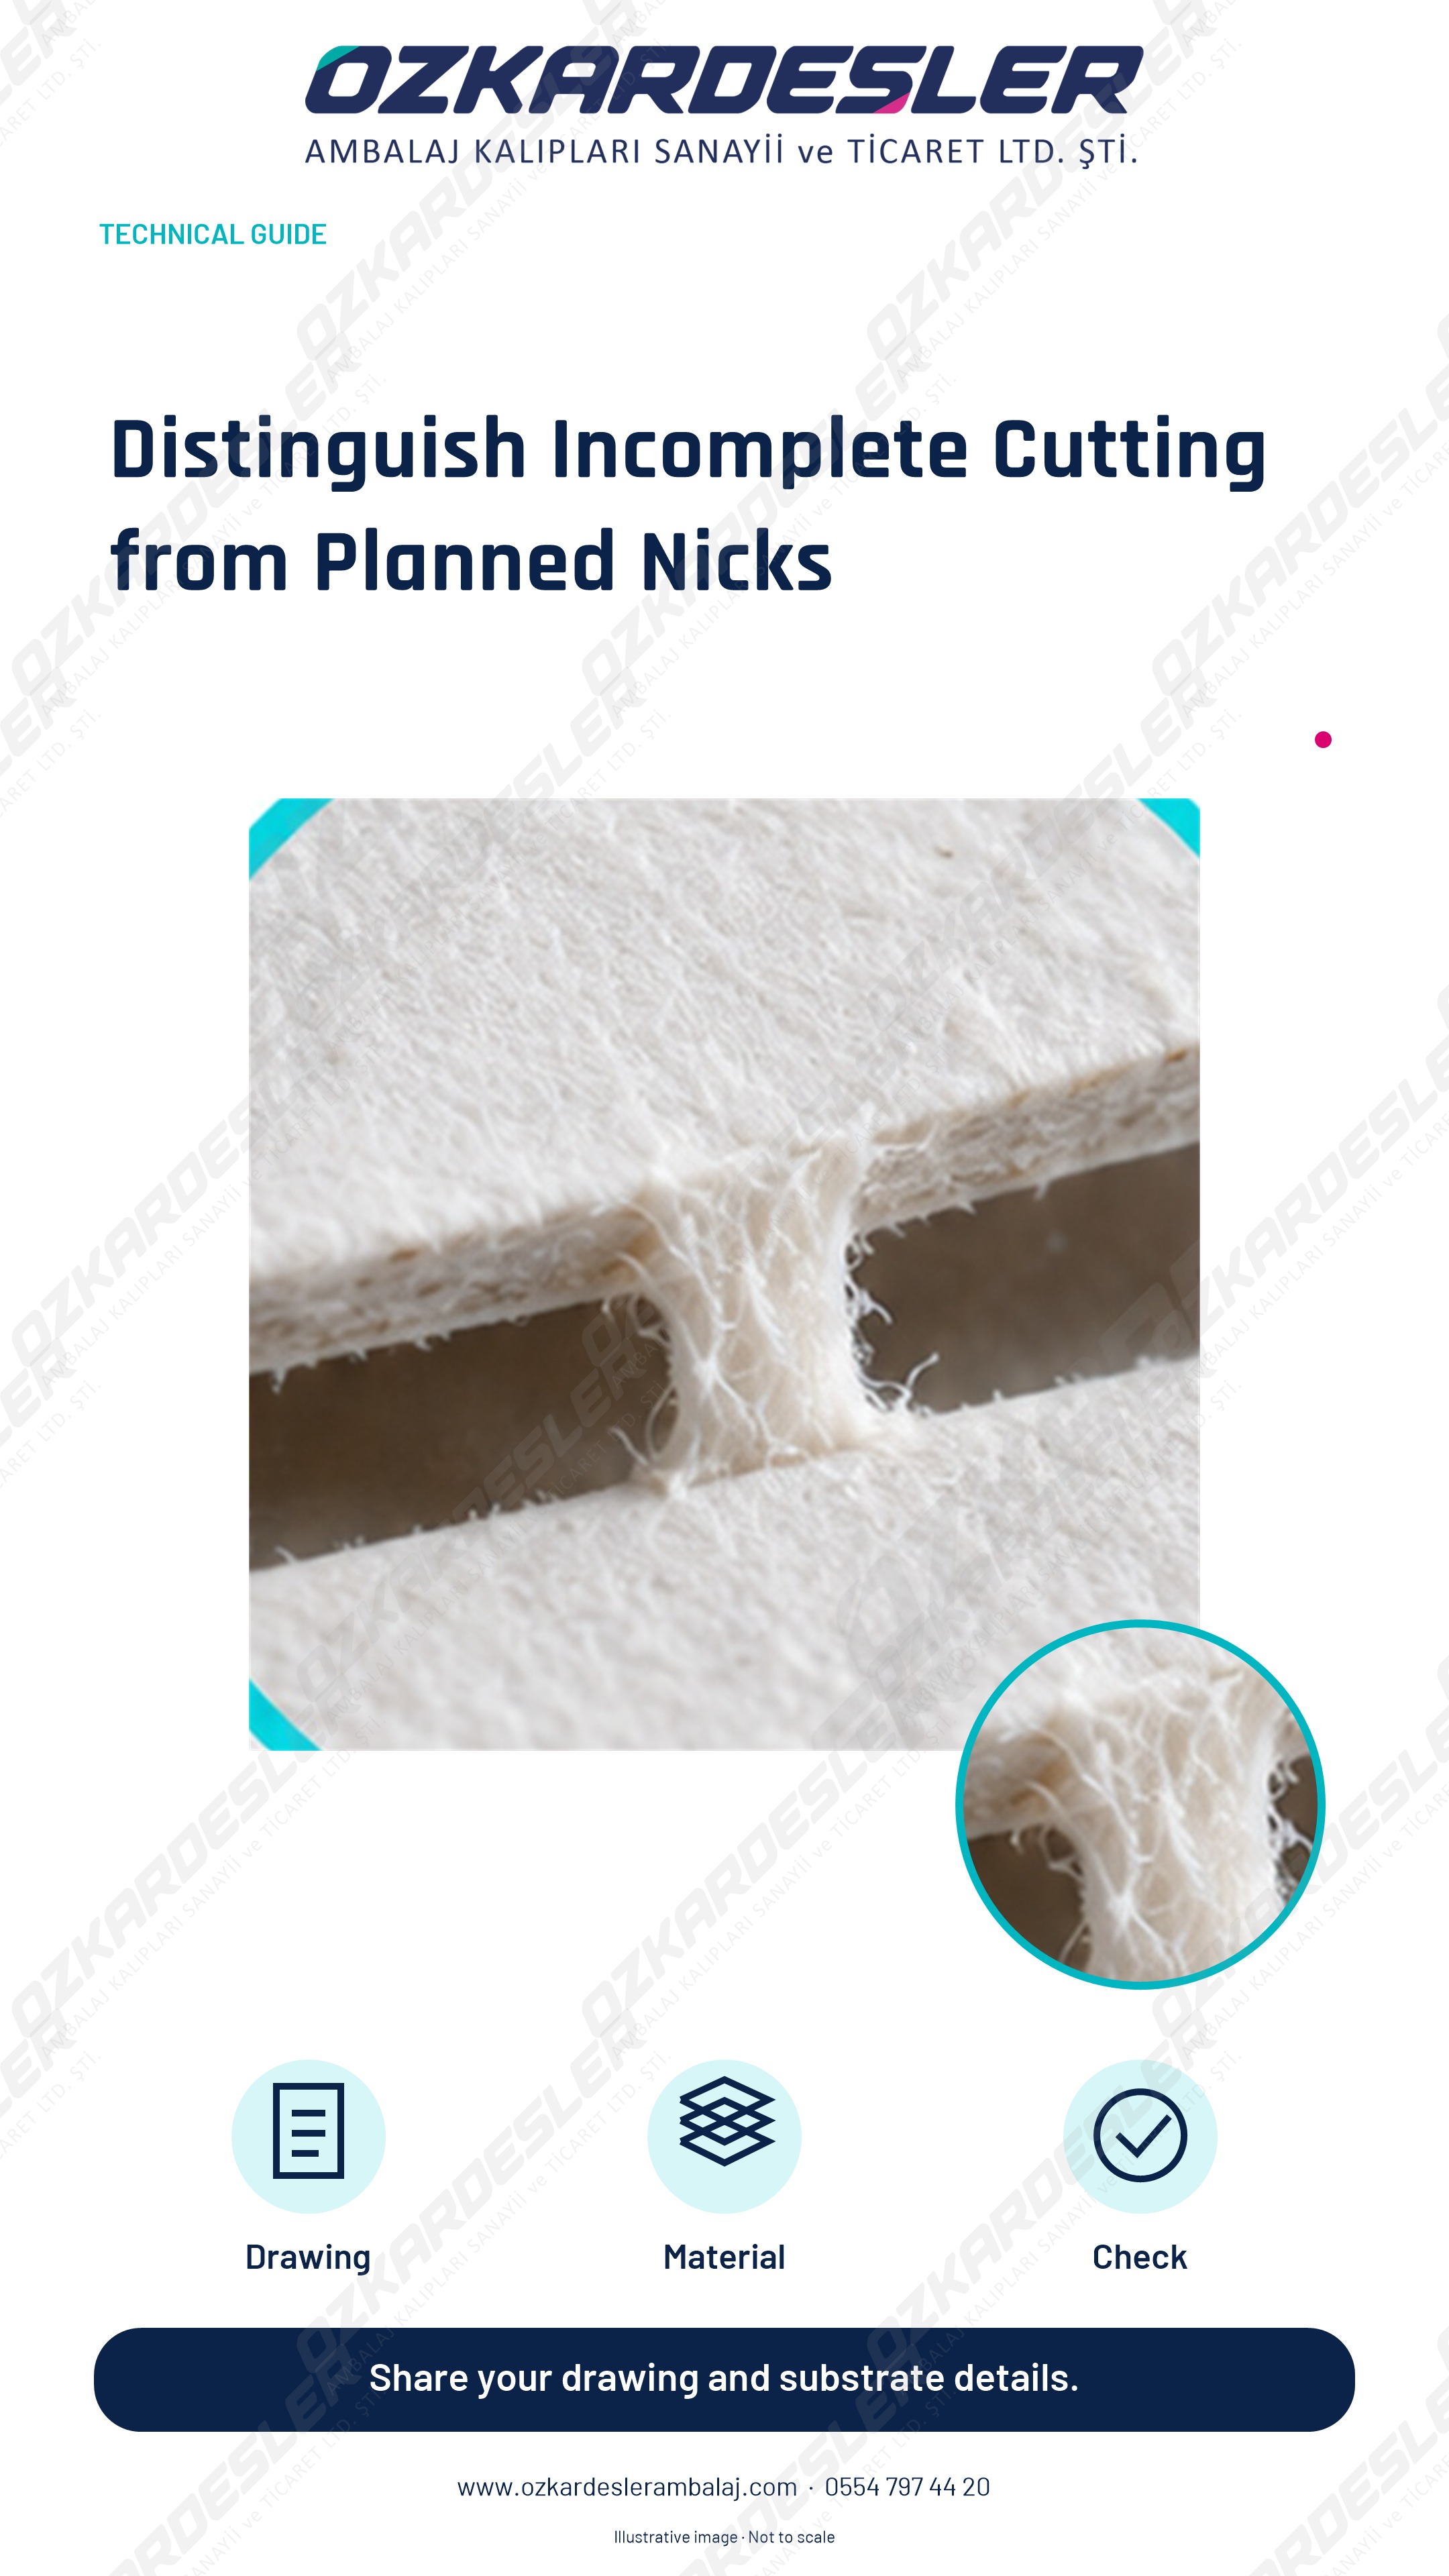
Evaluate whether the remaining connection on the paperboard is a planned nick or an incomplete cut using the sample and approved technical records.
Read the article →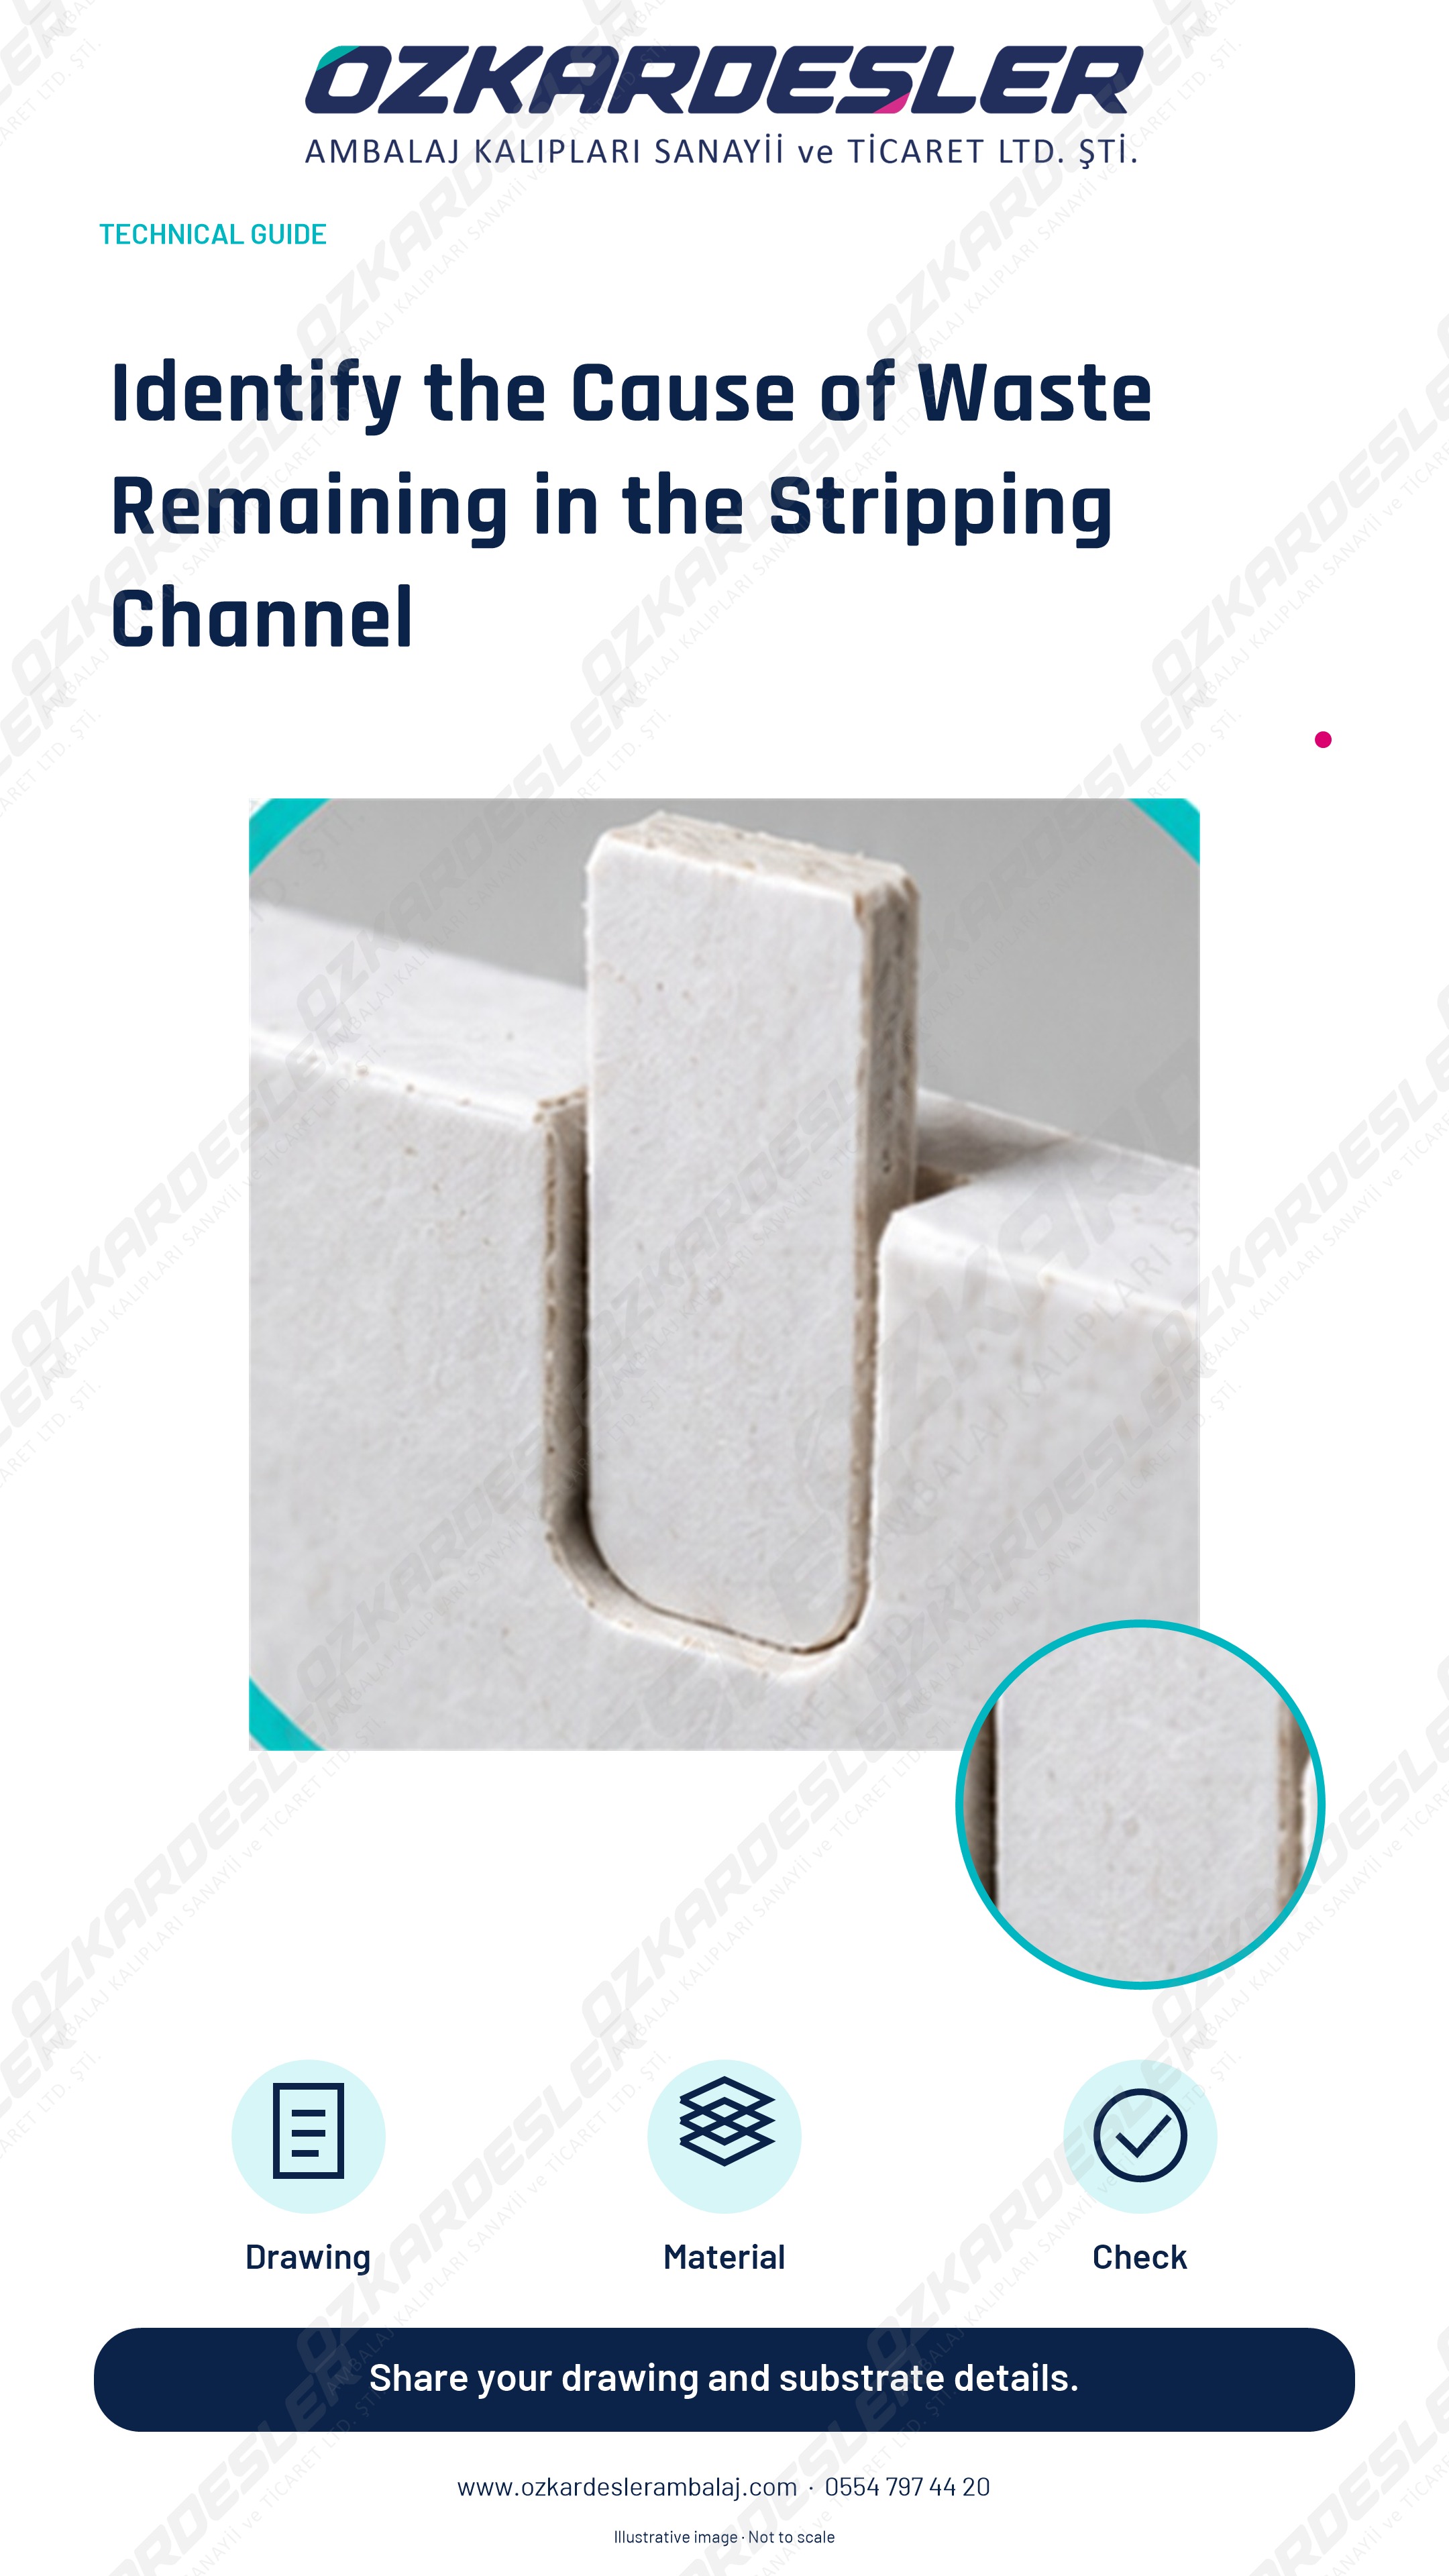
Differentiate between waste bound in the stripping channel and waste cut and jammed; evaluate the sample, cutting contour, and material together.
Read the article →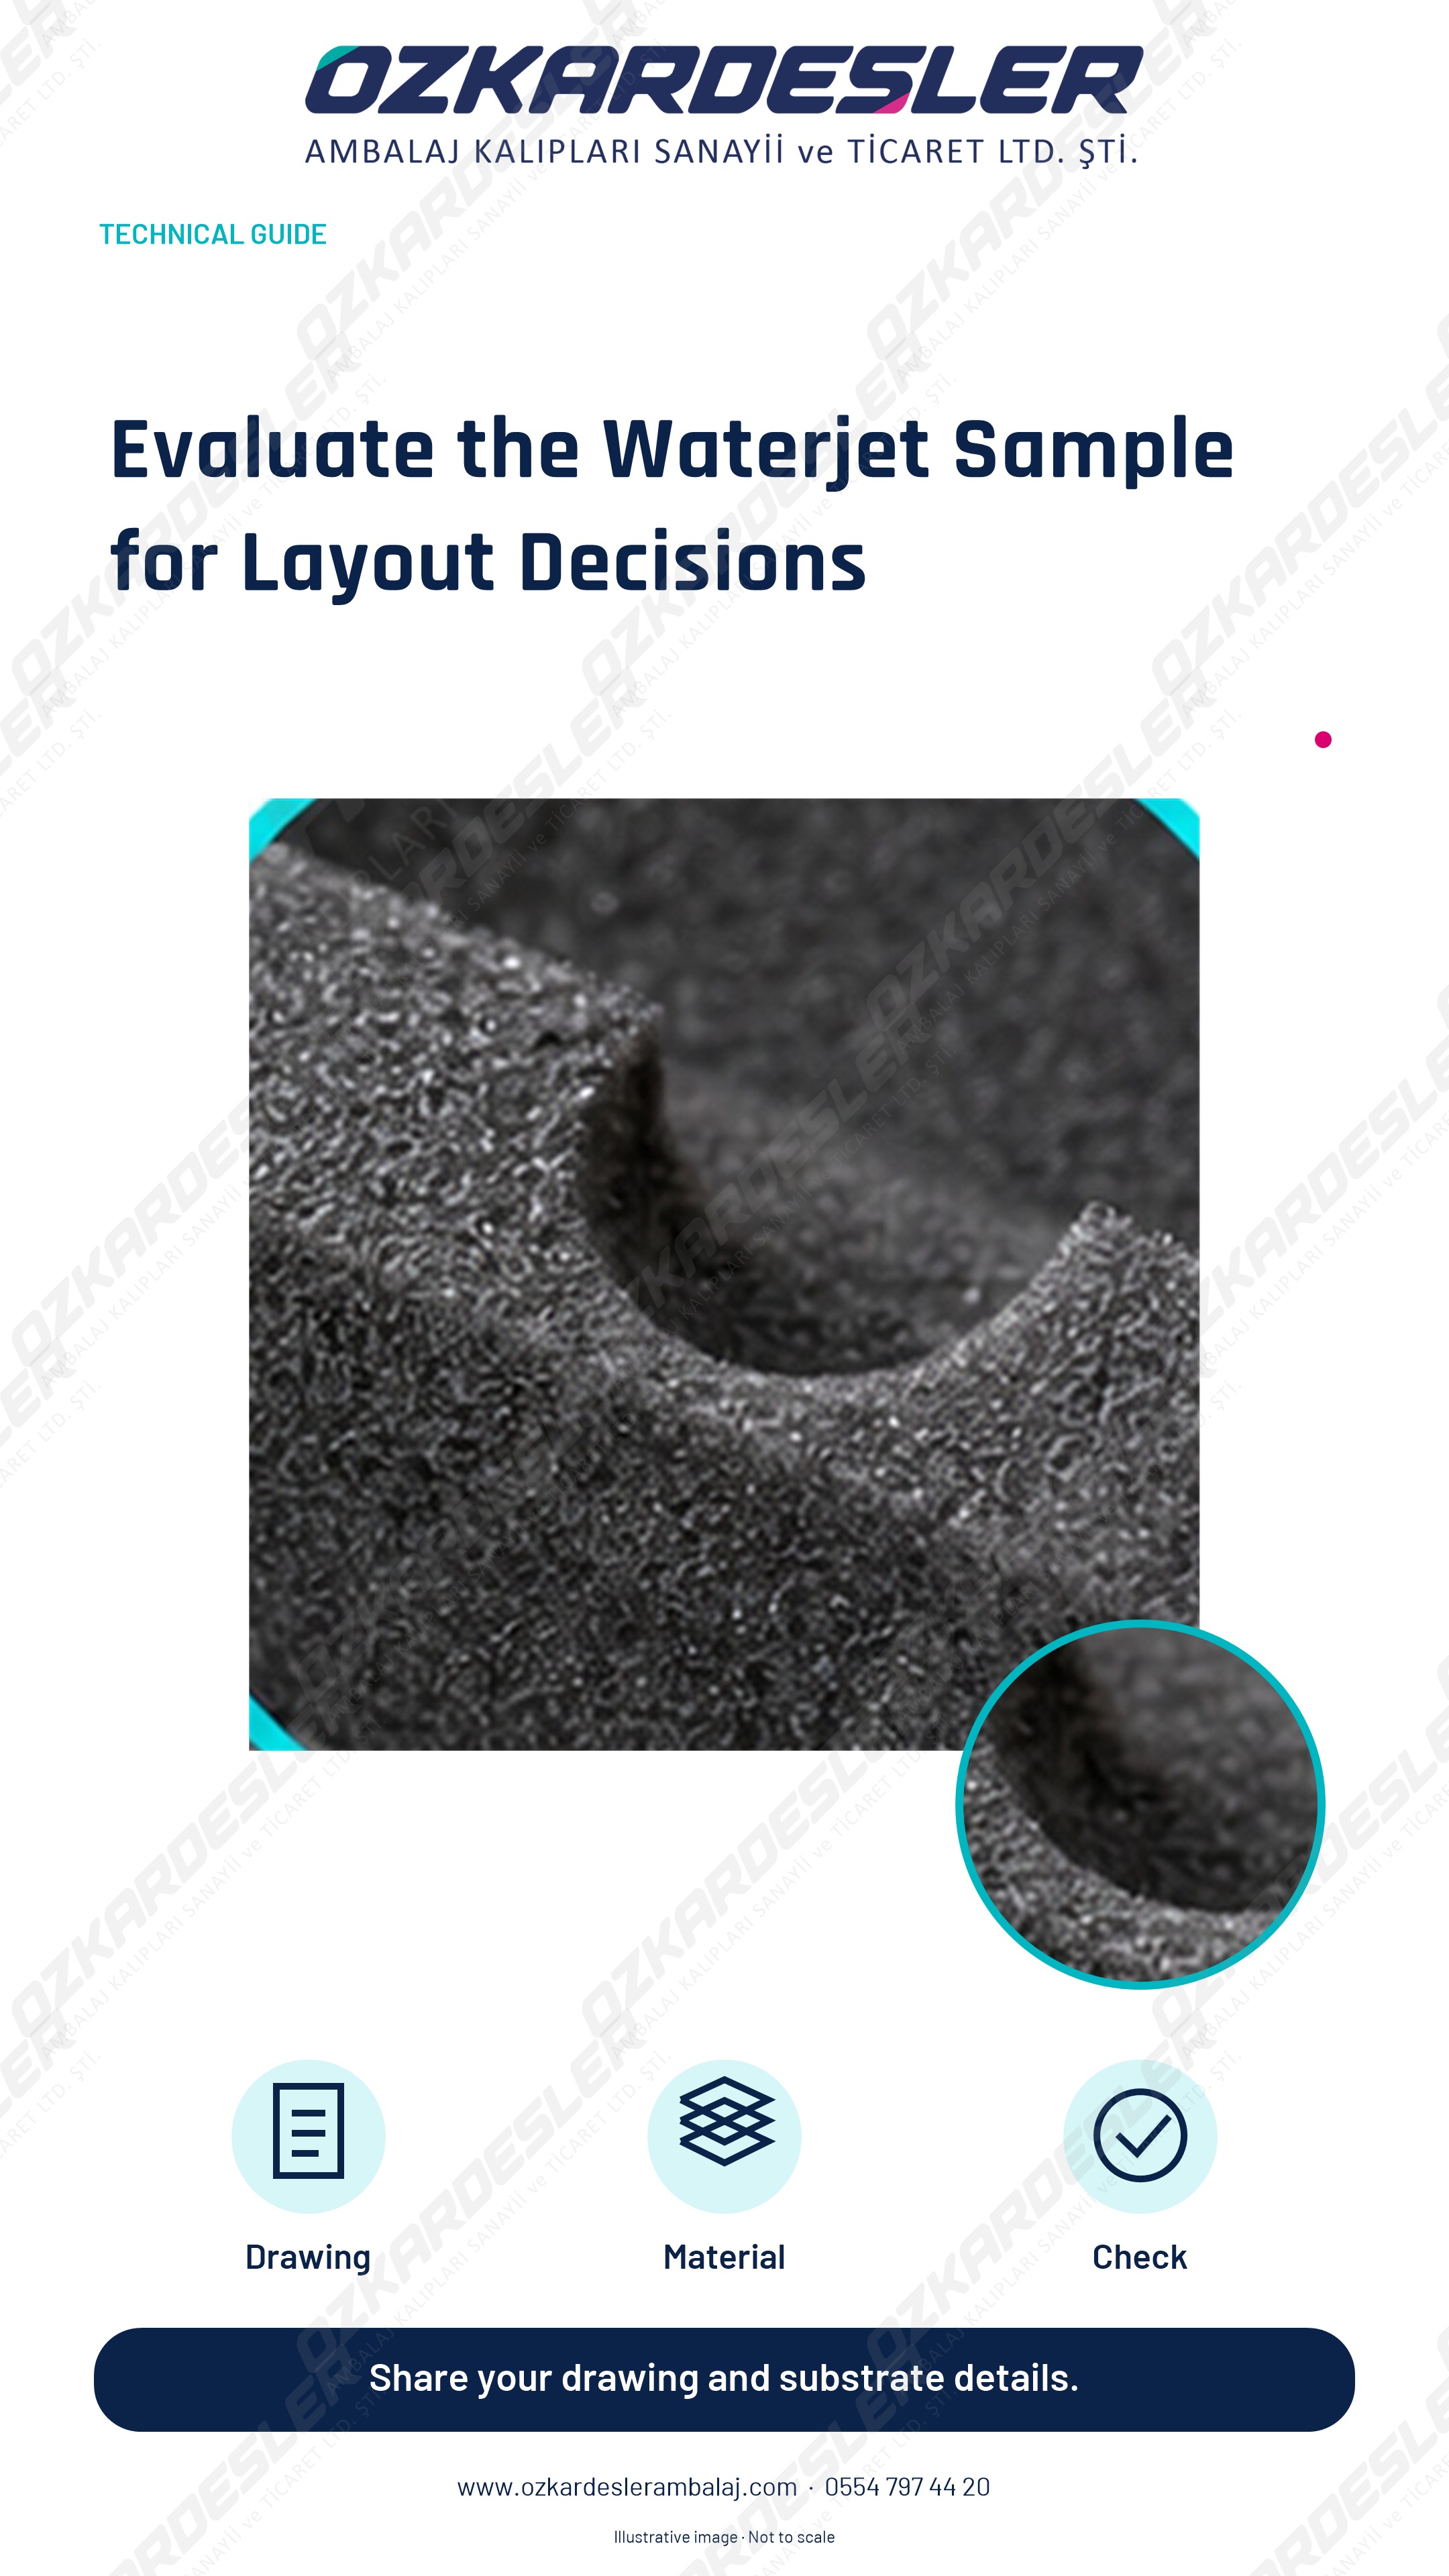
Evaluate the waterjet sample in sponge and foam in terms of layout, finger access, and lid closure; verify the scope of the method.
Read the article →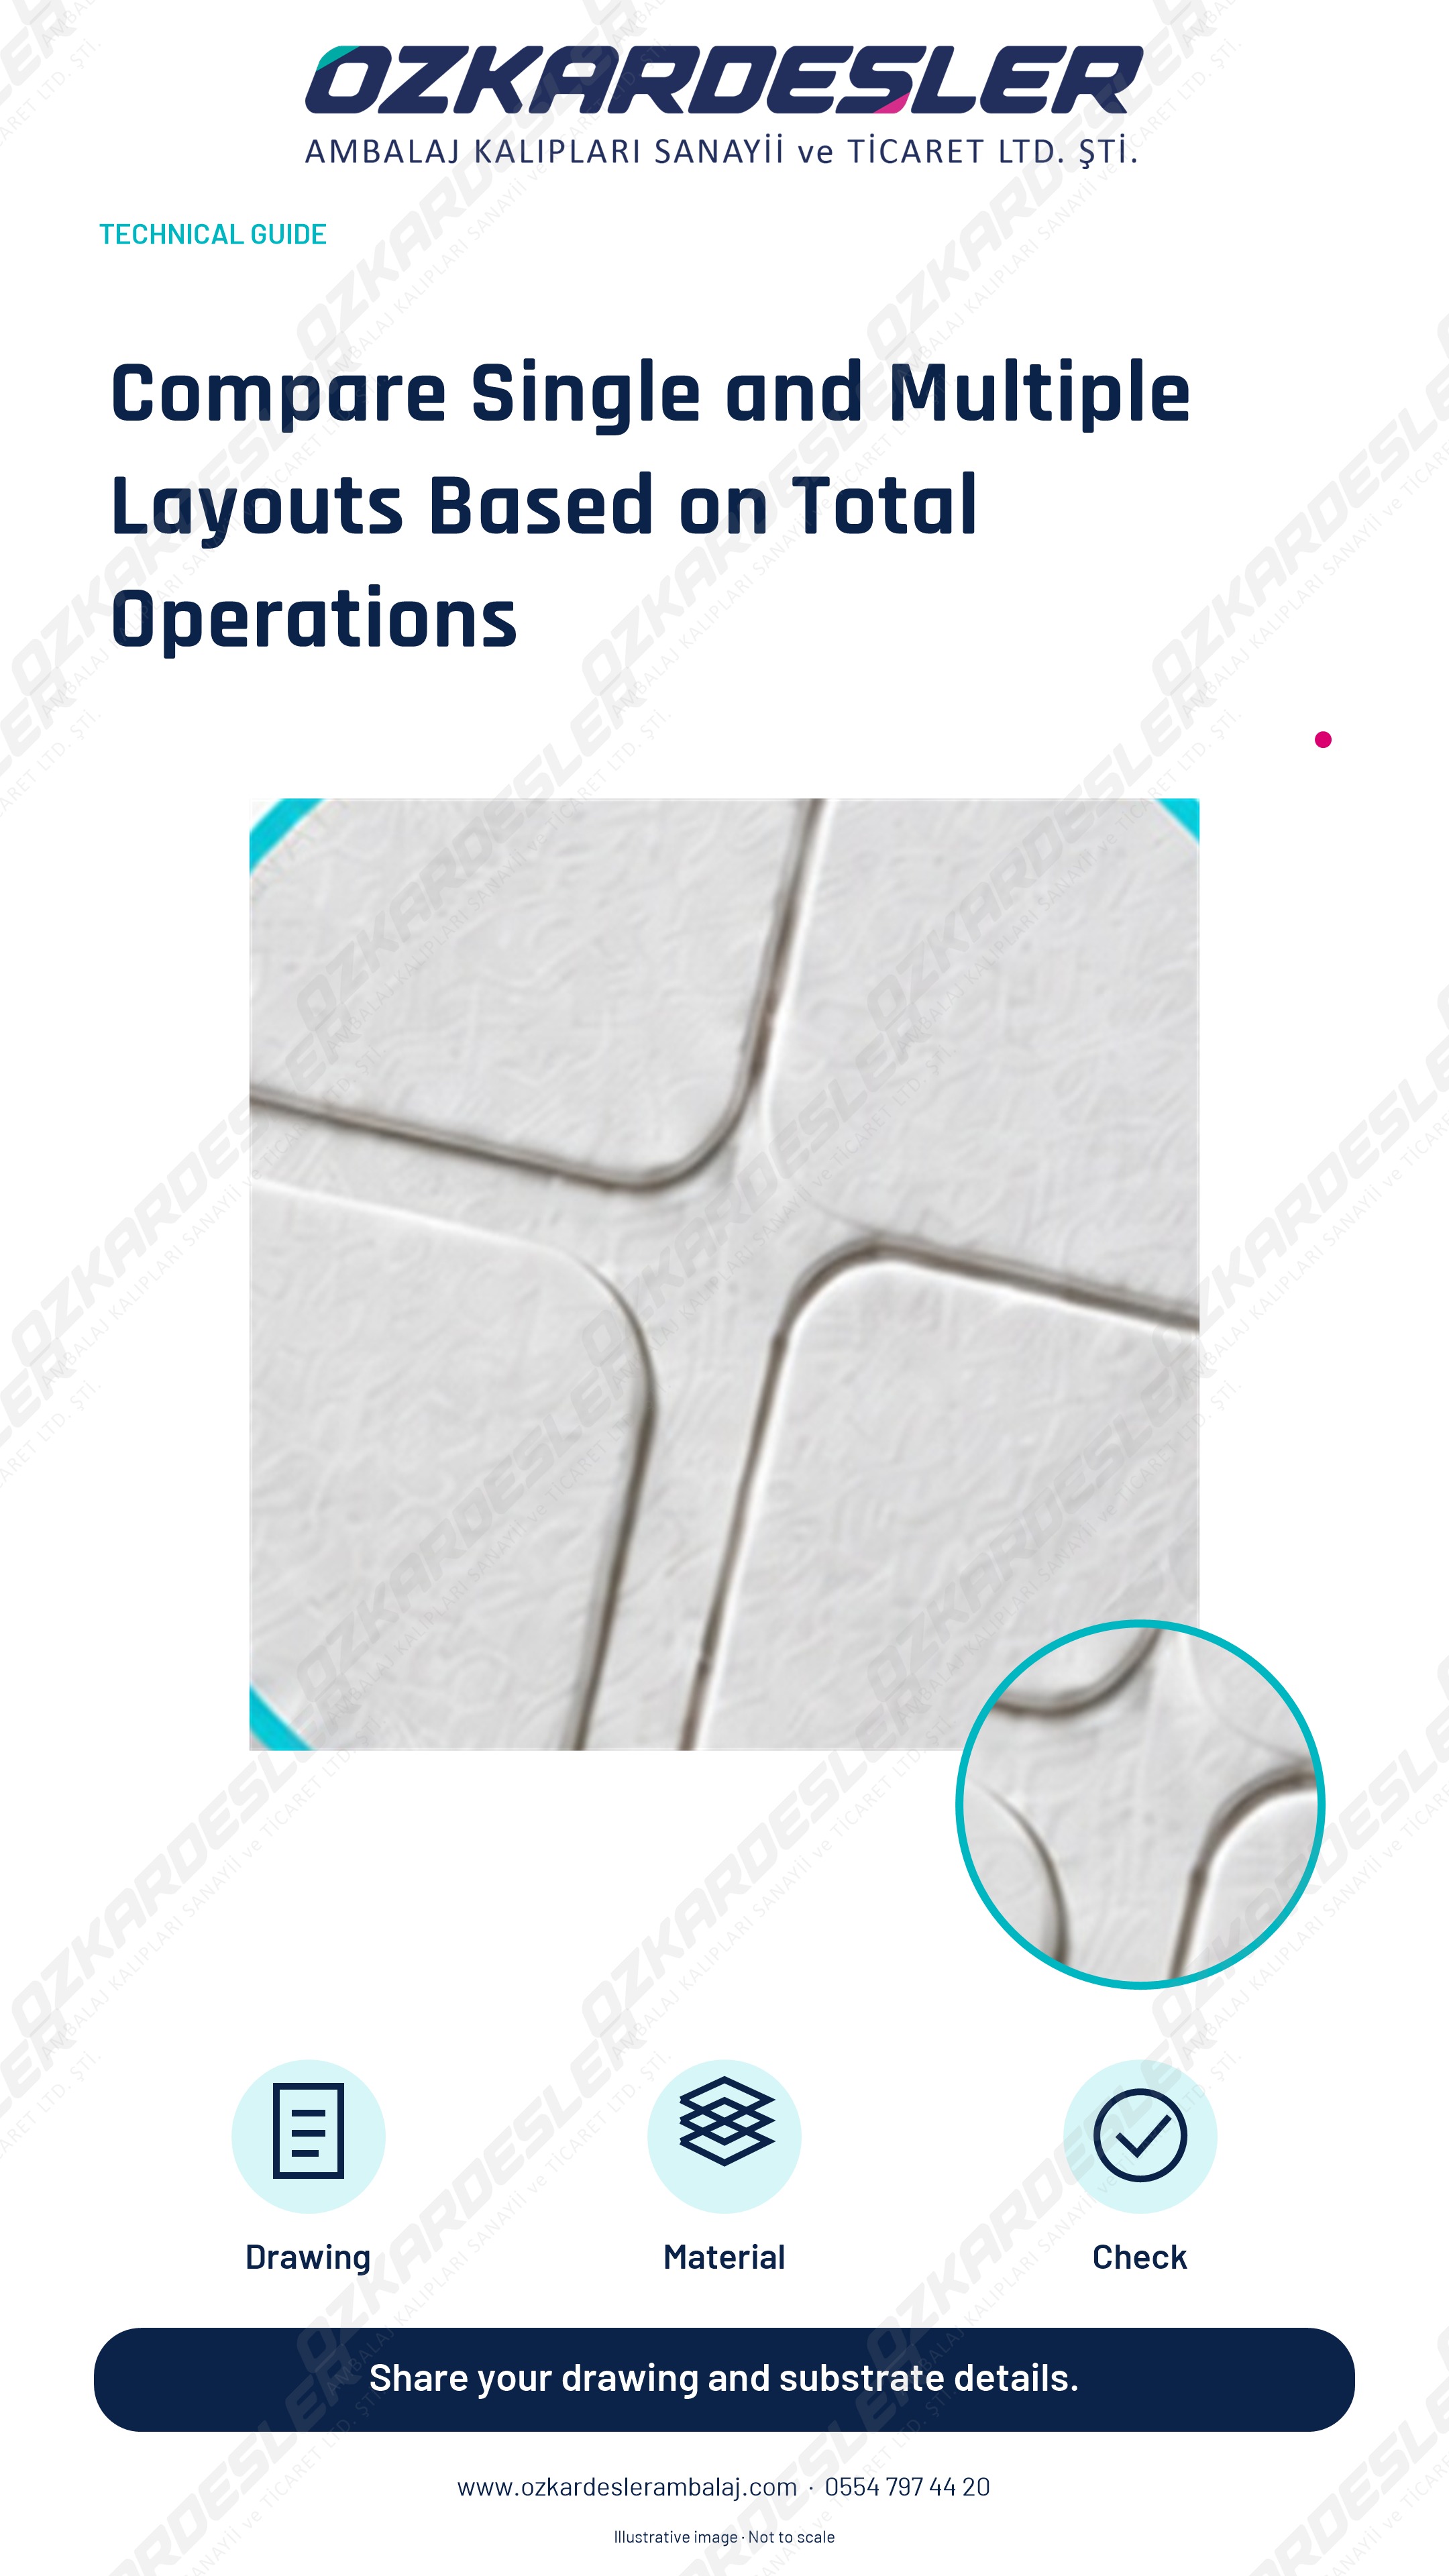
Do not consider the number of ups as the sole efficiency metric; compare the layout together with sheet consumption, setup, direction, and subsequent operations.
Read the article →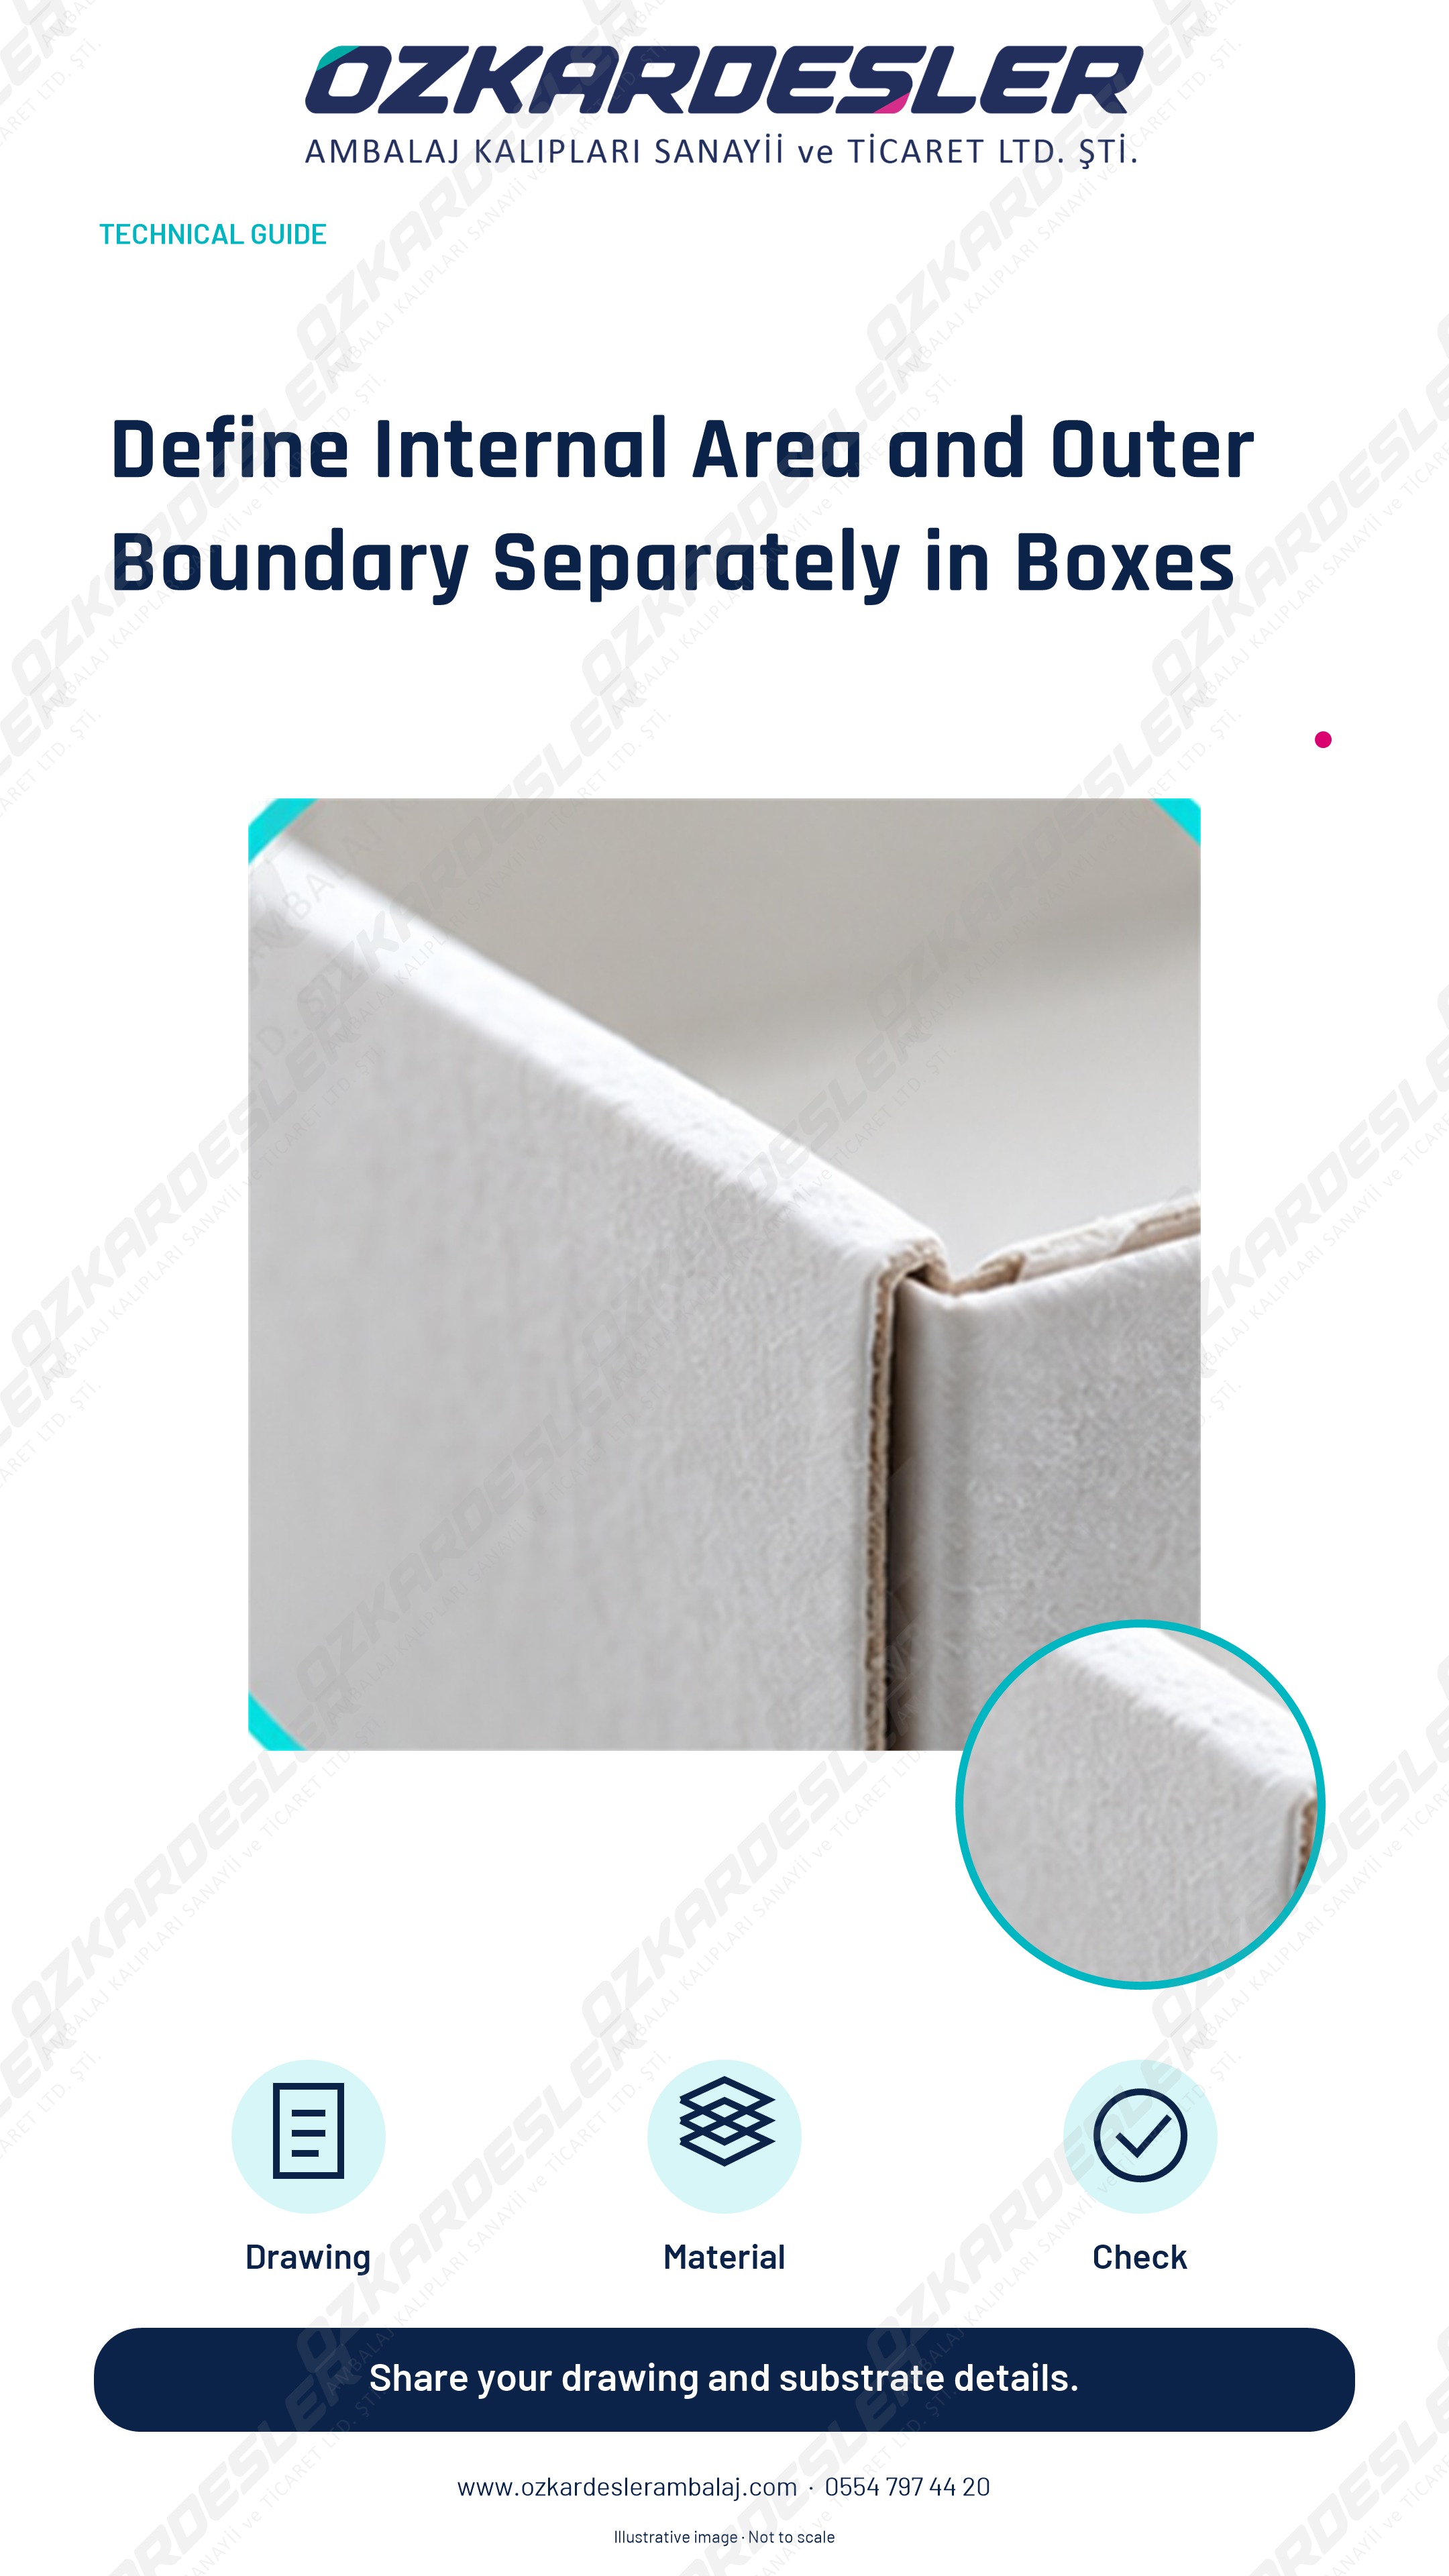
Separate product, inner dimension, outer dimension, and dieline measurements in box requests; verify conformity with the actual material and physical sample.
Read the article →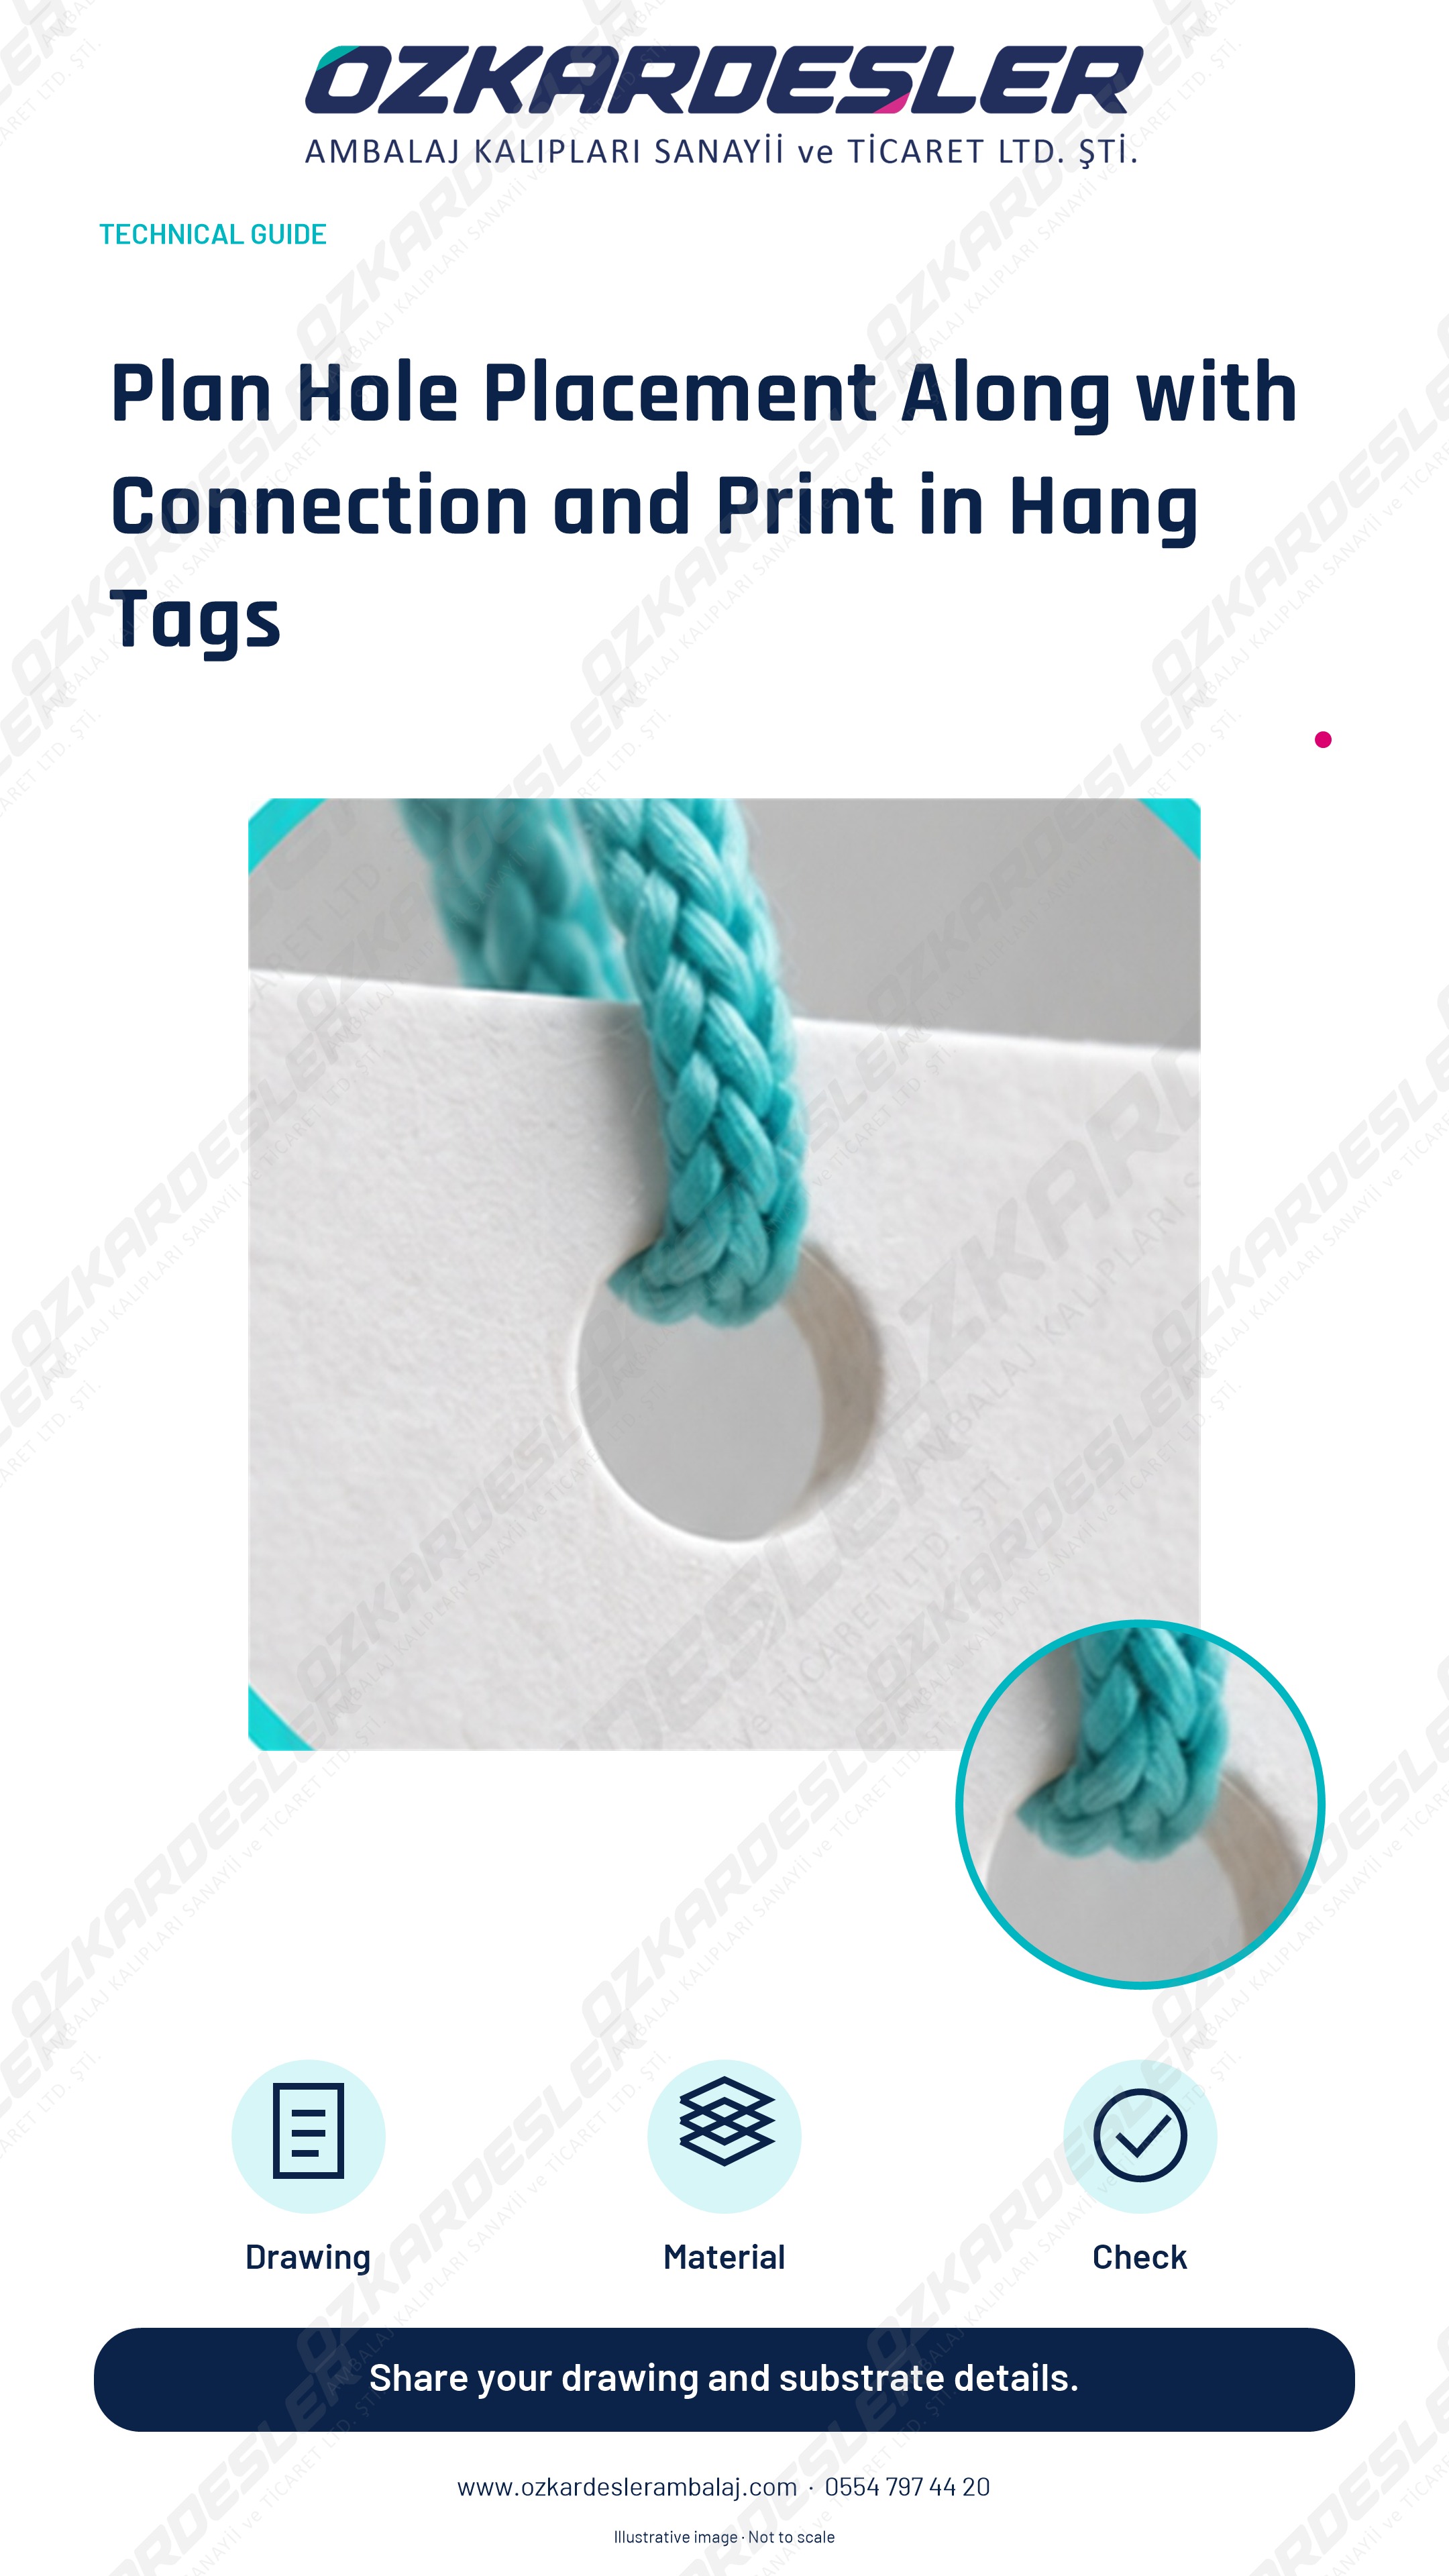
Check the hole center, remaining material at the edge, and print area together with the cord or connection part in hang tags.
Read the article →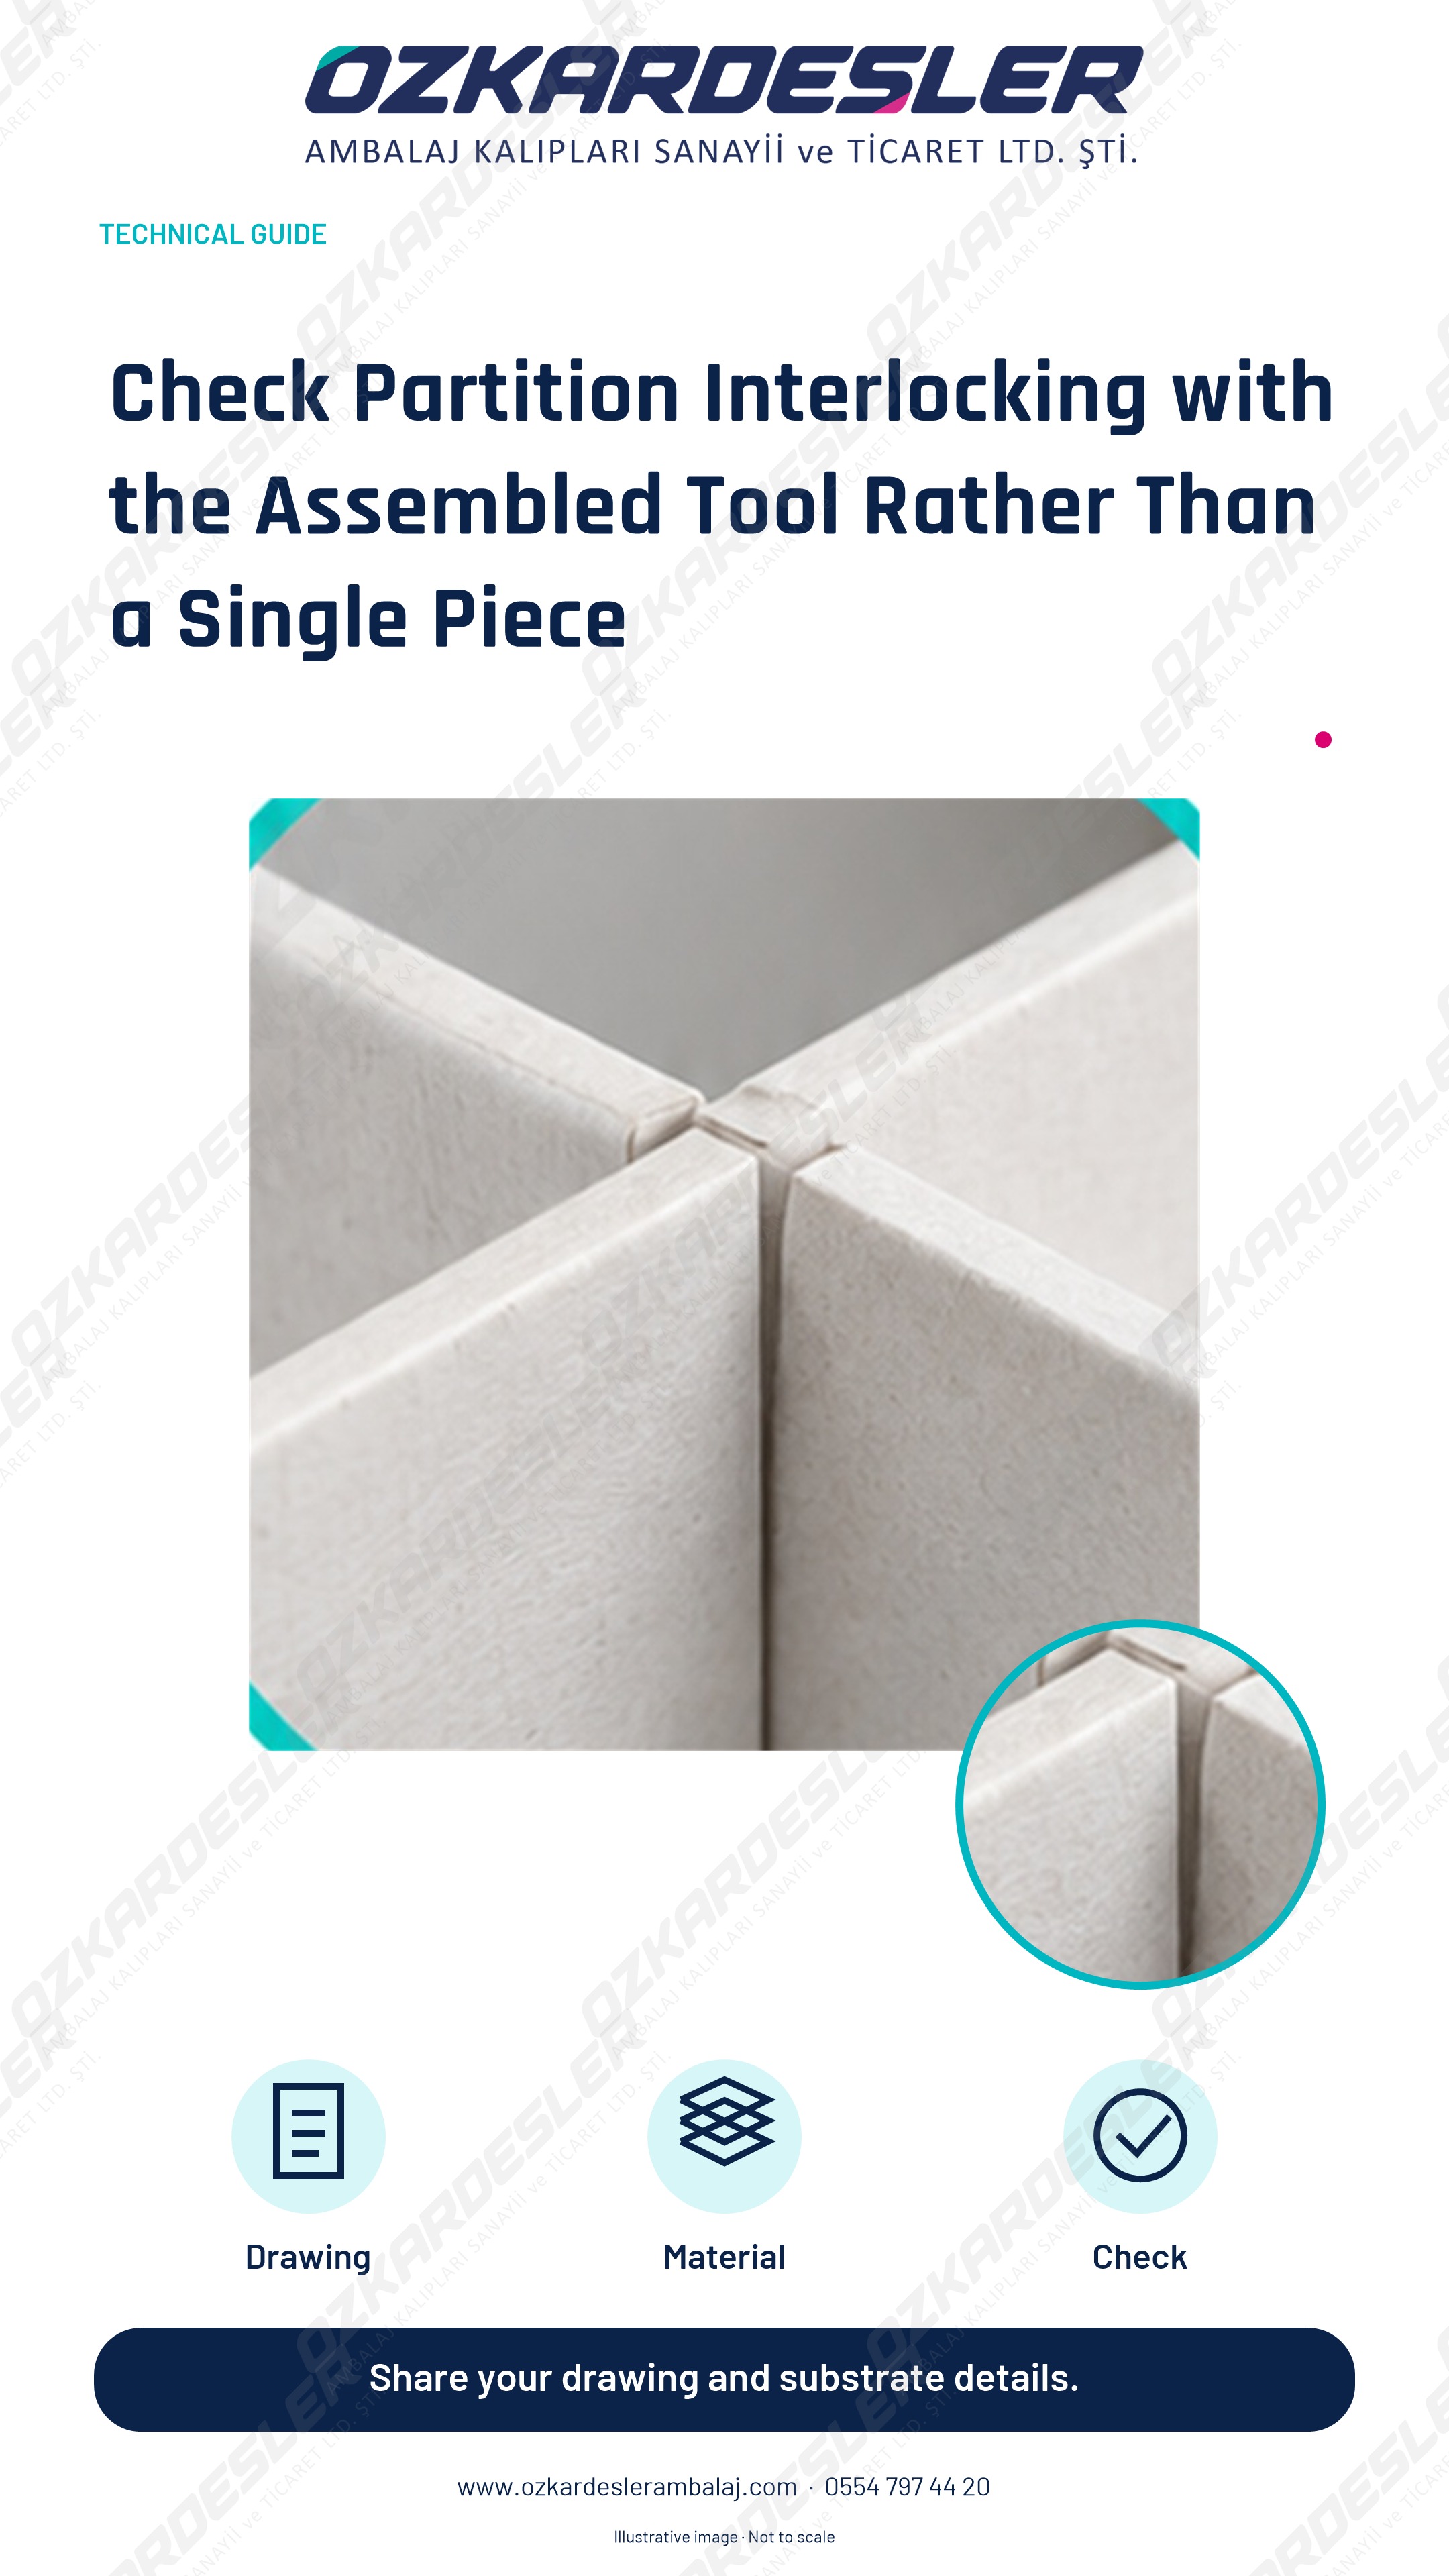
Verify slot width, depth, and assembly direction in paperboard partitions together with the actual material and assembled tool.
Read the article →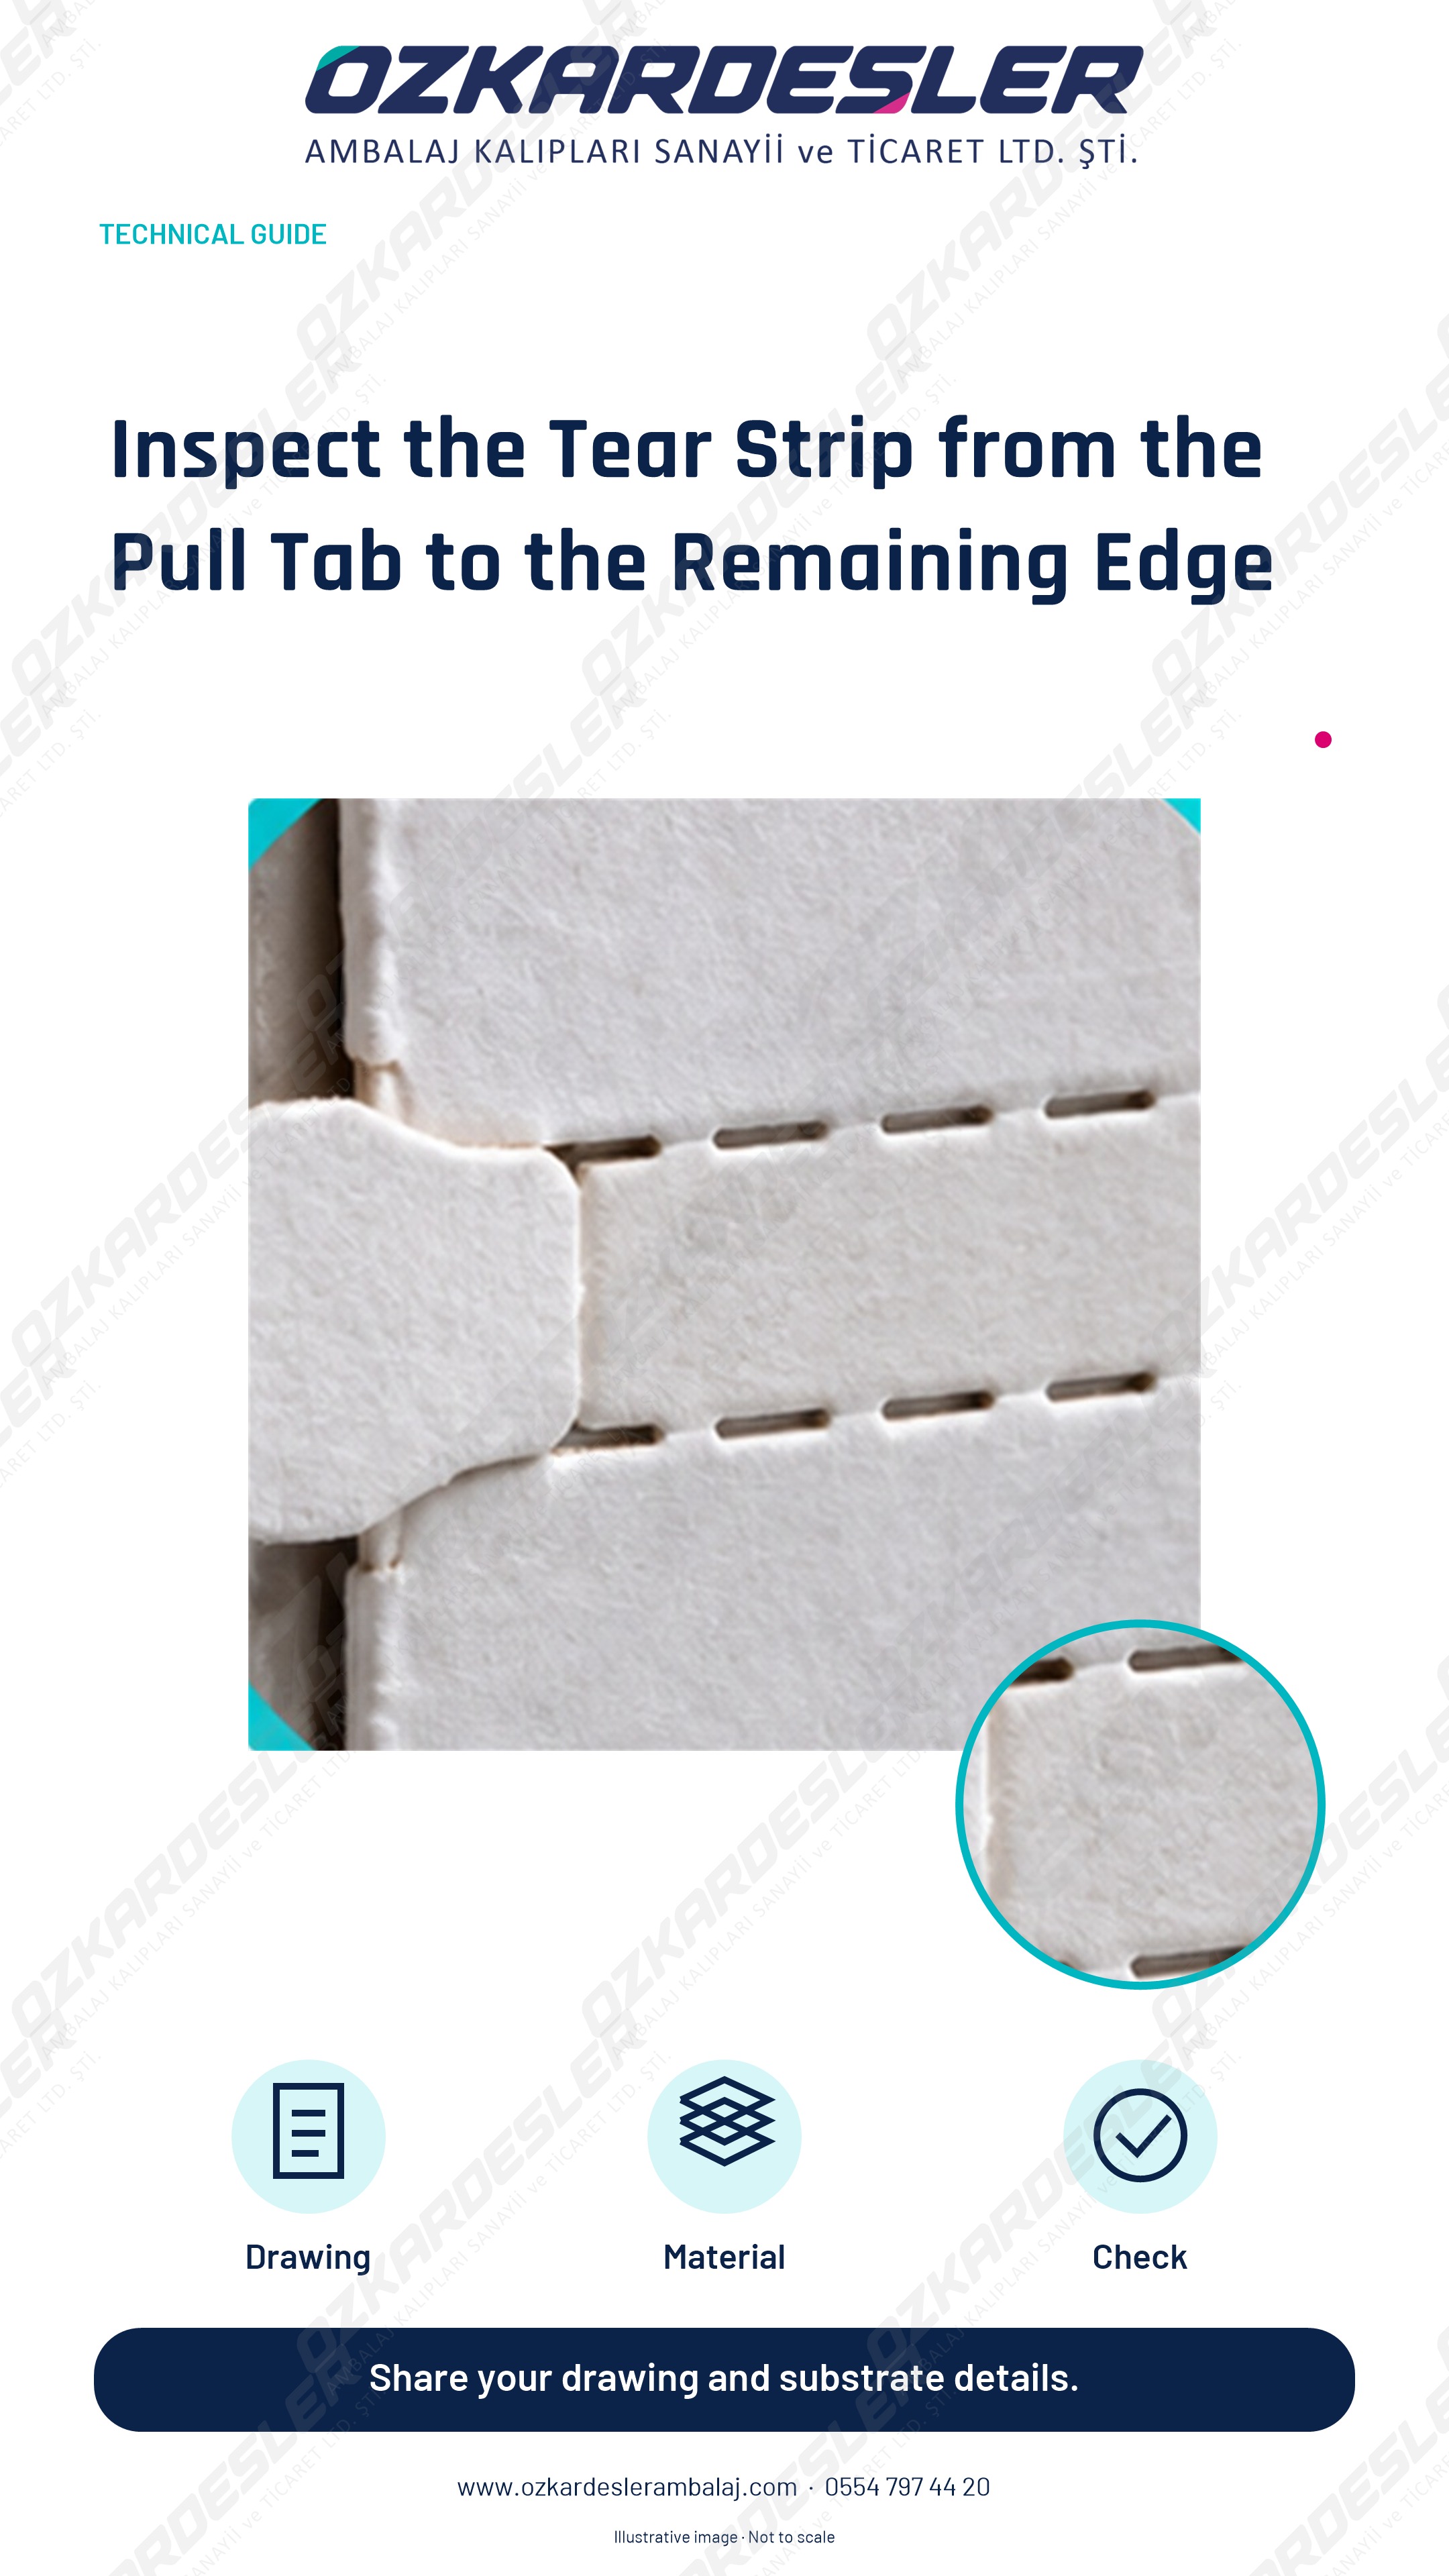
Evaluate the starting tab, pulling direction, bonded areas, and folding relationship in the perforated box tear strip on the sample.
Read the article →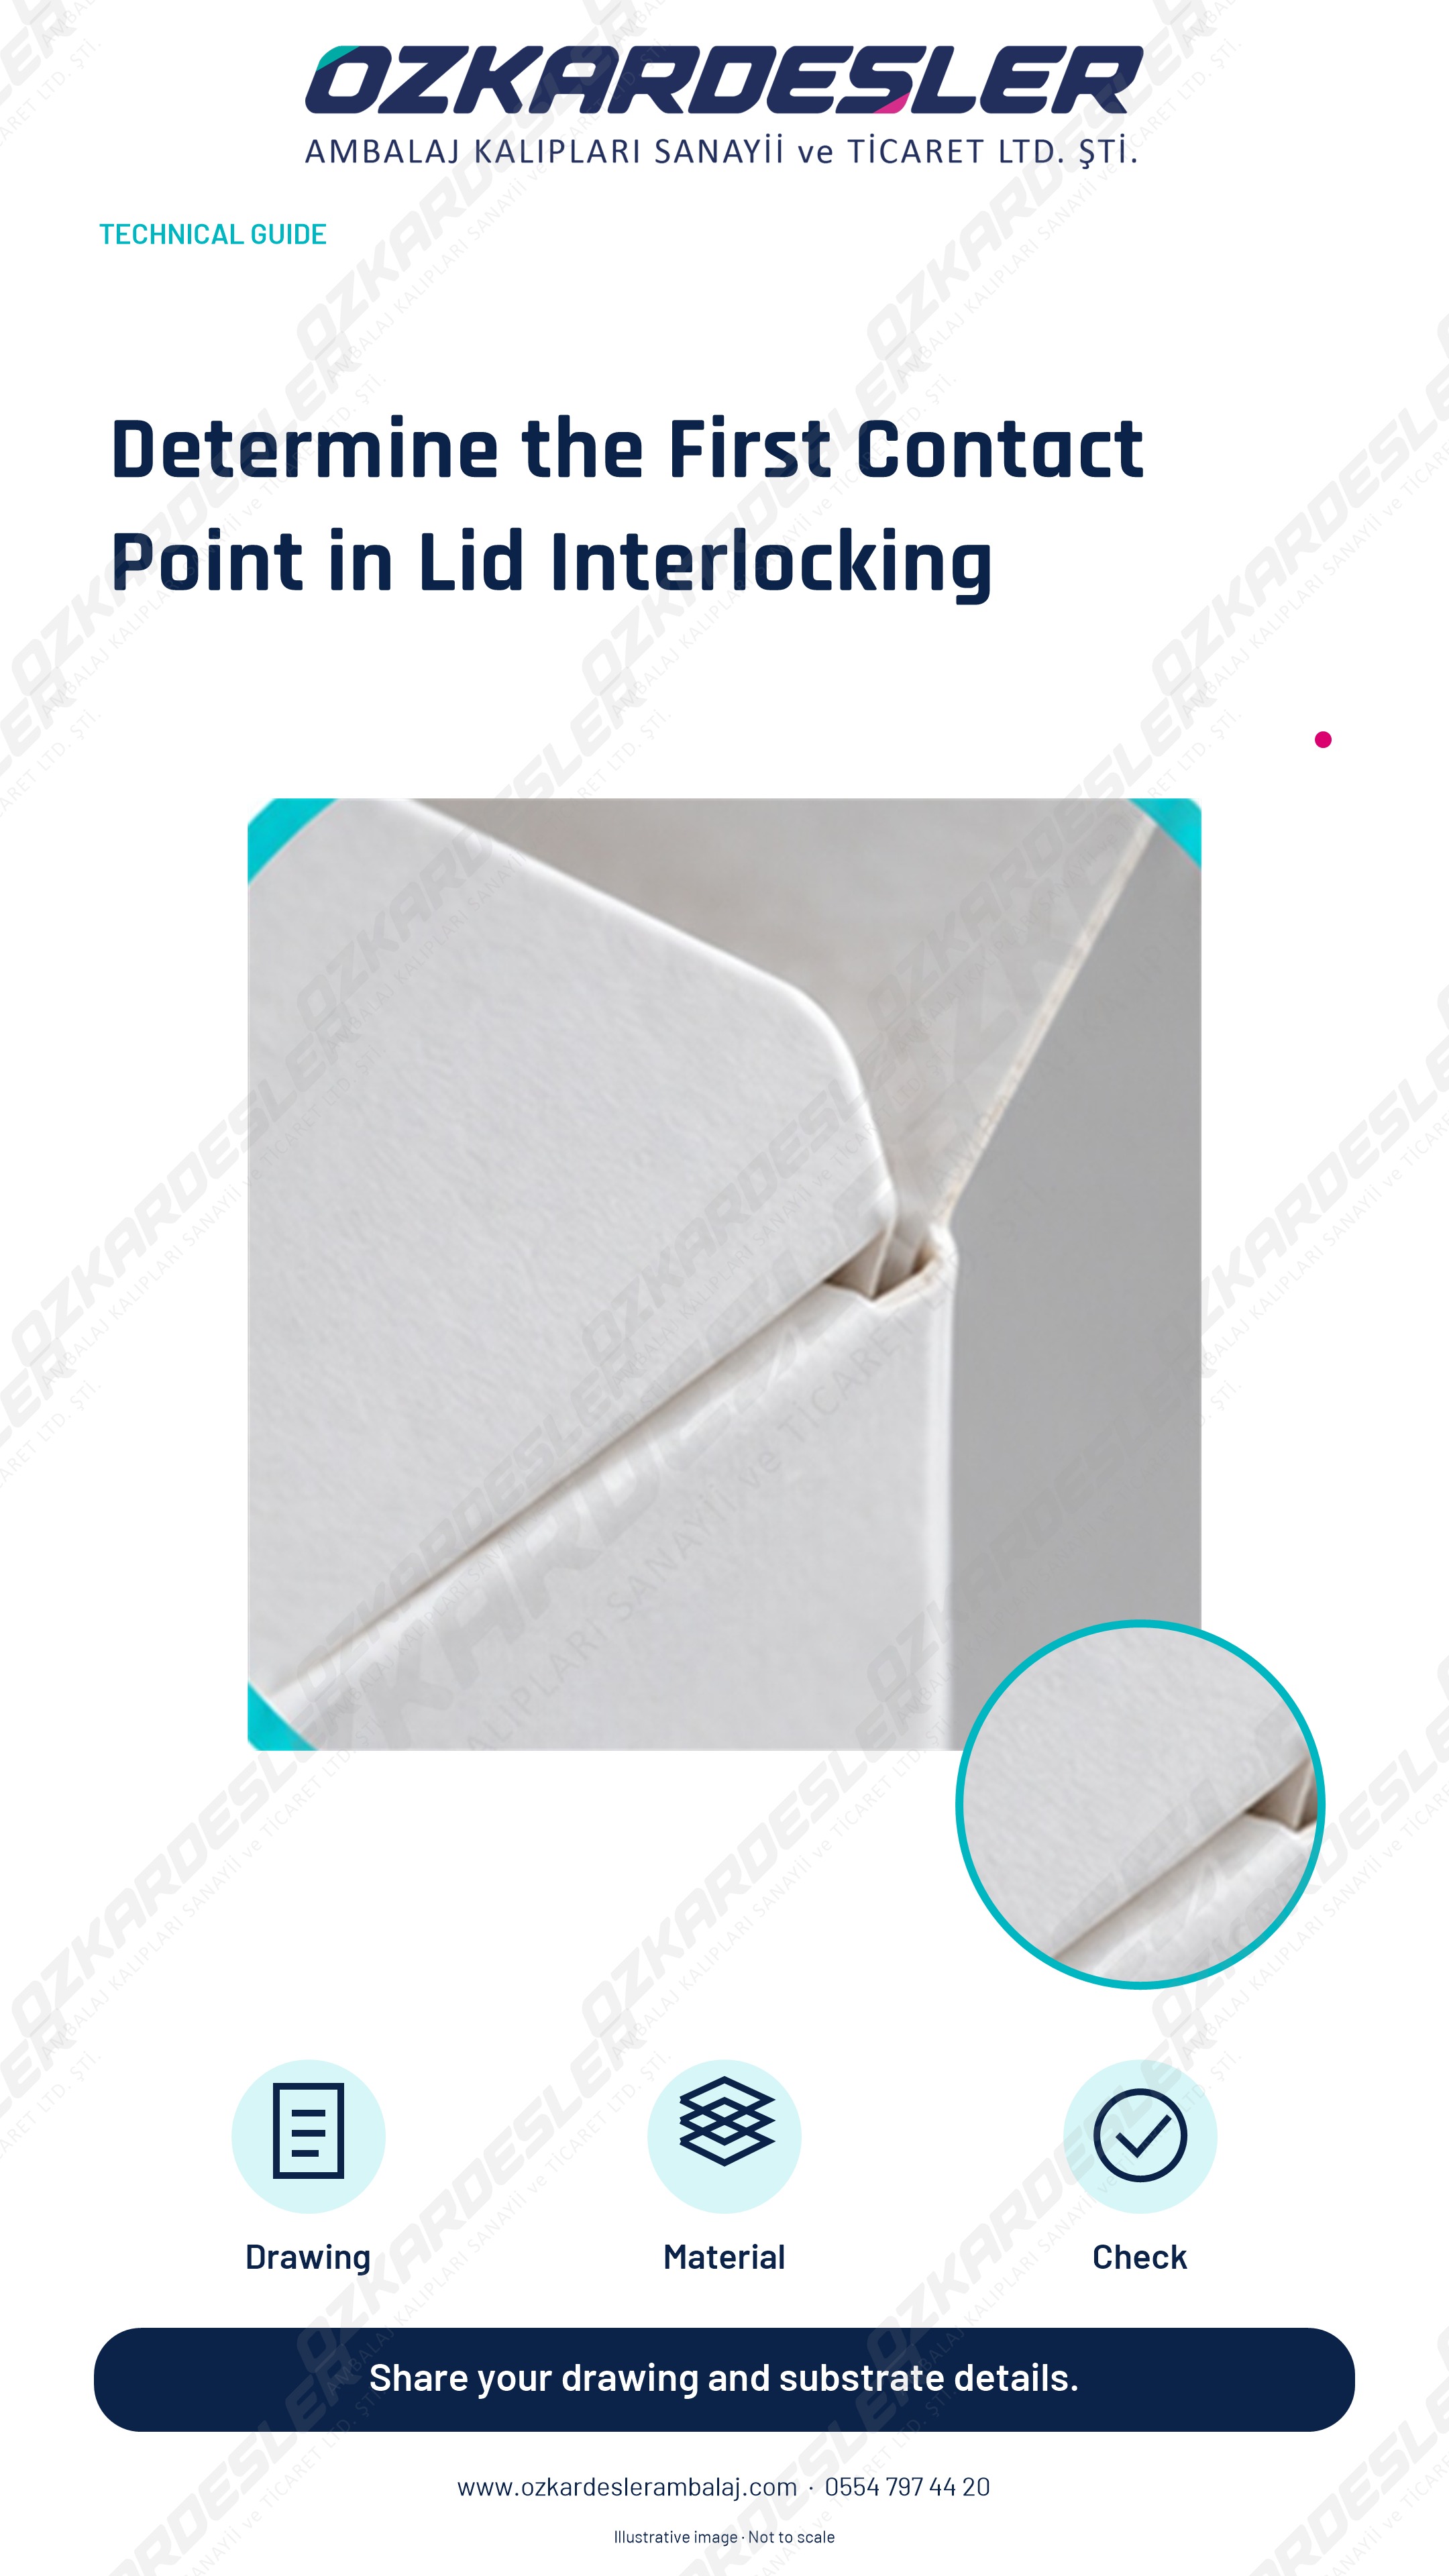
If the box lid does not close, examine the first contact of the flap, dust flap, and main lid with the actual paperboard and folding sequence.
Read the article →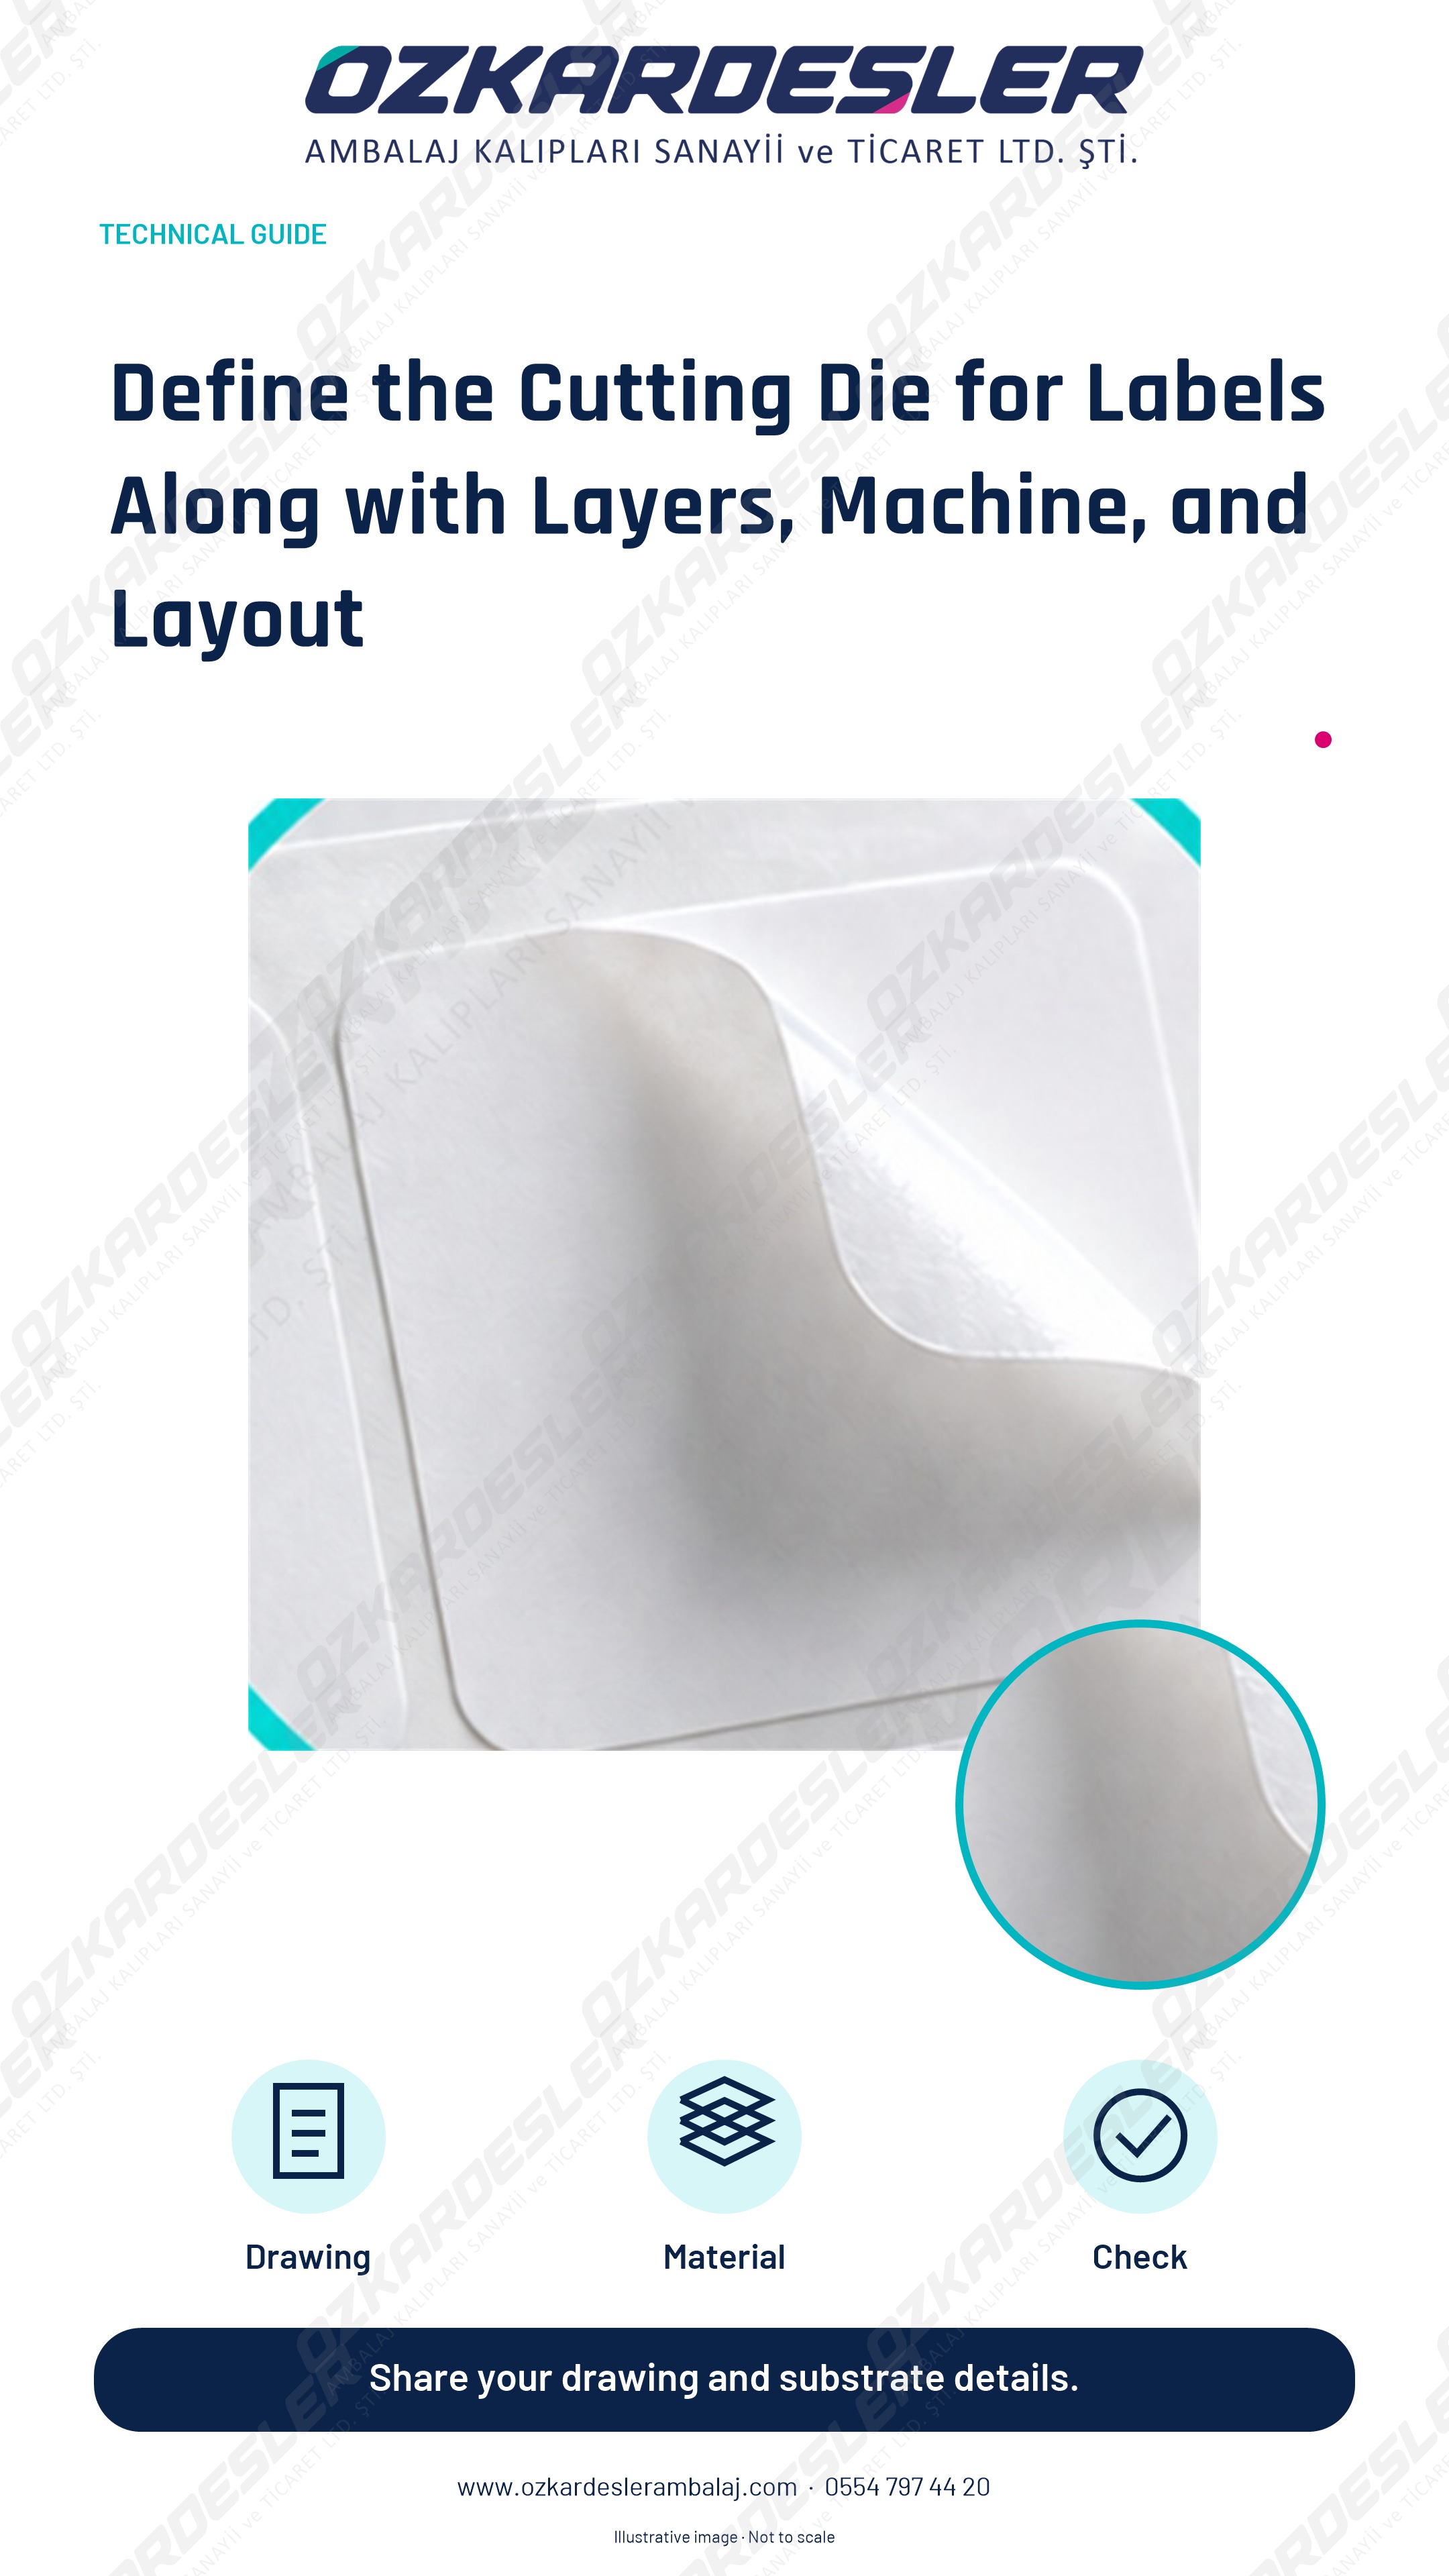
Evaluate layer structure, cutting type, machine compatibility, and layout together in label cutting die requests.
Read the article →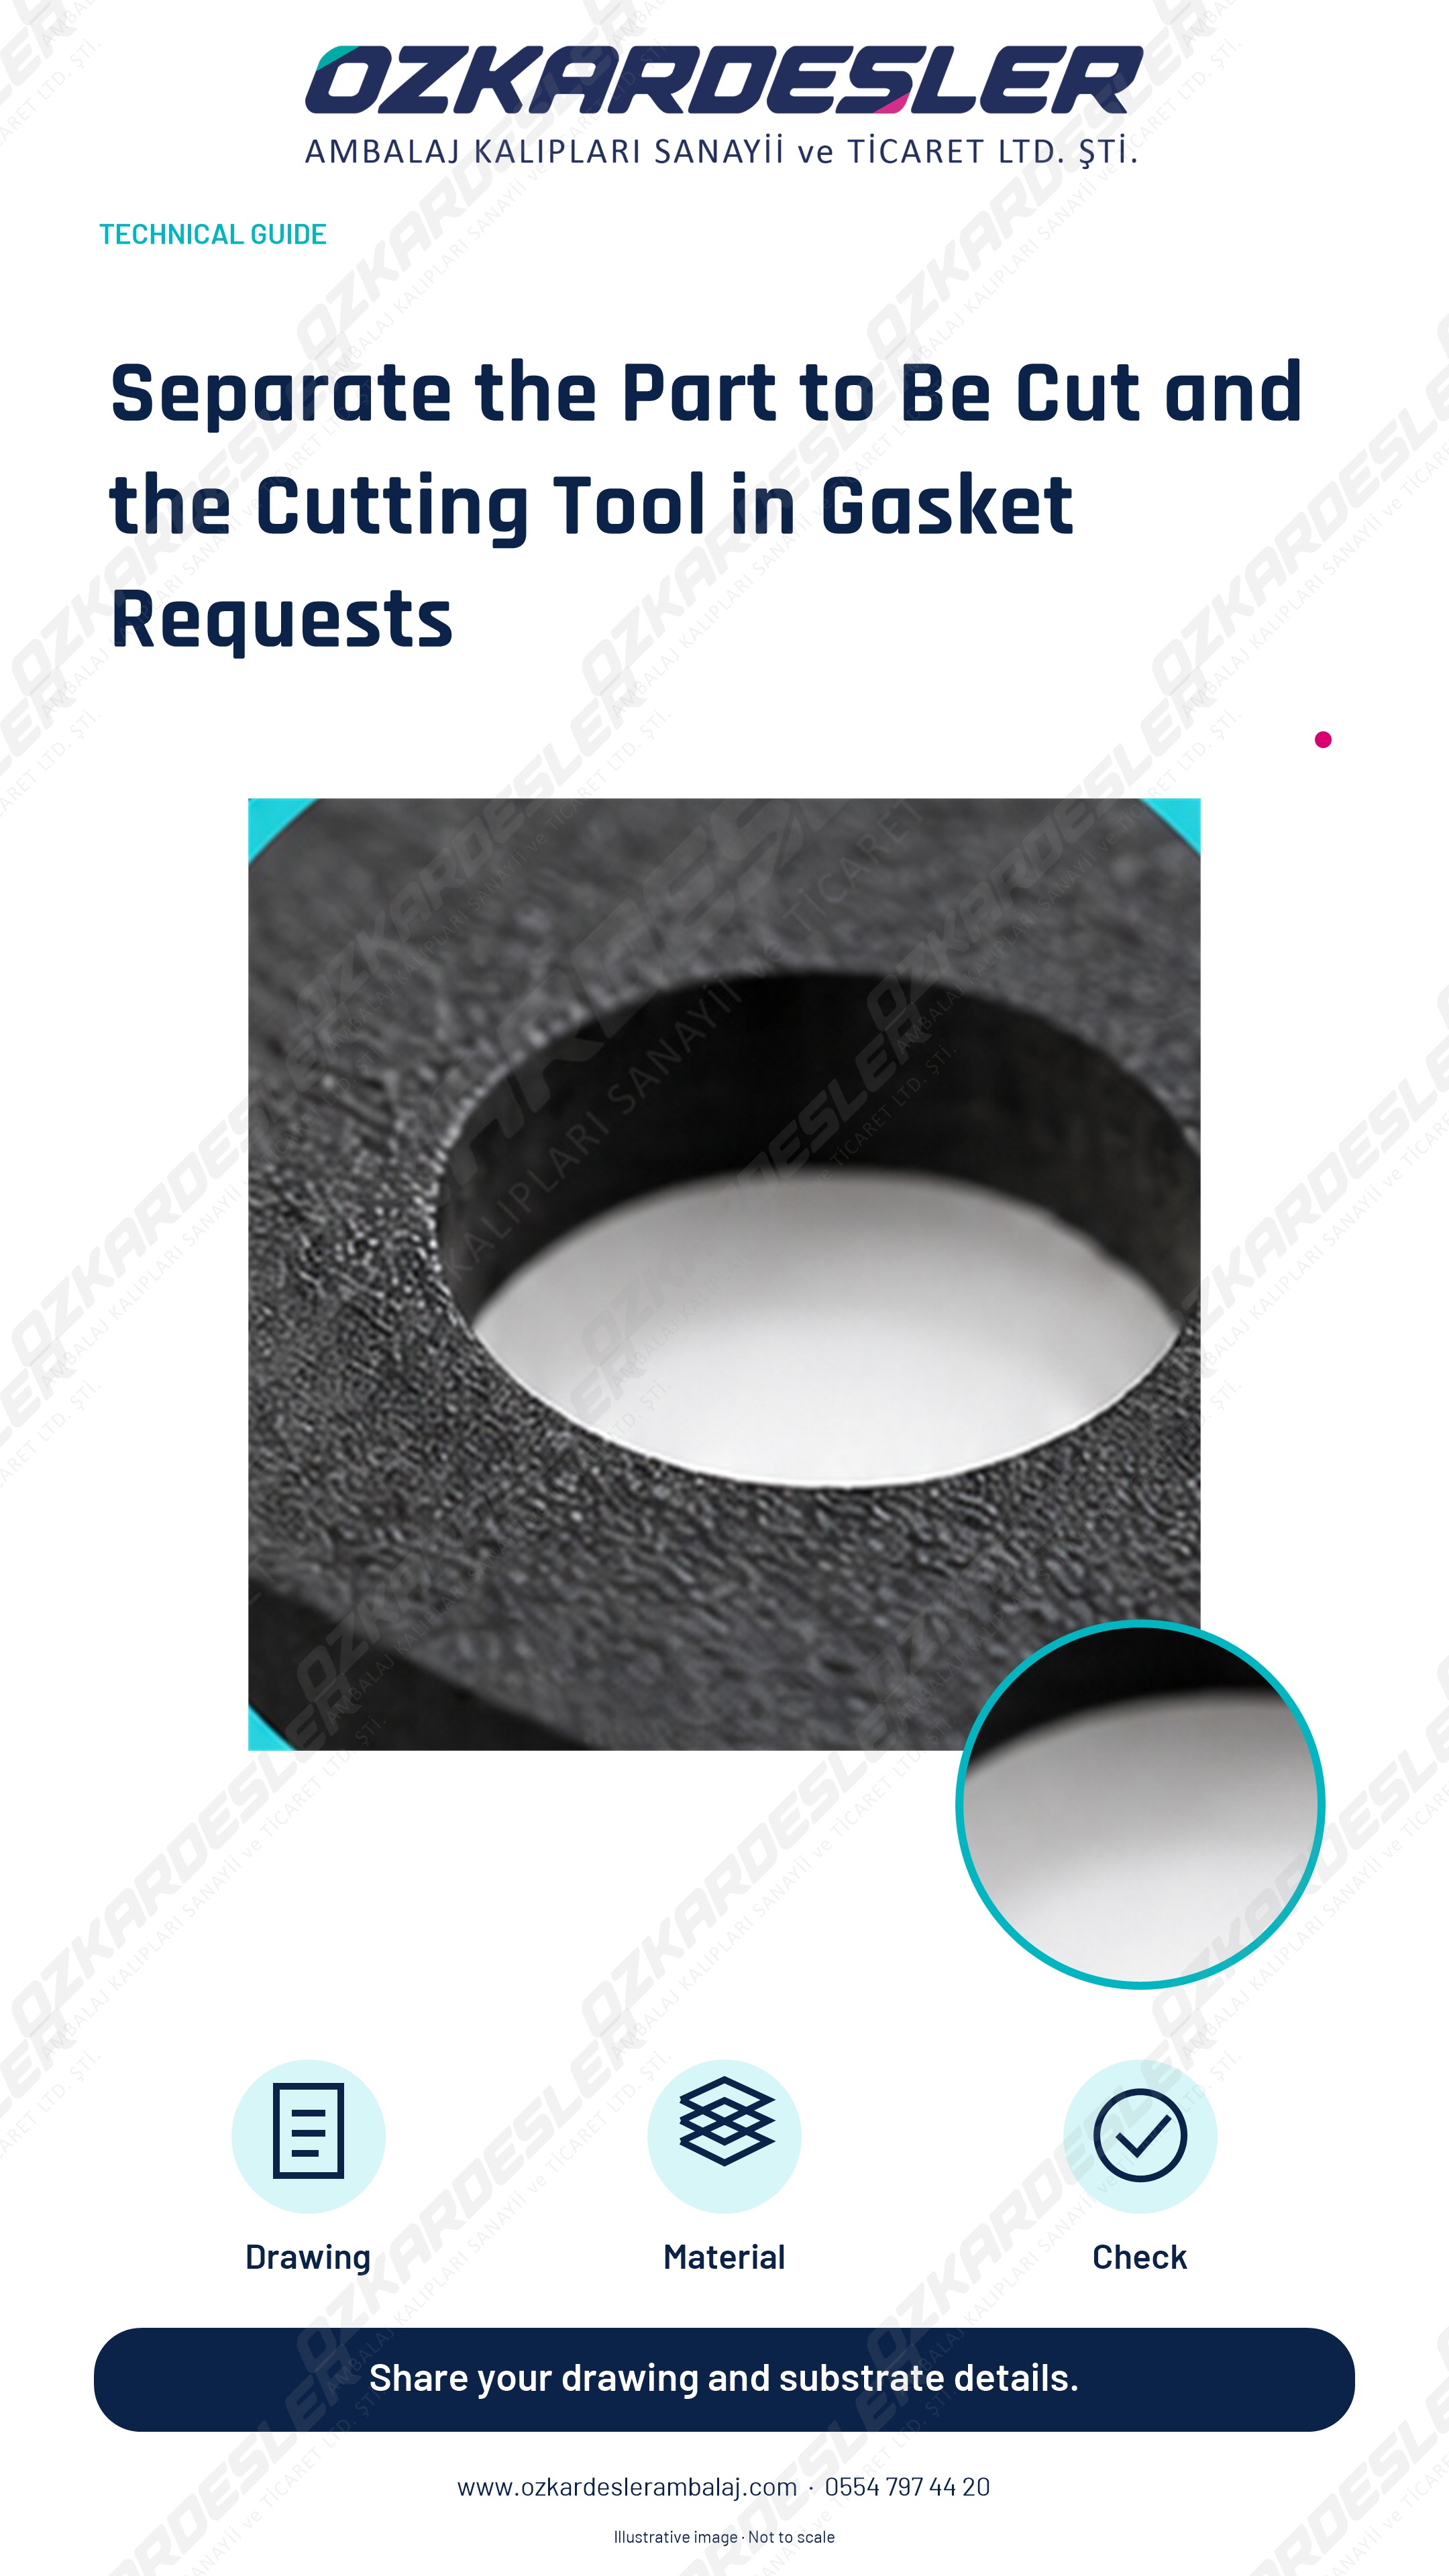
Separate the ready part and tool scope in gasket die requests; define material, drawing, and acceptance conditions together.
Read the article →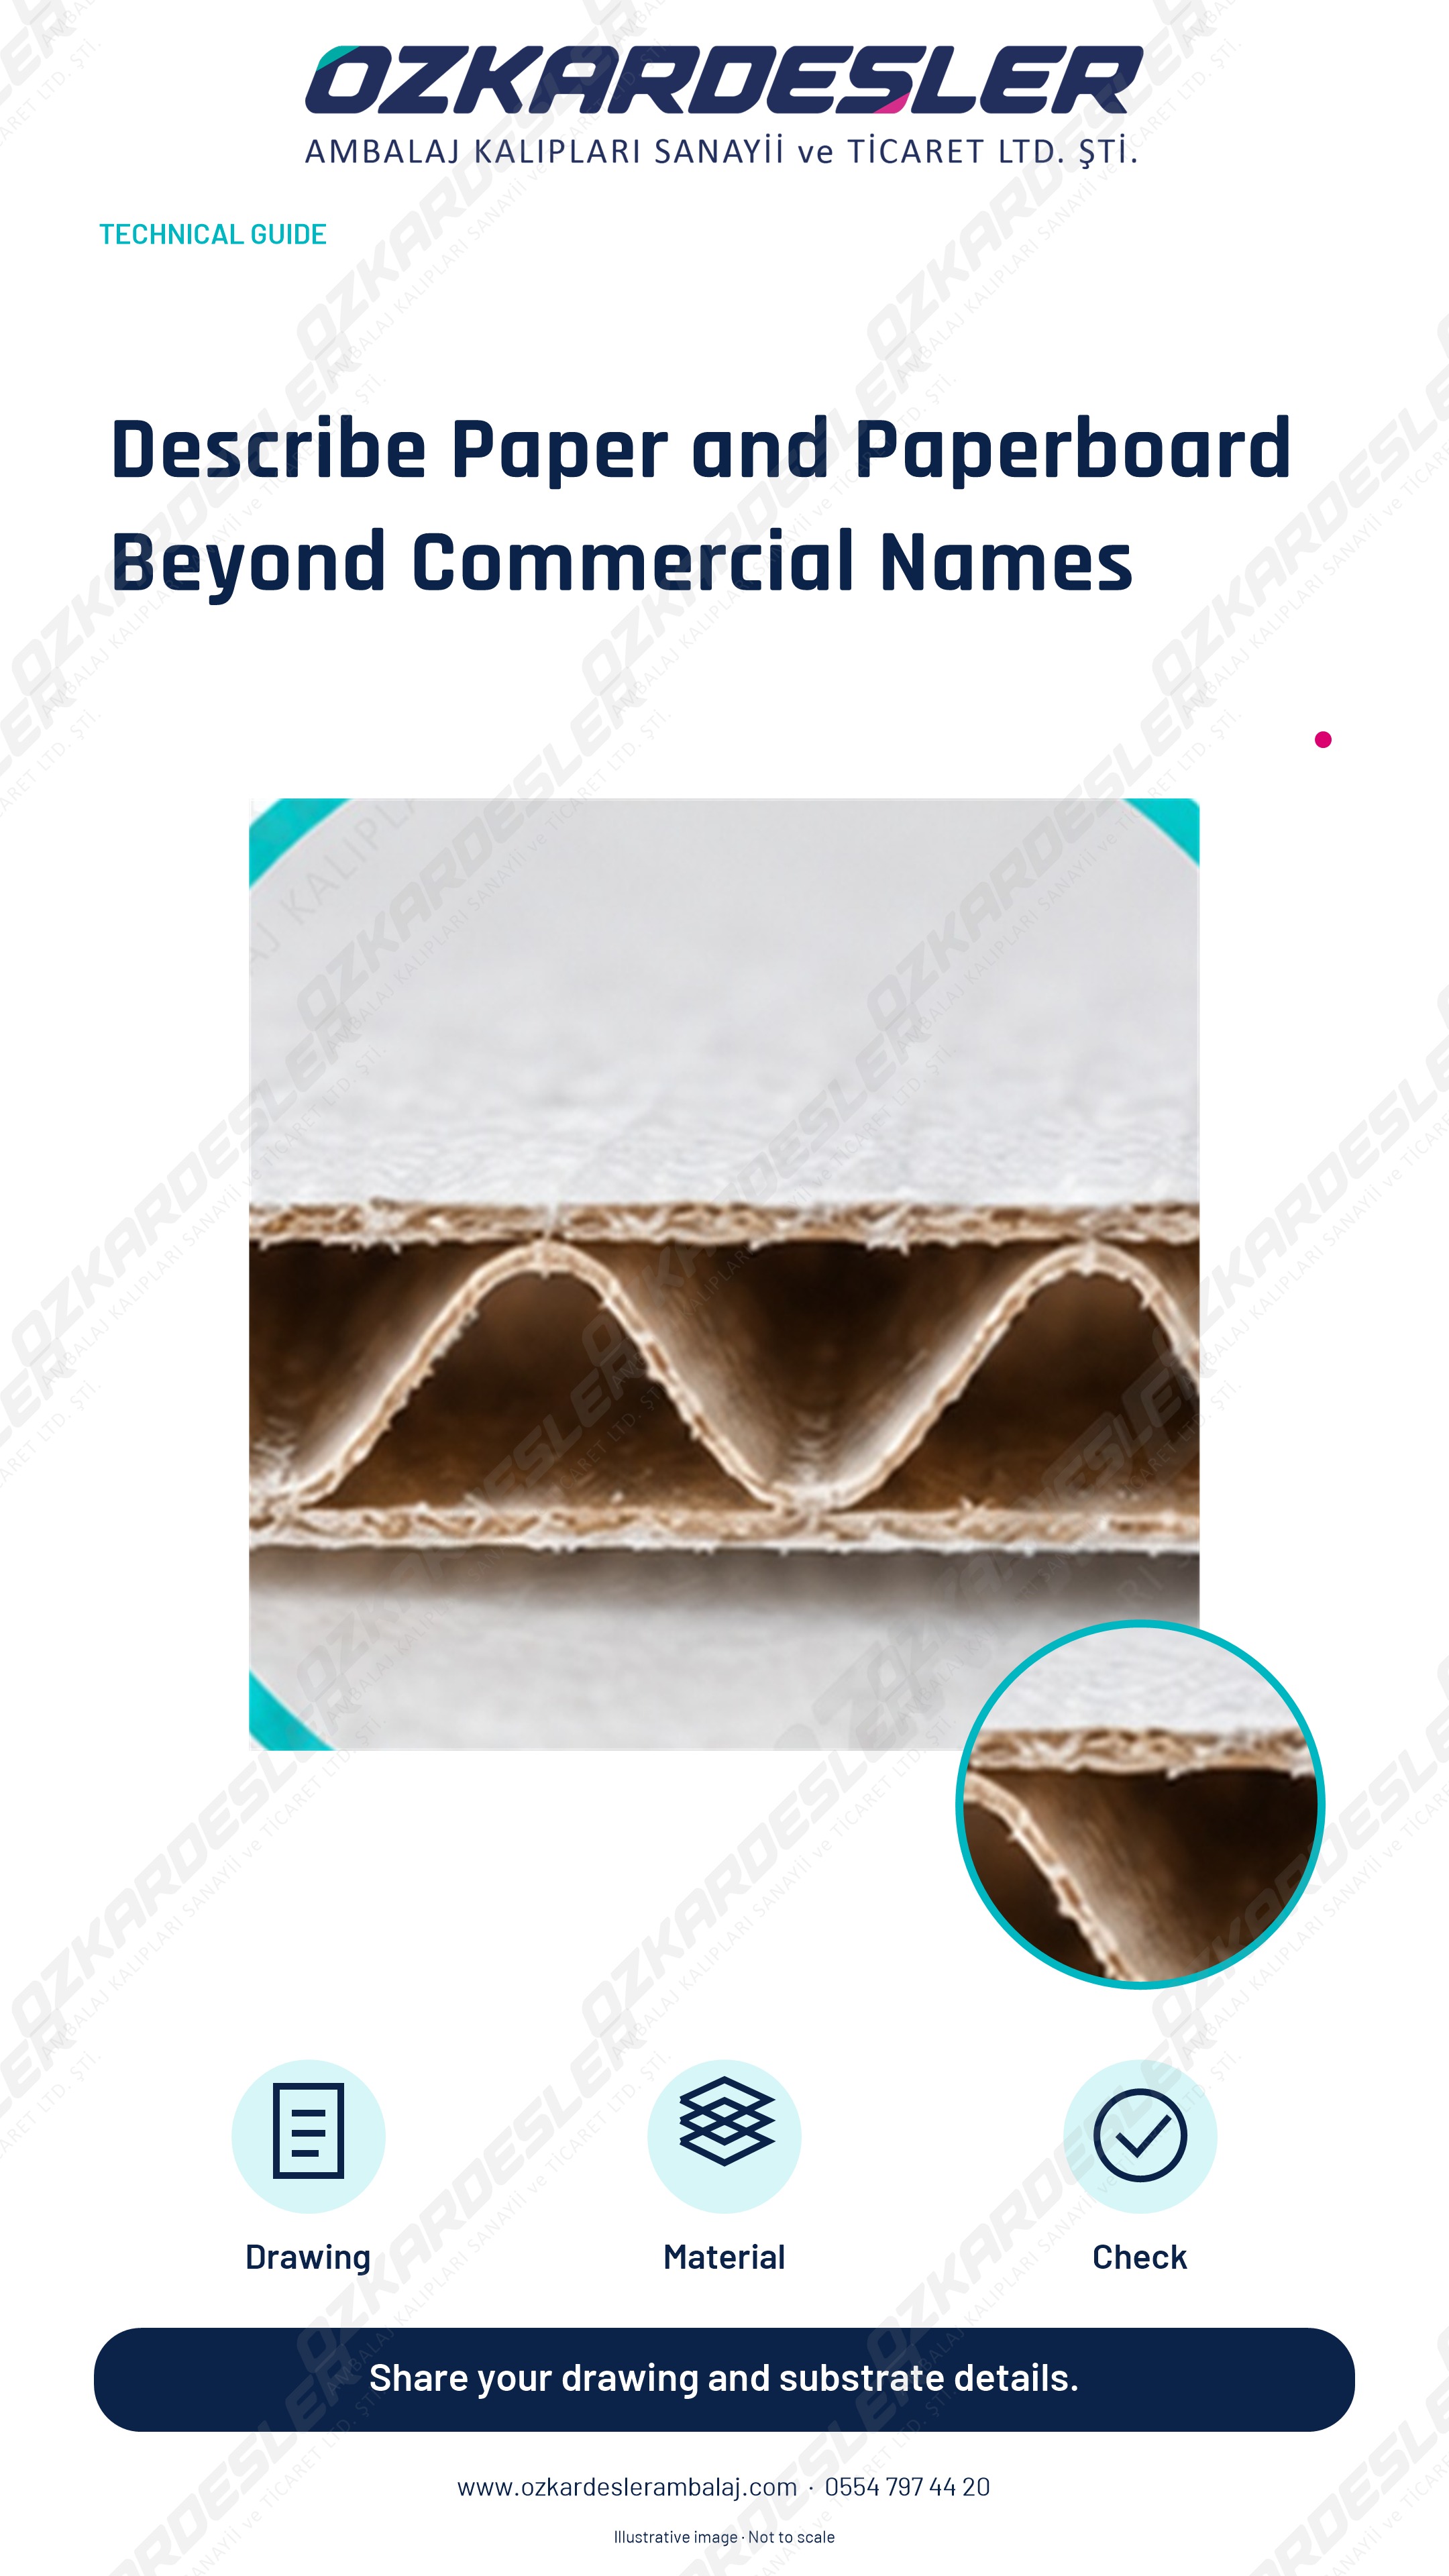
Define paper, solid paperboard, and corrugated structures for cutting and creasing along with thickness, grain direction, and coating information.
Read the article →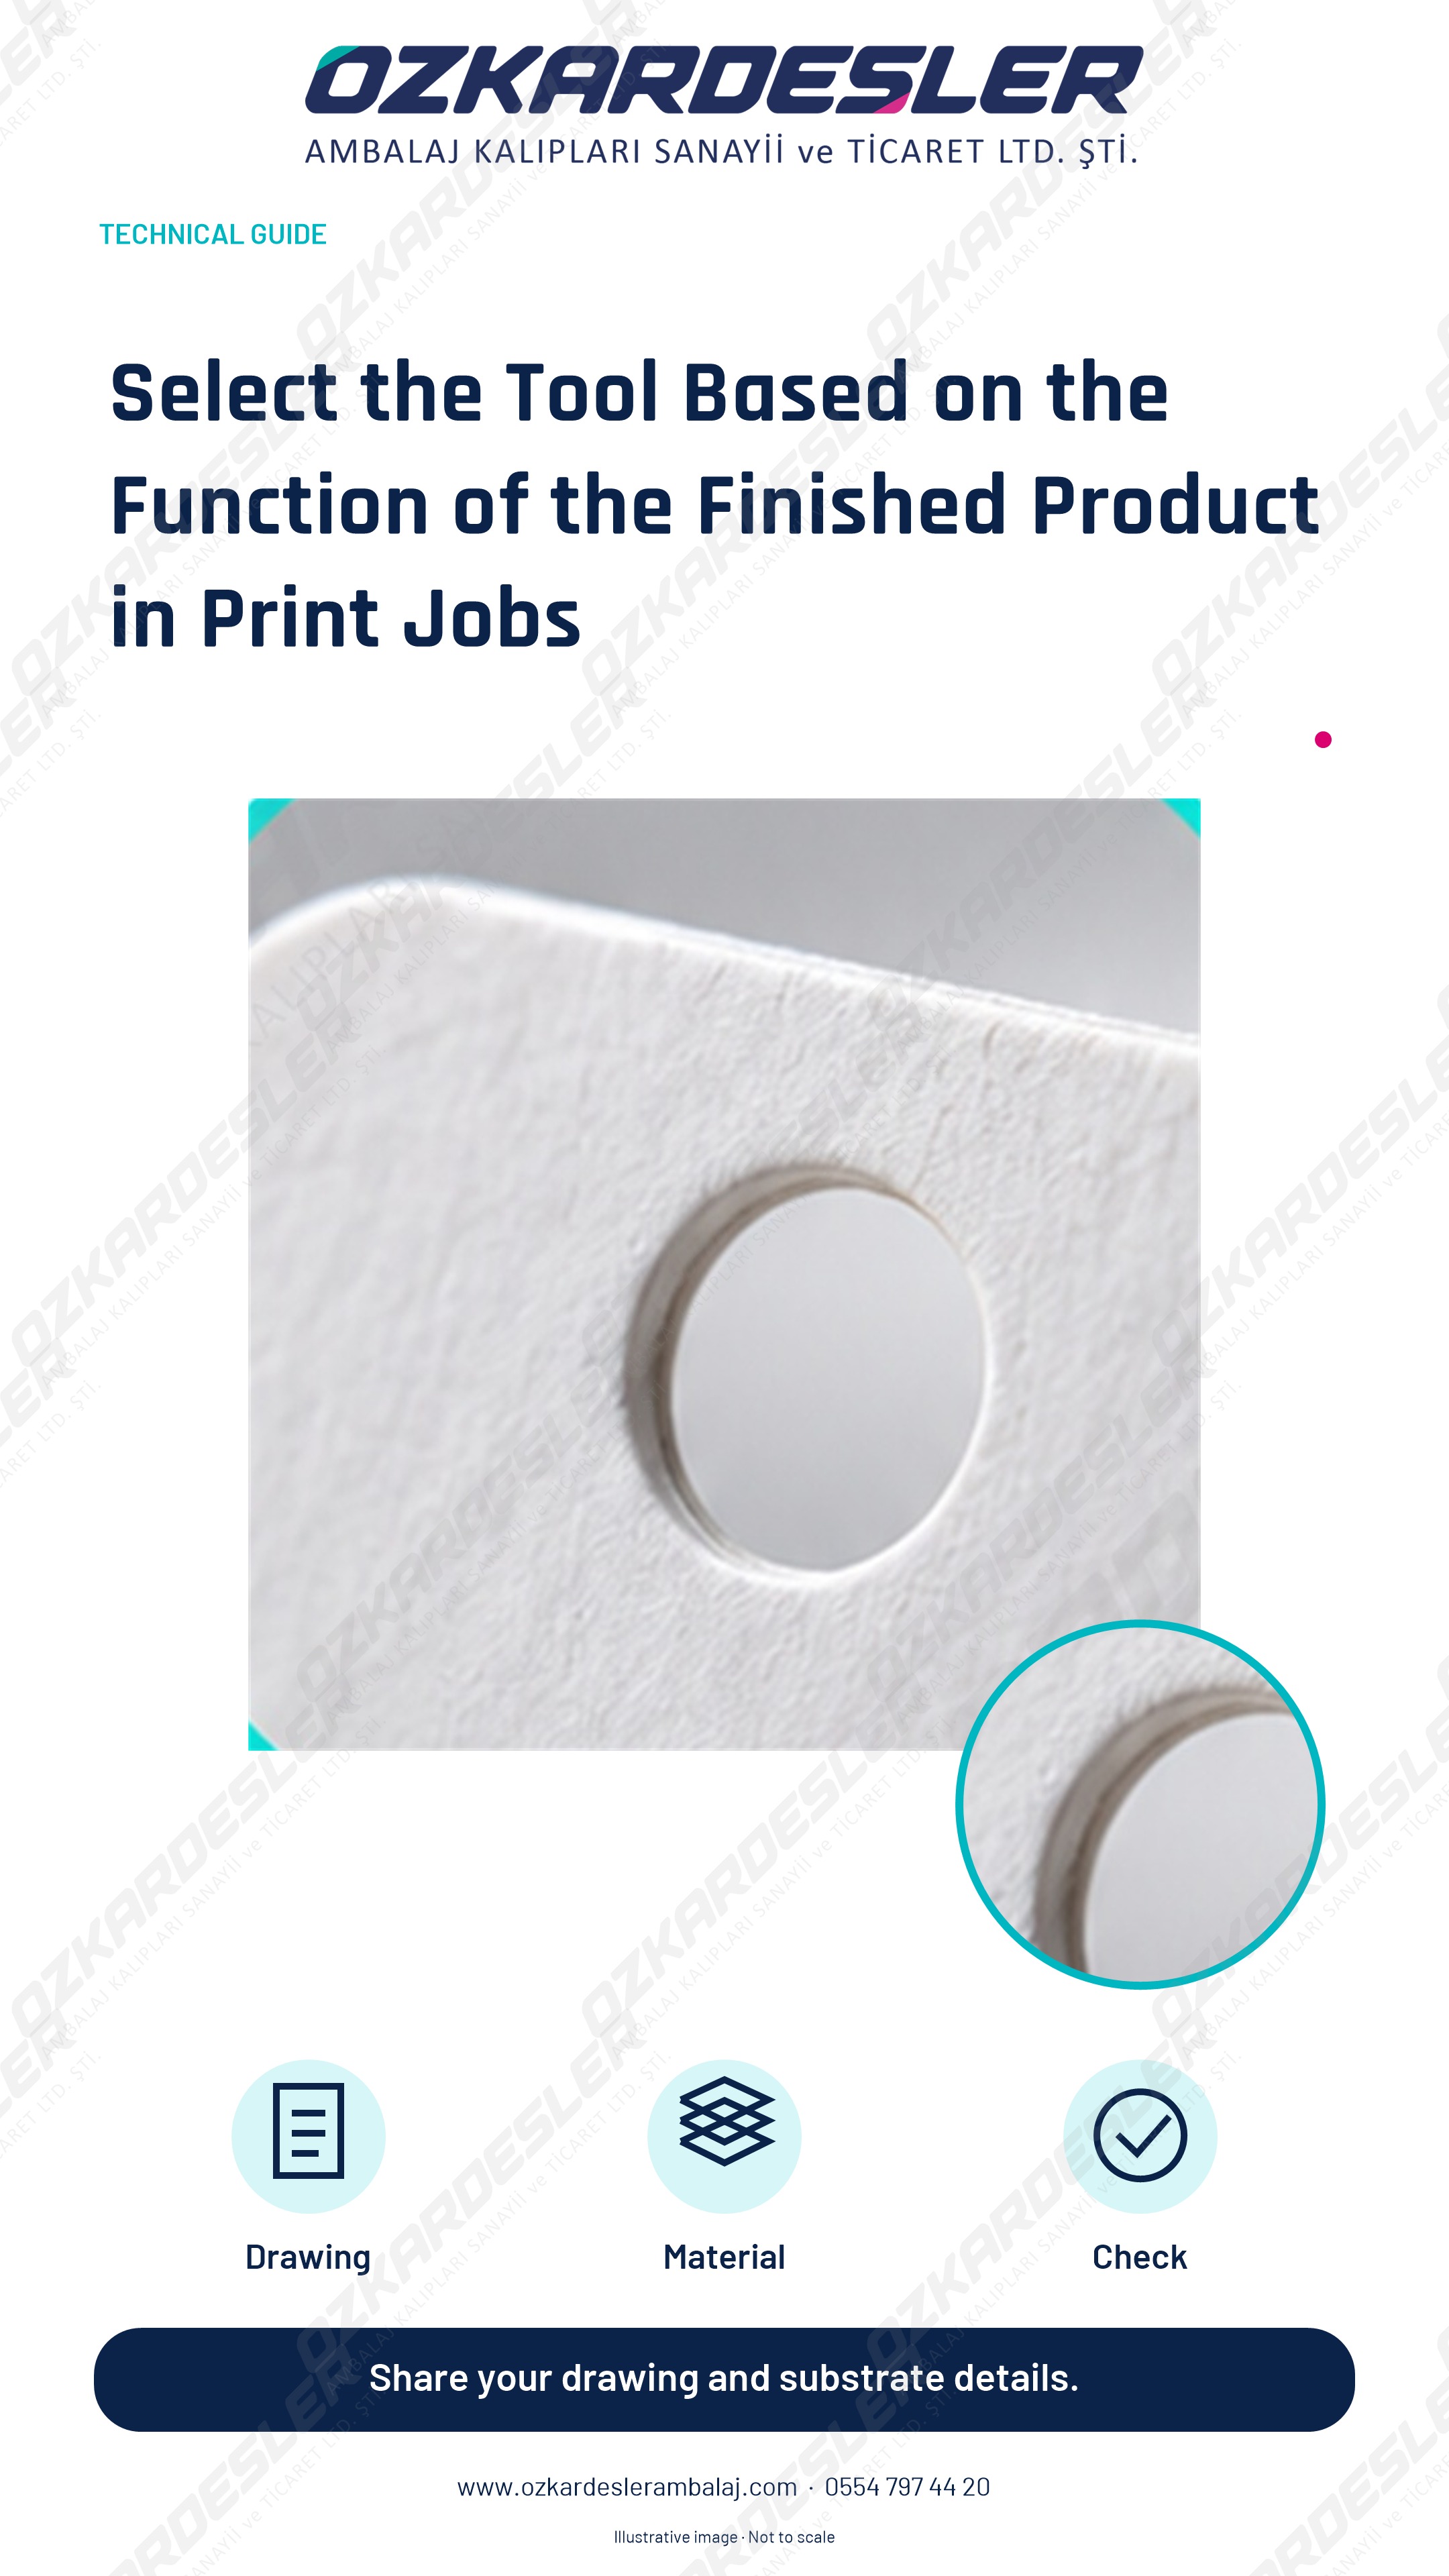
Separate straight sizing, shaped cutting, and folding needs; verify tool selection with machine and material conditions.
Read the article →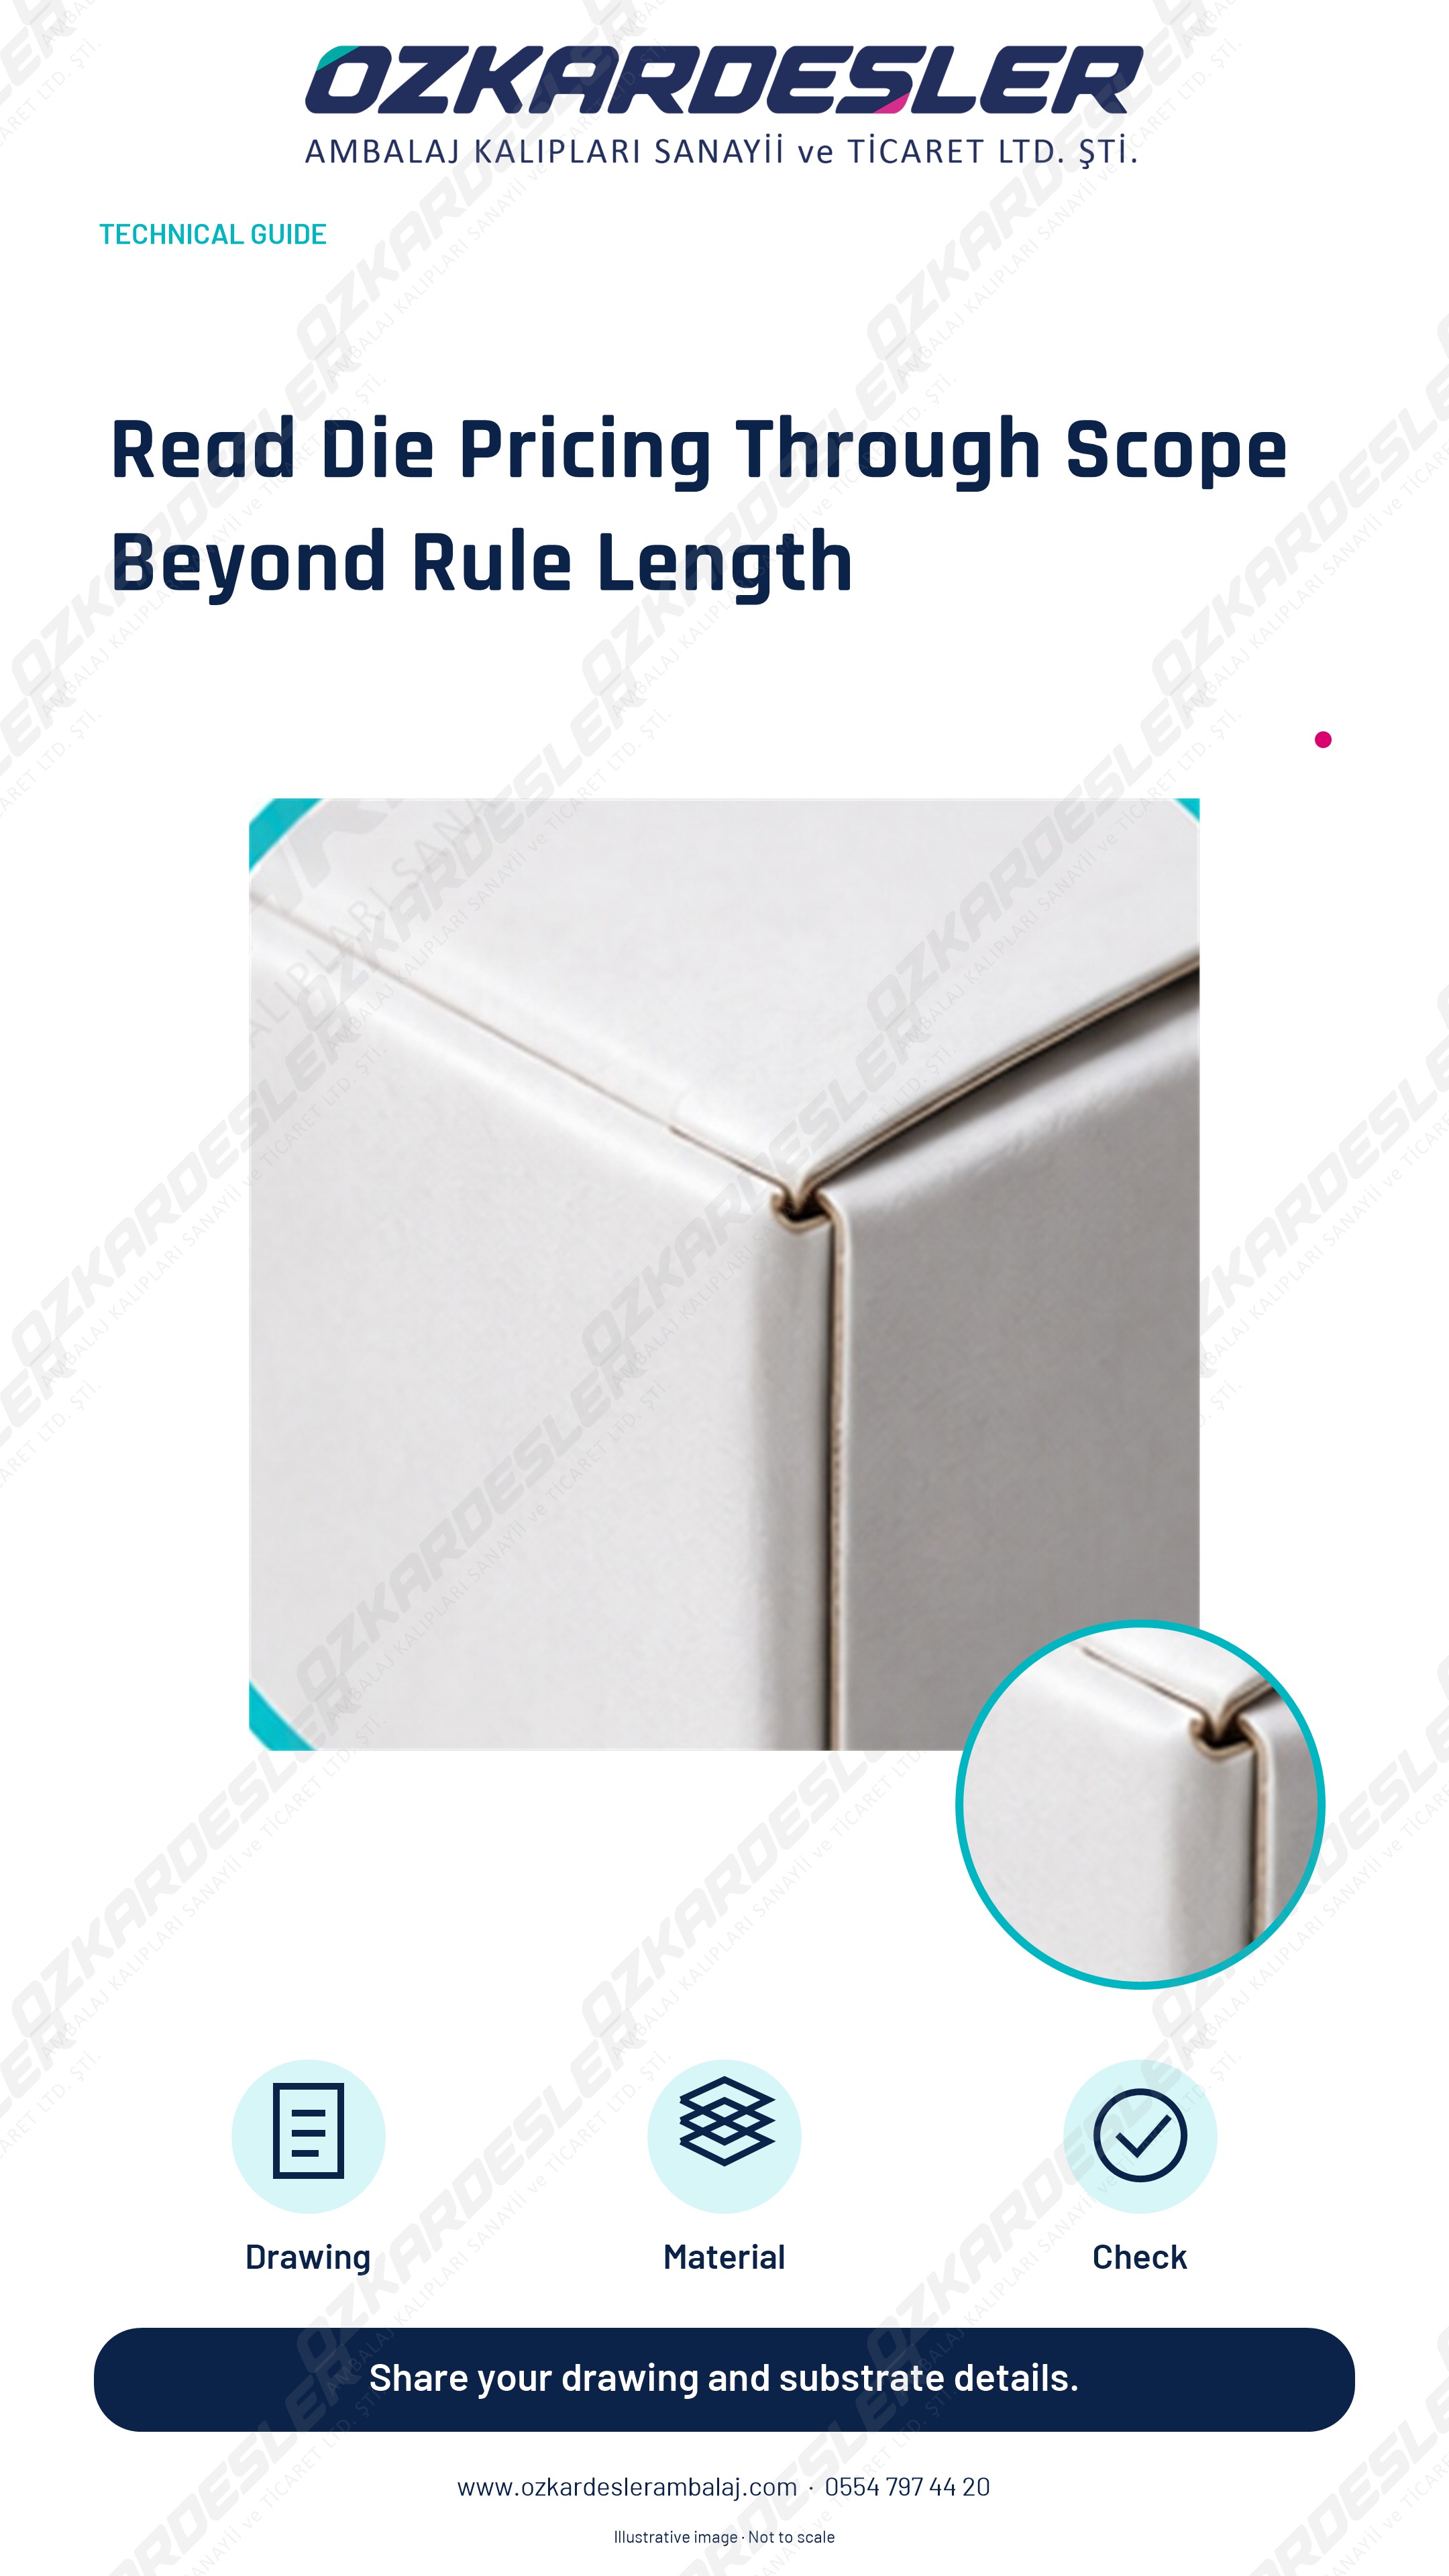
Compare geometry, material, processing scope, and delivery conditions together in die pricing; separate the rule cost from the complete die.
Read the article →
Provide scale, control measurement, line function, and revision information together when sharing PDF, AI, DXF or sketches.
Read the article →
Learn the functions of cutting, creasing, perforation, and auxiliary elements in steel-rule cutting dies; clearly define the order scope.
Read the article →
Define stripping and blanking needs on automatic cutting lines together with machine hardware, product flow, and delivery scope.
Read the article →
Specify face and adhesive cutting, liner protection expectations, and application conditions together in label kiss-cut requests.
Read the article →
Define creasing, perforation, and rubbering expectations separately in box dies; check all functions on the actual material.
Read the article →
Organize investigations by recording defect positions, material batches, and comparison samples in label and box cutting.
Read the article →
Separate kiss-cutting and perforation roles on the label sheet; specify on which line the liner will be protected or separated.
Read the article →
Evaluate paperboard thickness, grain direction, and coating together in creasing selection; verify channel and folding results on the sample.
Read the article →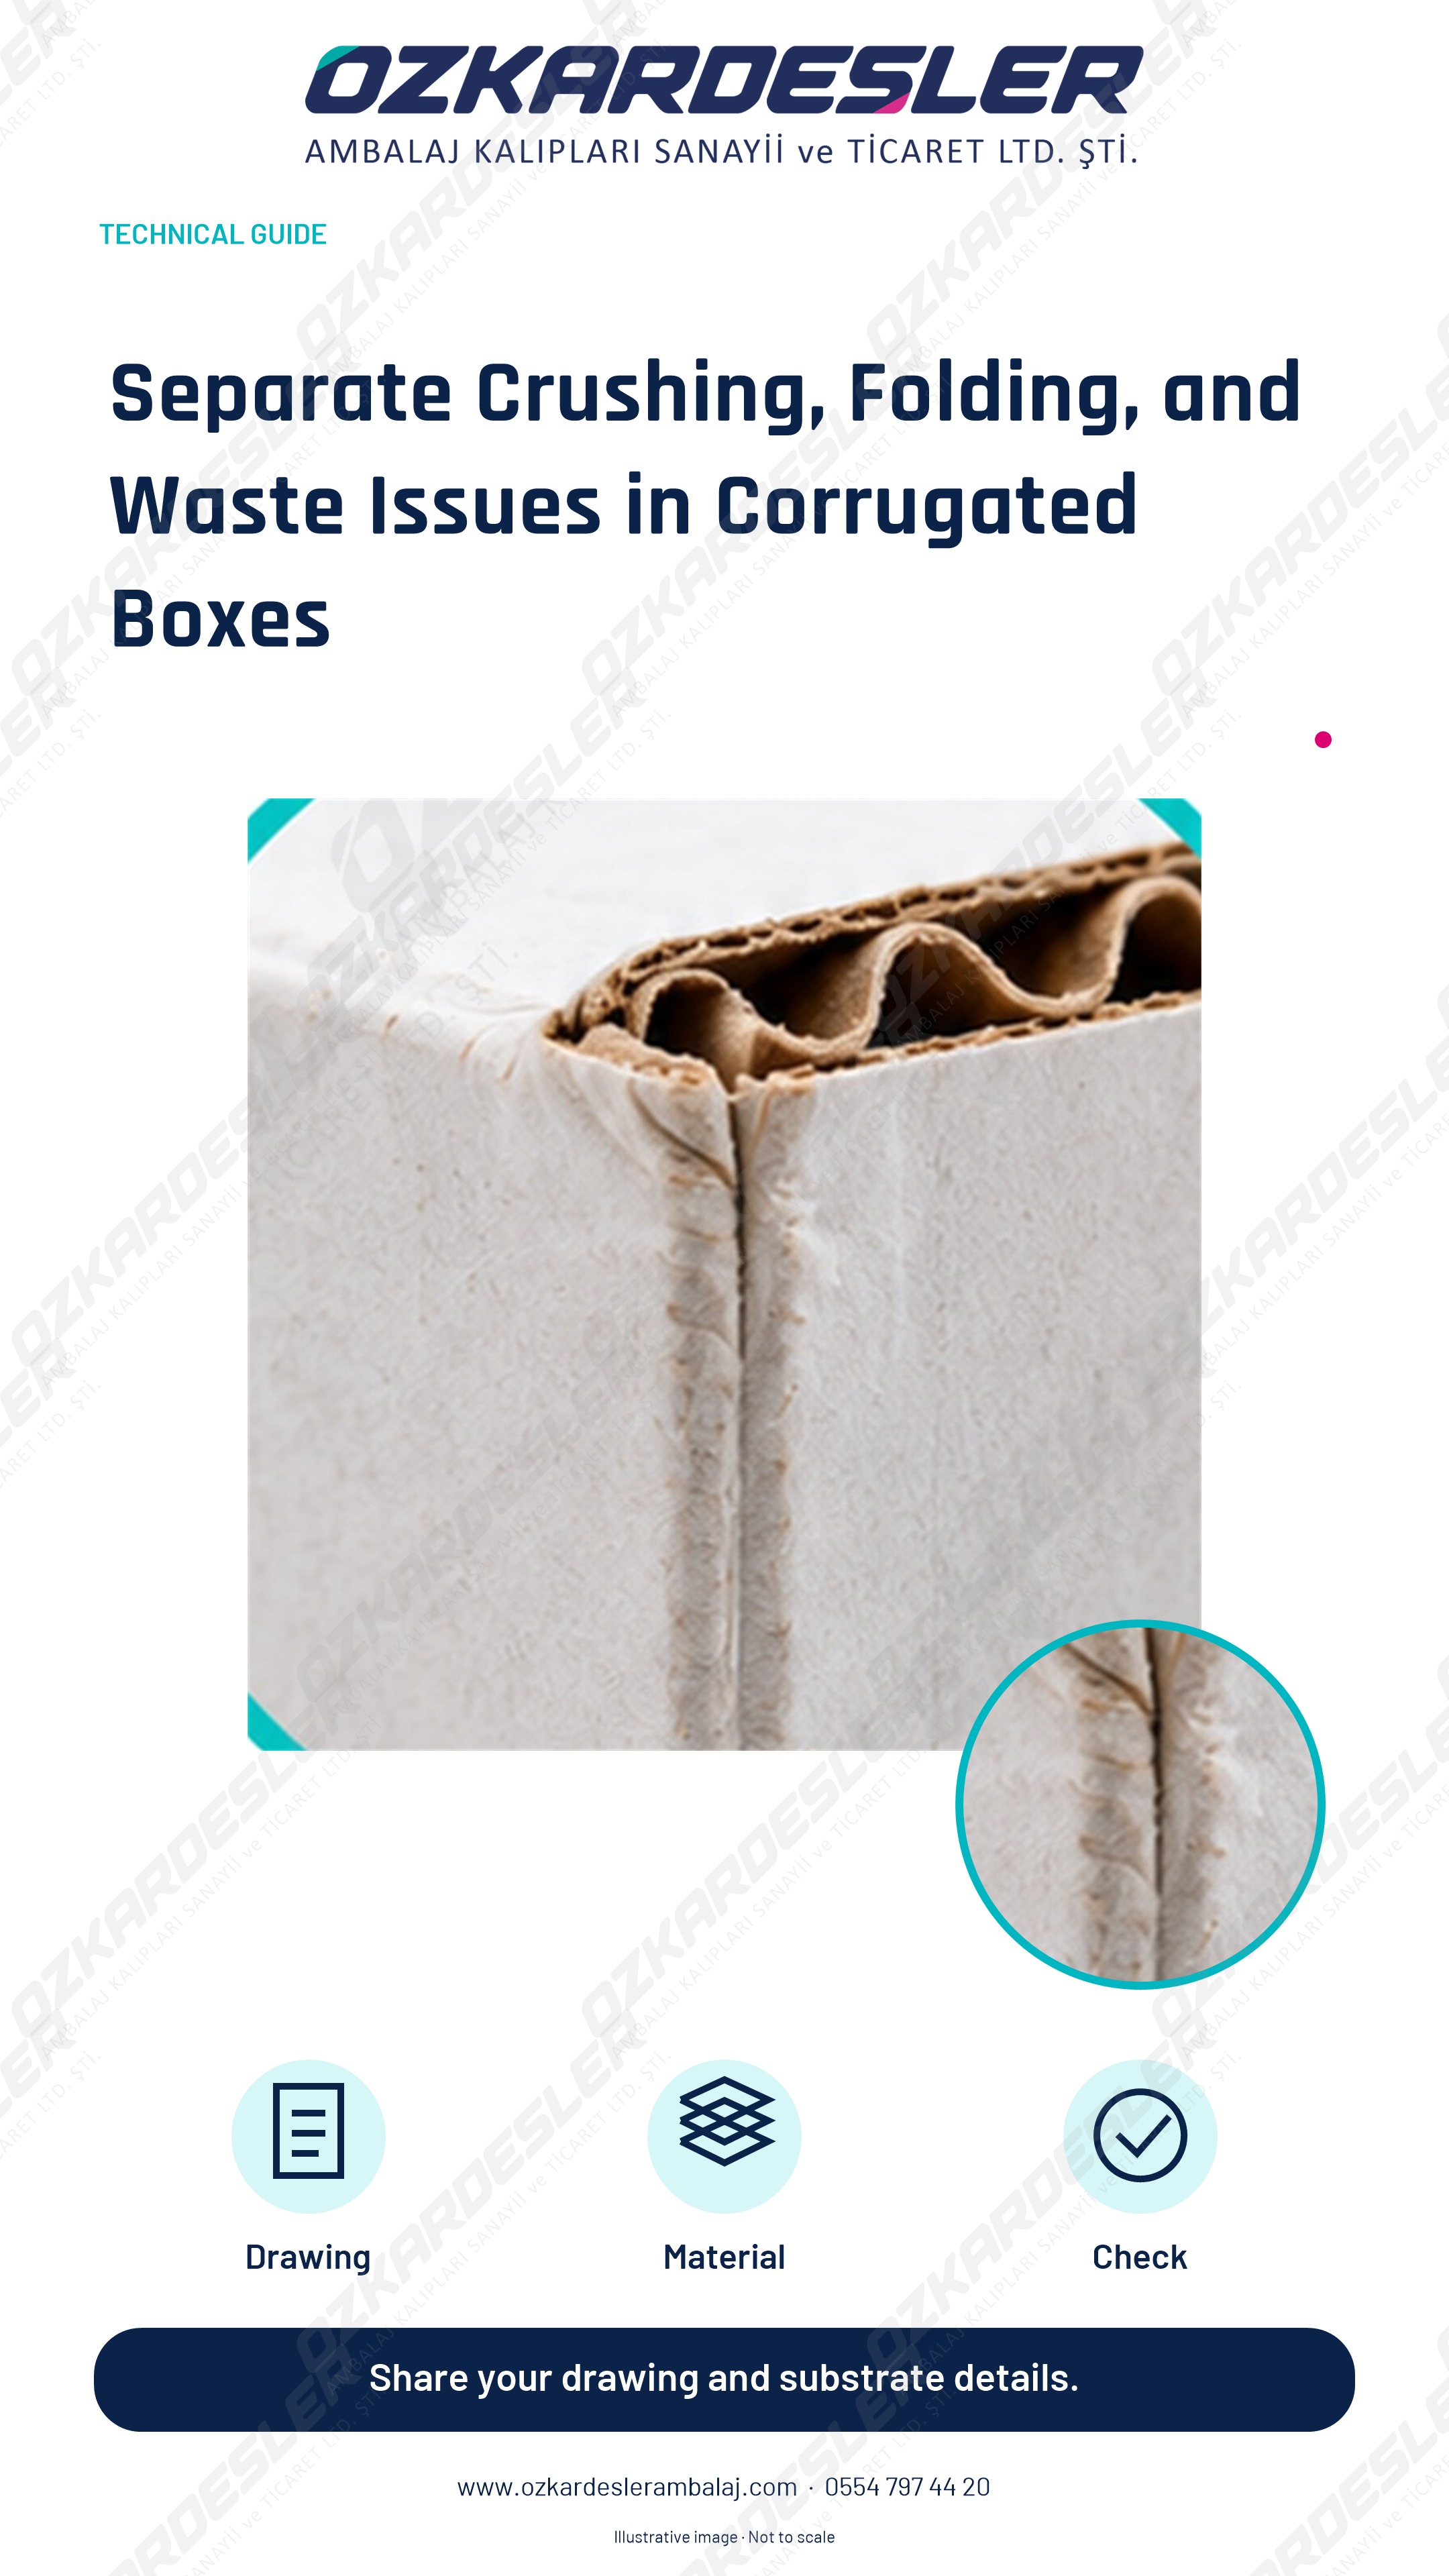
Record corrugated box defects separately as crushing, folding, and waste ejection; compare samples using the same reference.
Read the article →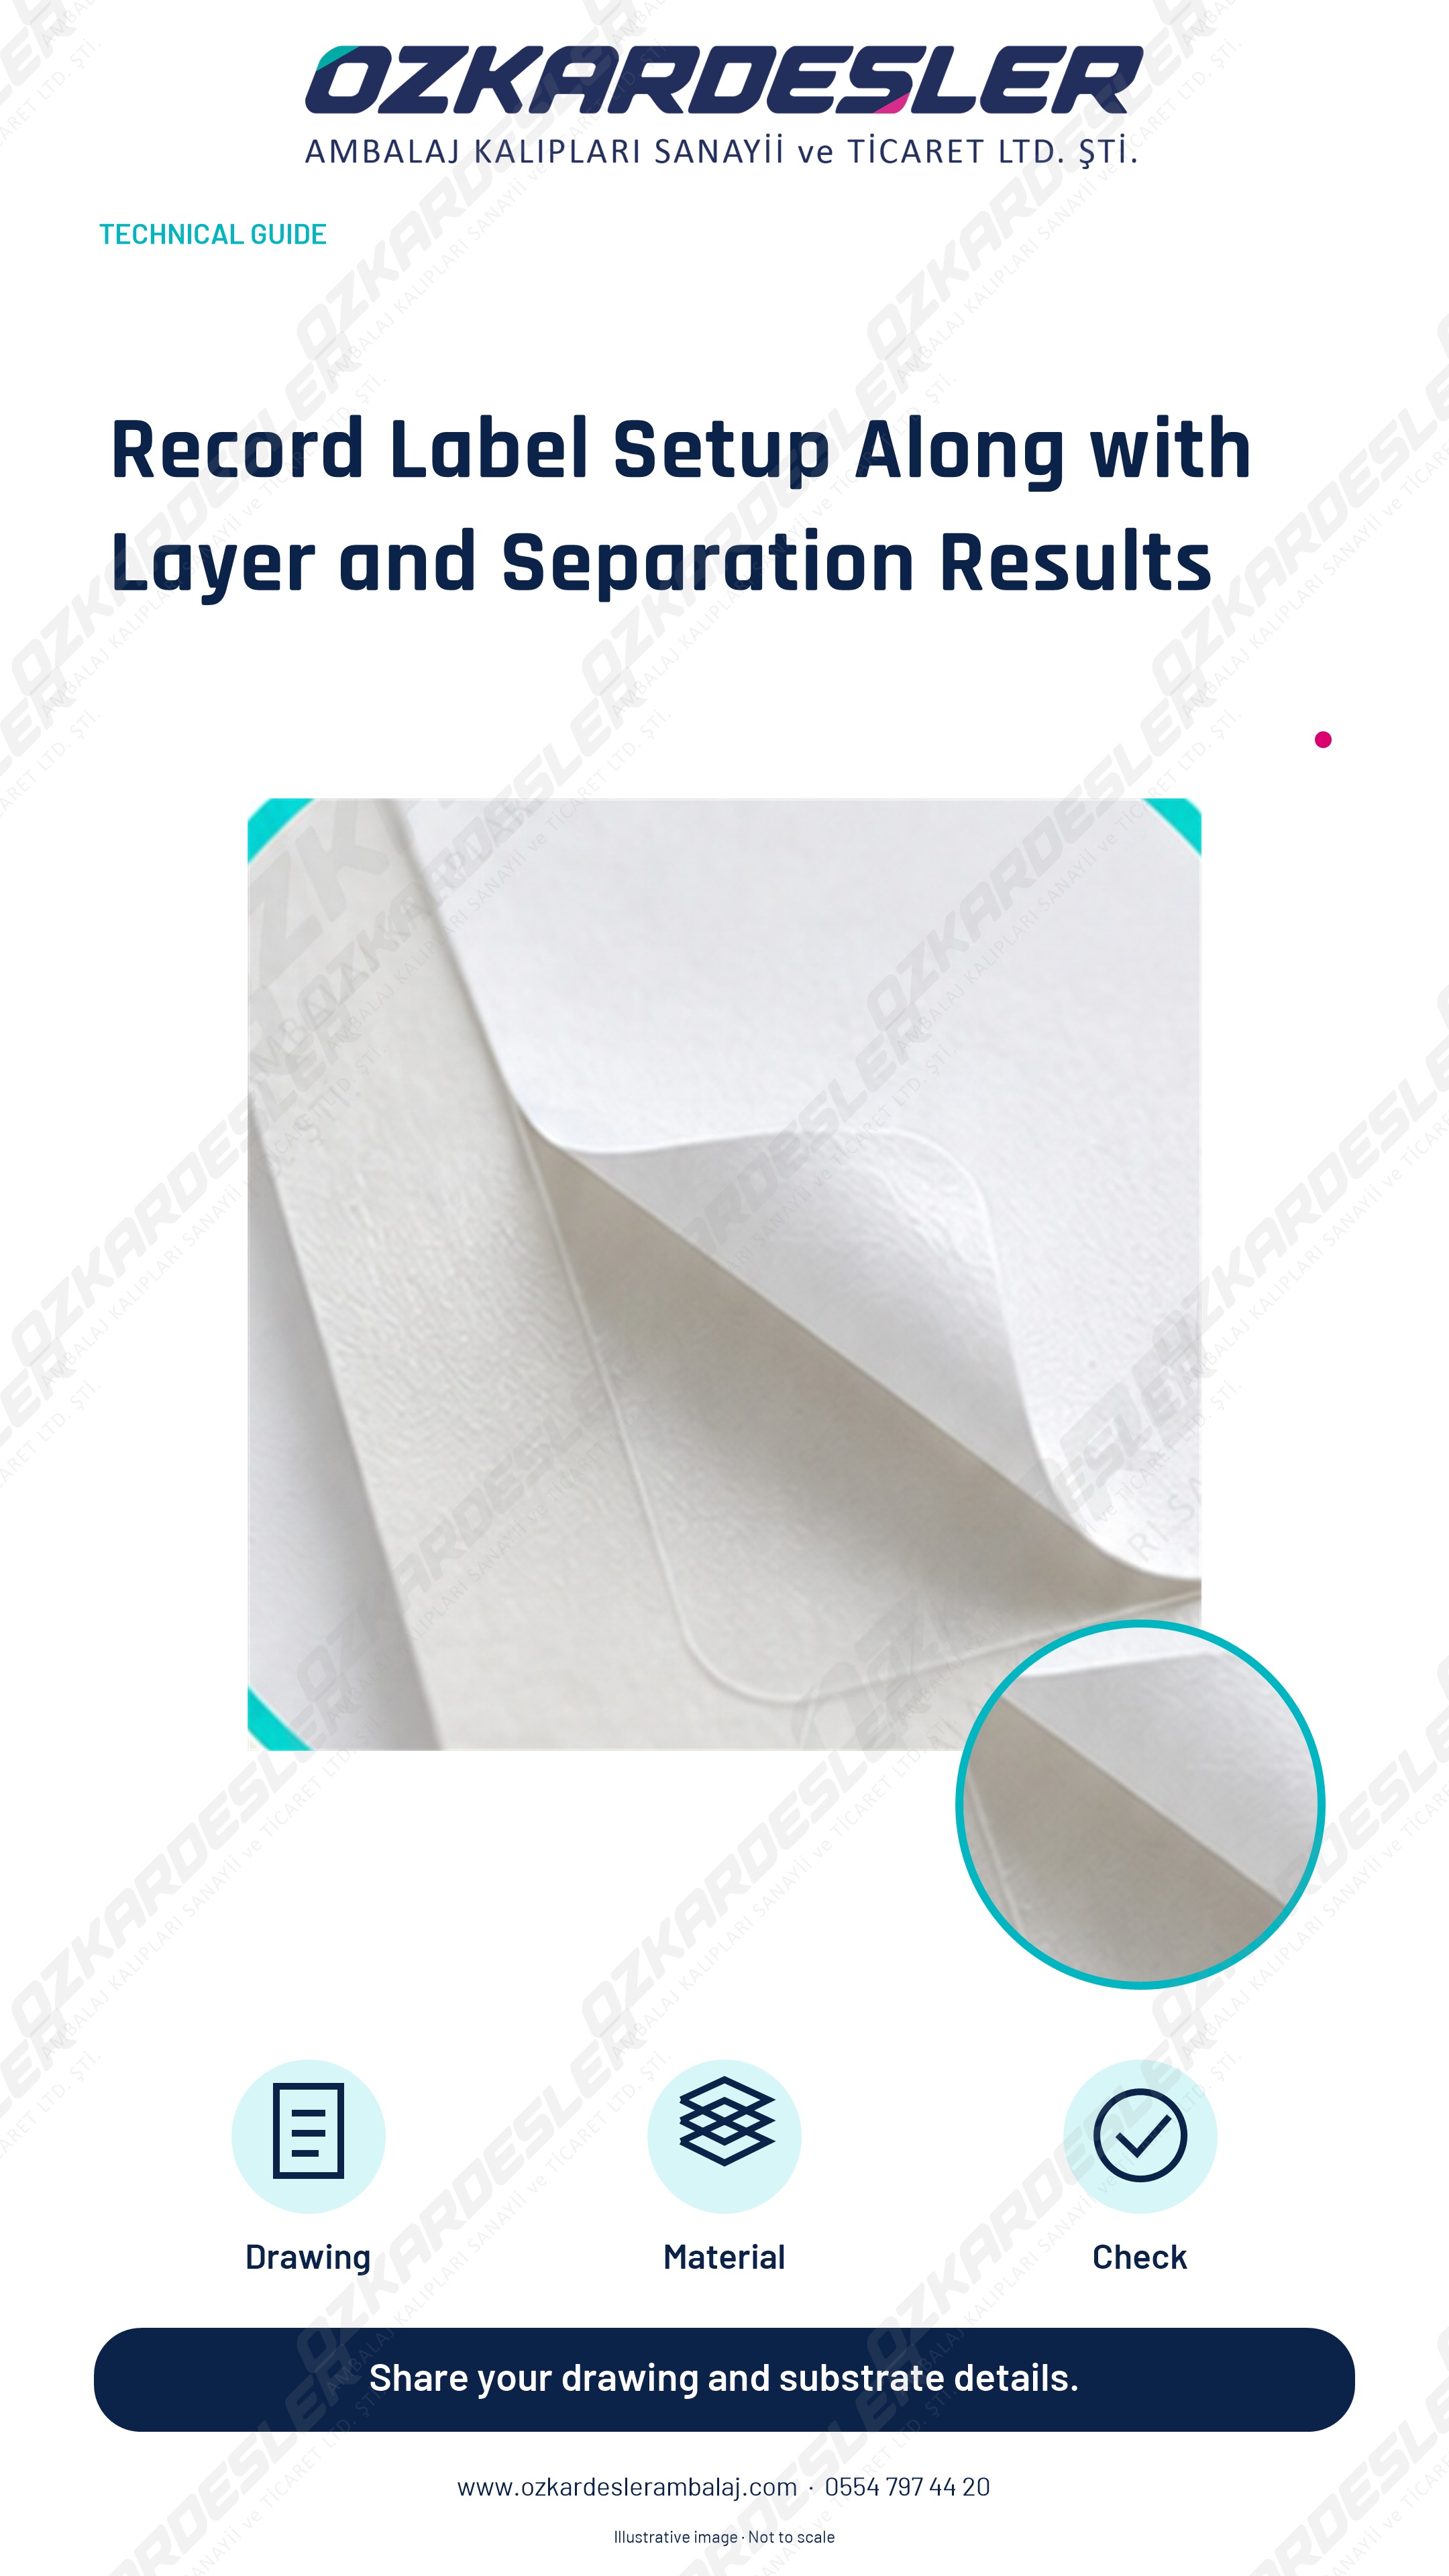
Associate liner, adhesive, and face stock information with setup records in label cutting; check separation results across all layers.
Read the article →
Separate stripping and blanking needs; evaluate waste ejection, usable product, and downtime records together.
Read the article →
Check dimensions, line function, version, and material information in quotation files; reopen the exported file.
Read the article →
Evaluate preparation, approval, production, and shipping times together in urgent die work; separate targets from commitments.
Read the article →
Manage proper storage, physical condition, and usage records together in die maintenance; verify the first part in repeat productions.
Read the article →
Define scale, reference, acceptance range, and material conditions together in cutting die and part measurements.
Read the article →
Check the cutting edge, folding line, and closure together on box samples; verify material and counterplate compatibility.
Read the article →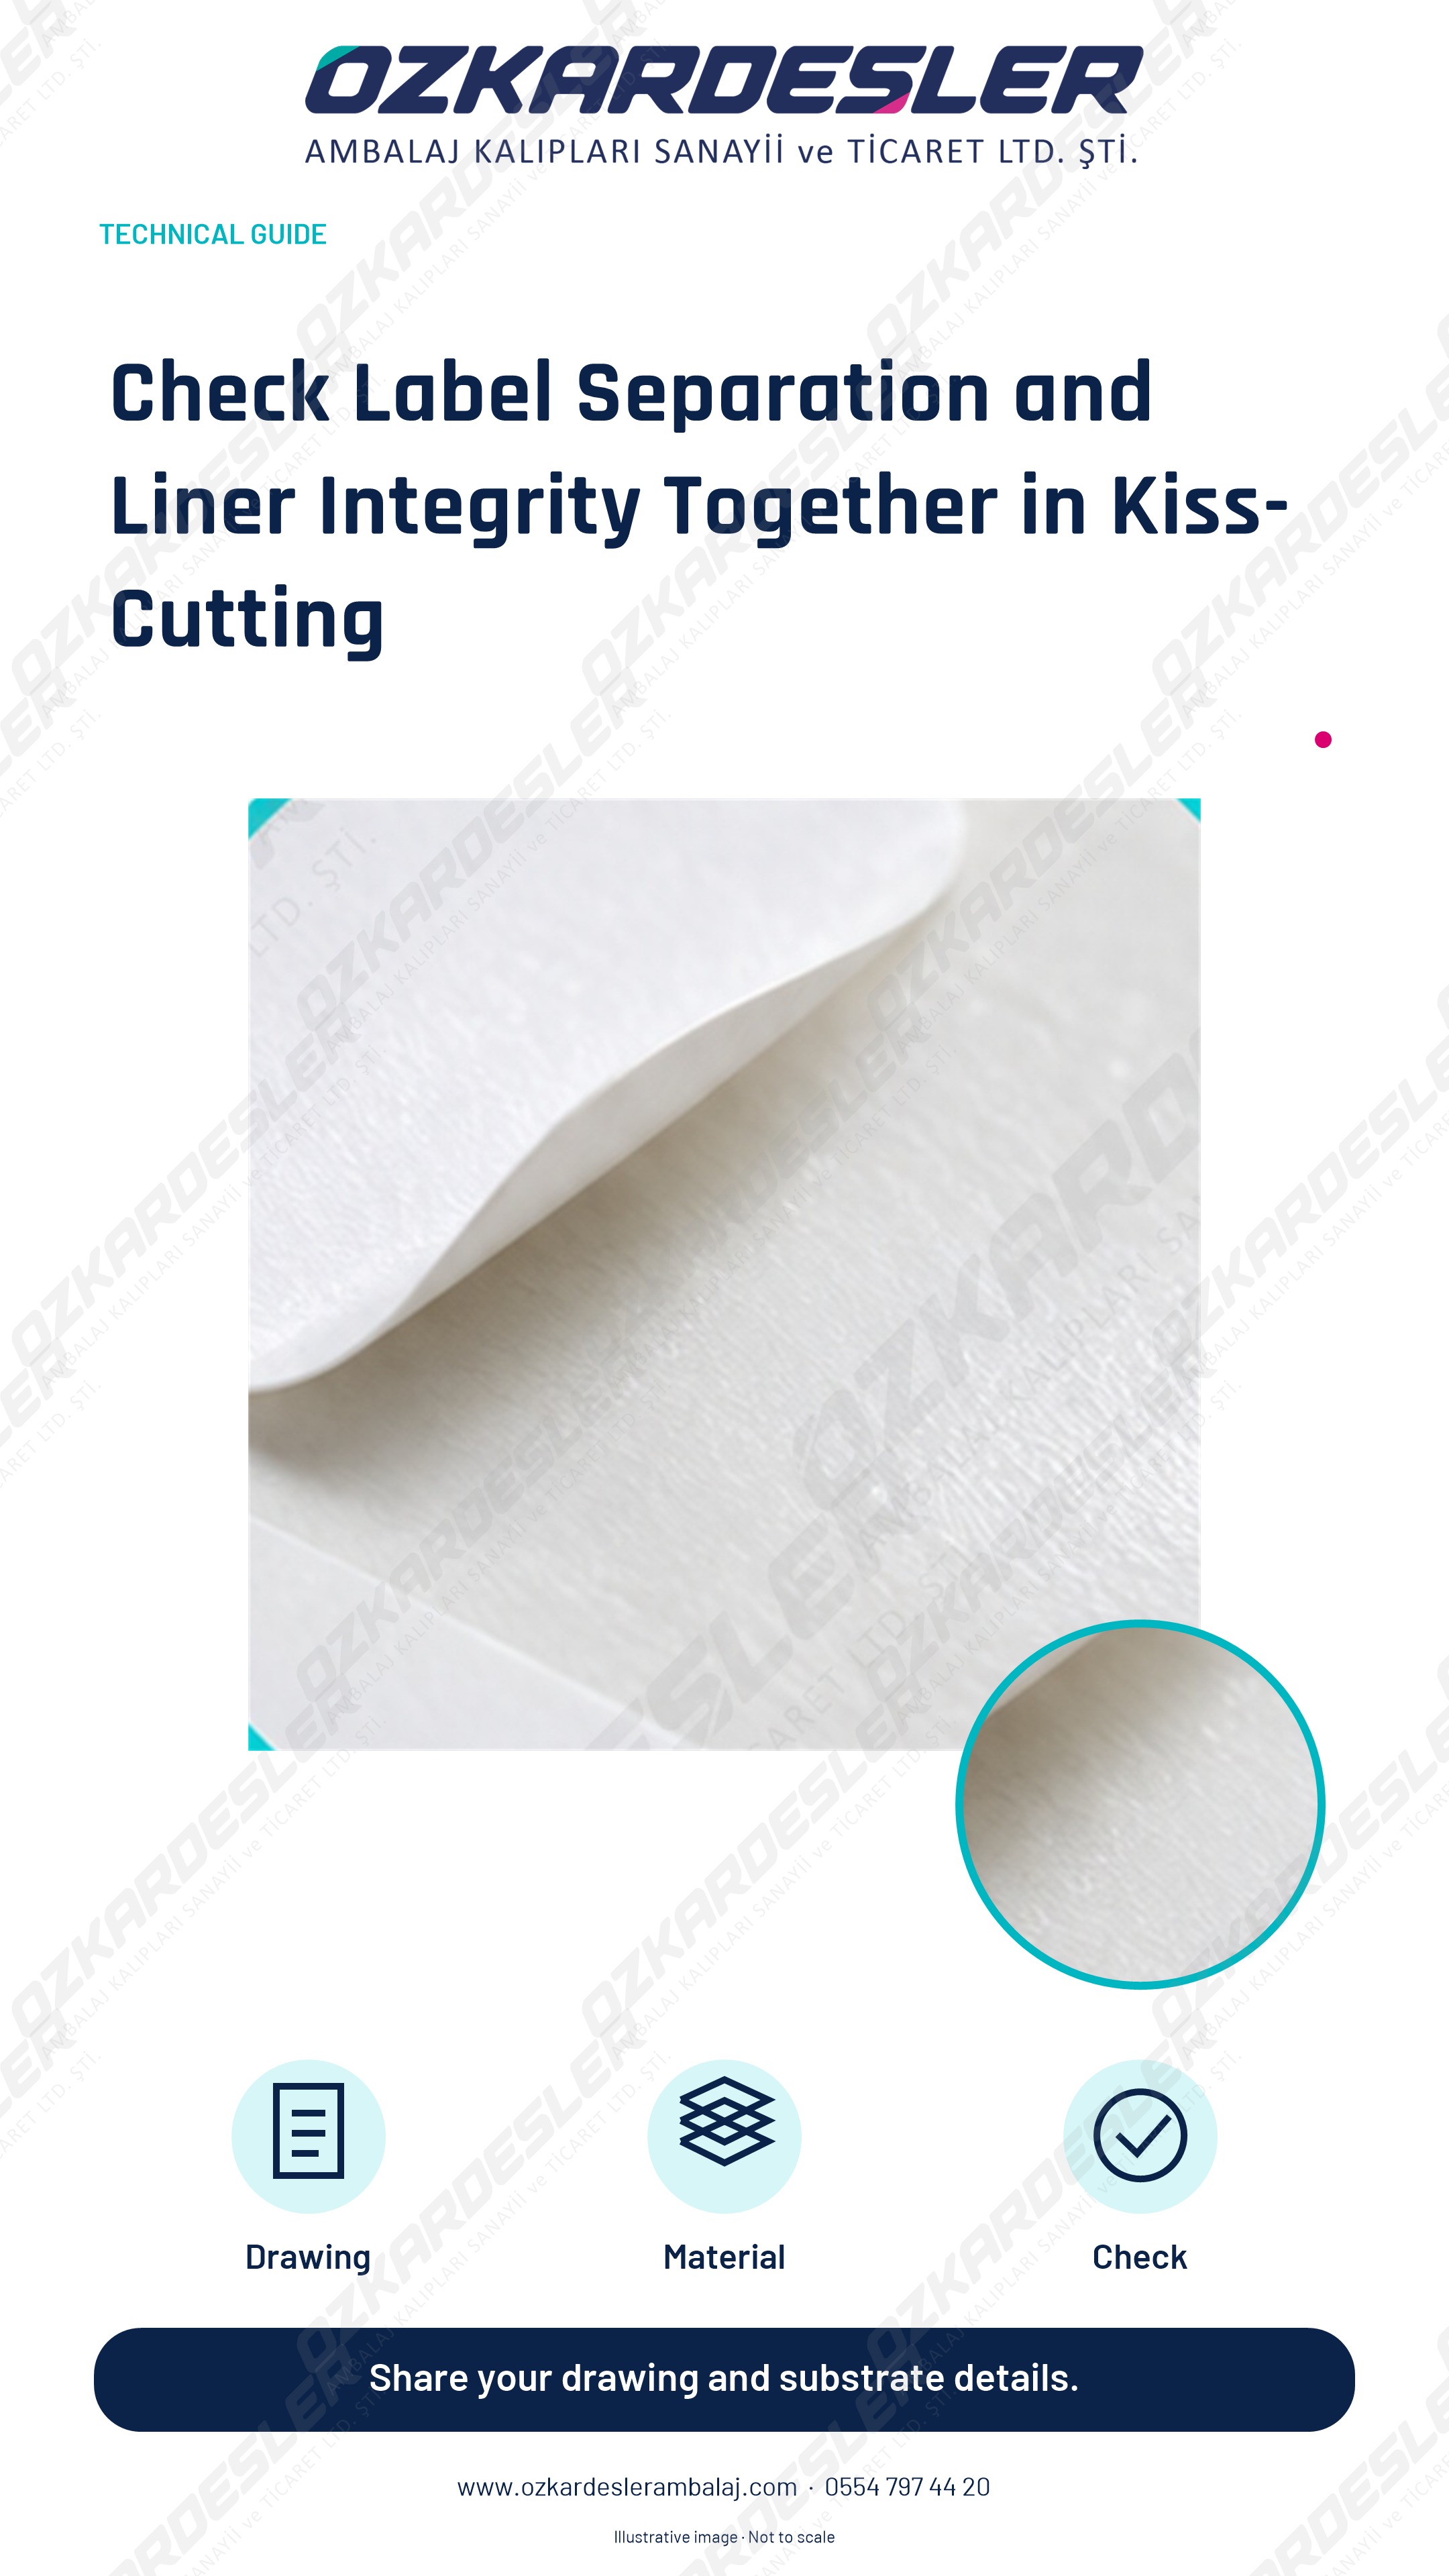
Evaluate face stock separation and liner integrity together in label kiss-cutting; re-verify setup when changing materials.
Read the article →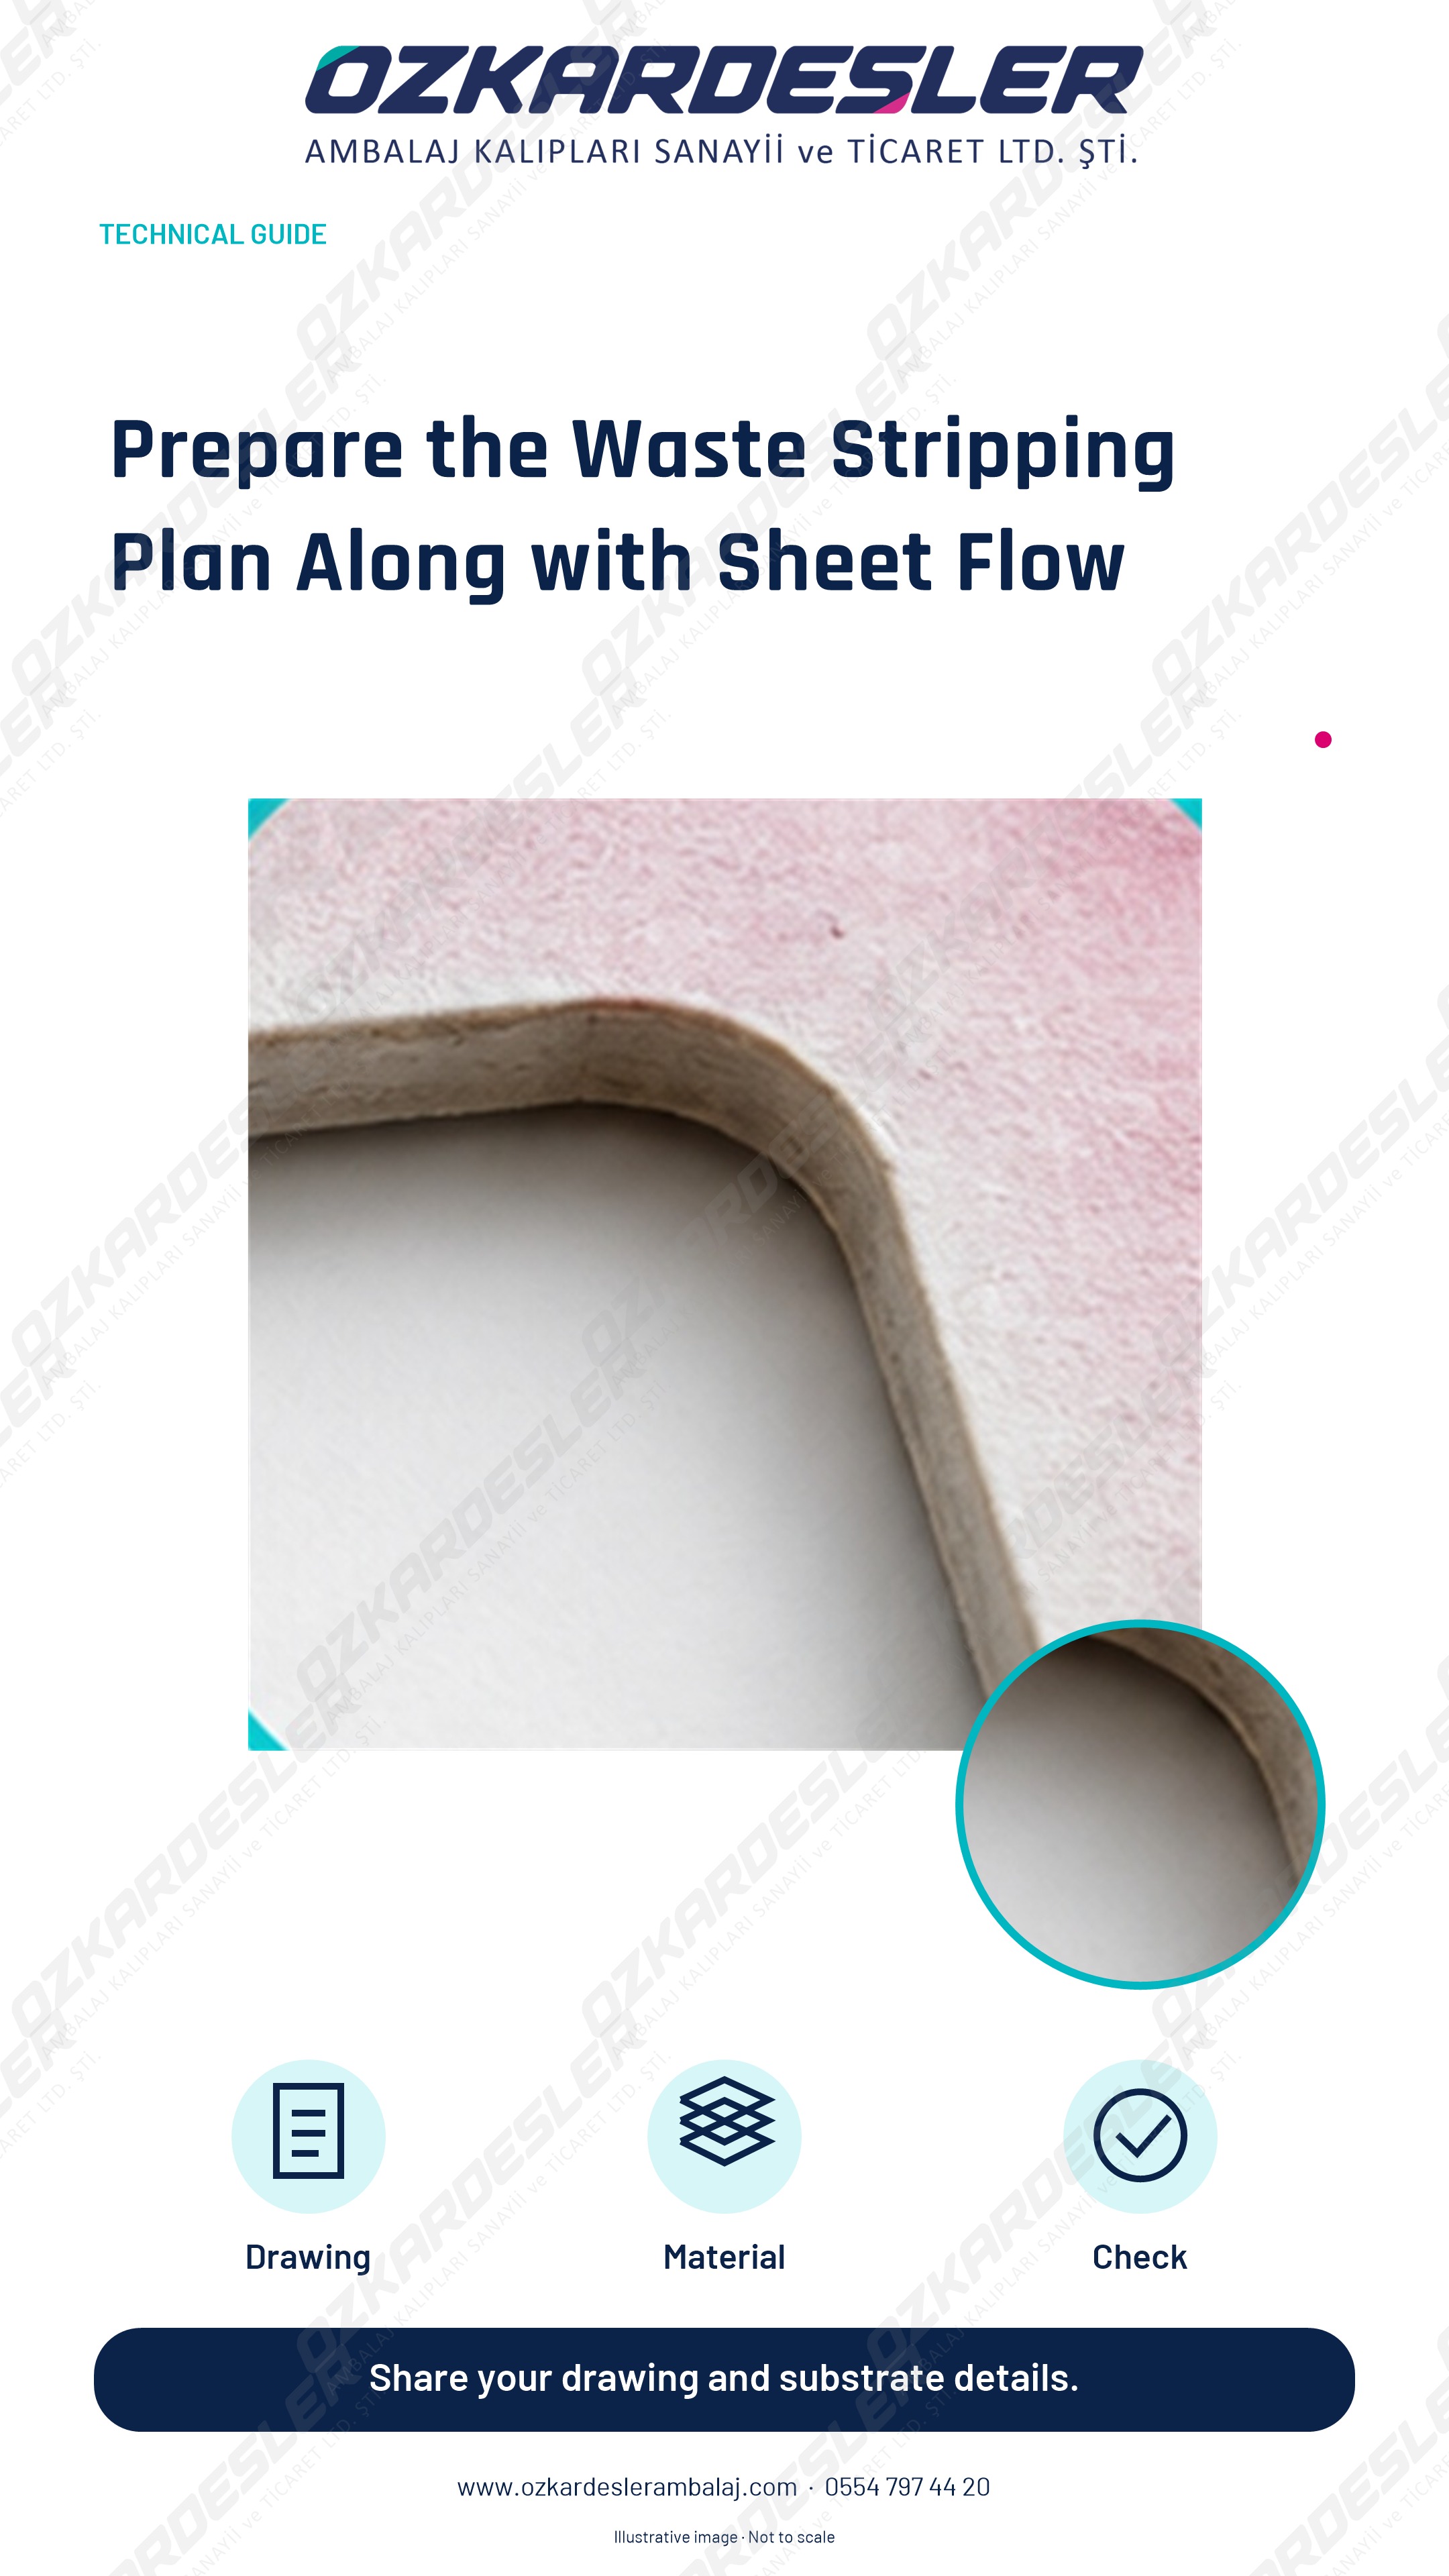
Define product and waste zones, feeding direction, and subsequent collection operations together in the stripping plan.
Read the article →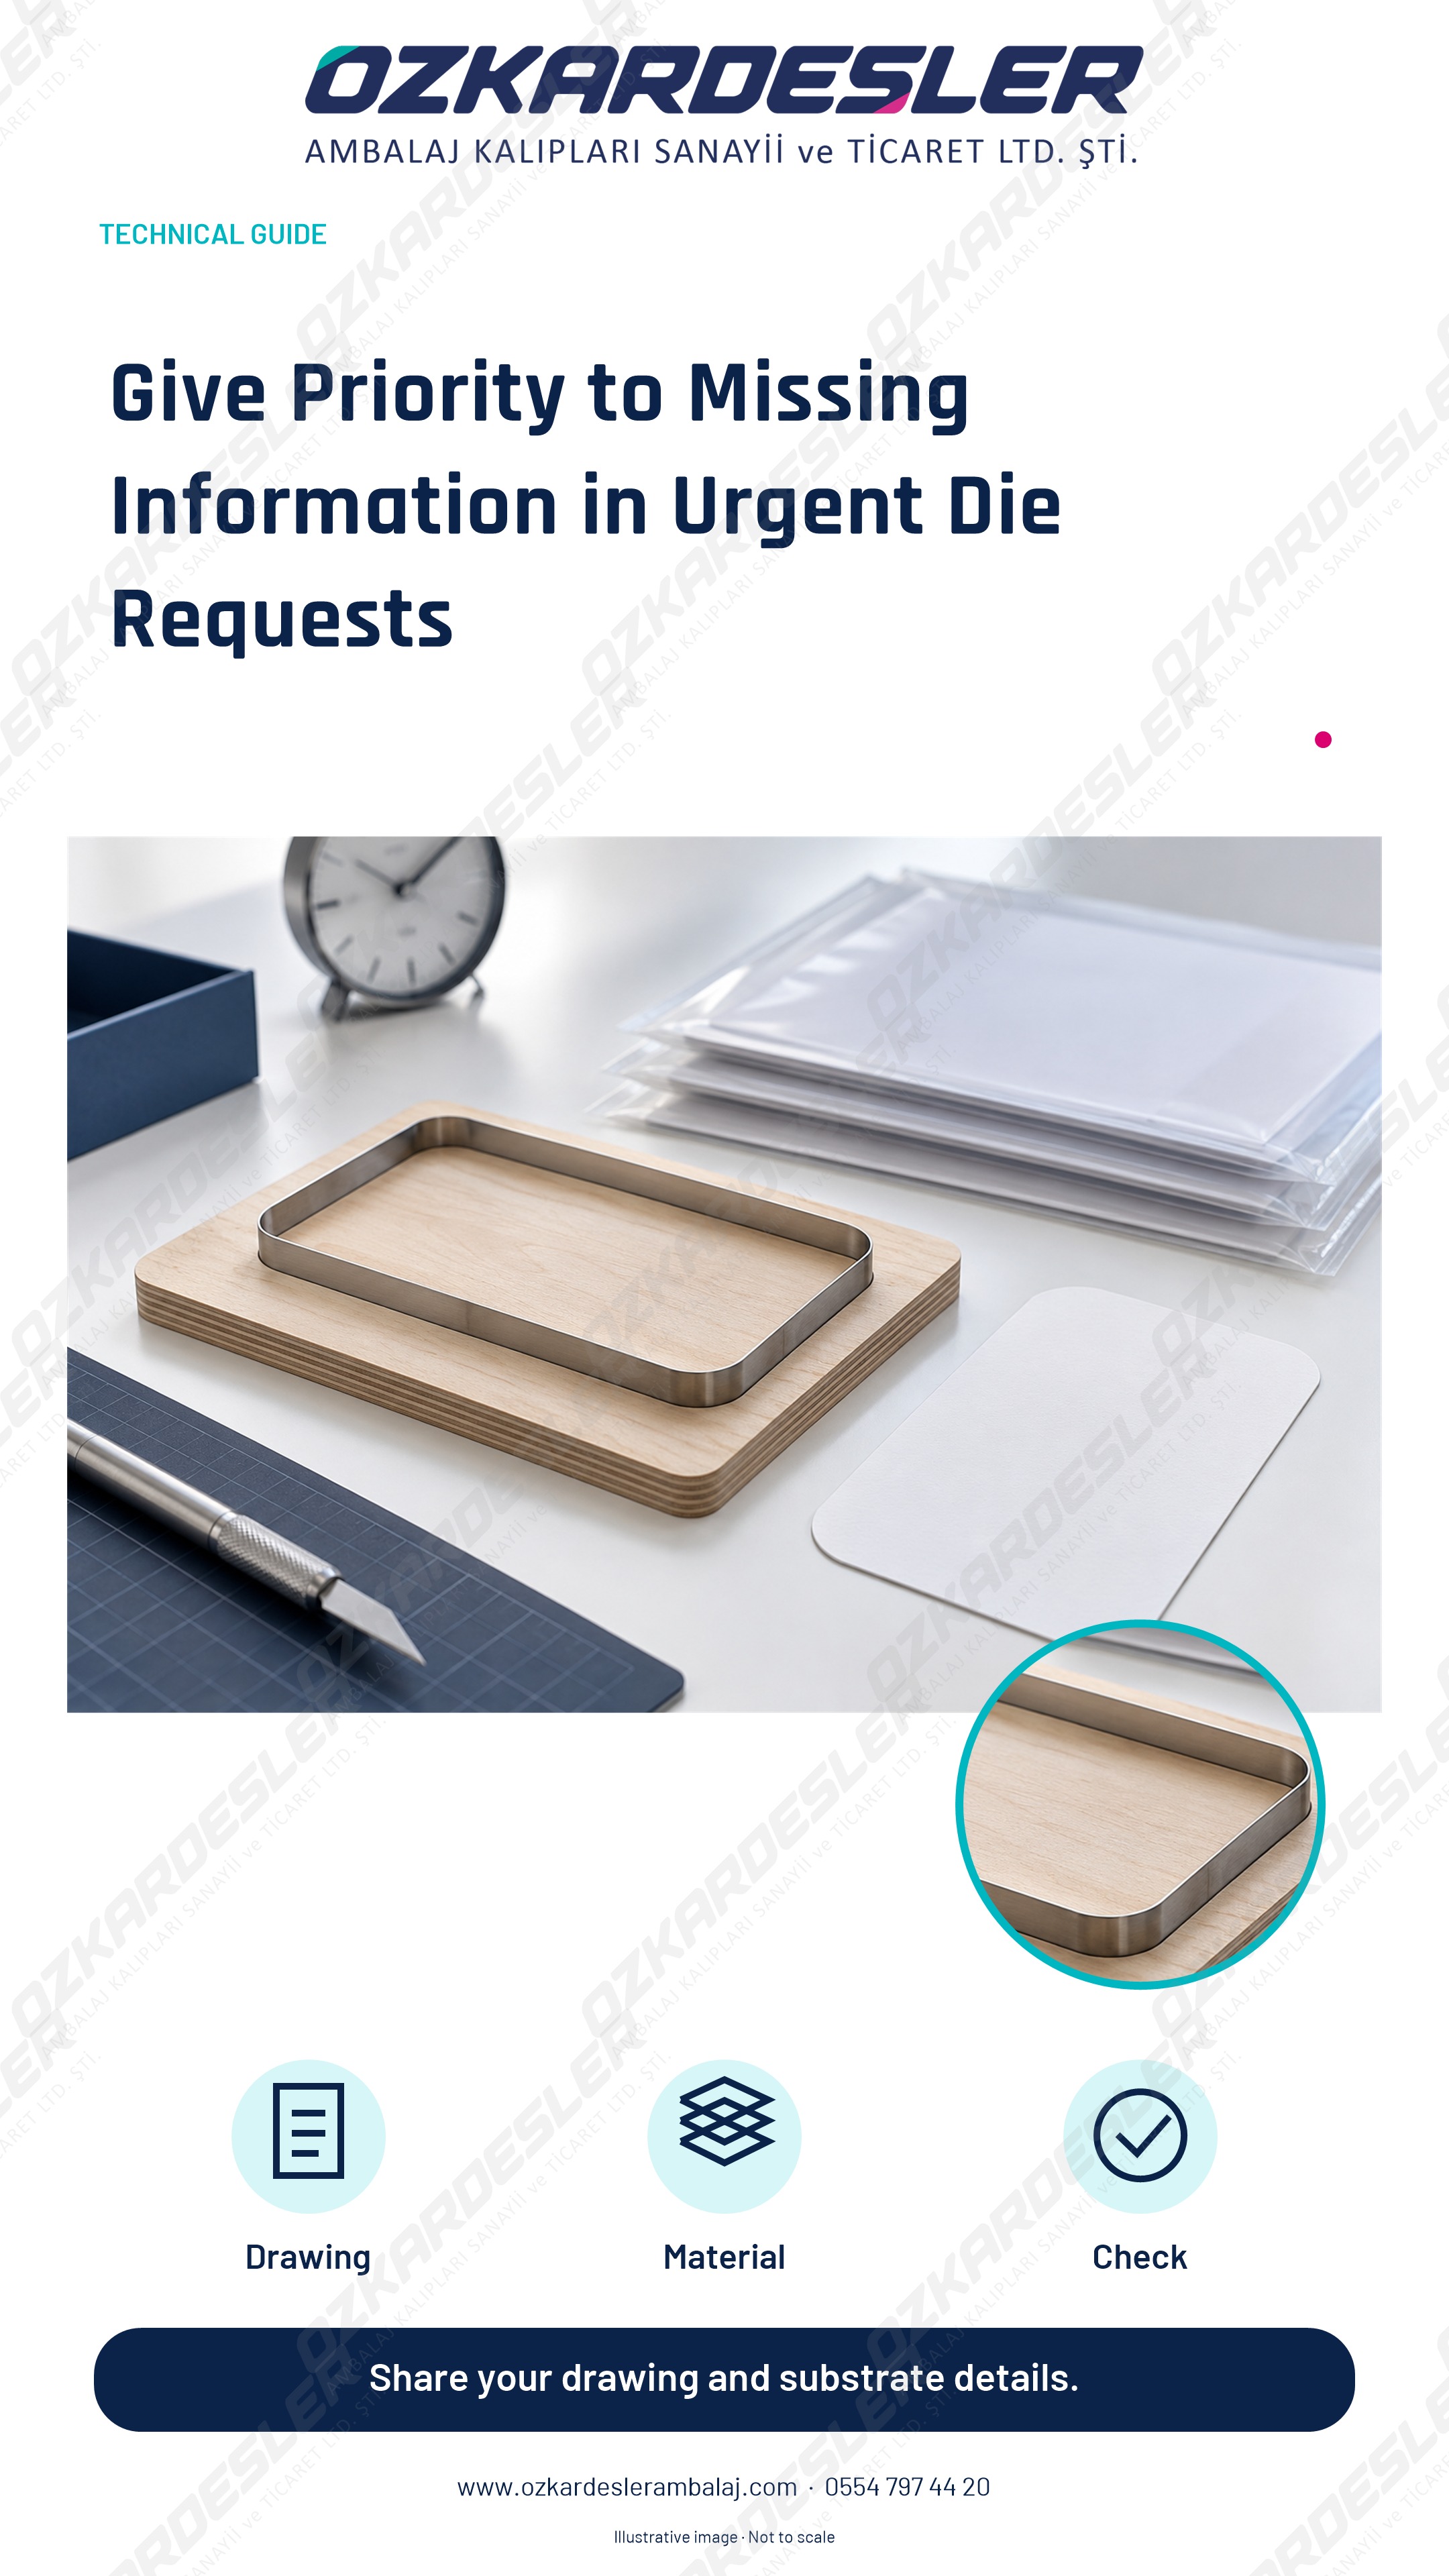
Identify missing points affecting production in urgent die requests; plan target time, approval, and control scope together.
Read the article →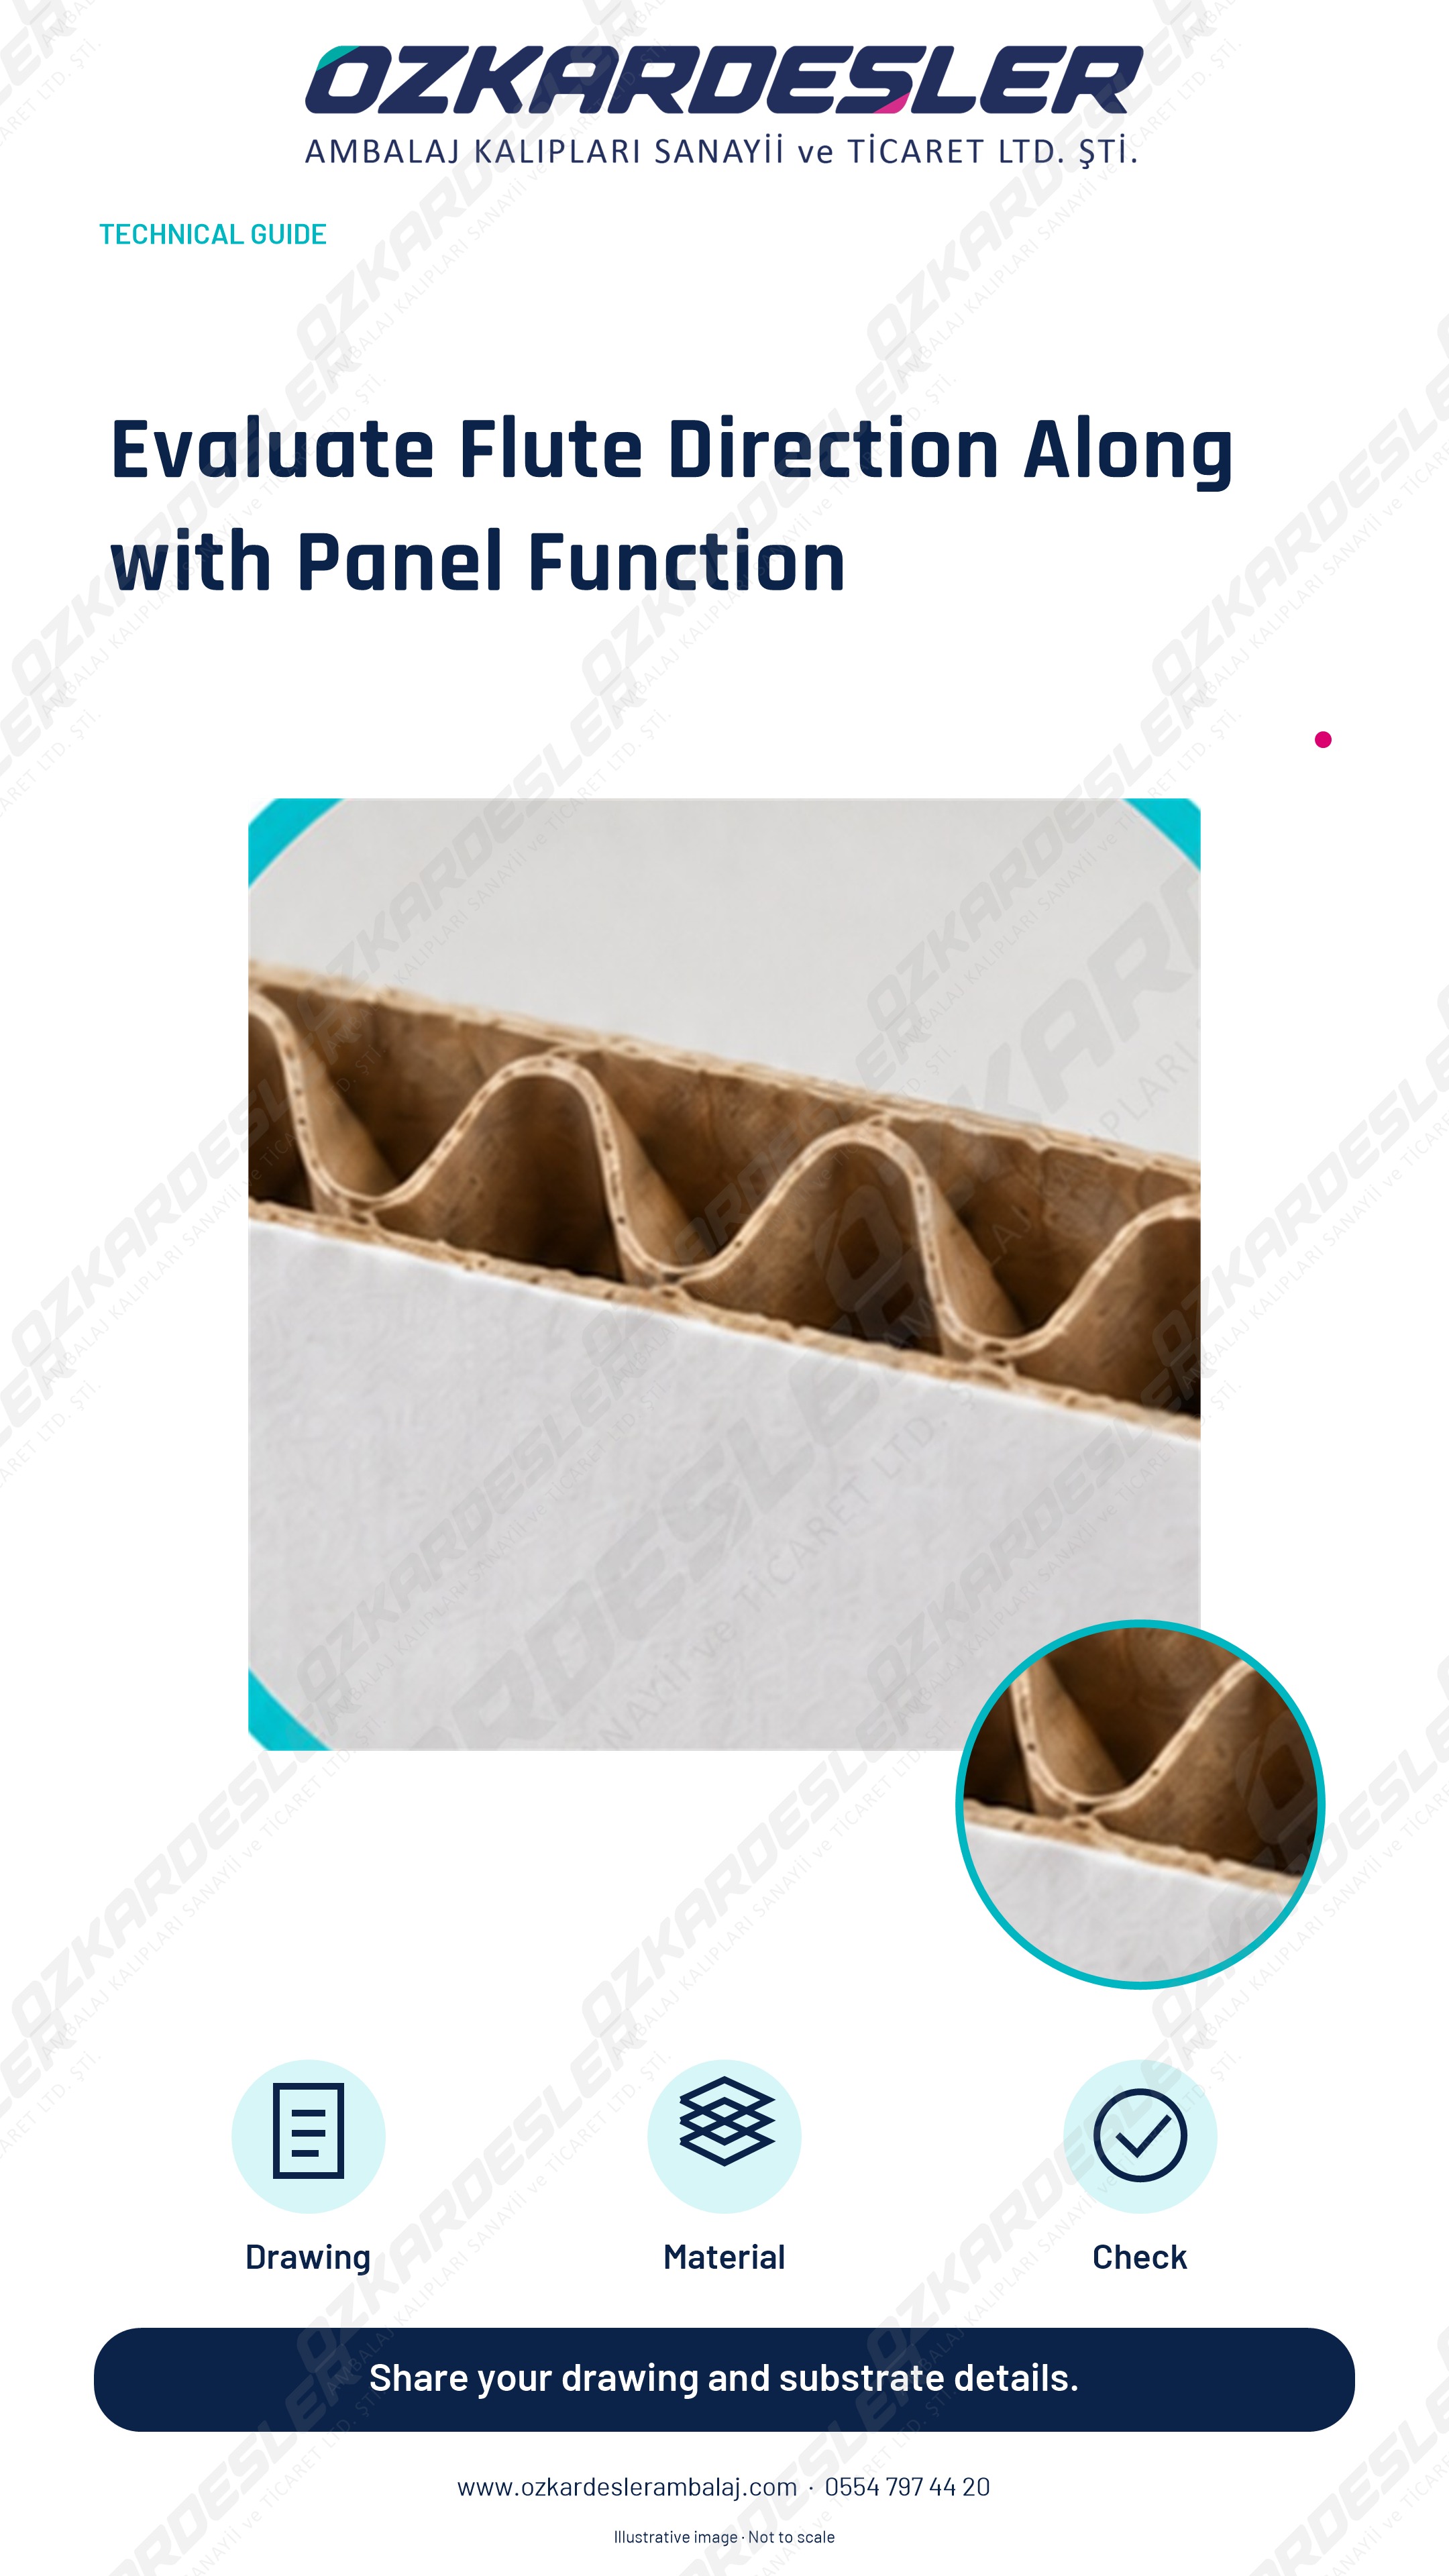
Plan flute direction, folding lines, and panel function together in corrugated board; verify with the sample.
Read the article →
Evaluate cracks and whitening in plastic cutting together with material, corner form, and operating conditions.
Read the article →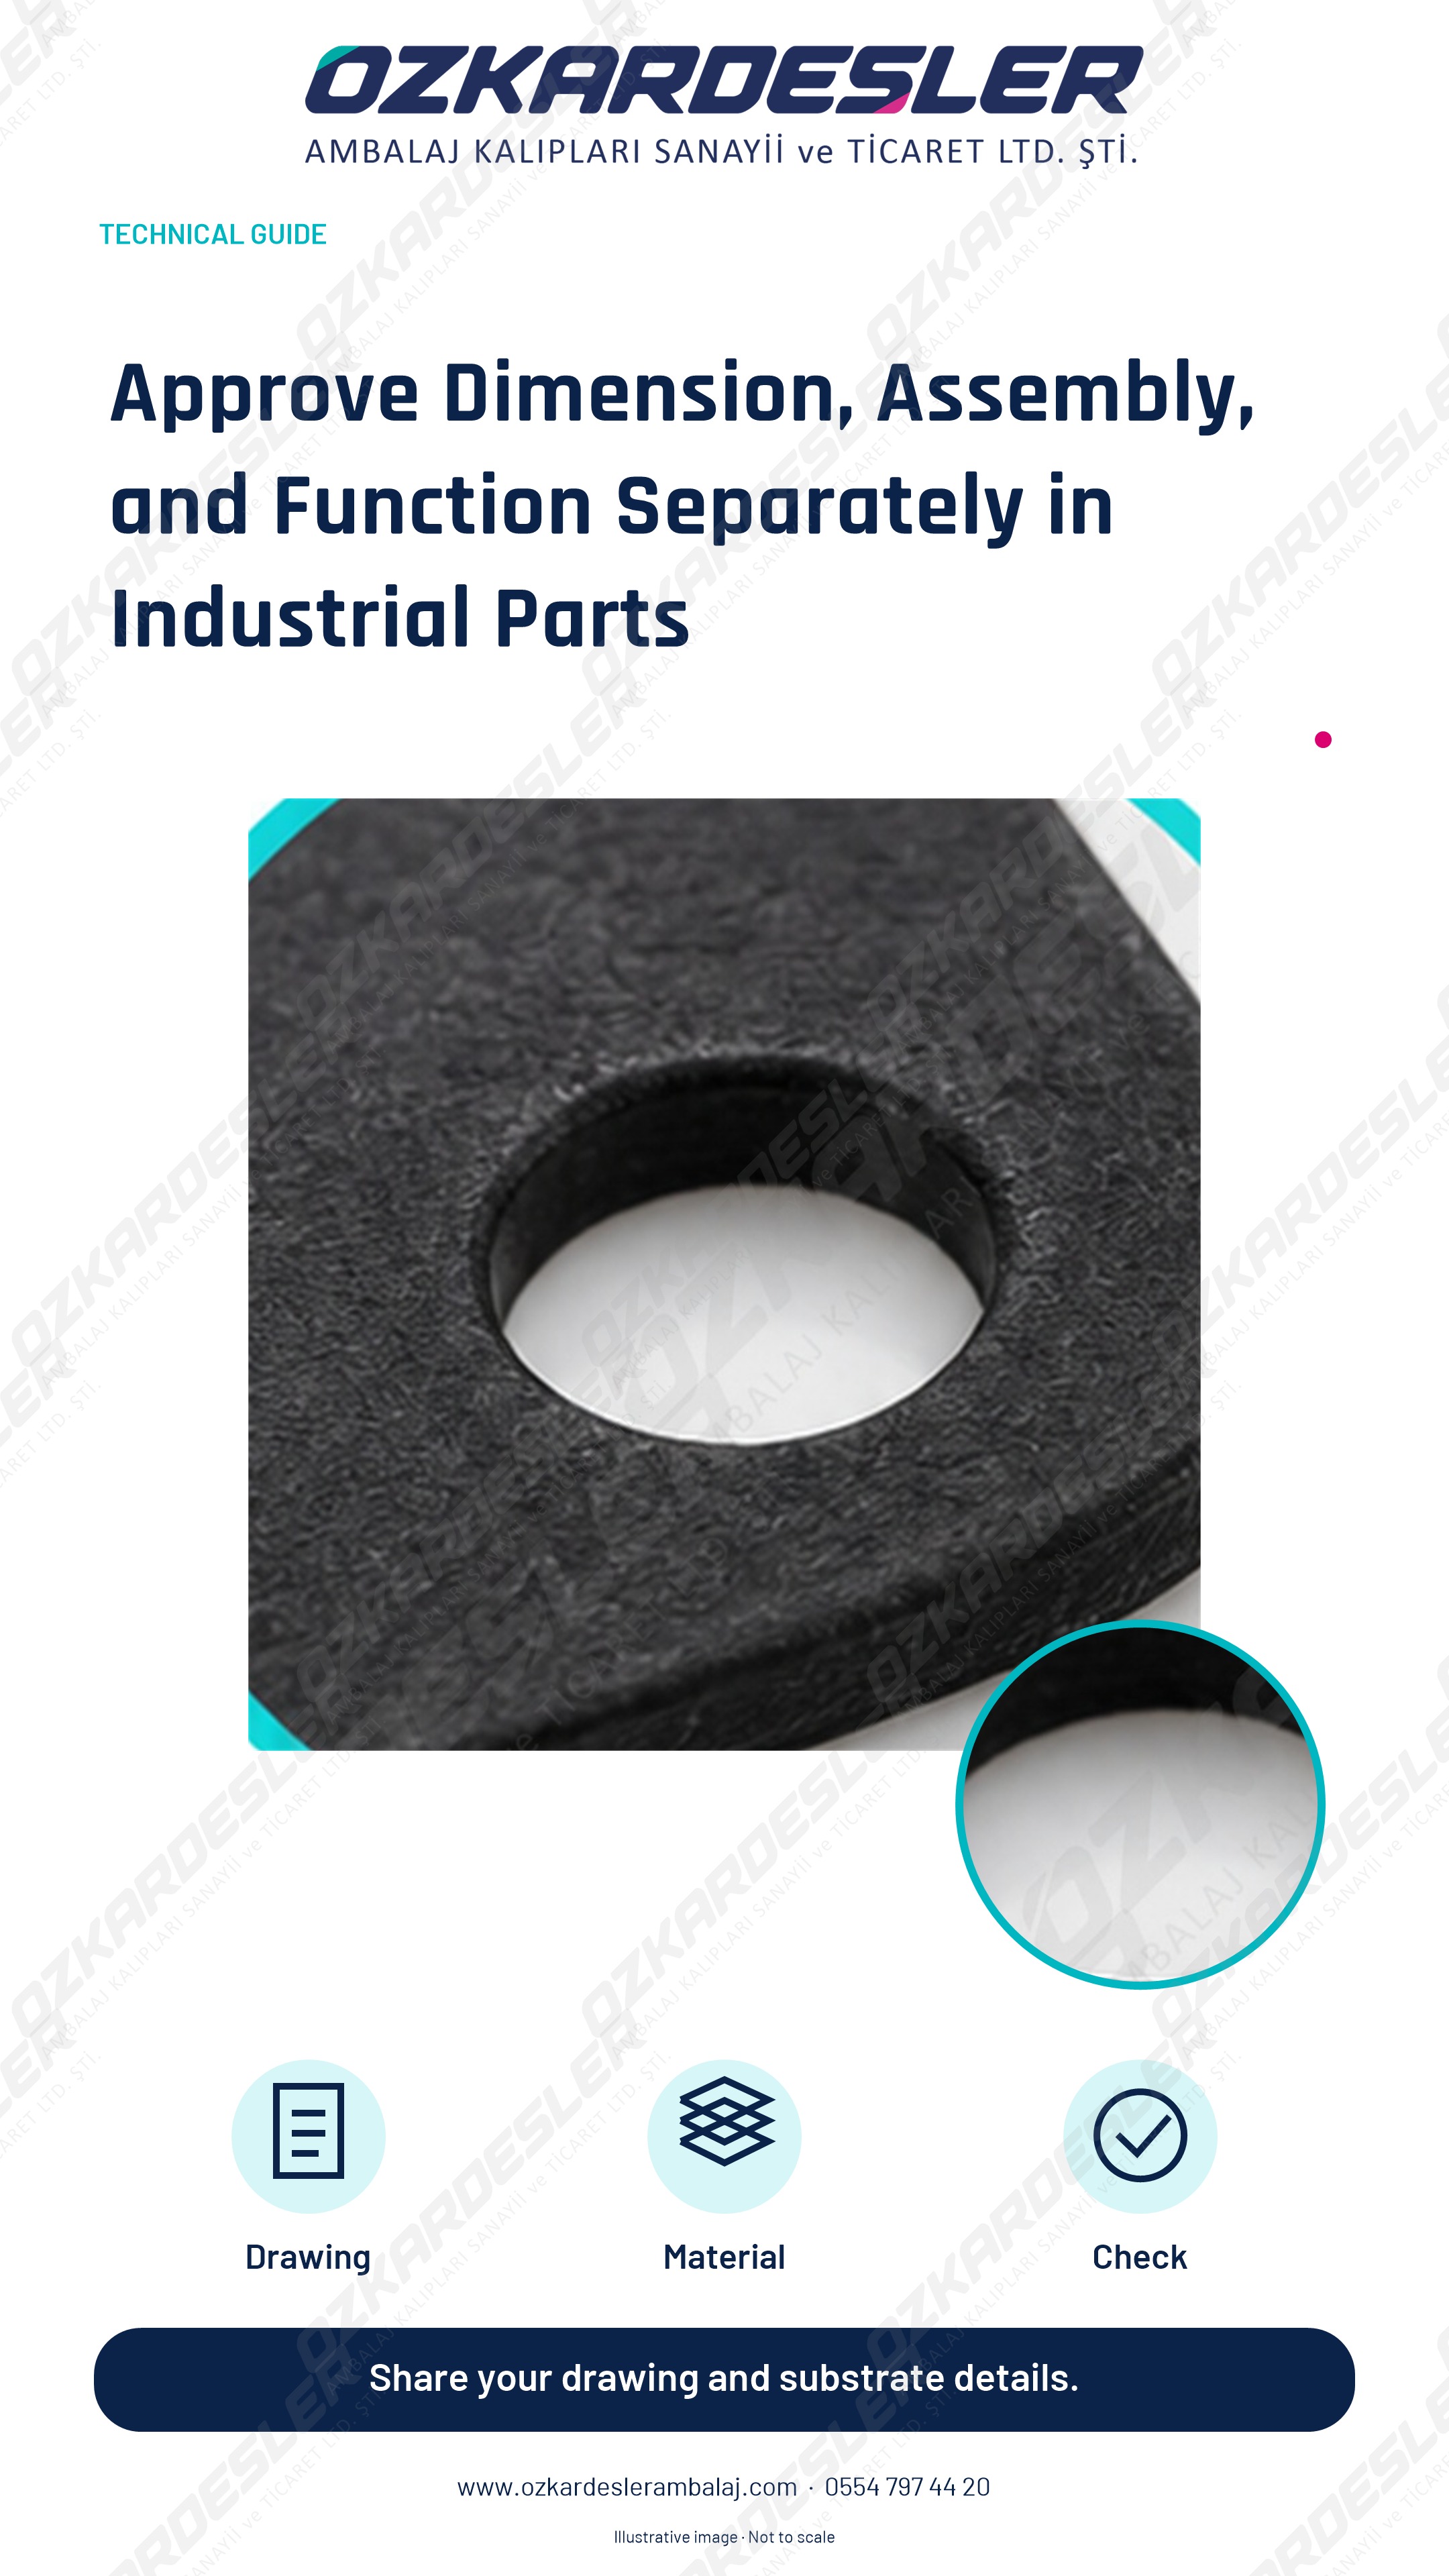
Separate dimension, assembly, and function checks in gasket and technical part samples; use actual materials and current references.
Read the article →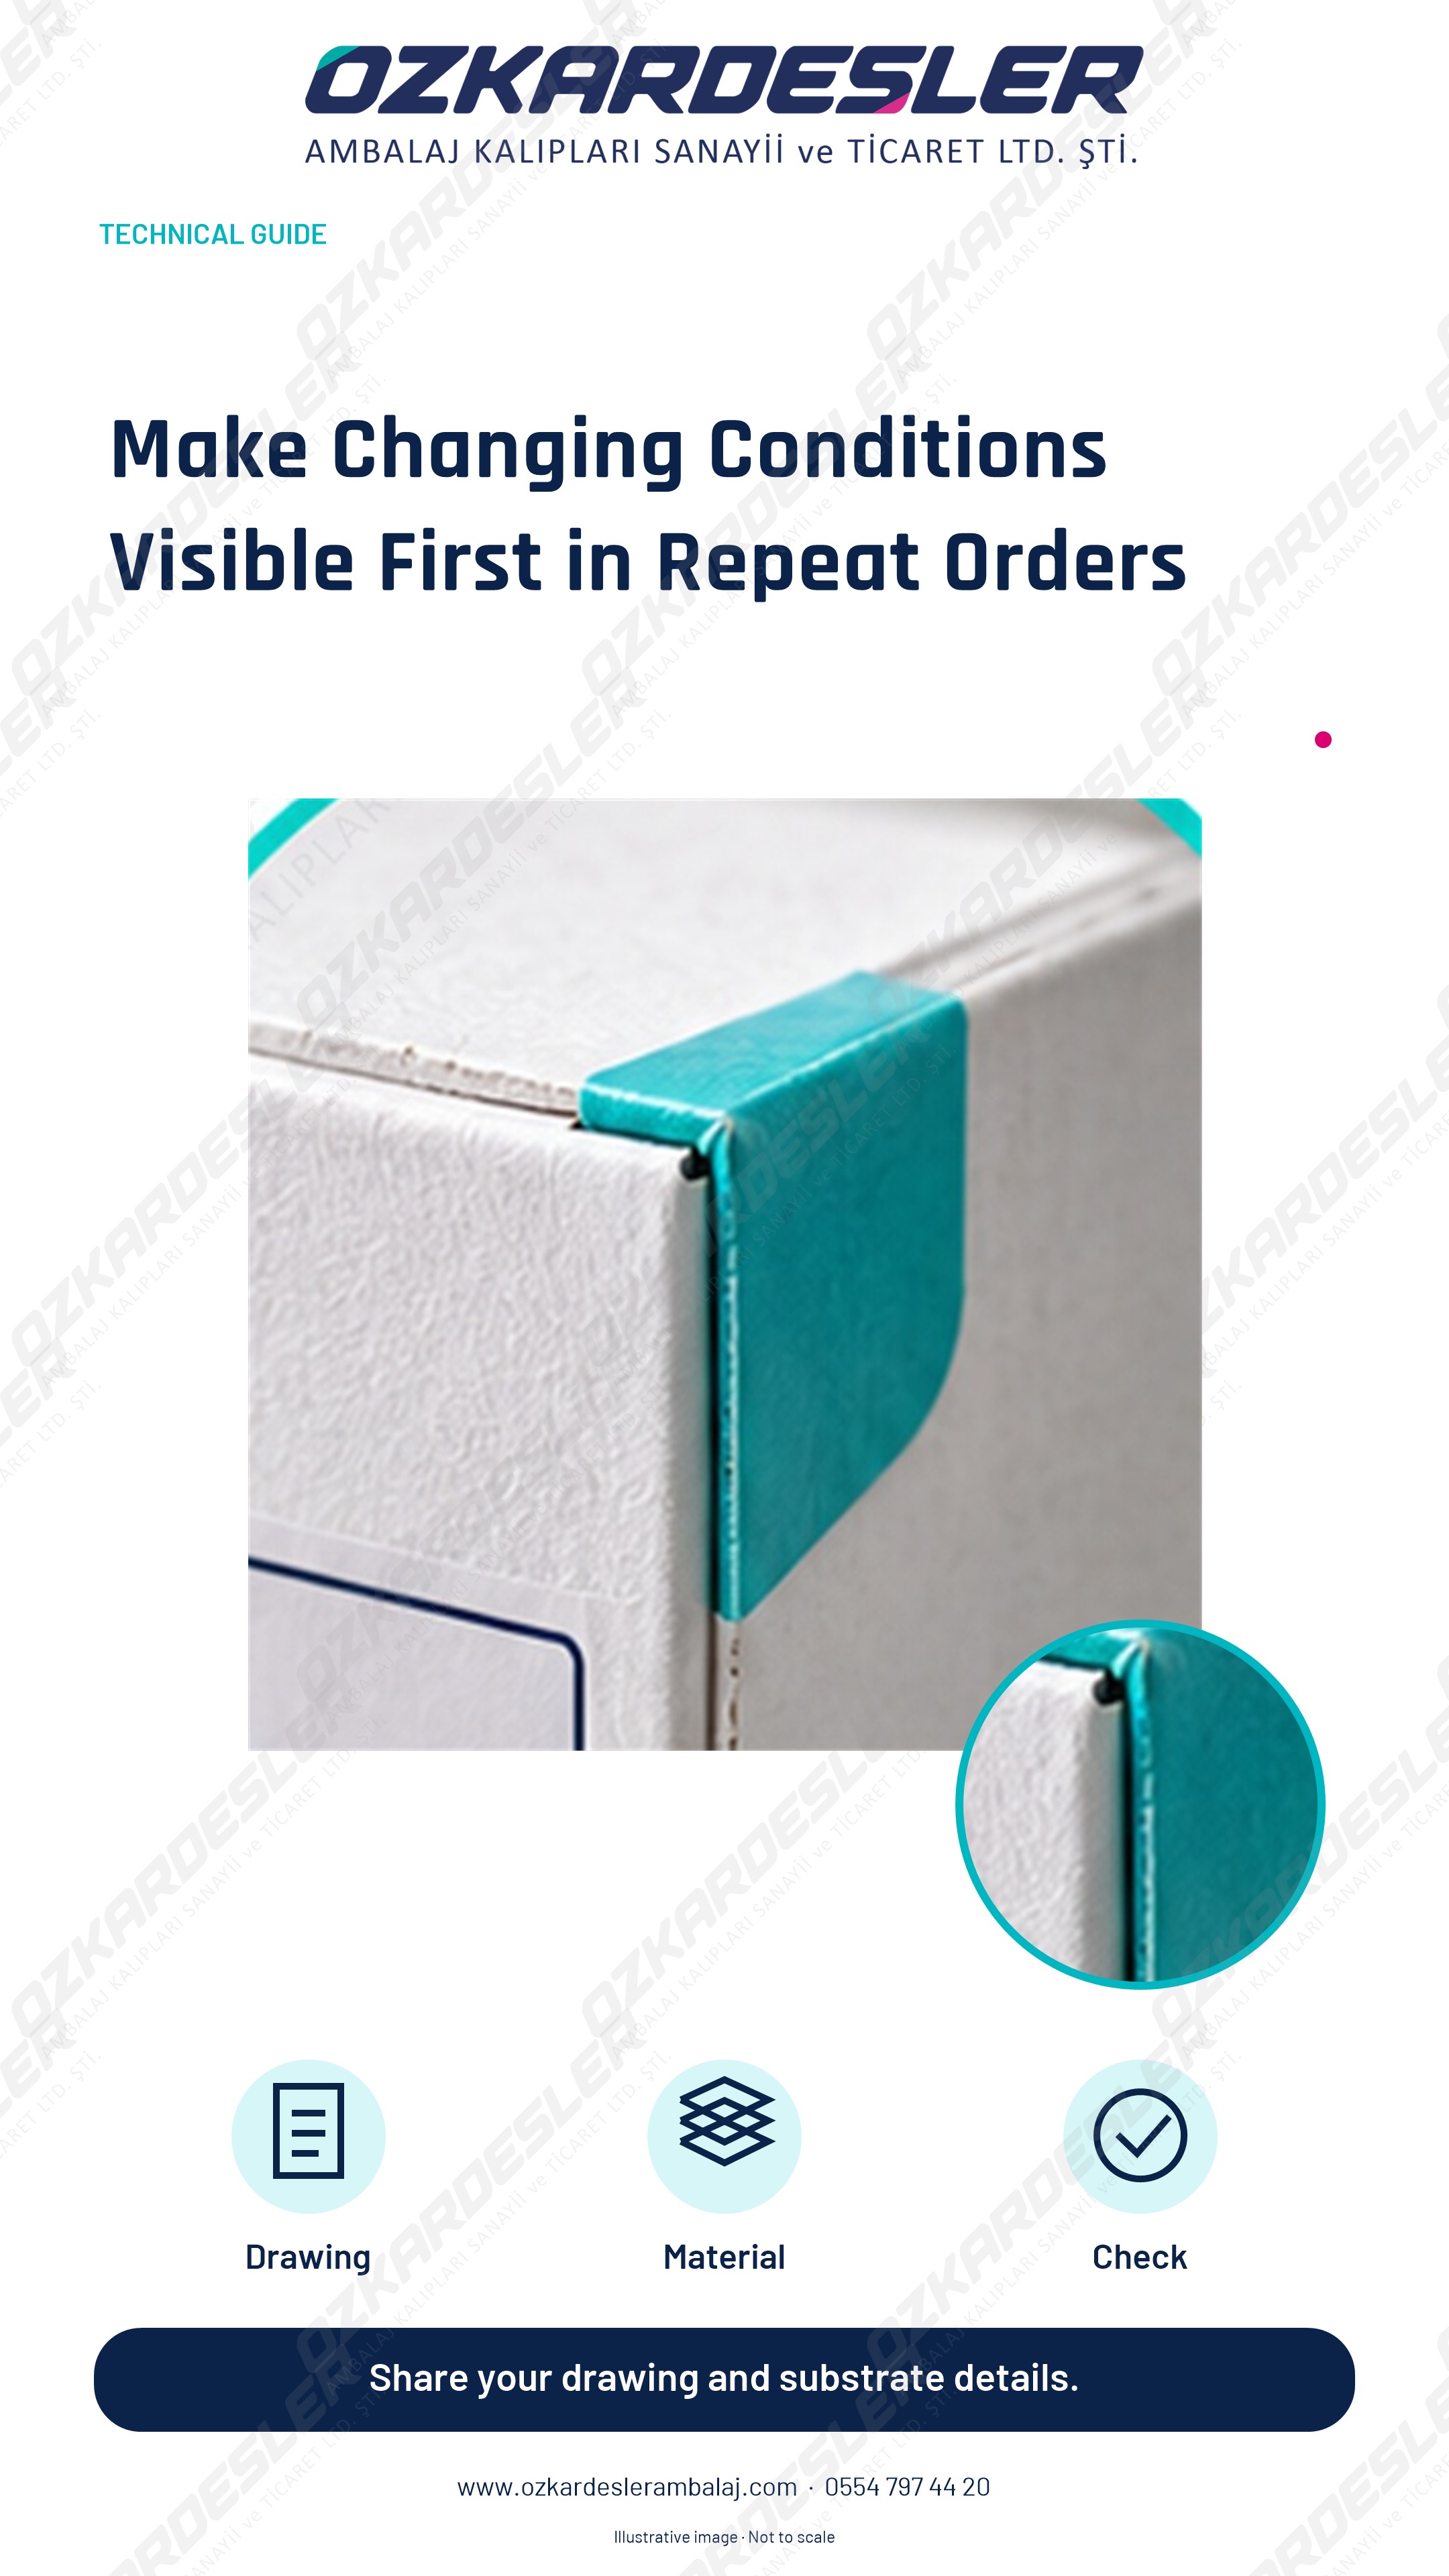
Compare file, material, and physical die status in repeat die orders; manage changes with a single active version.
Read the article →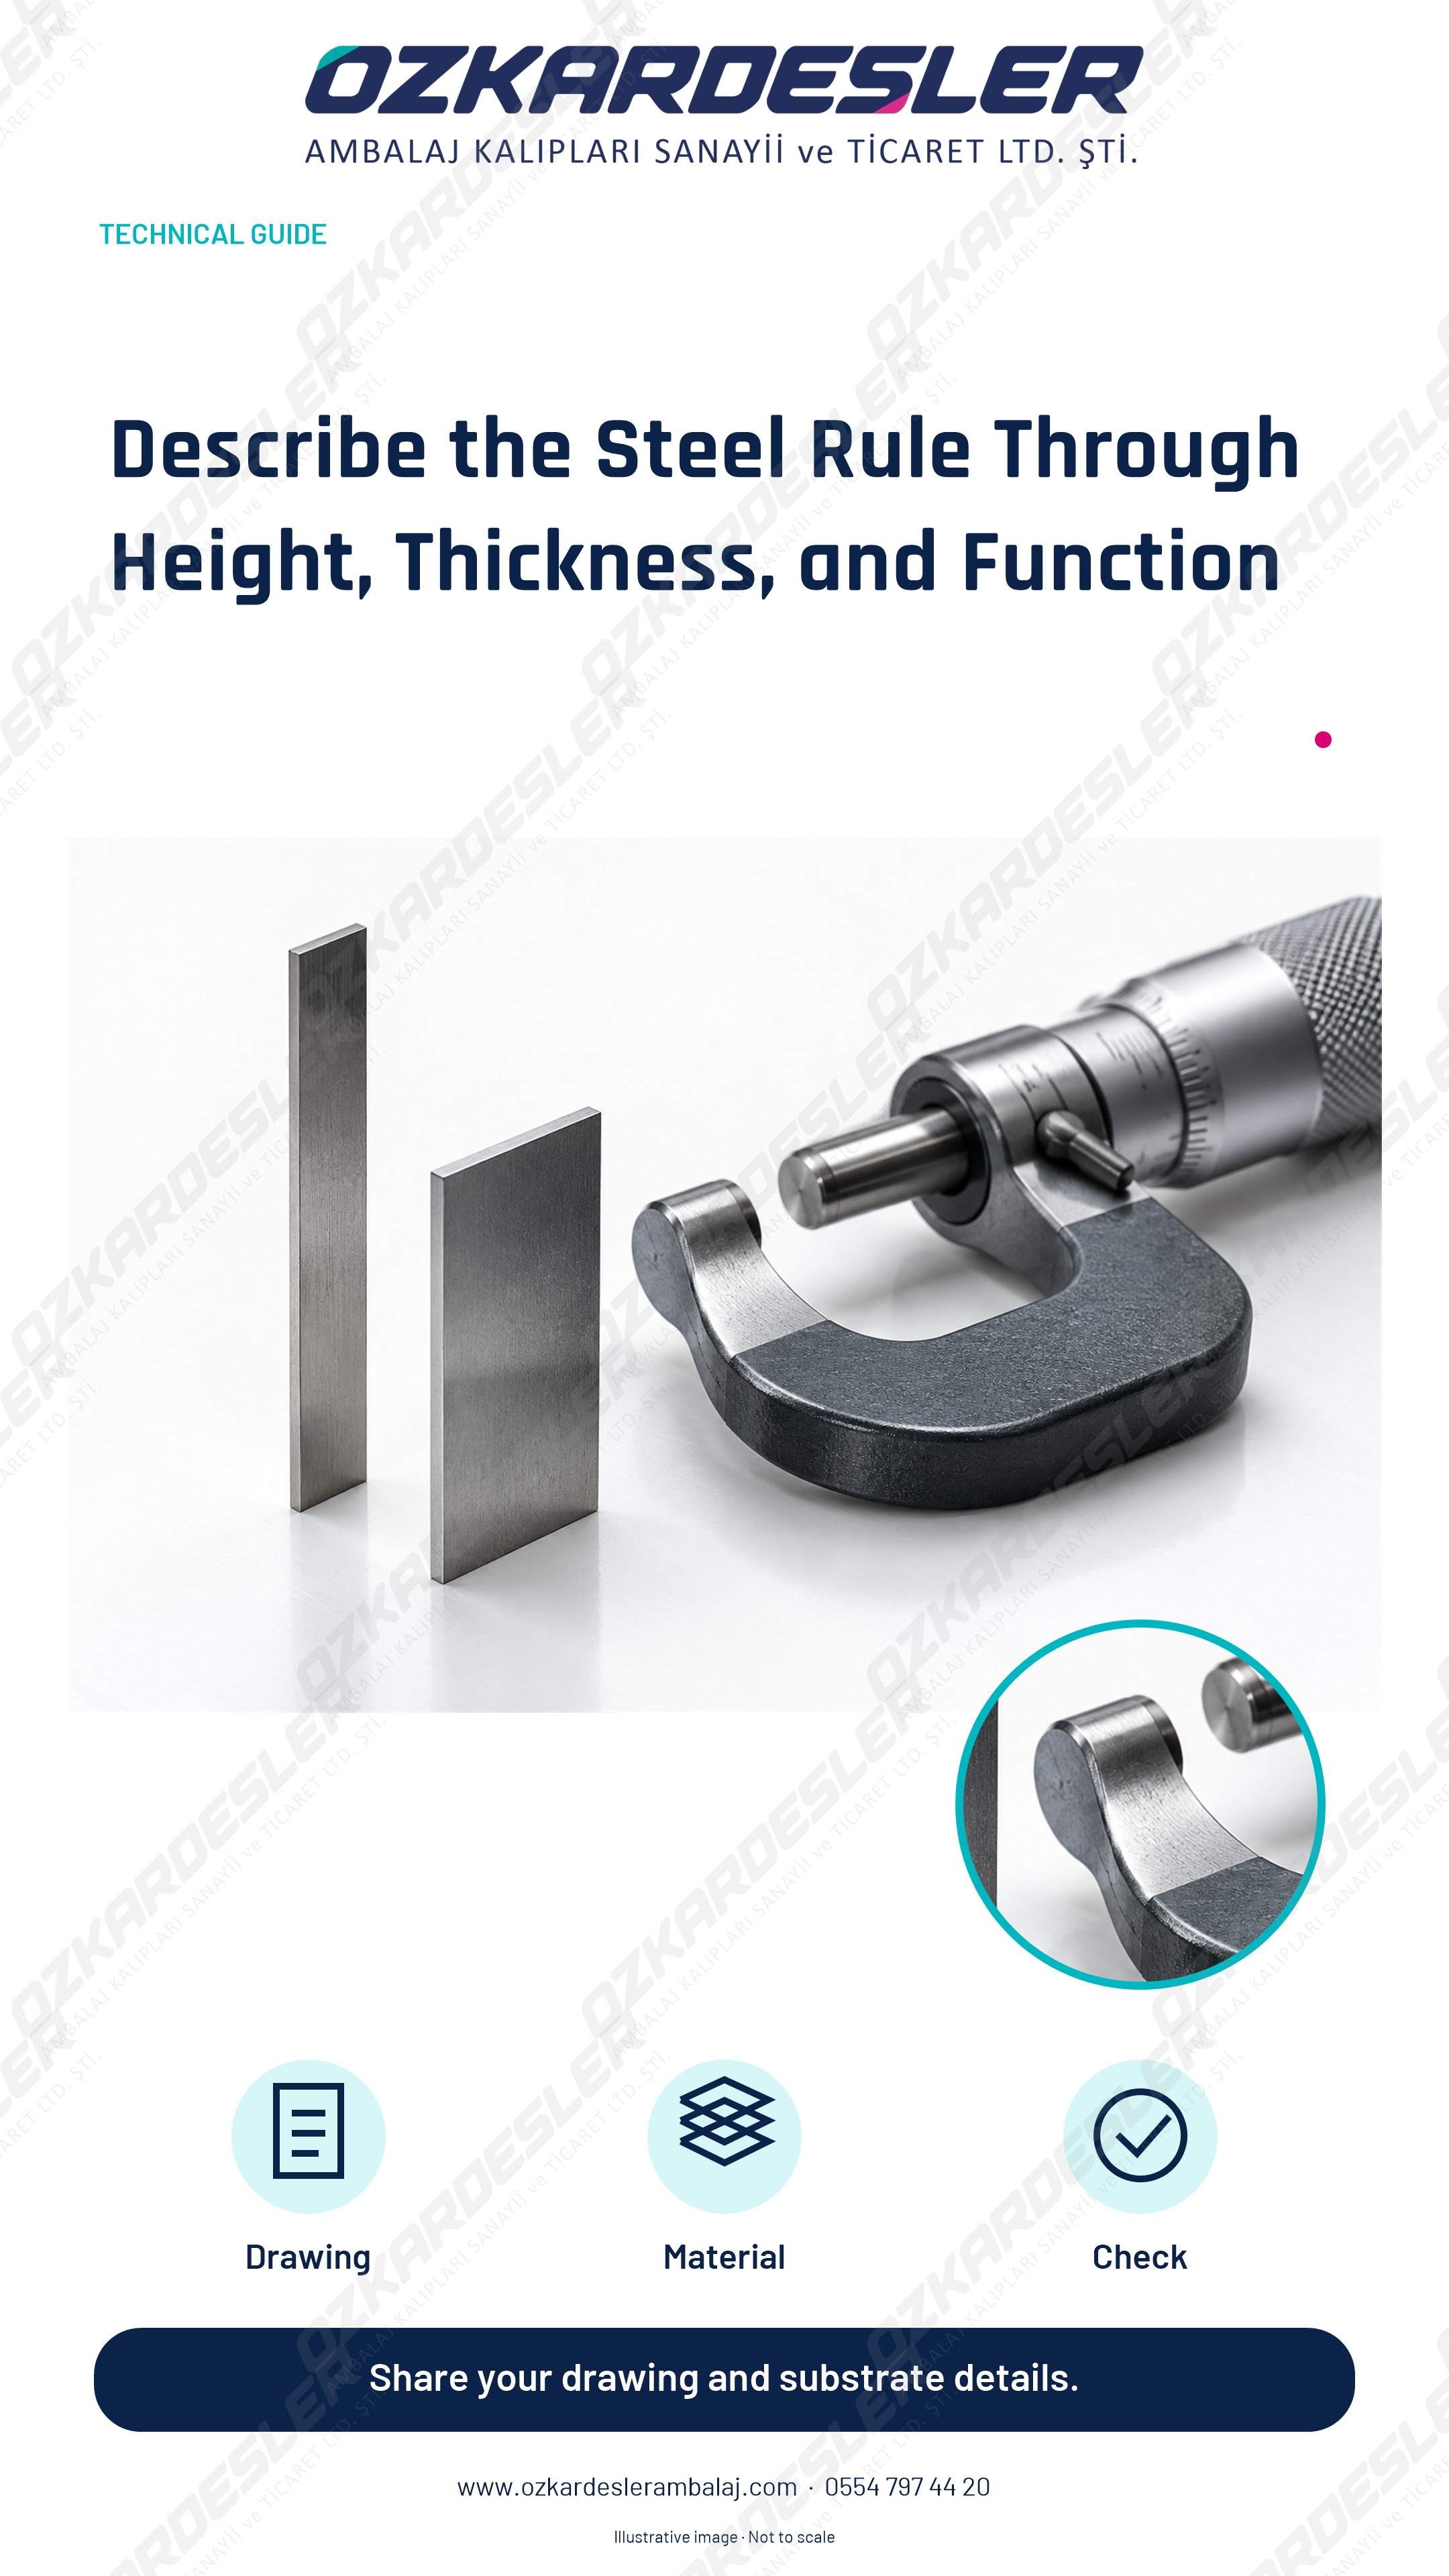
Separate height and thickness in cutting rules; share material, processing task, and machine conditions together.
Read the article →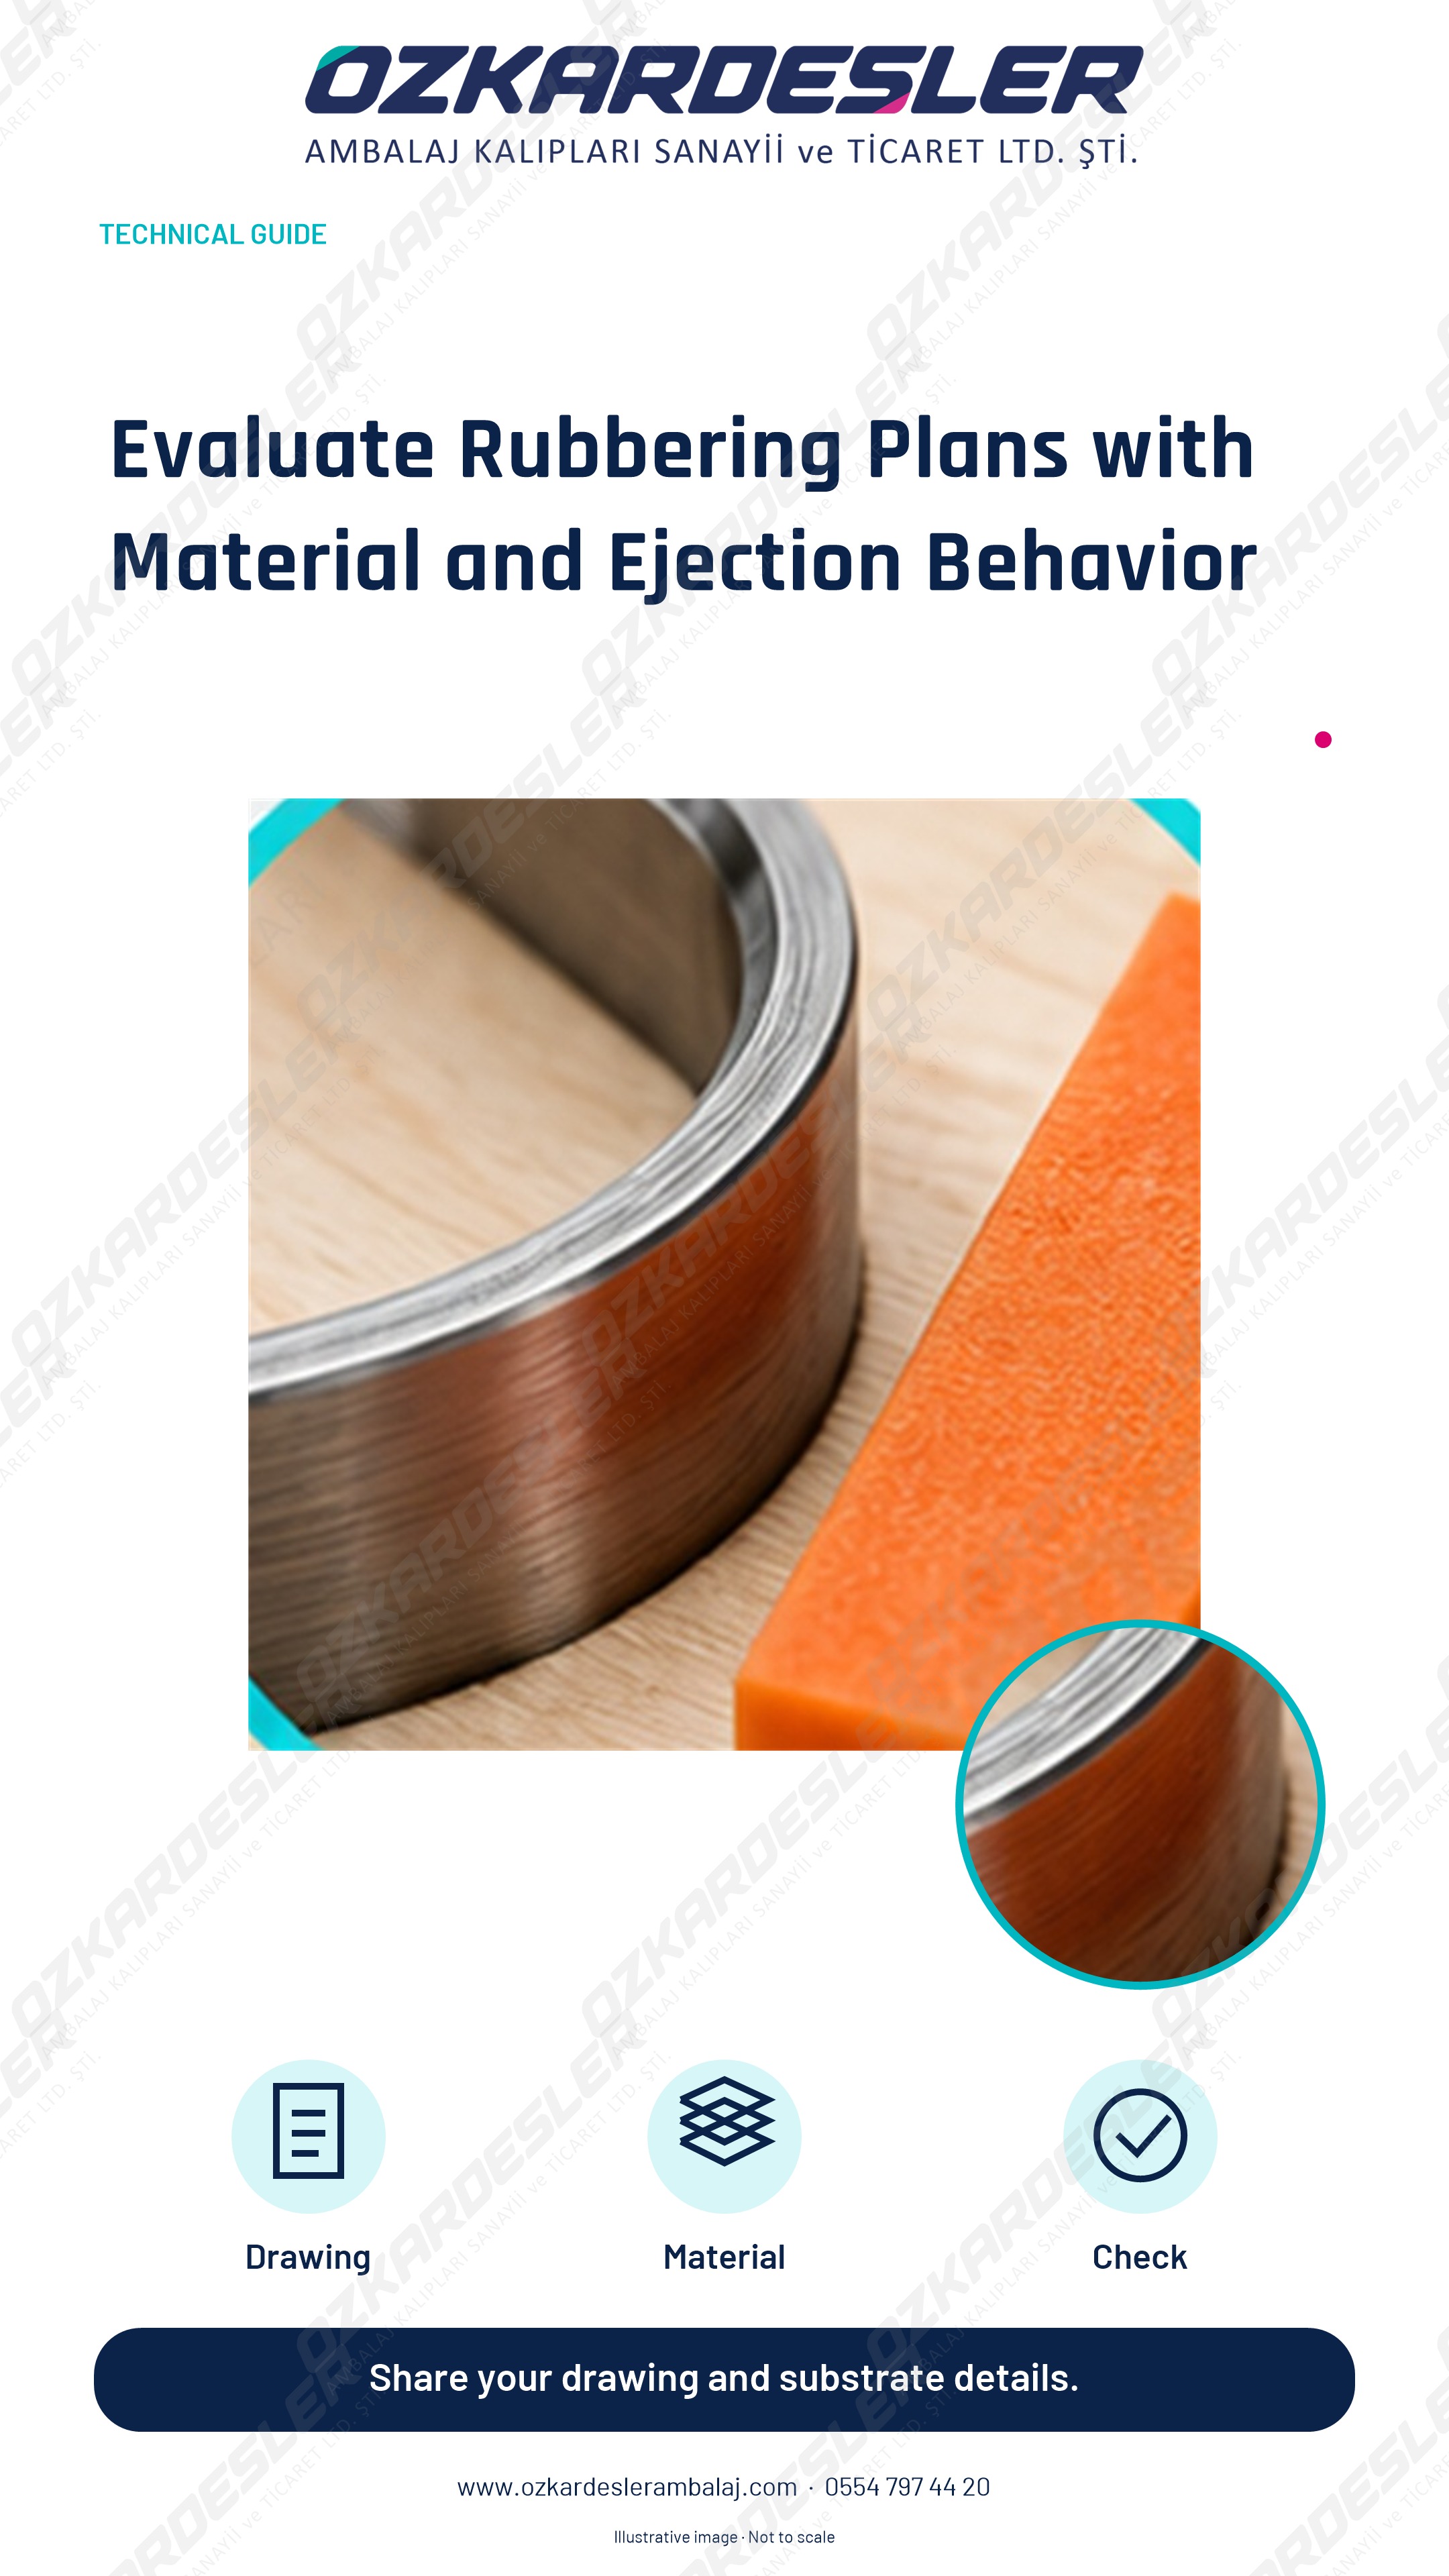
Evaluate material, layout, and recovery together in die rubbering; record surface marks and ejection issues.
Read the article →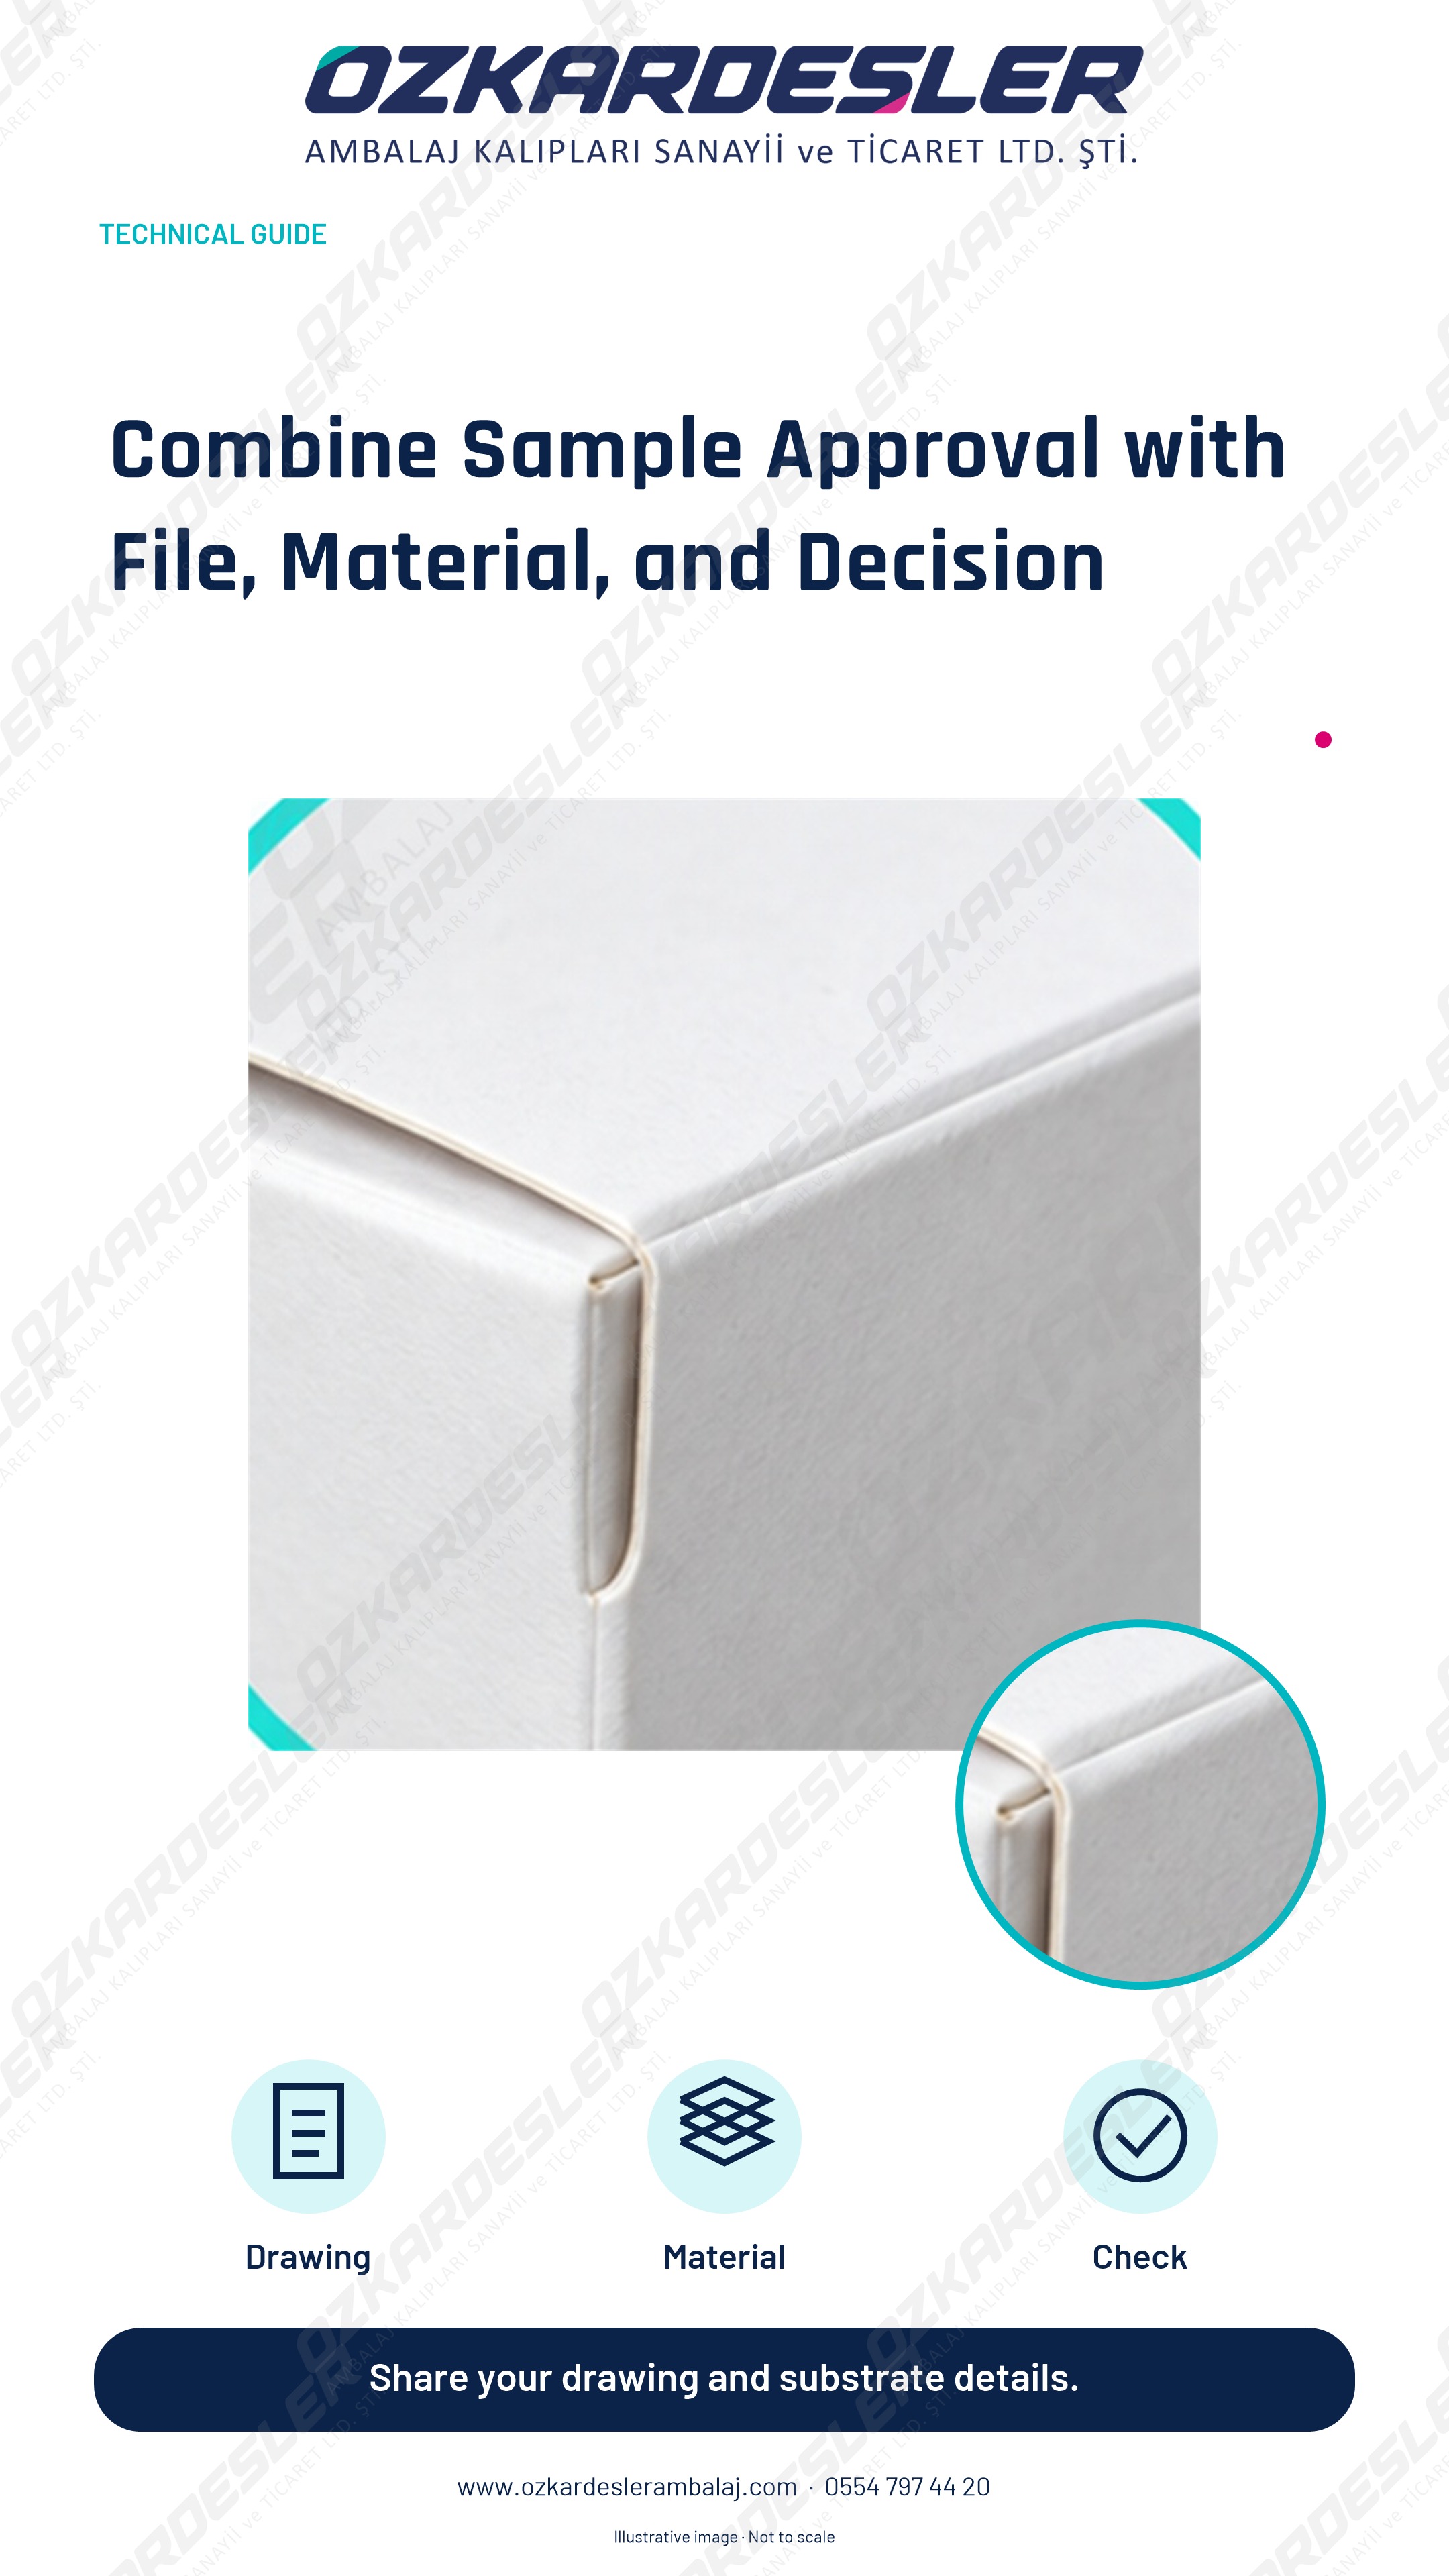
Combine function and dimension control on the packaging sample with a revision log; clearly define the version intended for production.
Read the article →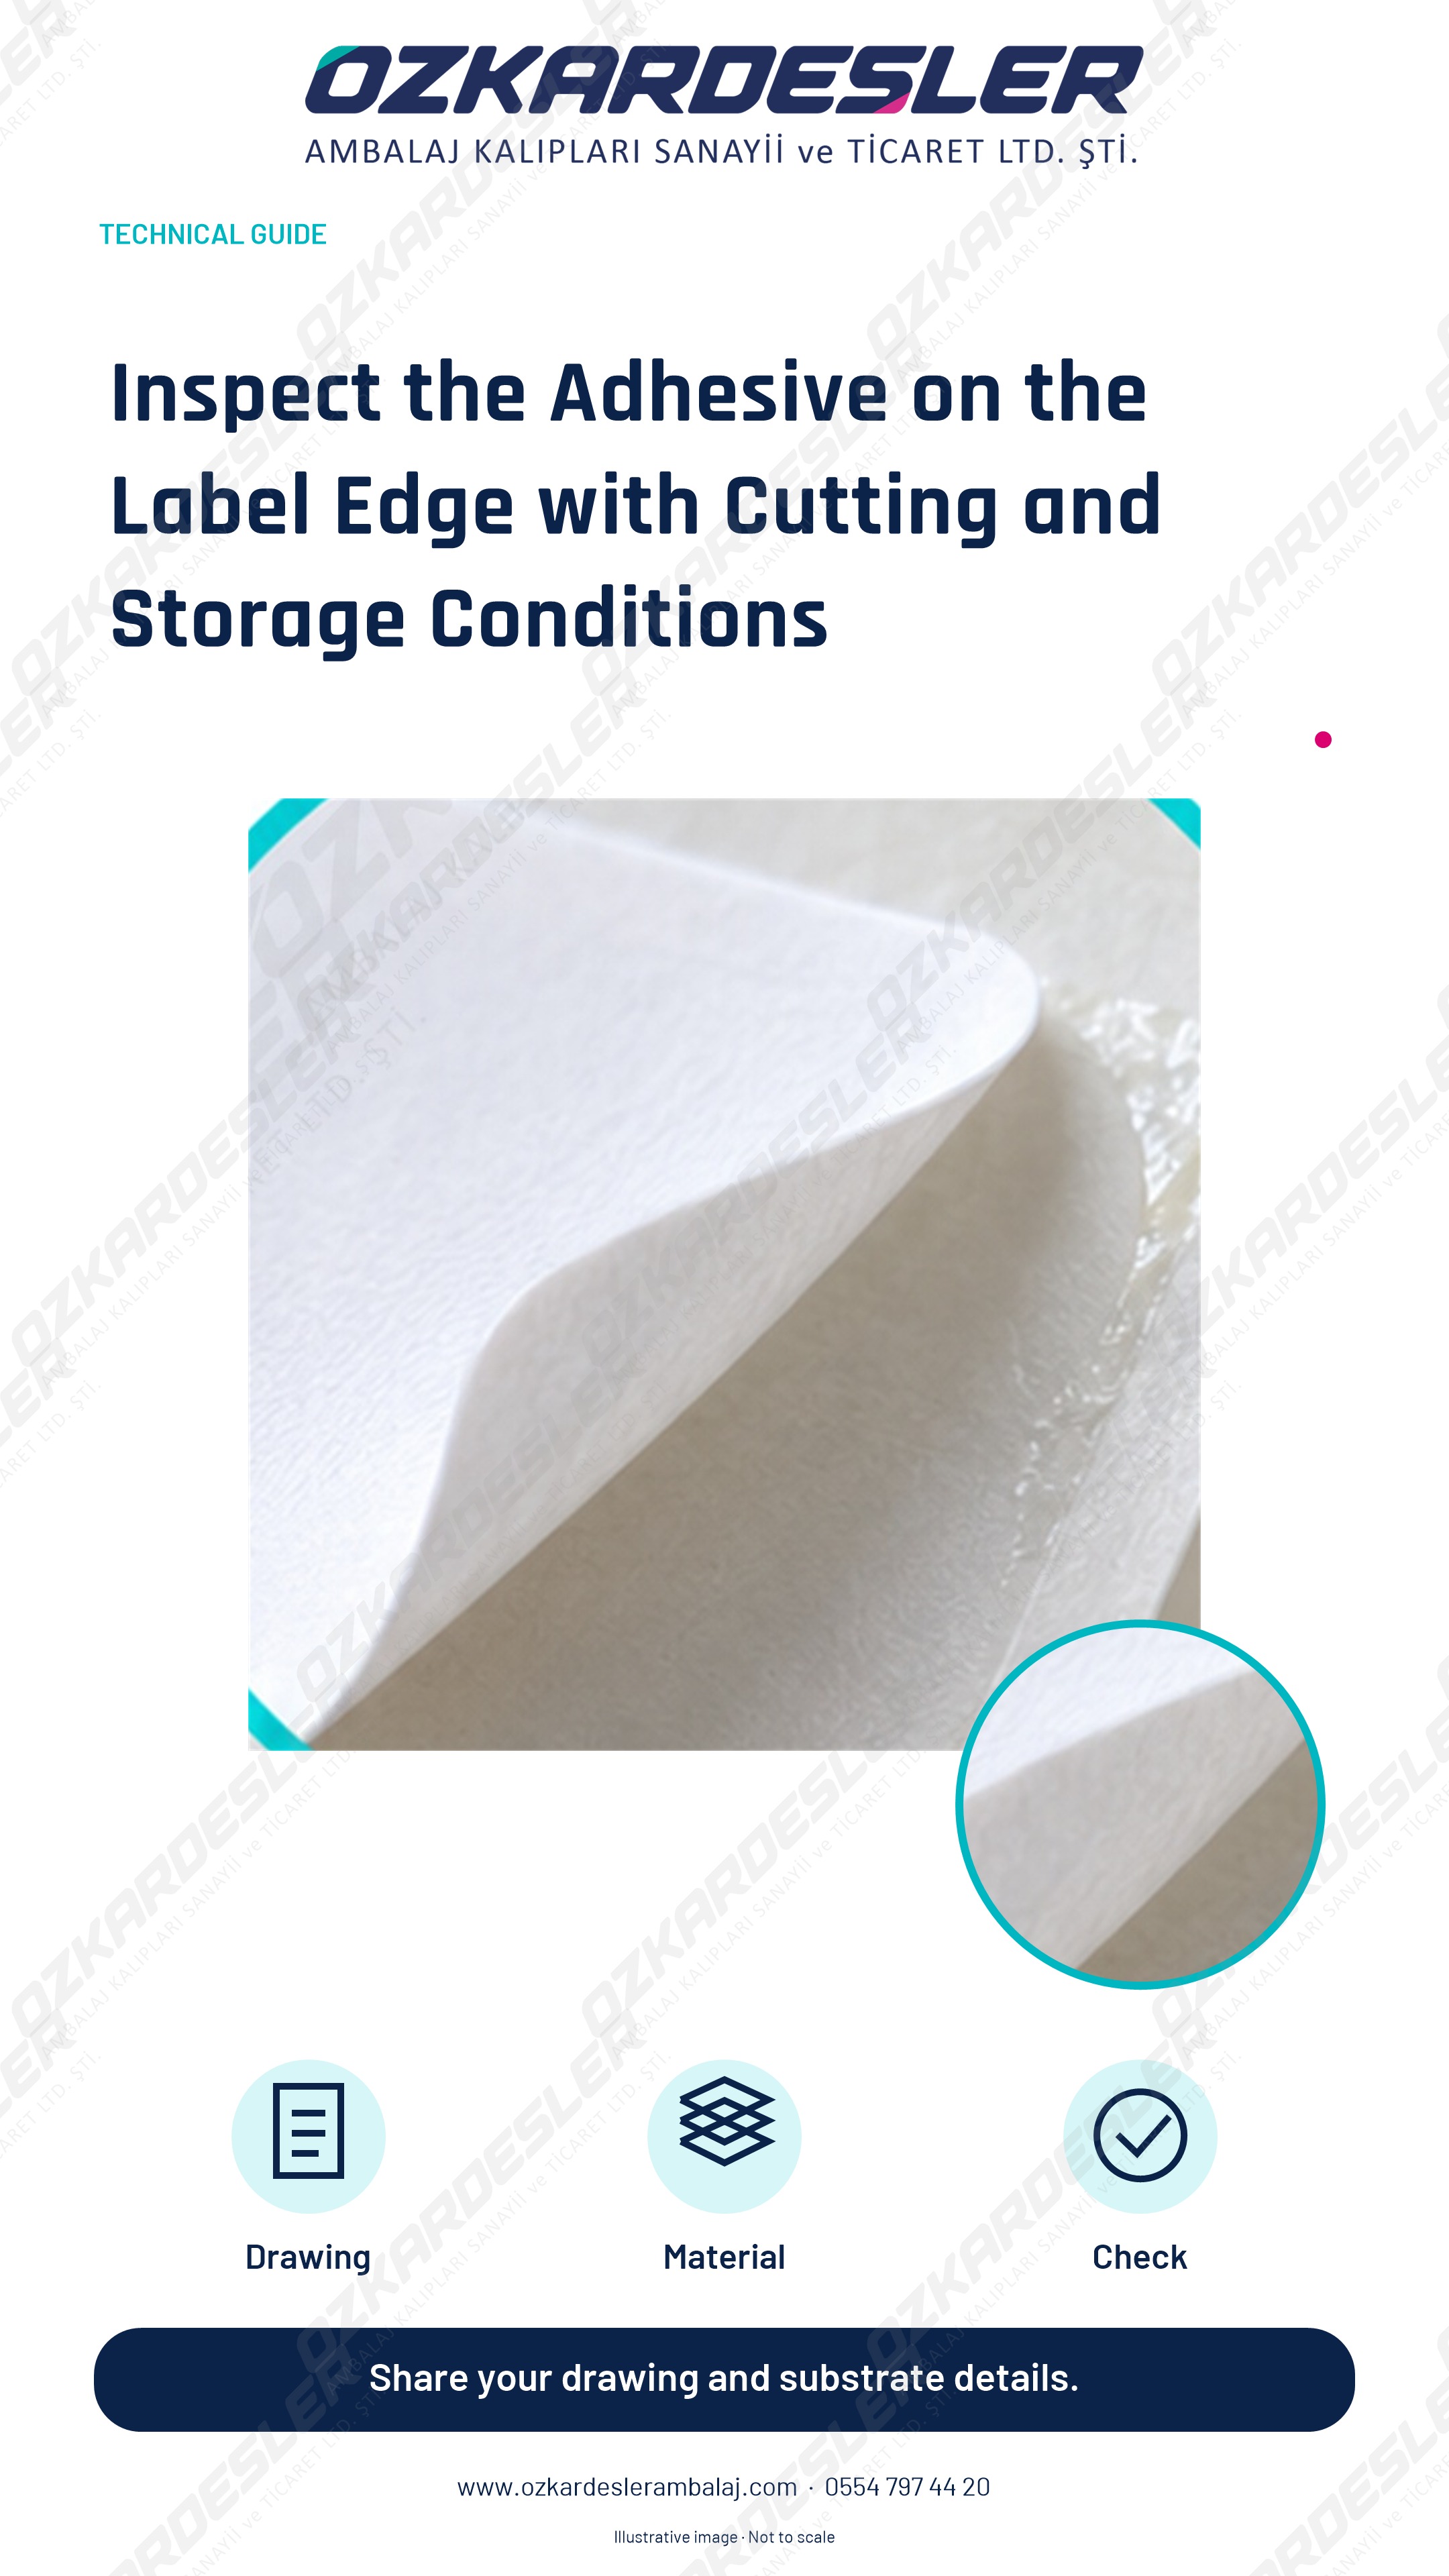
Evaluate label adhesive overflow alongside cutting, material, and storage information; also check aged samples.
Read the article →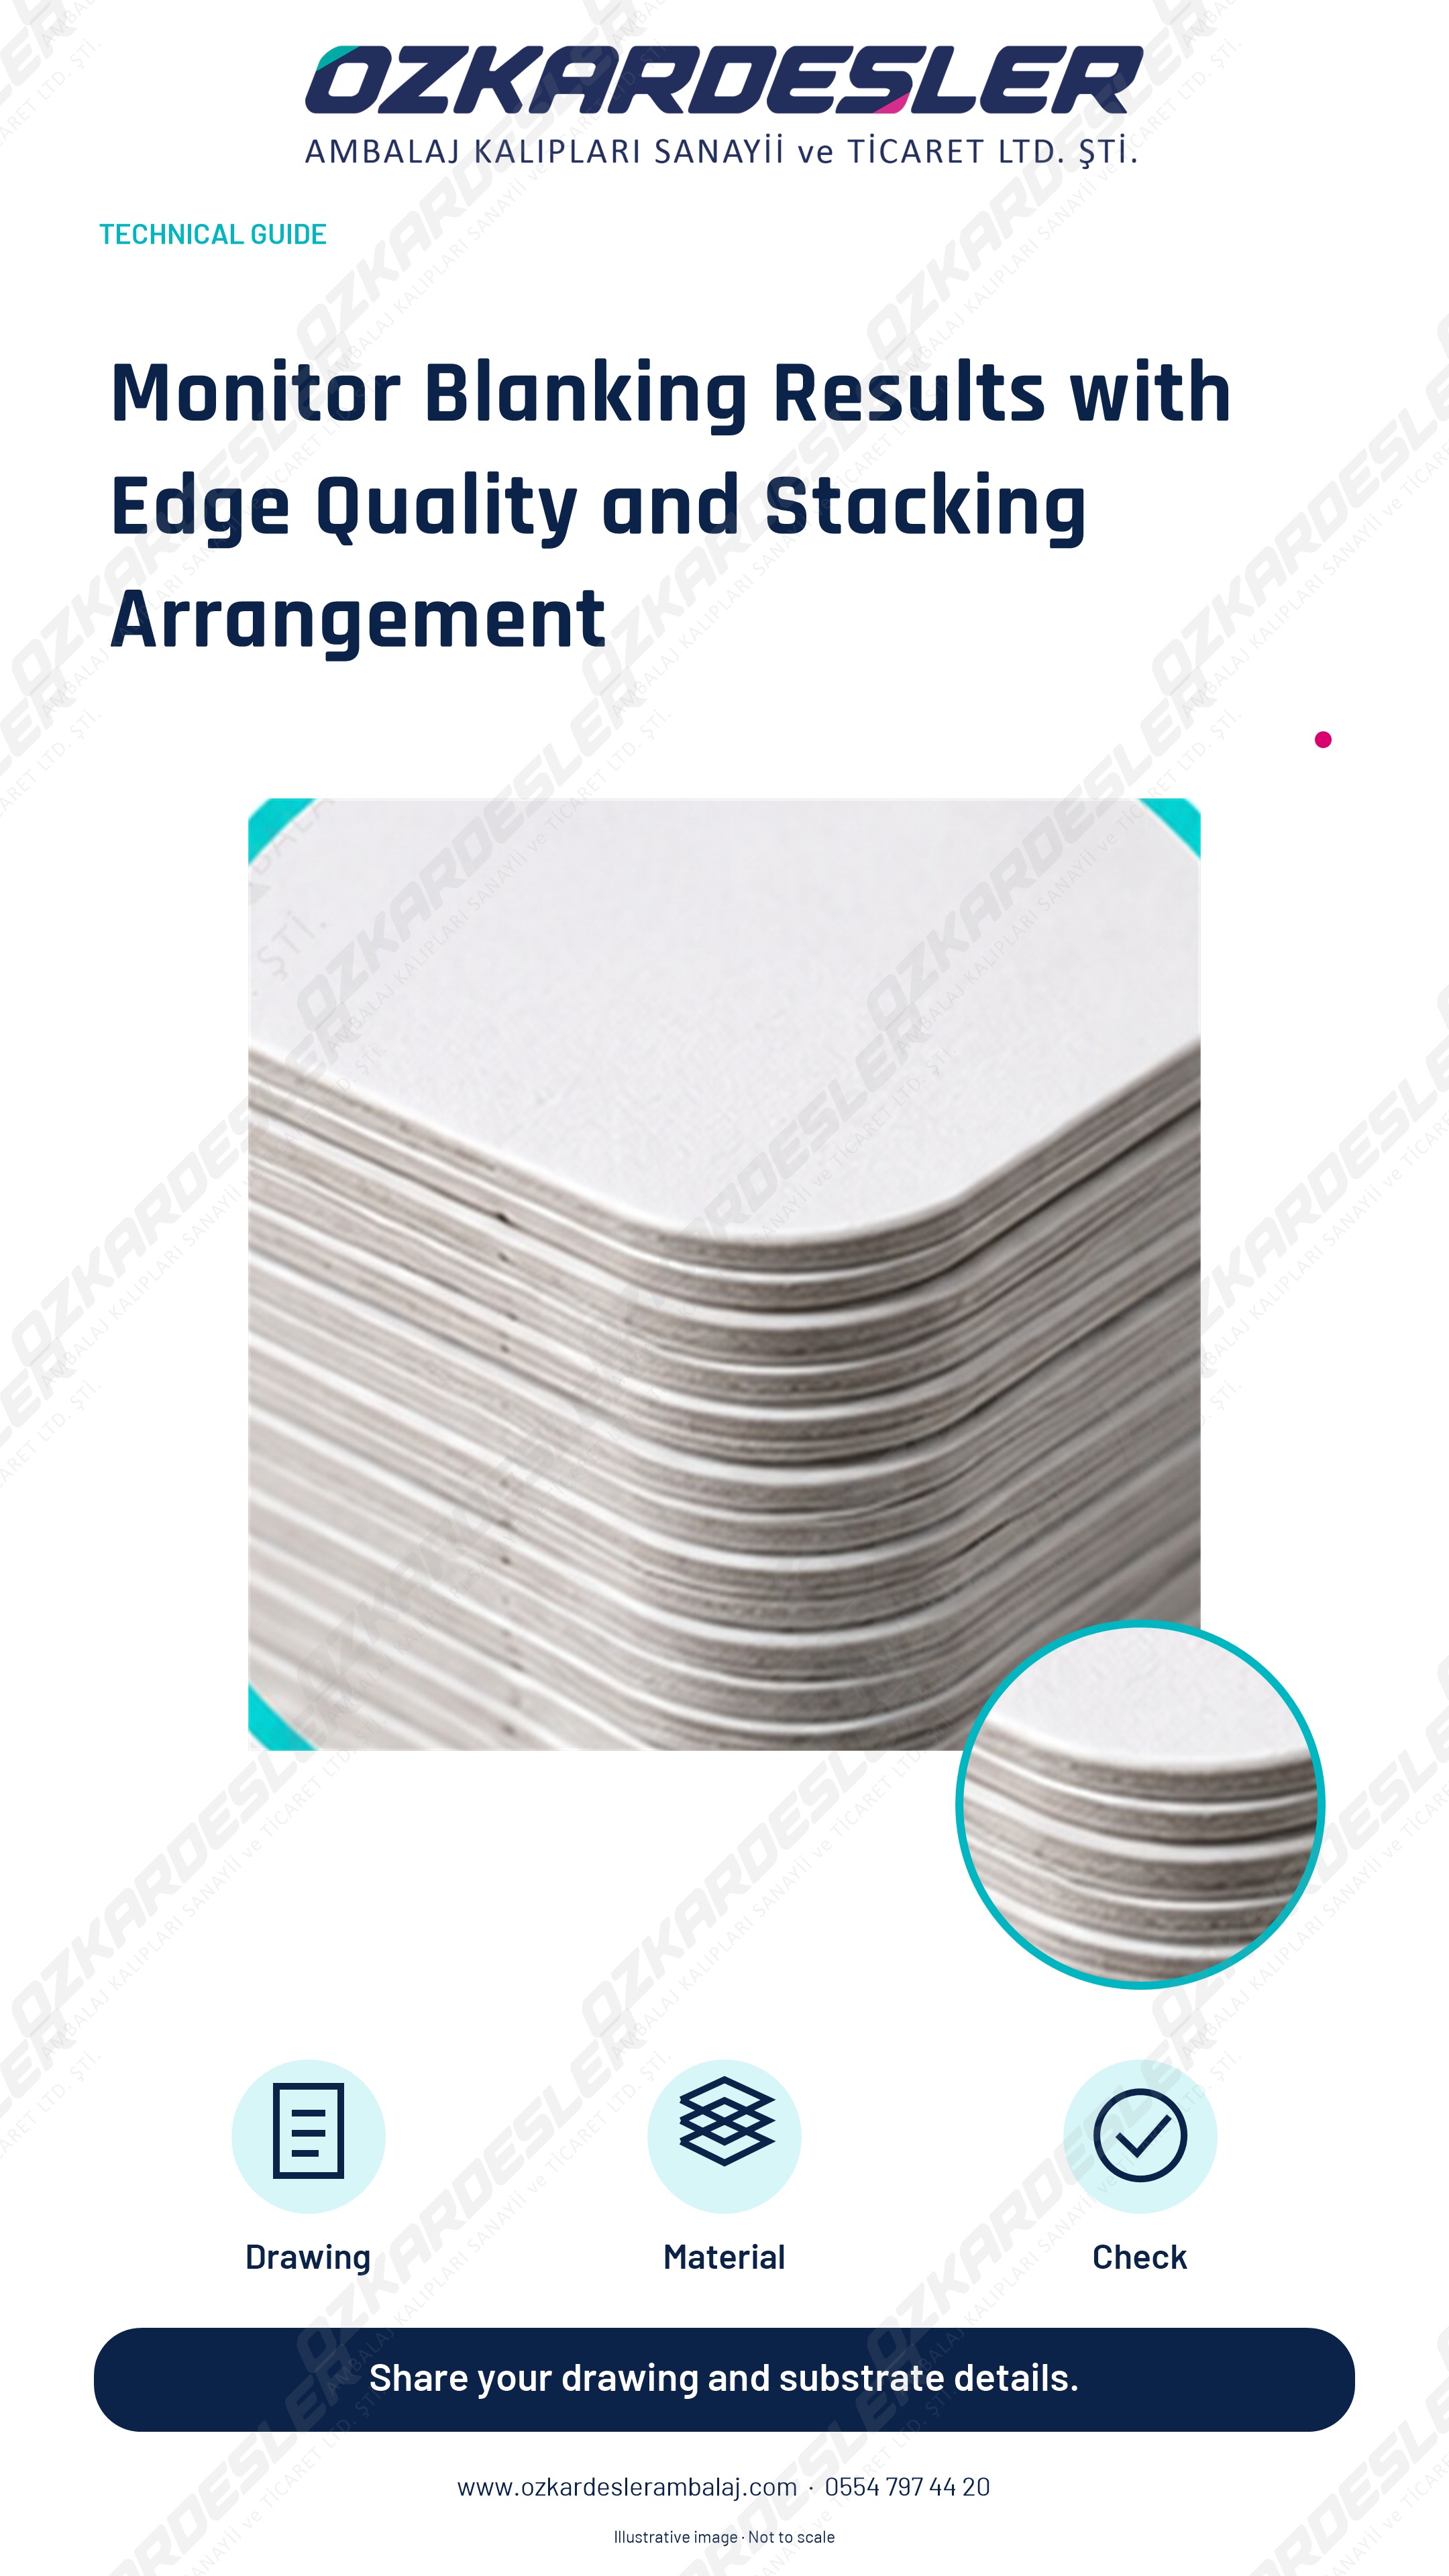
Review product transfer, waste stripping, and stacking arrangement together during the blanking process; track changes with records.
Read the article →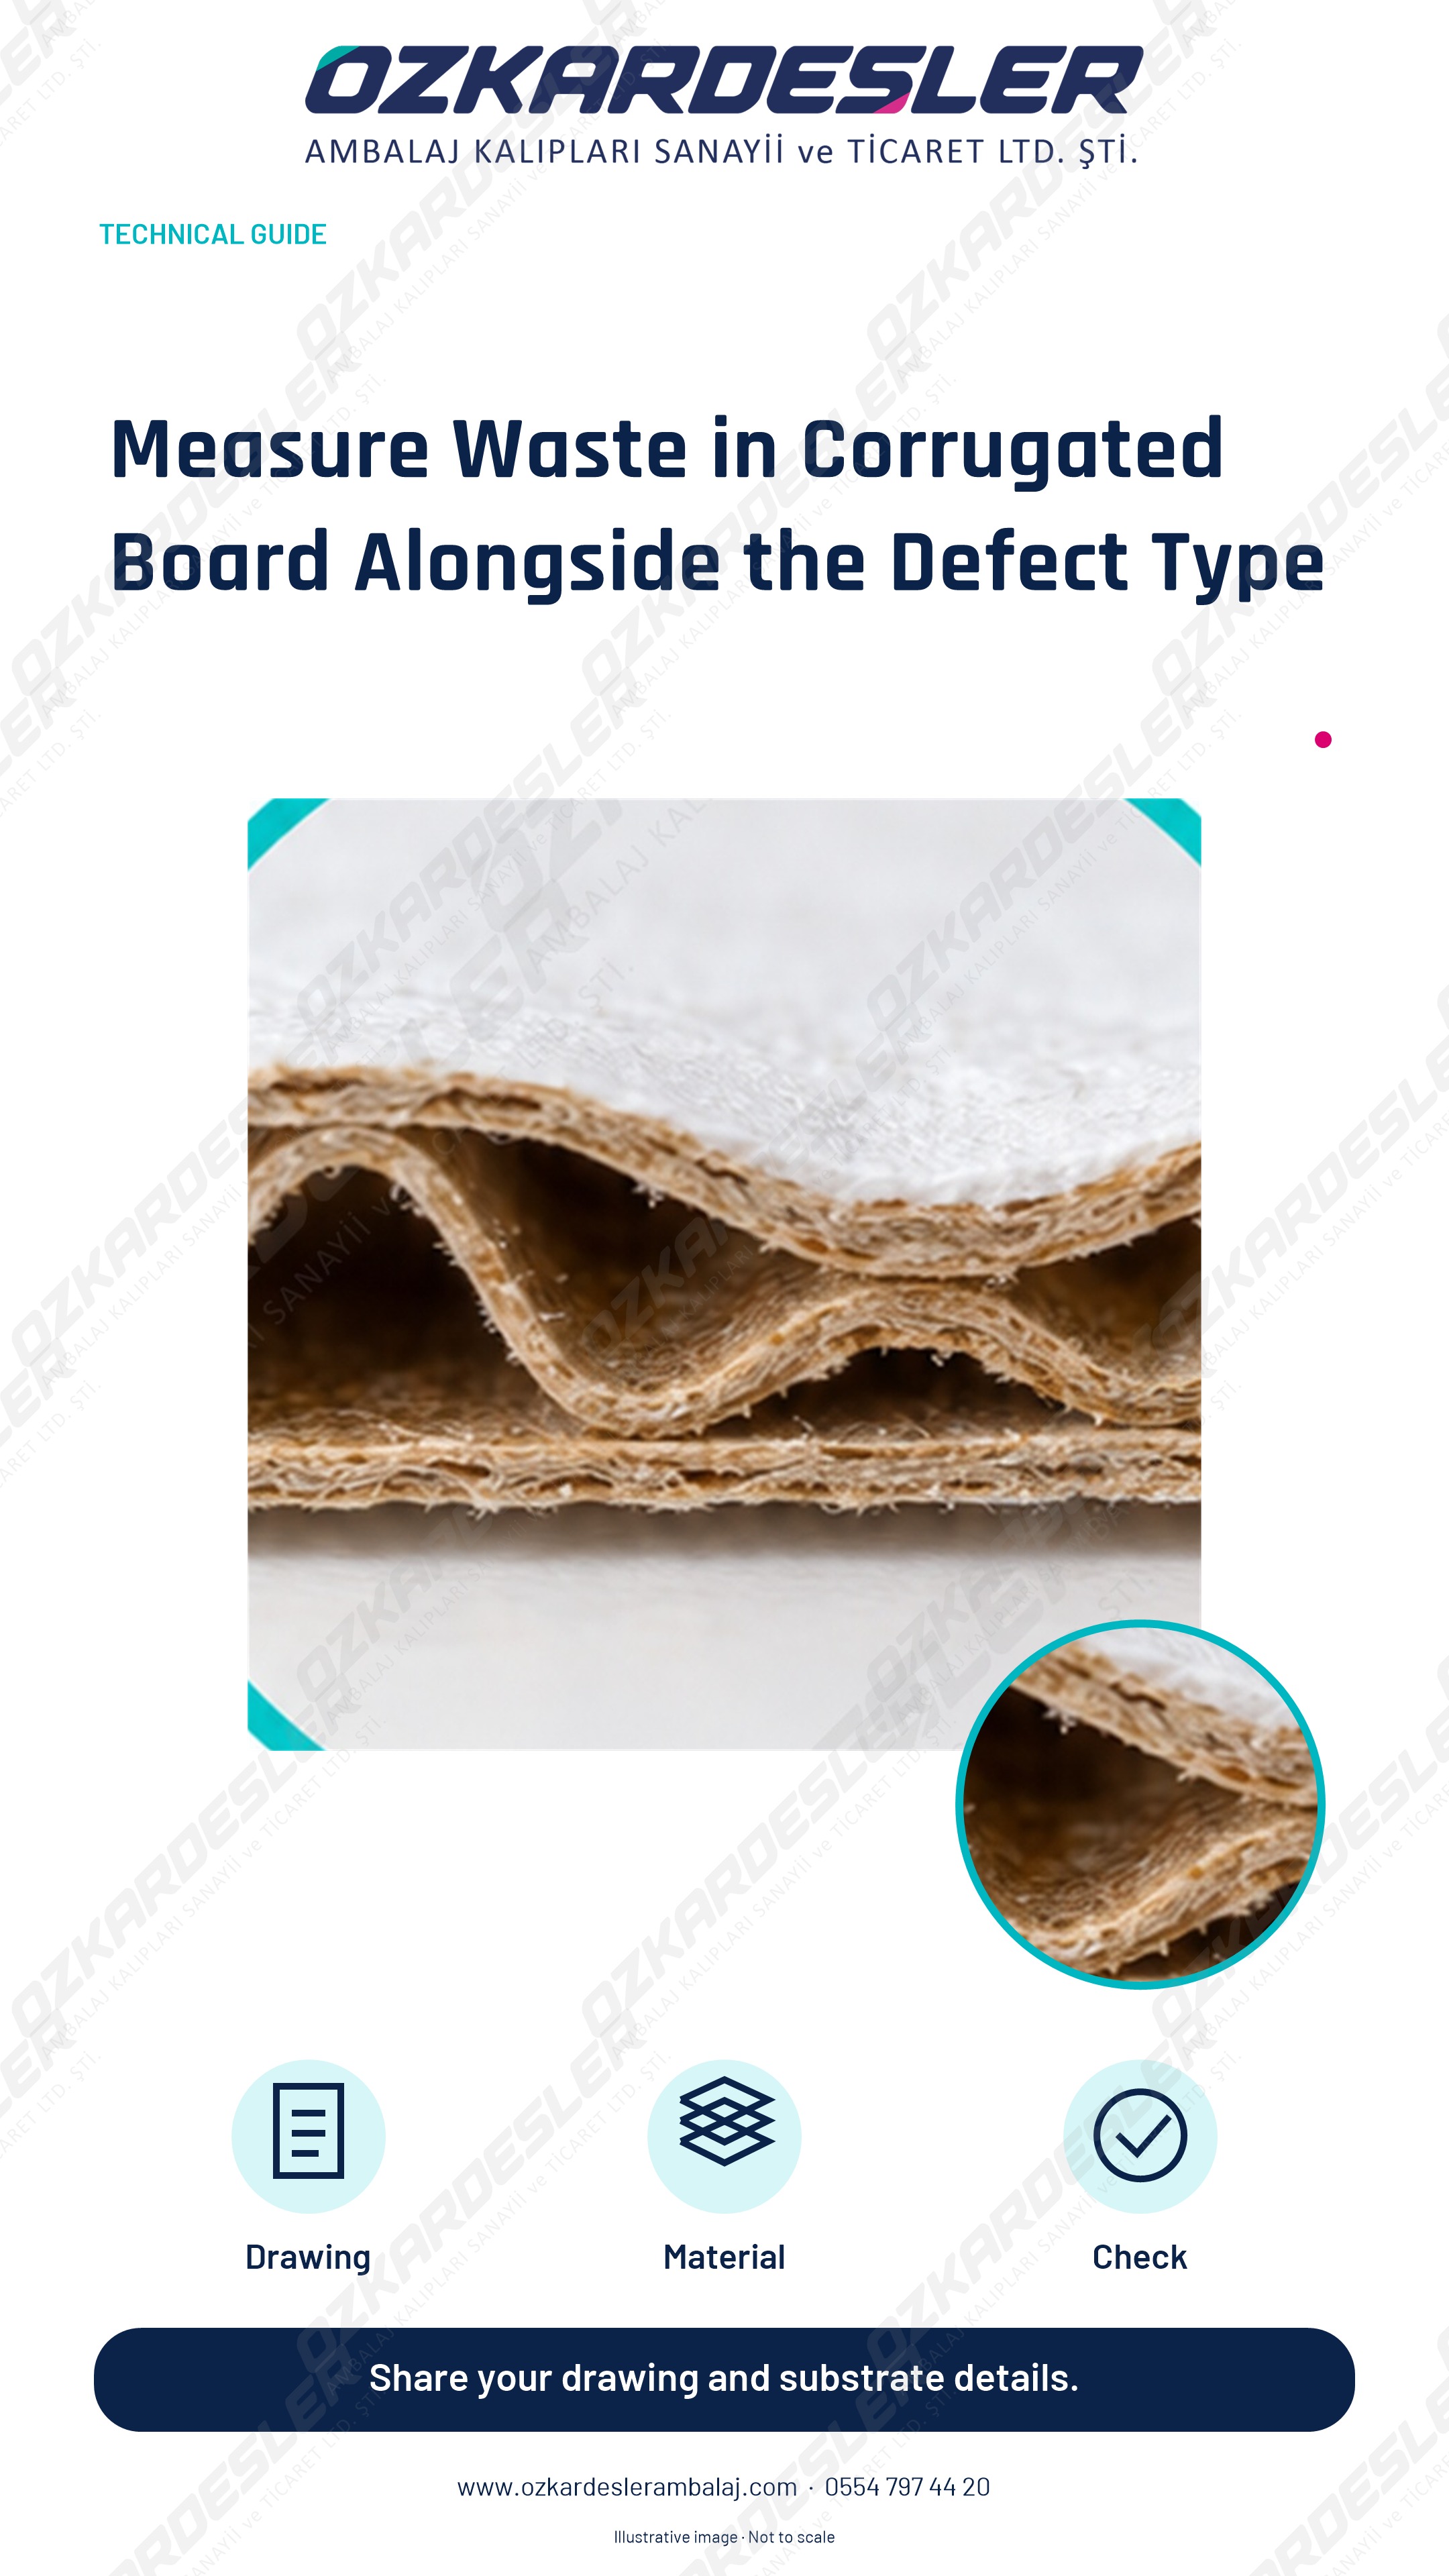
Record crushing, cutting, and creasing defects separately in corrugated board; verify corrections using actual material.
Read the article →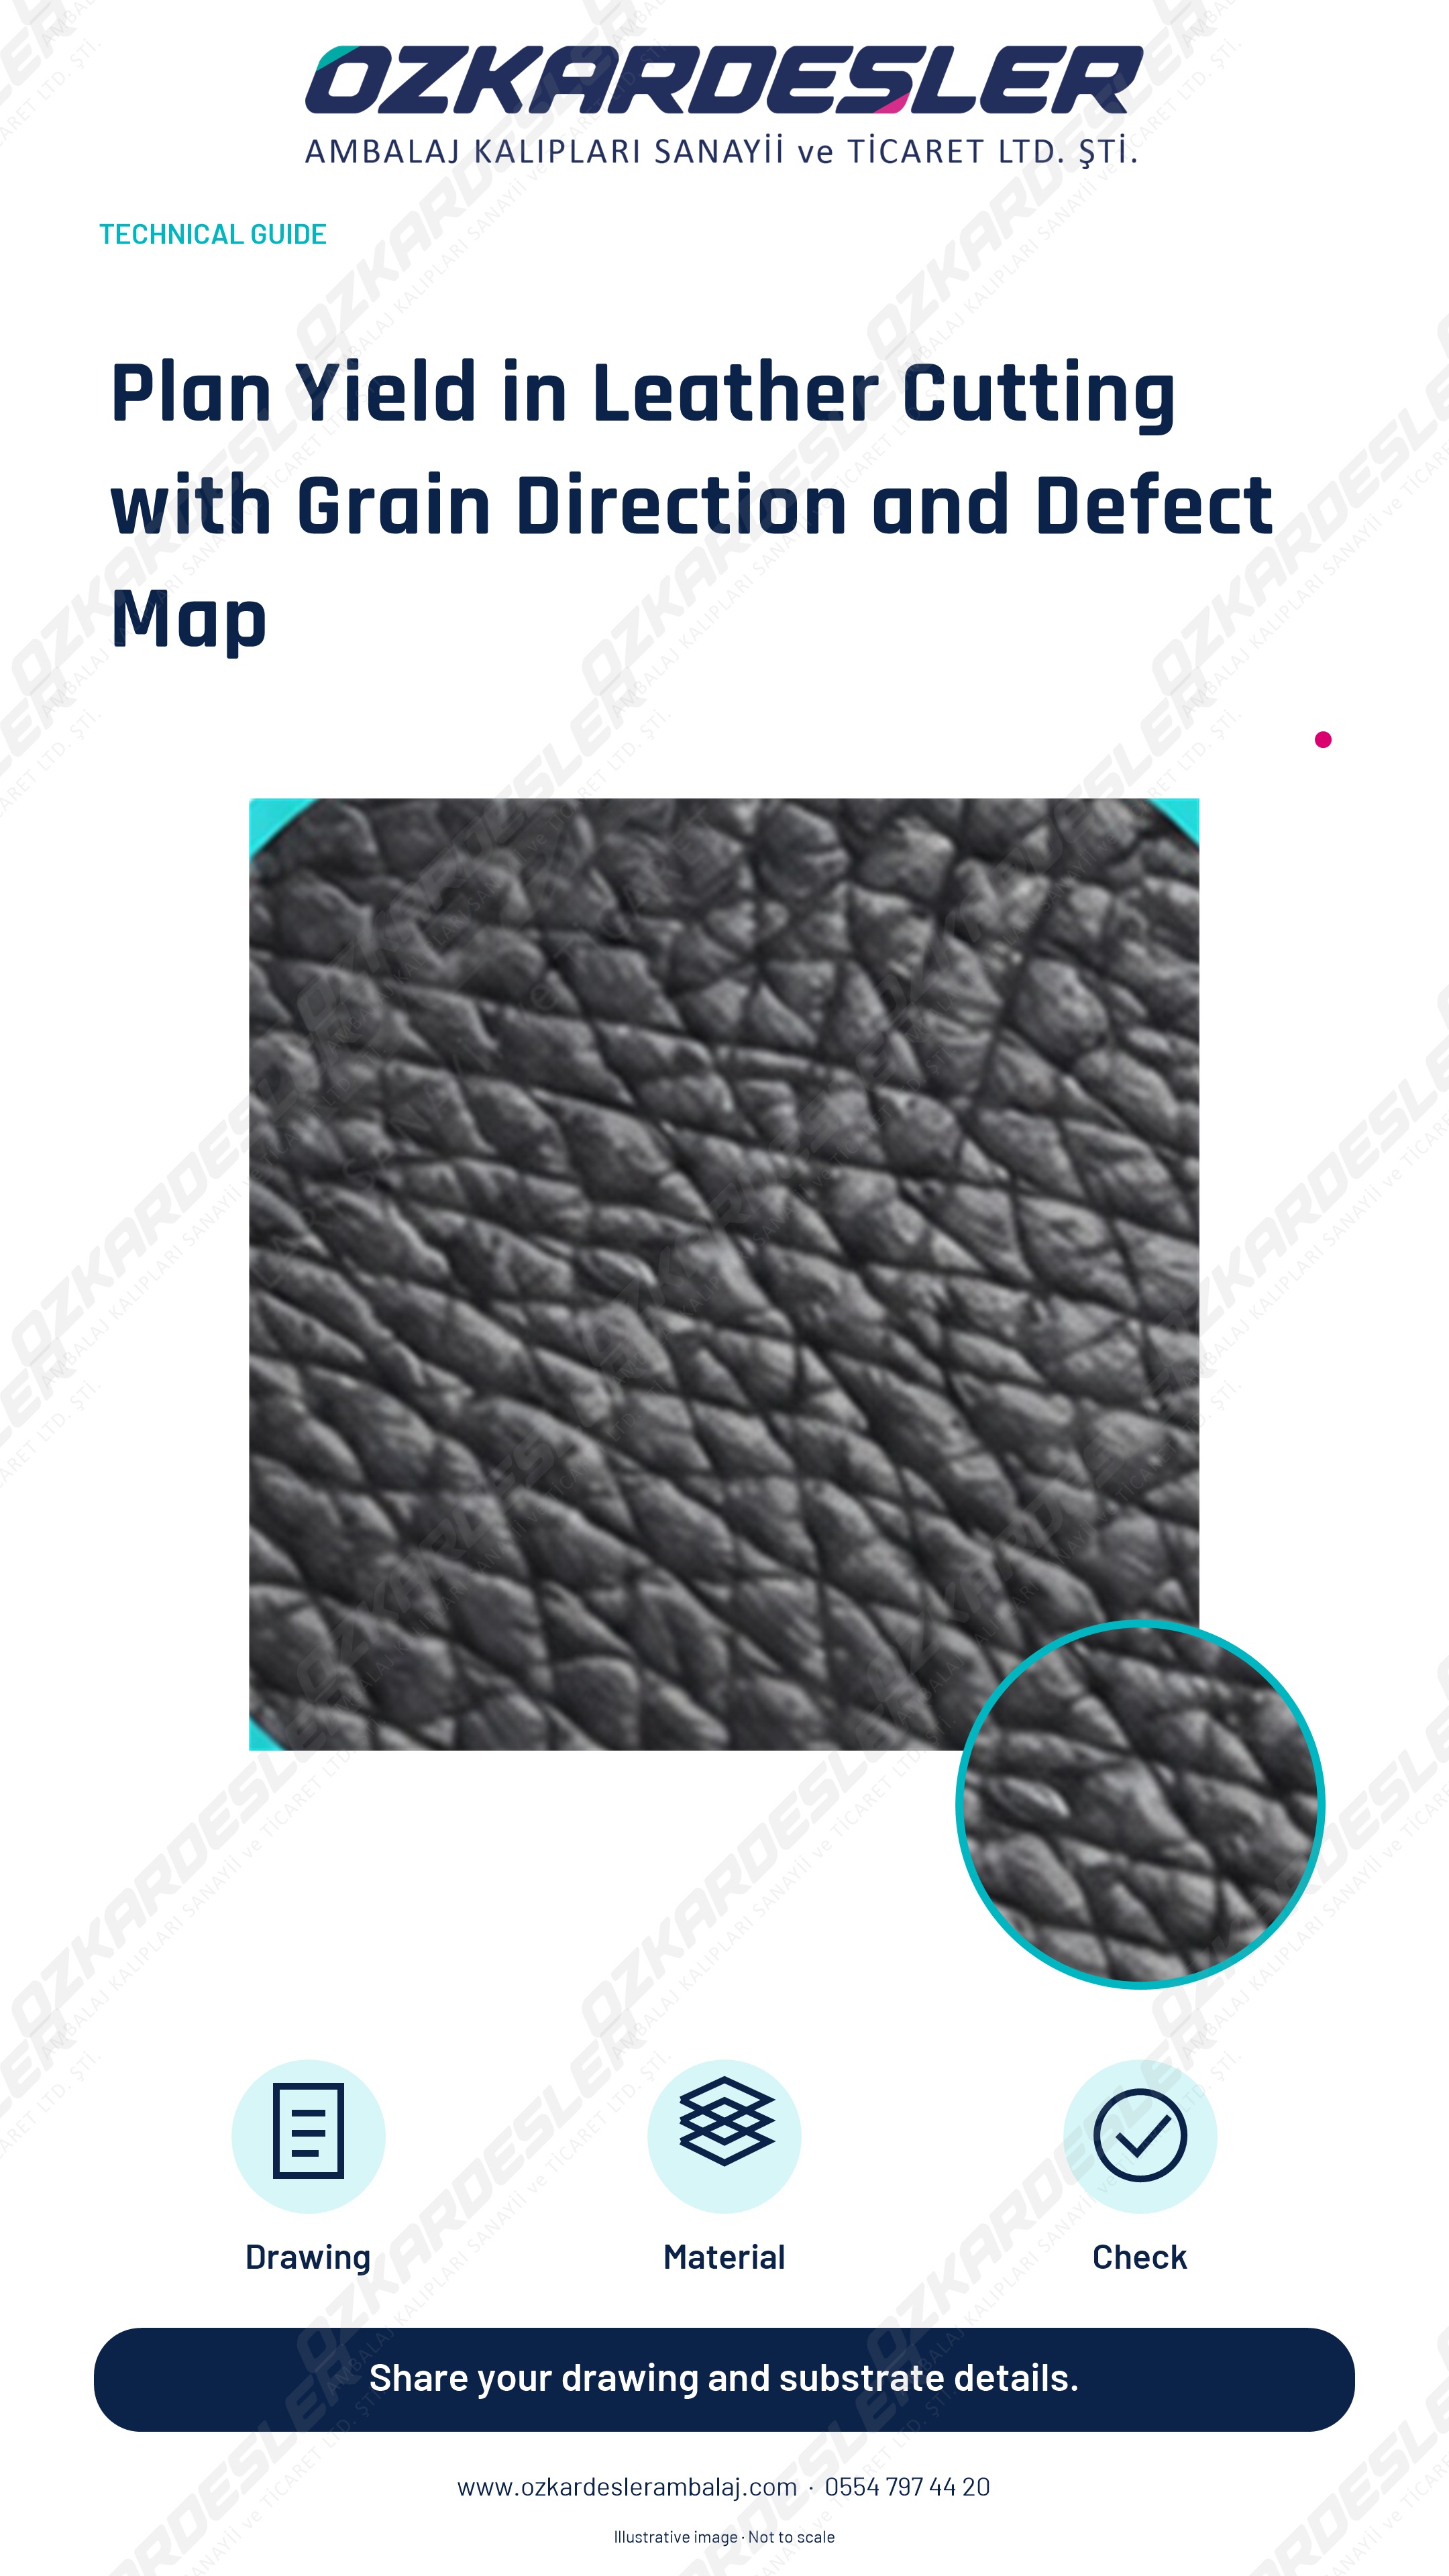
Evaluate layout together with material defects, grain direction, and tooling requirements in leather cutting; monitor waste on a model basis.
Read the article →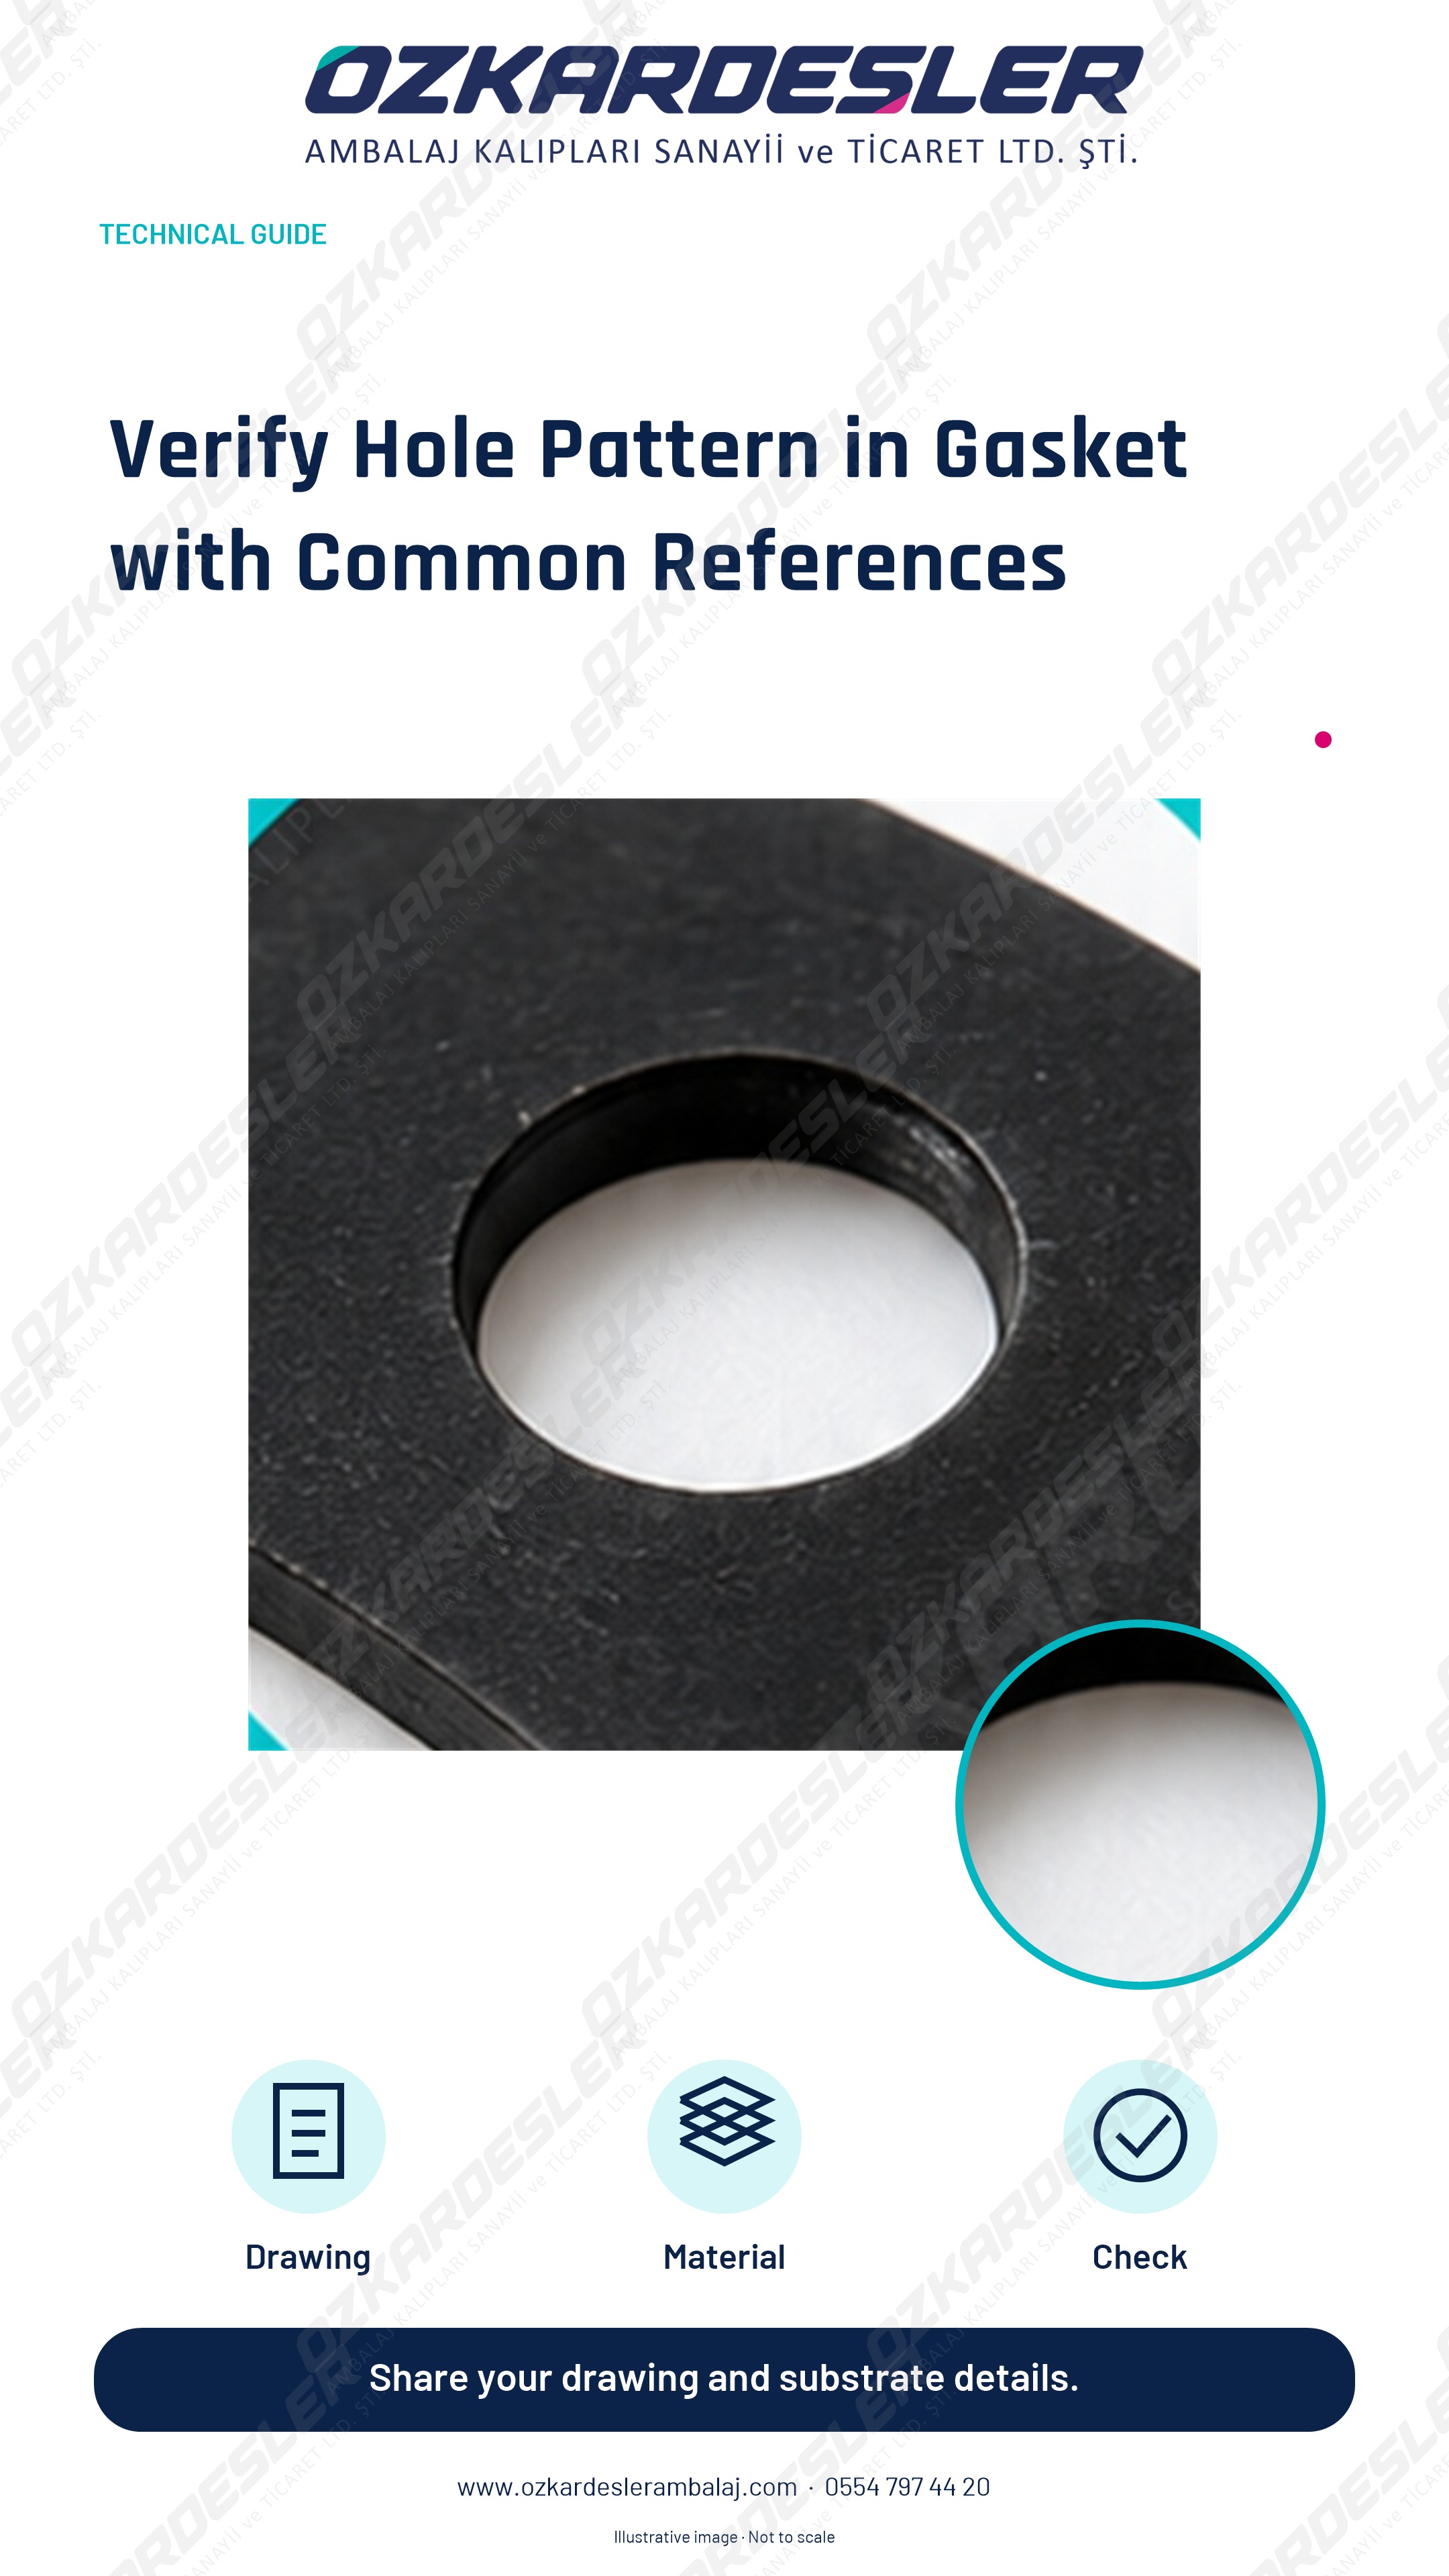
Check gasket hole centers, outer contour, and material behavior using common references; record the assembly result.
Read the article →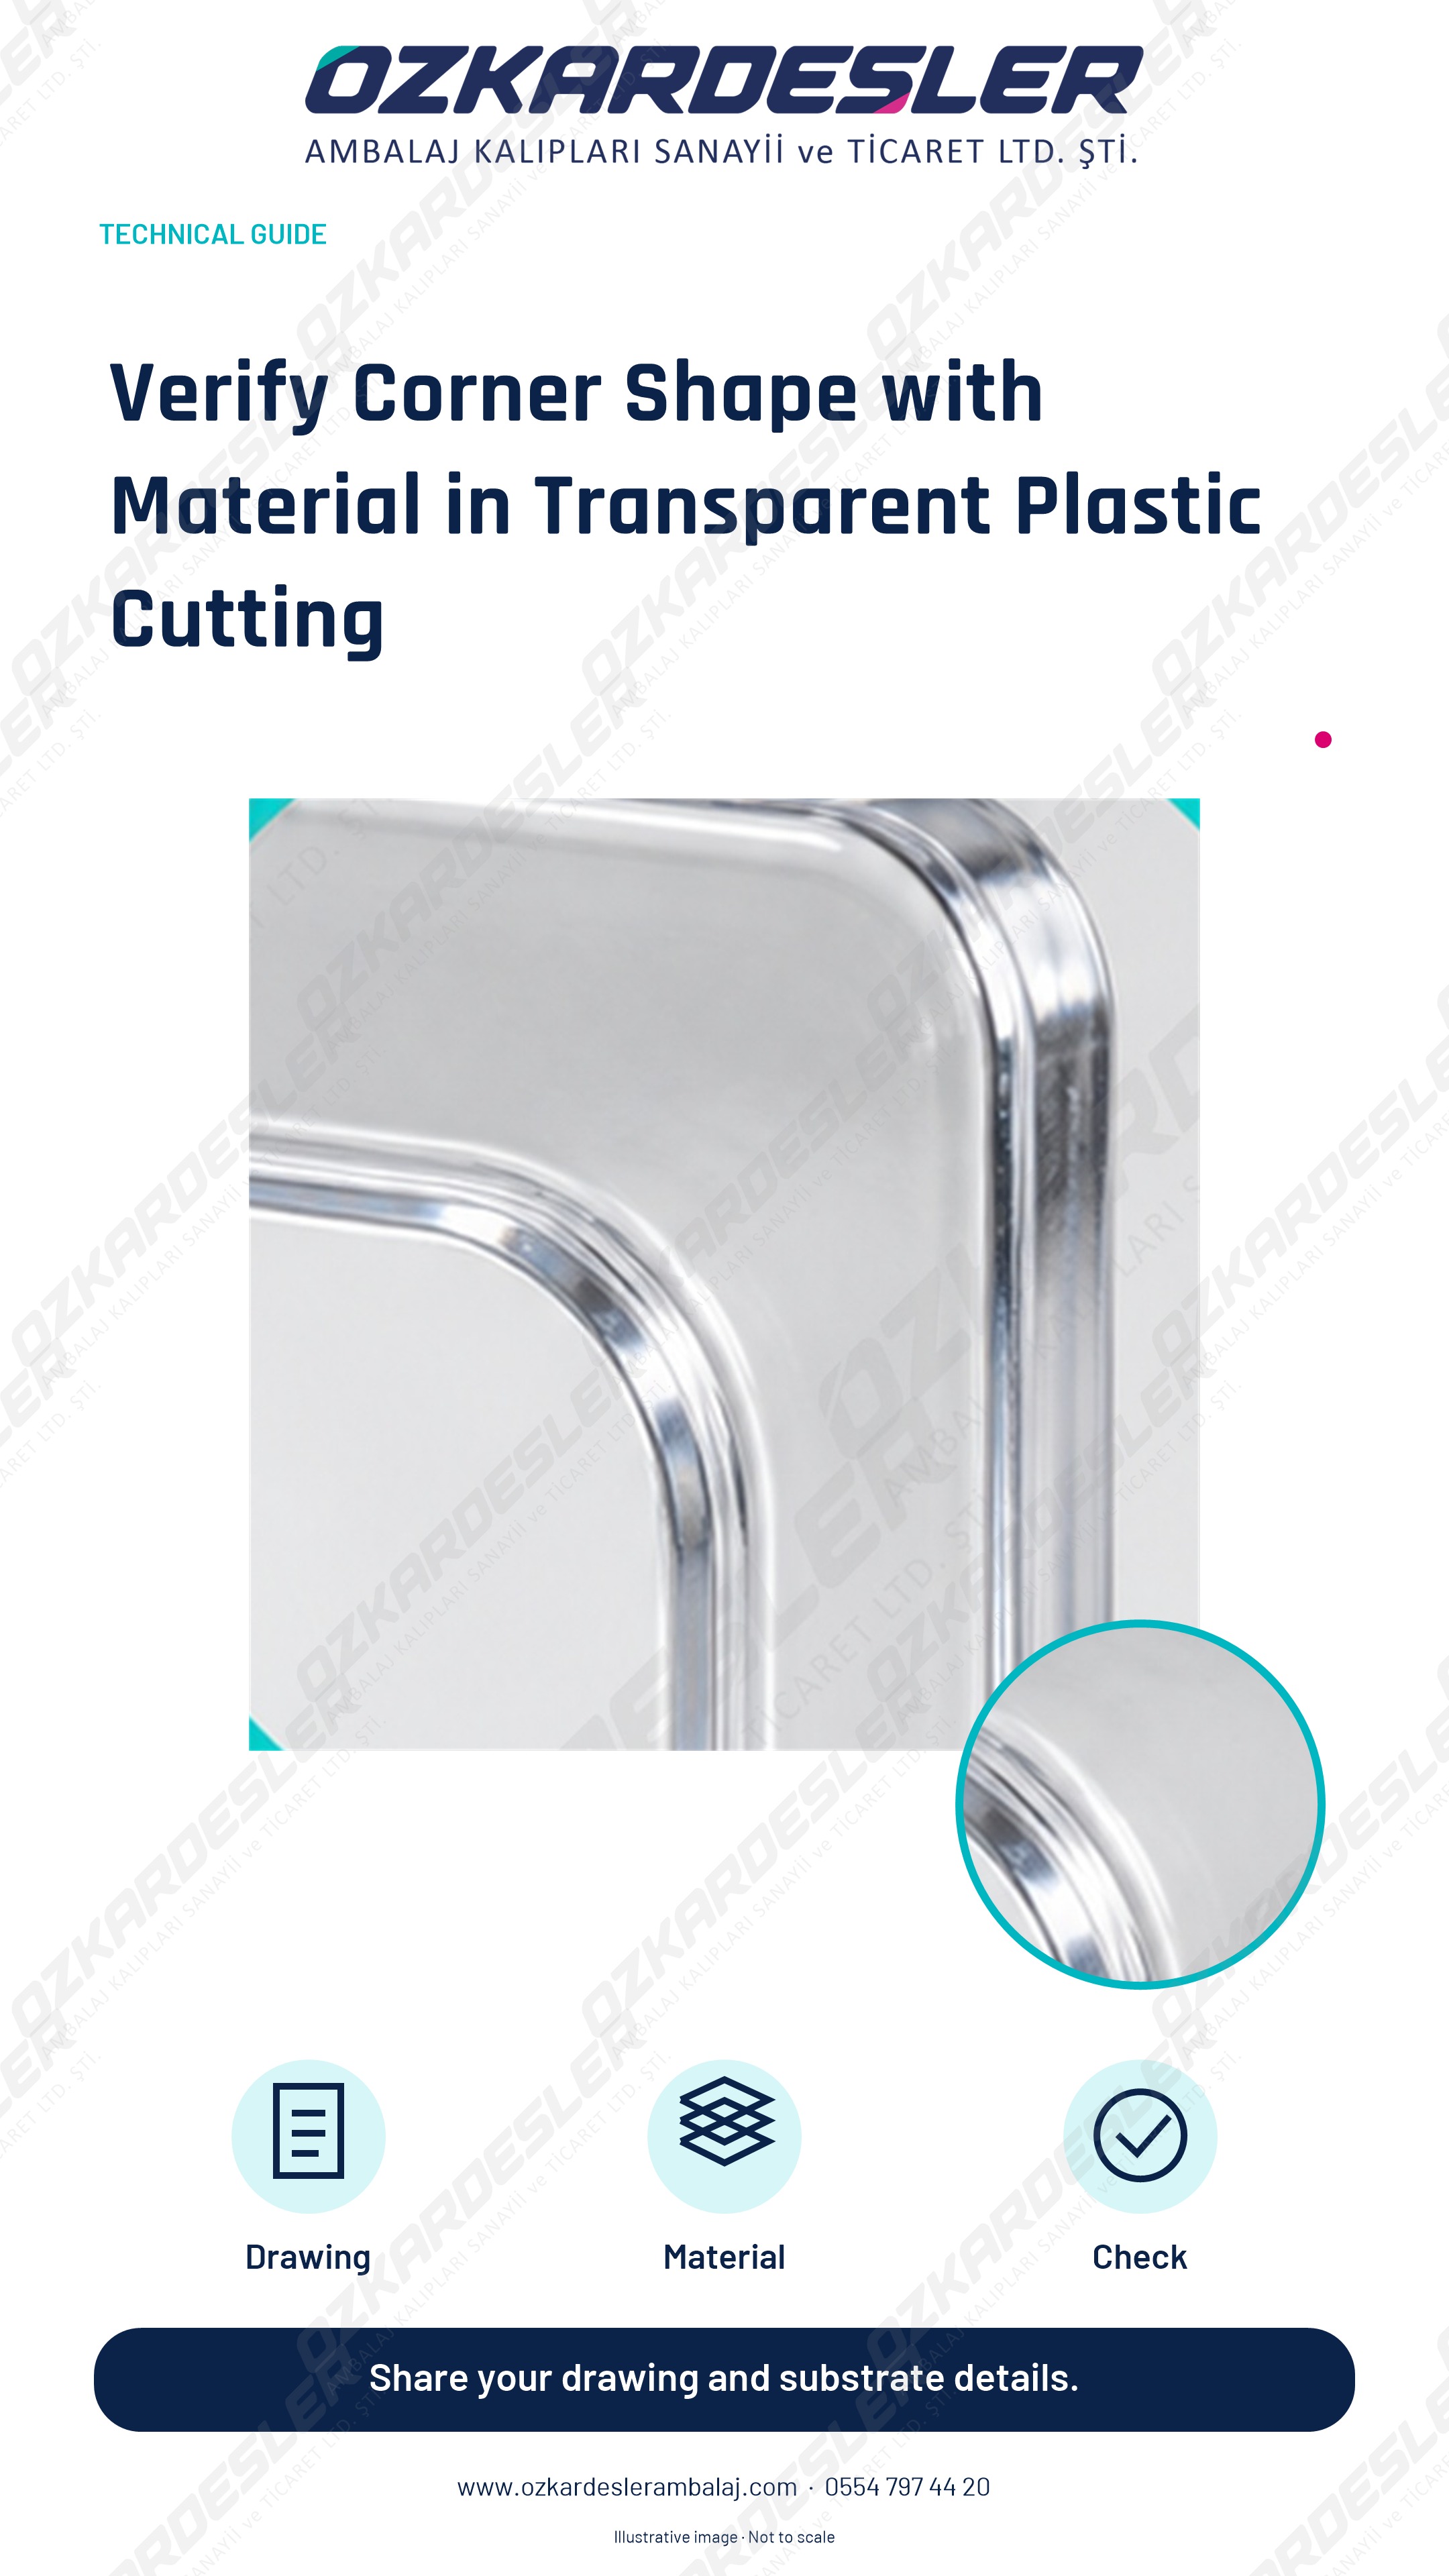
Evaluate corner shape, edge quality, and usage conditions together with the sample in PVC, PET, and acetate cutting.
Read the article →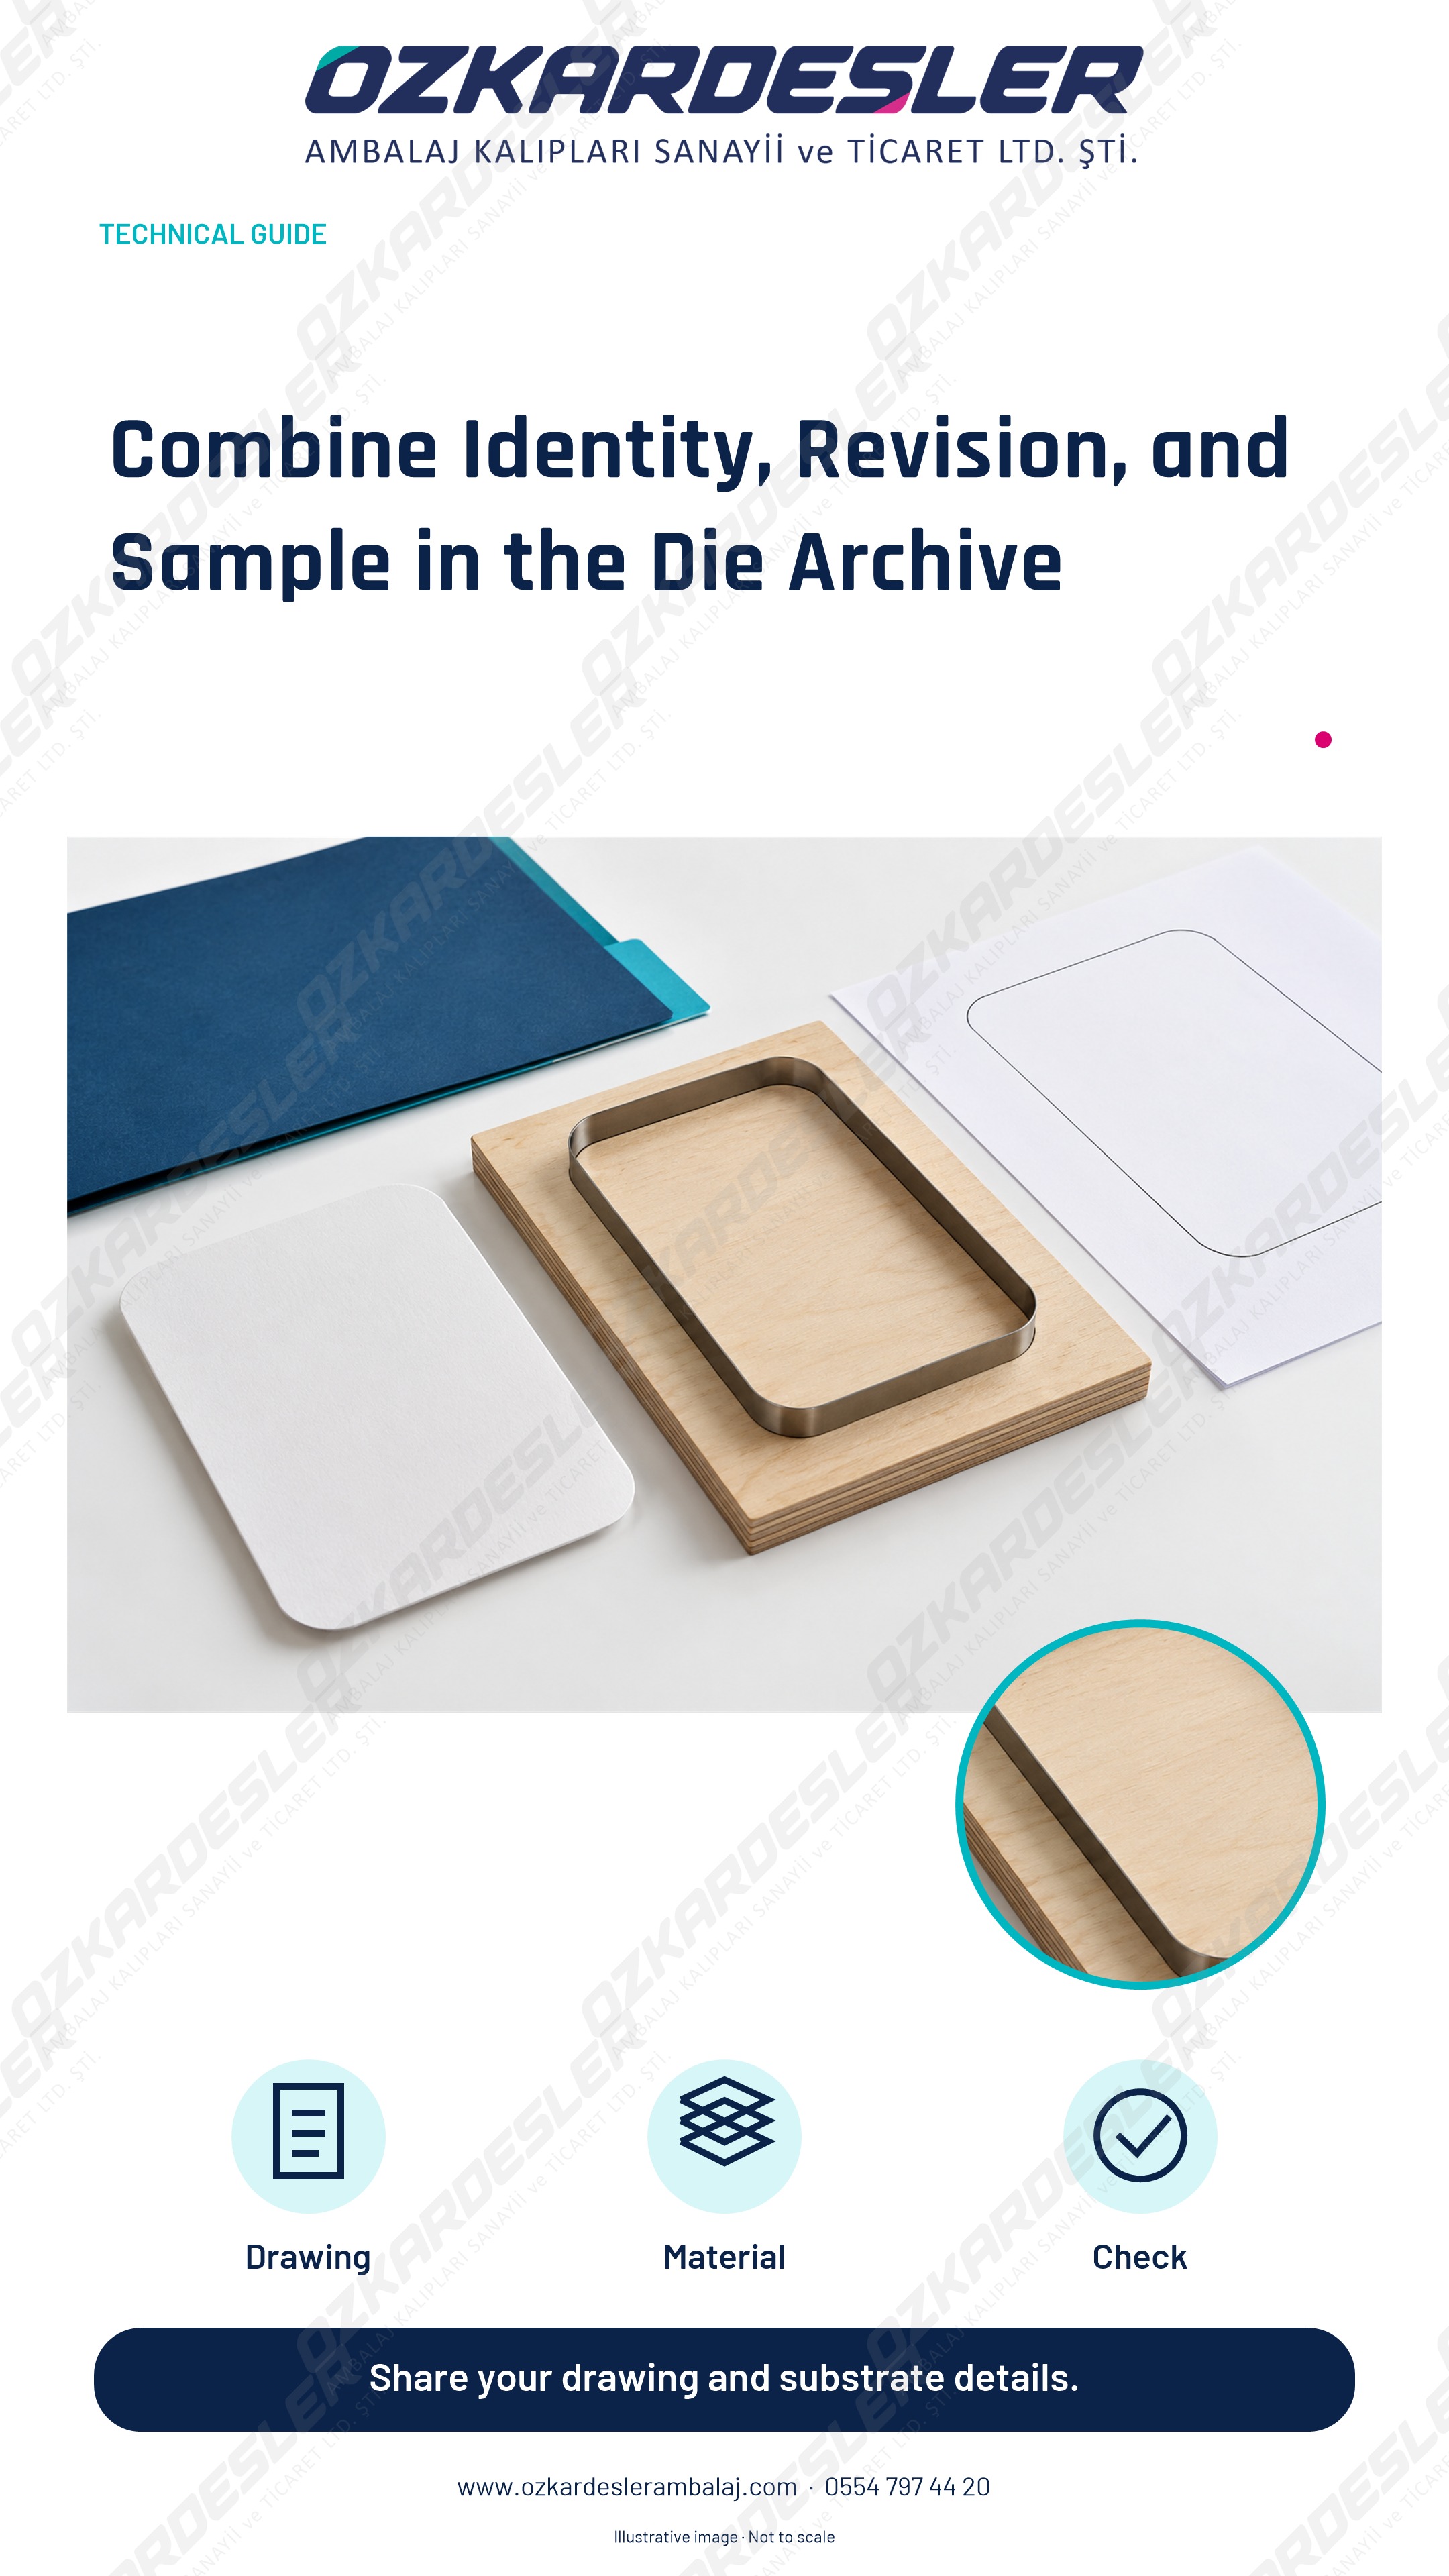
Match die identity, approved revision, and sample record in repeat production; separate older versions from the production-intent file.
Read the article →
Bring together product, material, machine, and delivery information in the initial die request; clearly mark uncertain points.
Read the article →
Evaluate laser and other channel preparation methods based on drawing, channel fit, and sample result.
Read the article →
Gather material, reference dimension, tolerance, and acceptance conditions for the industrial part sample in the same information package.
Read the article →
Review file inspection, machine compatibility, sample, and revision records together during die supplier evaluation.
Read the article →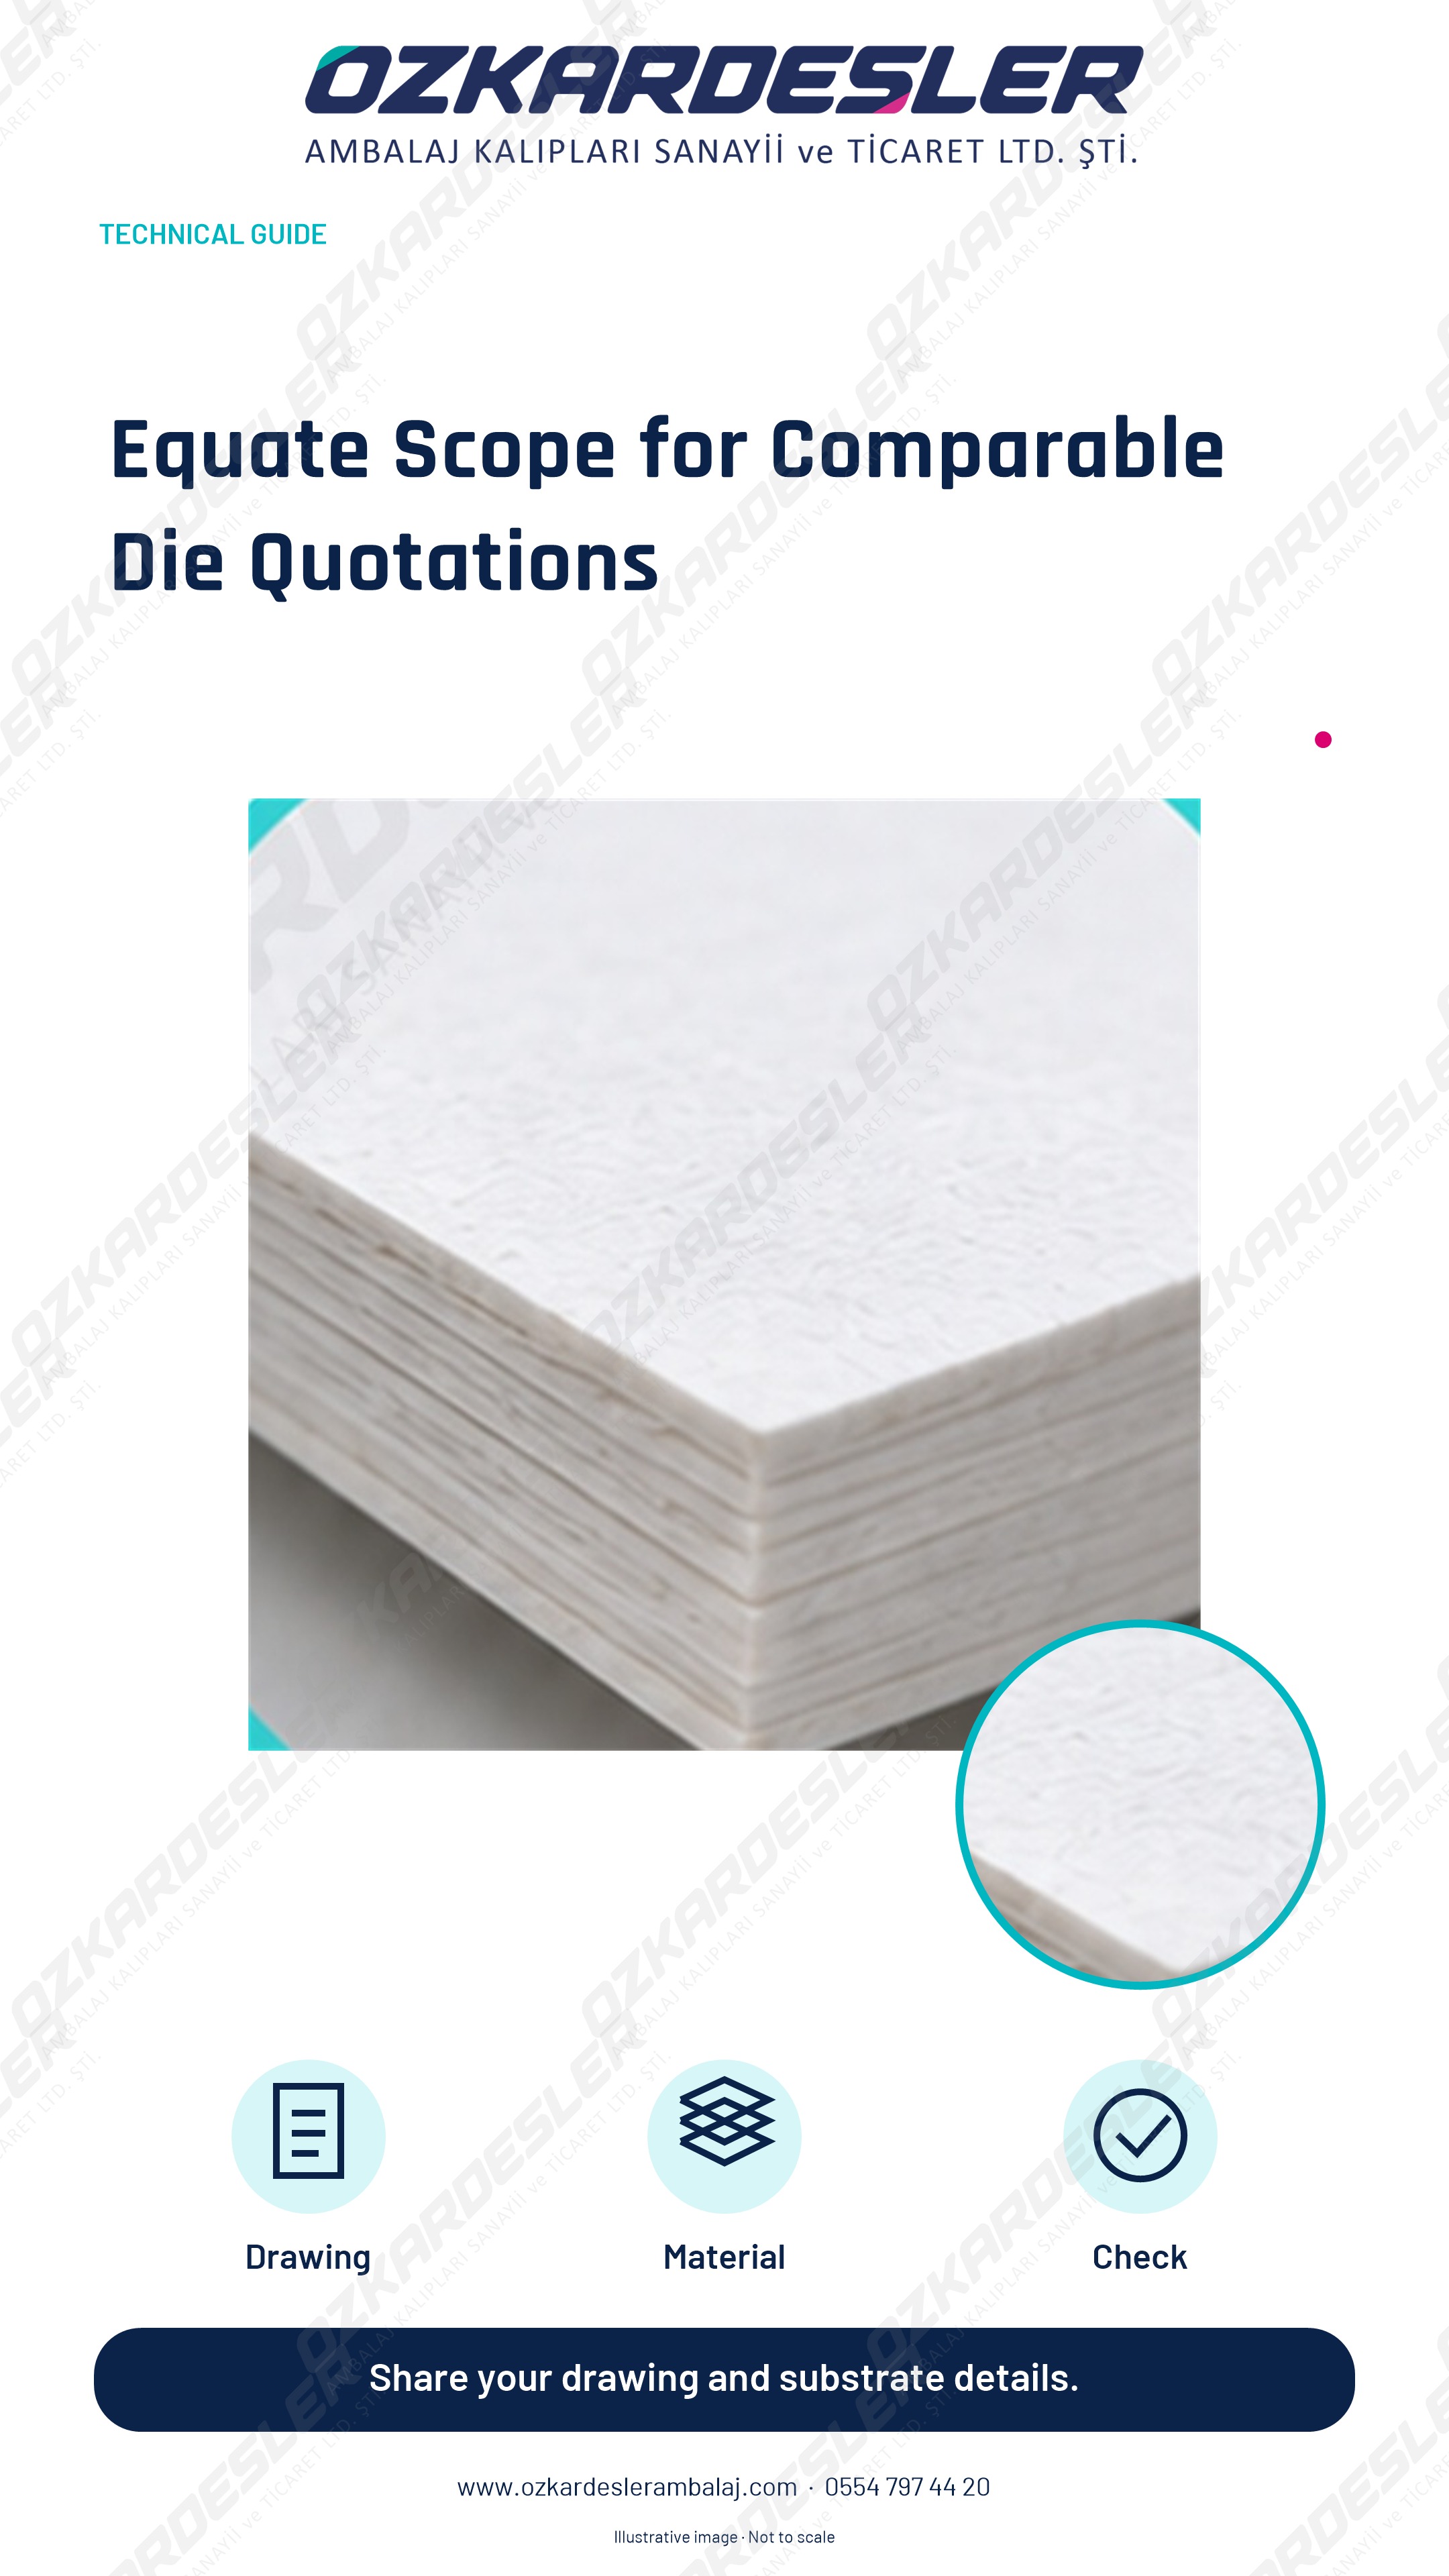
Clarify technical file, machine, process scope, and delivery conditions in the die quotation to compare options on an equal footing.
Read the article →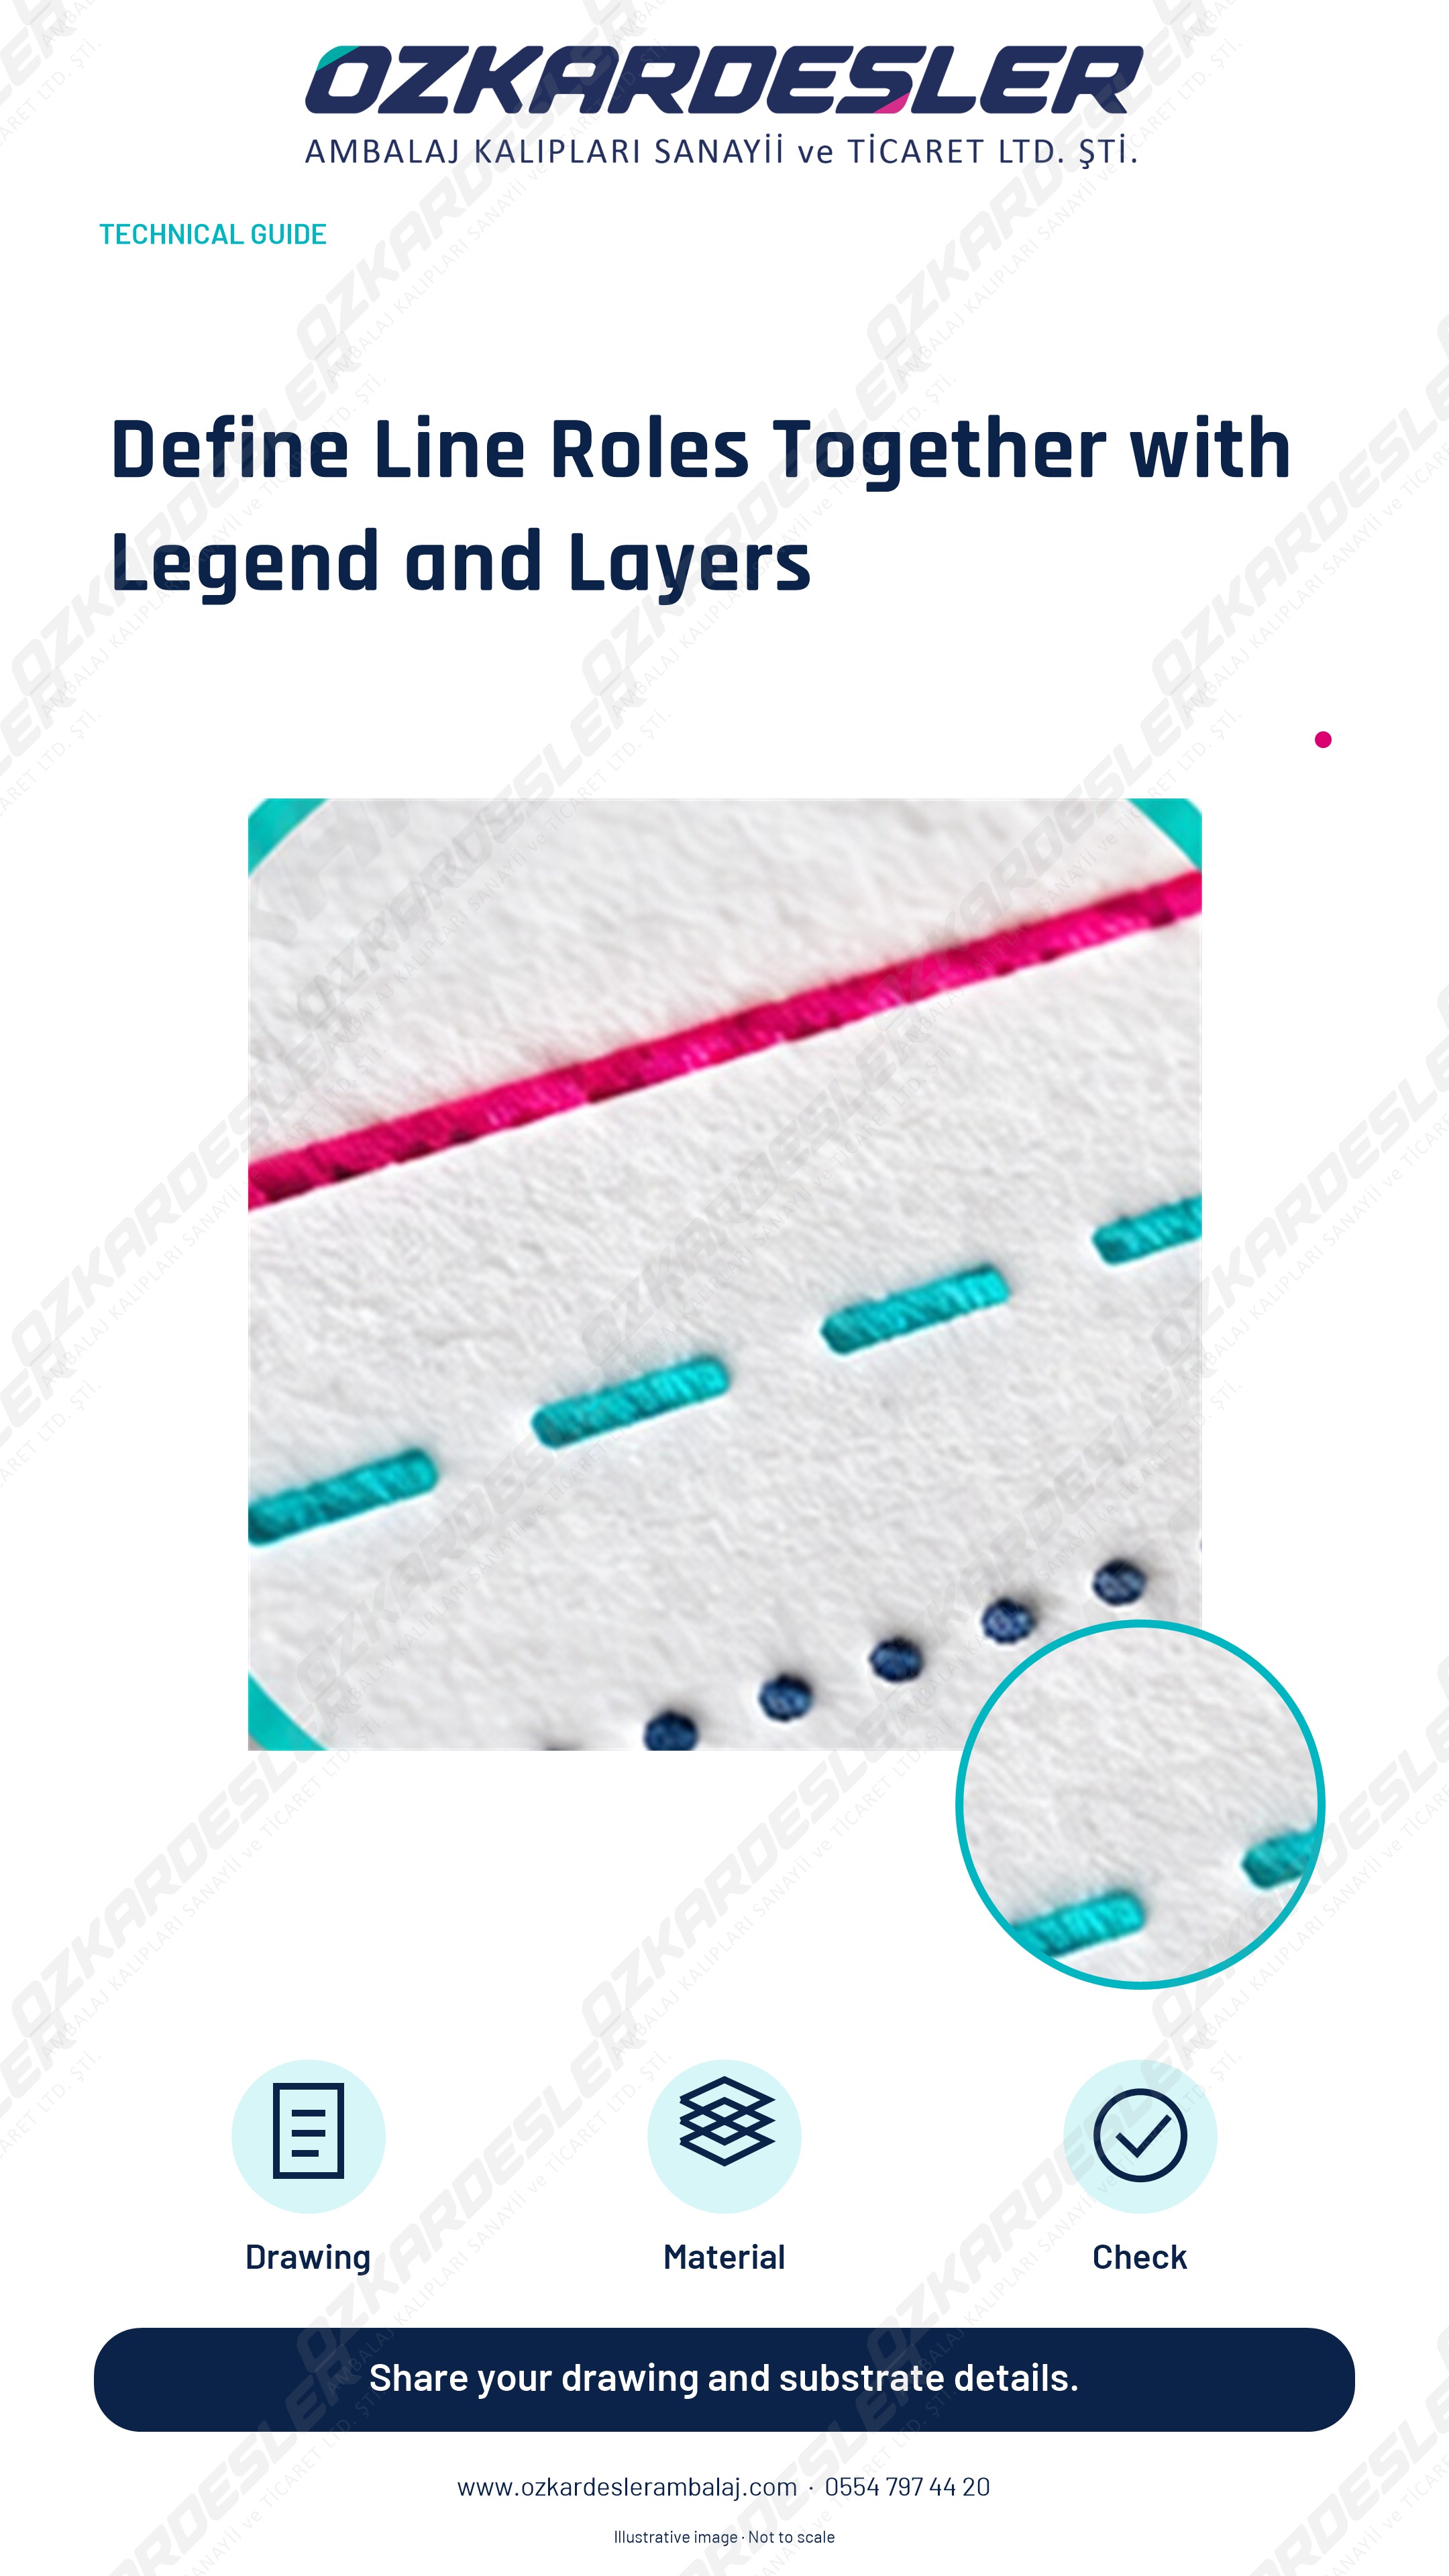
Explain cutting, creasing, and perforation roles with layers, line styles, and legends; recheck the exported file.
Read the article →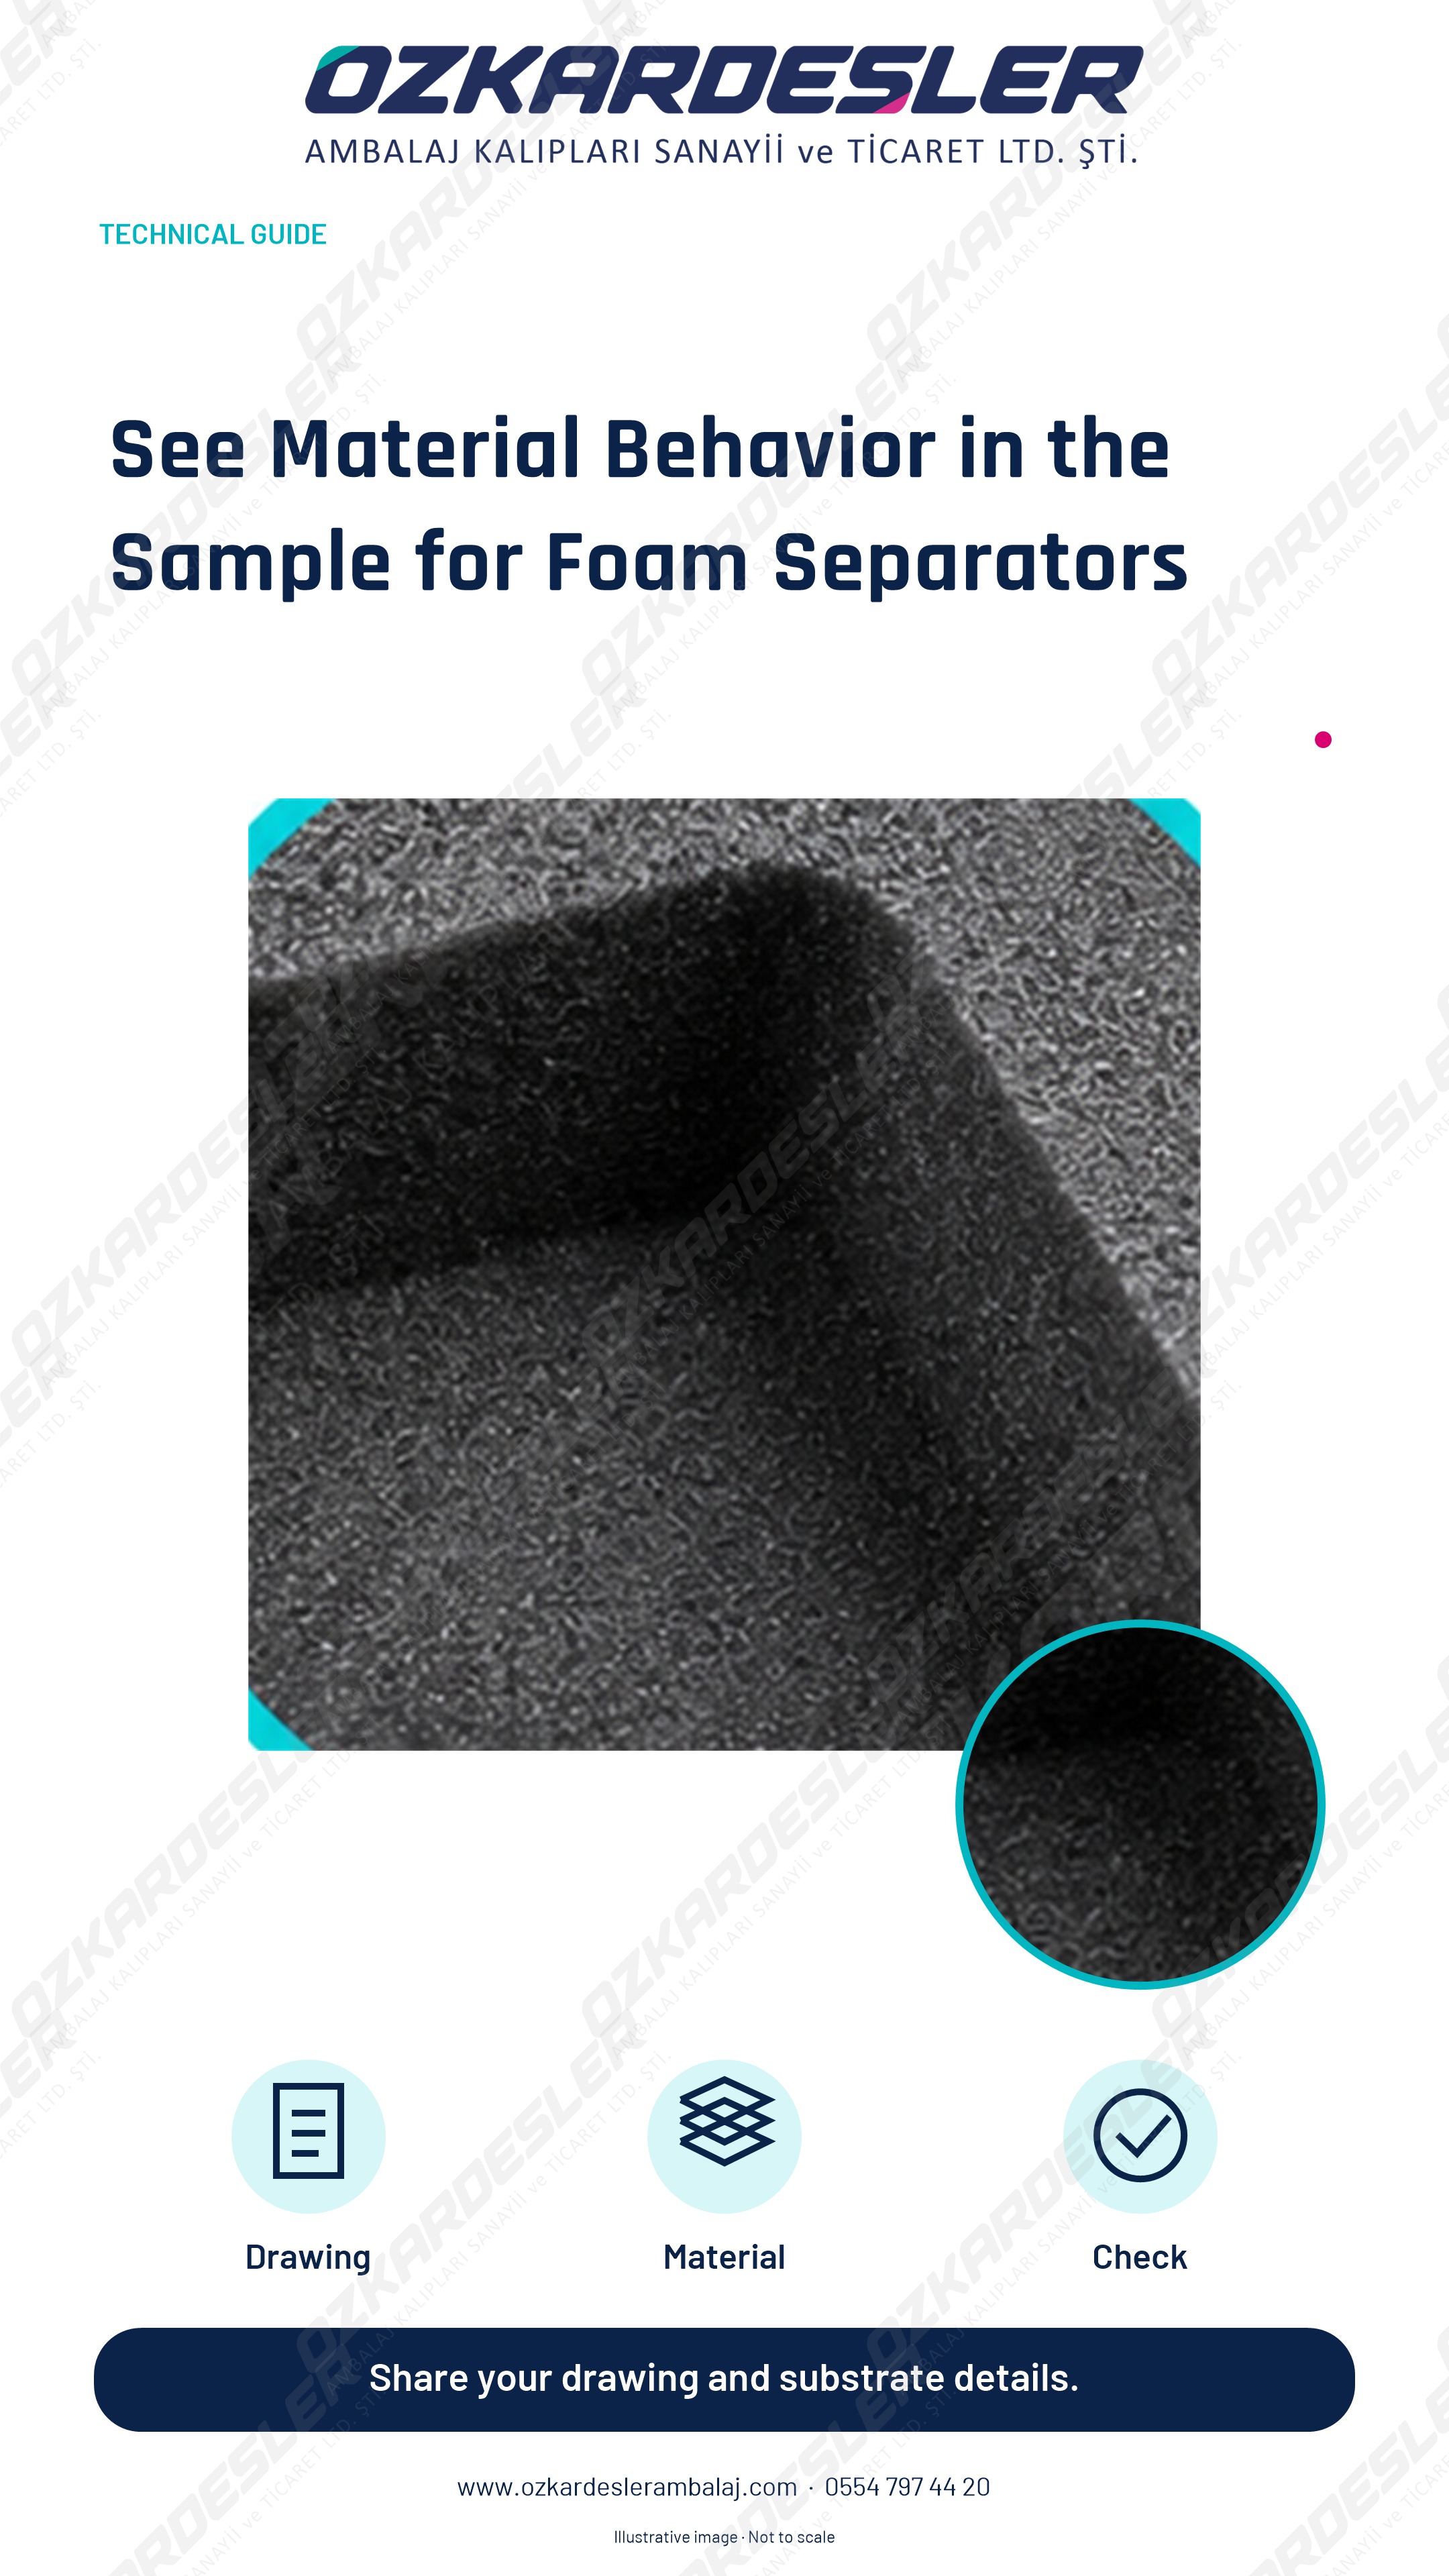
Evaluate cavity fit, material structure, and post-cutting spring-back together with the actual sample in EVA and sponge separators.
Read the article →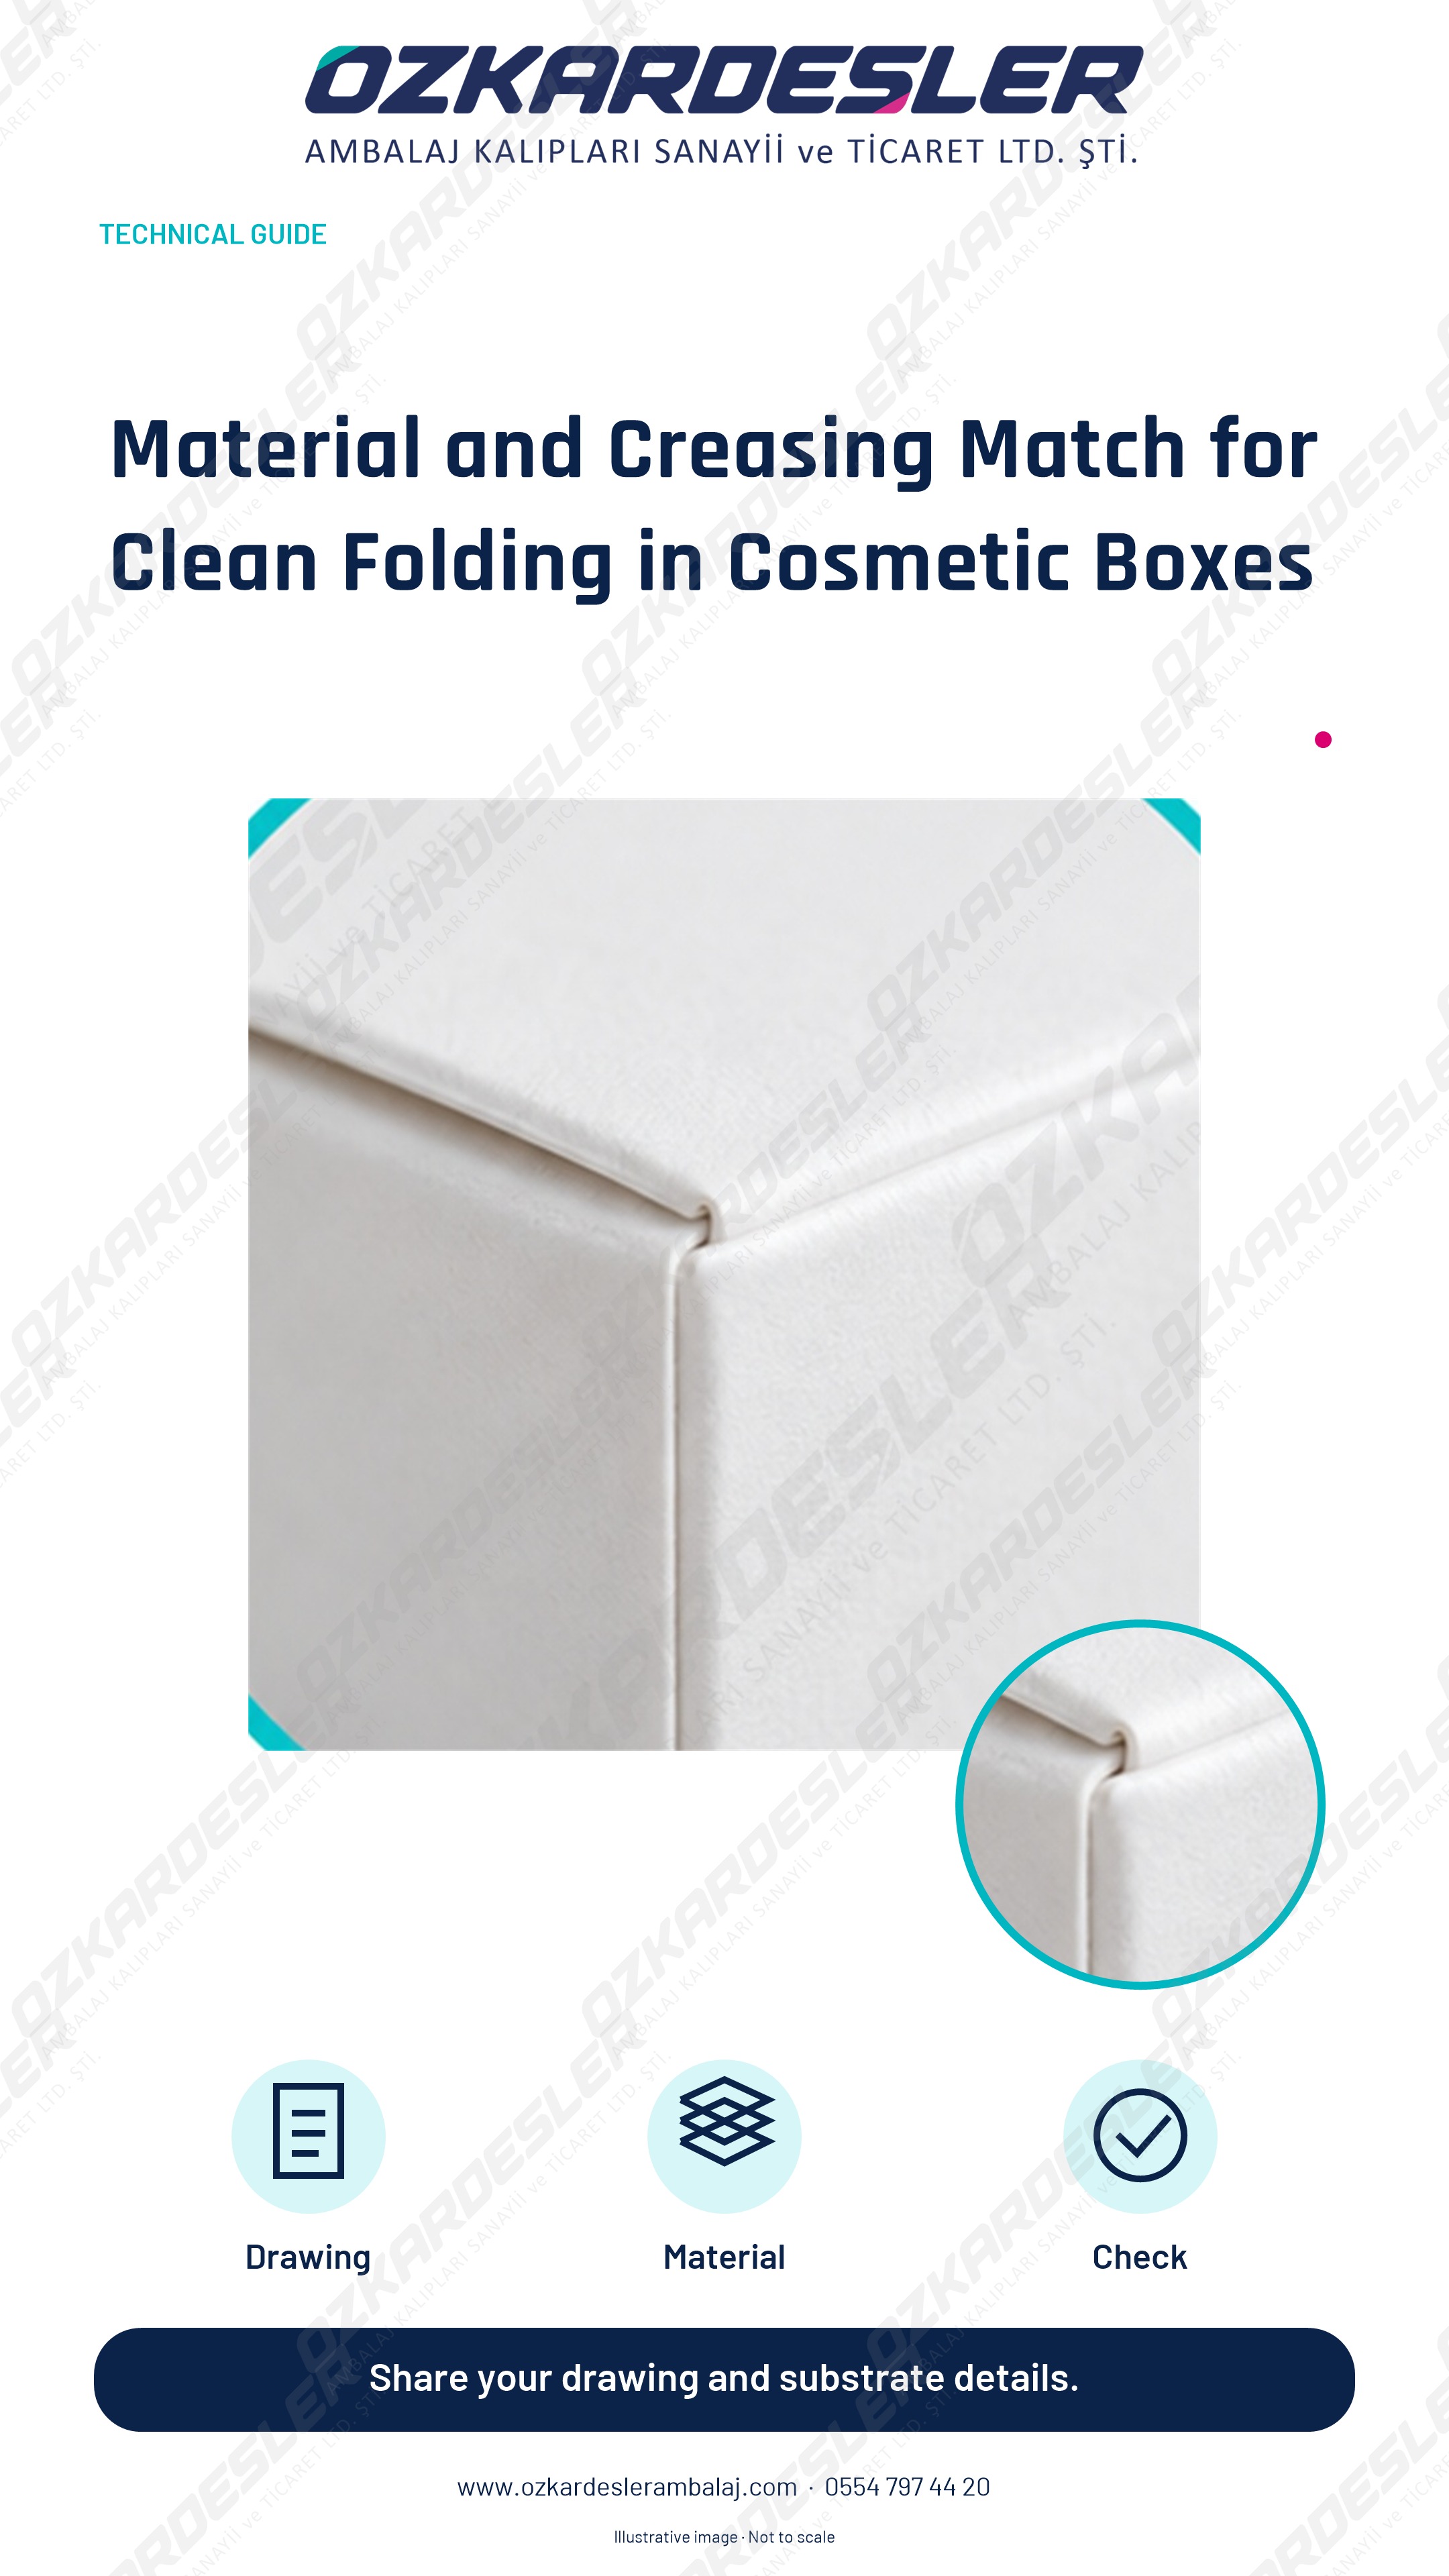
Evaluate folding cleanliness, coating behavior, and closure with the actual paperboard sample in cosmetic boxes.
Read the article →
Evaluate bottom structure, setup expectation, and material behavior together in food boxes; verify the sample with usage conditions.
Read the article →
Separate product, inner dimension, and material thickness before starting the box dieline; verify allowances with a physical sample.
Read the article →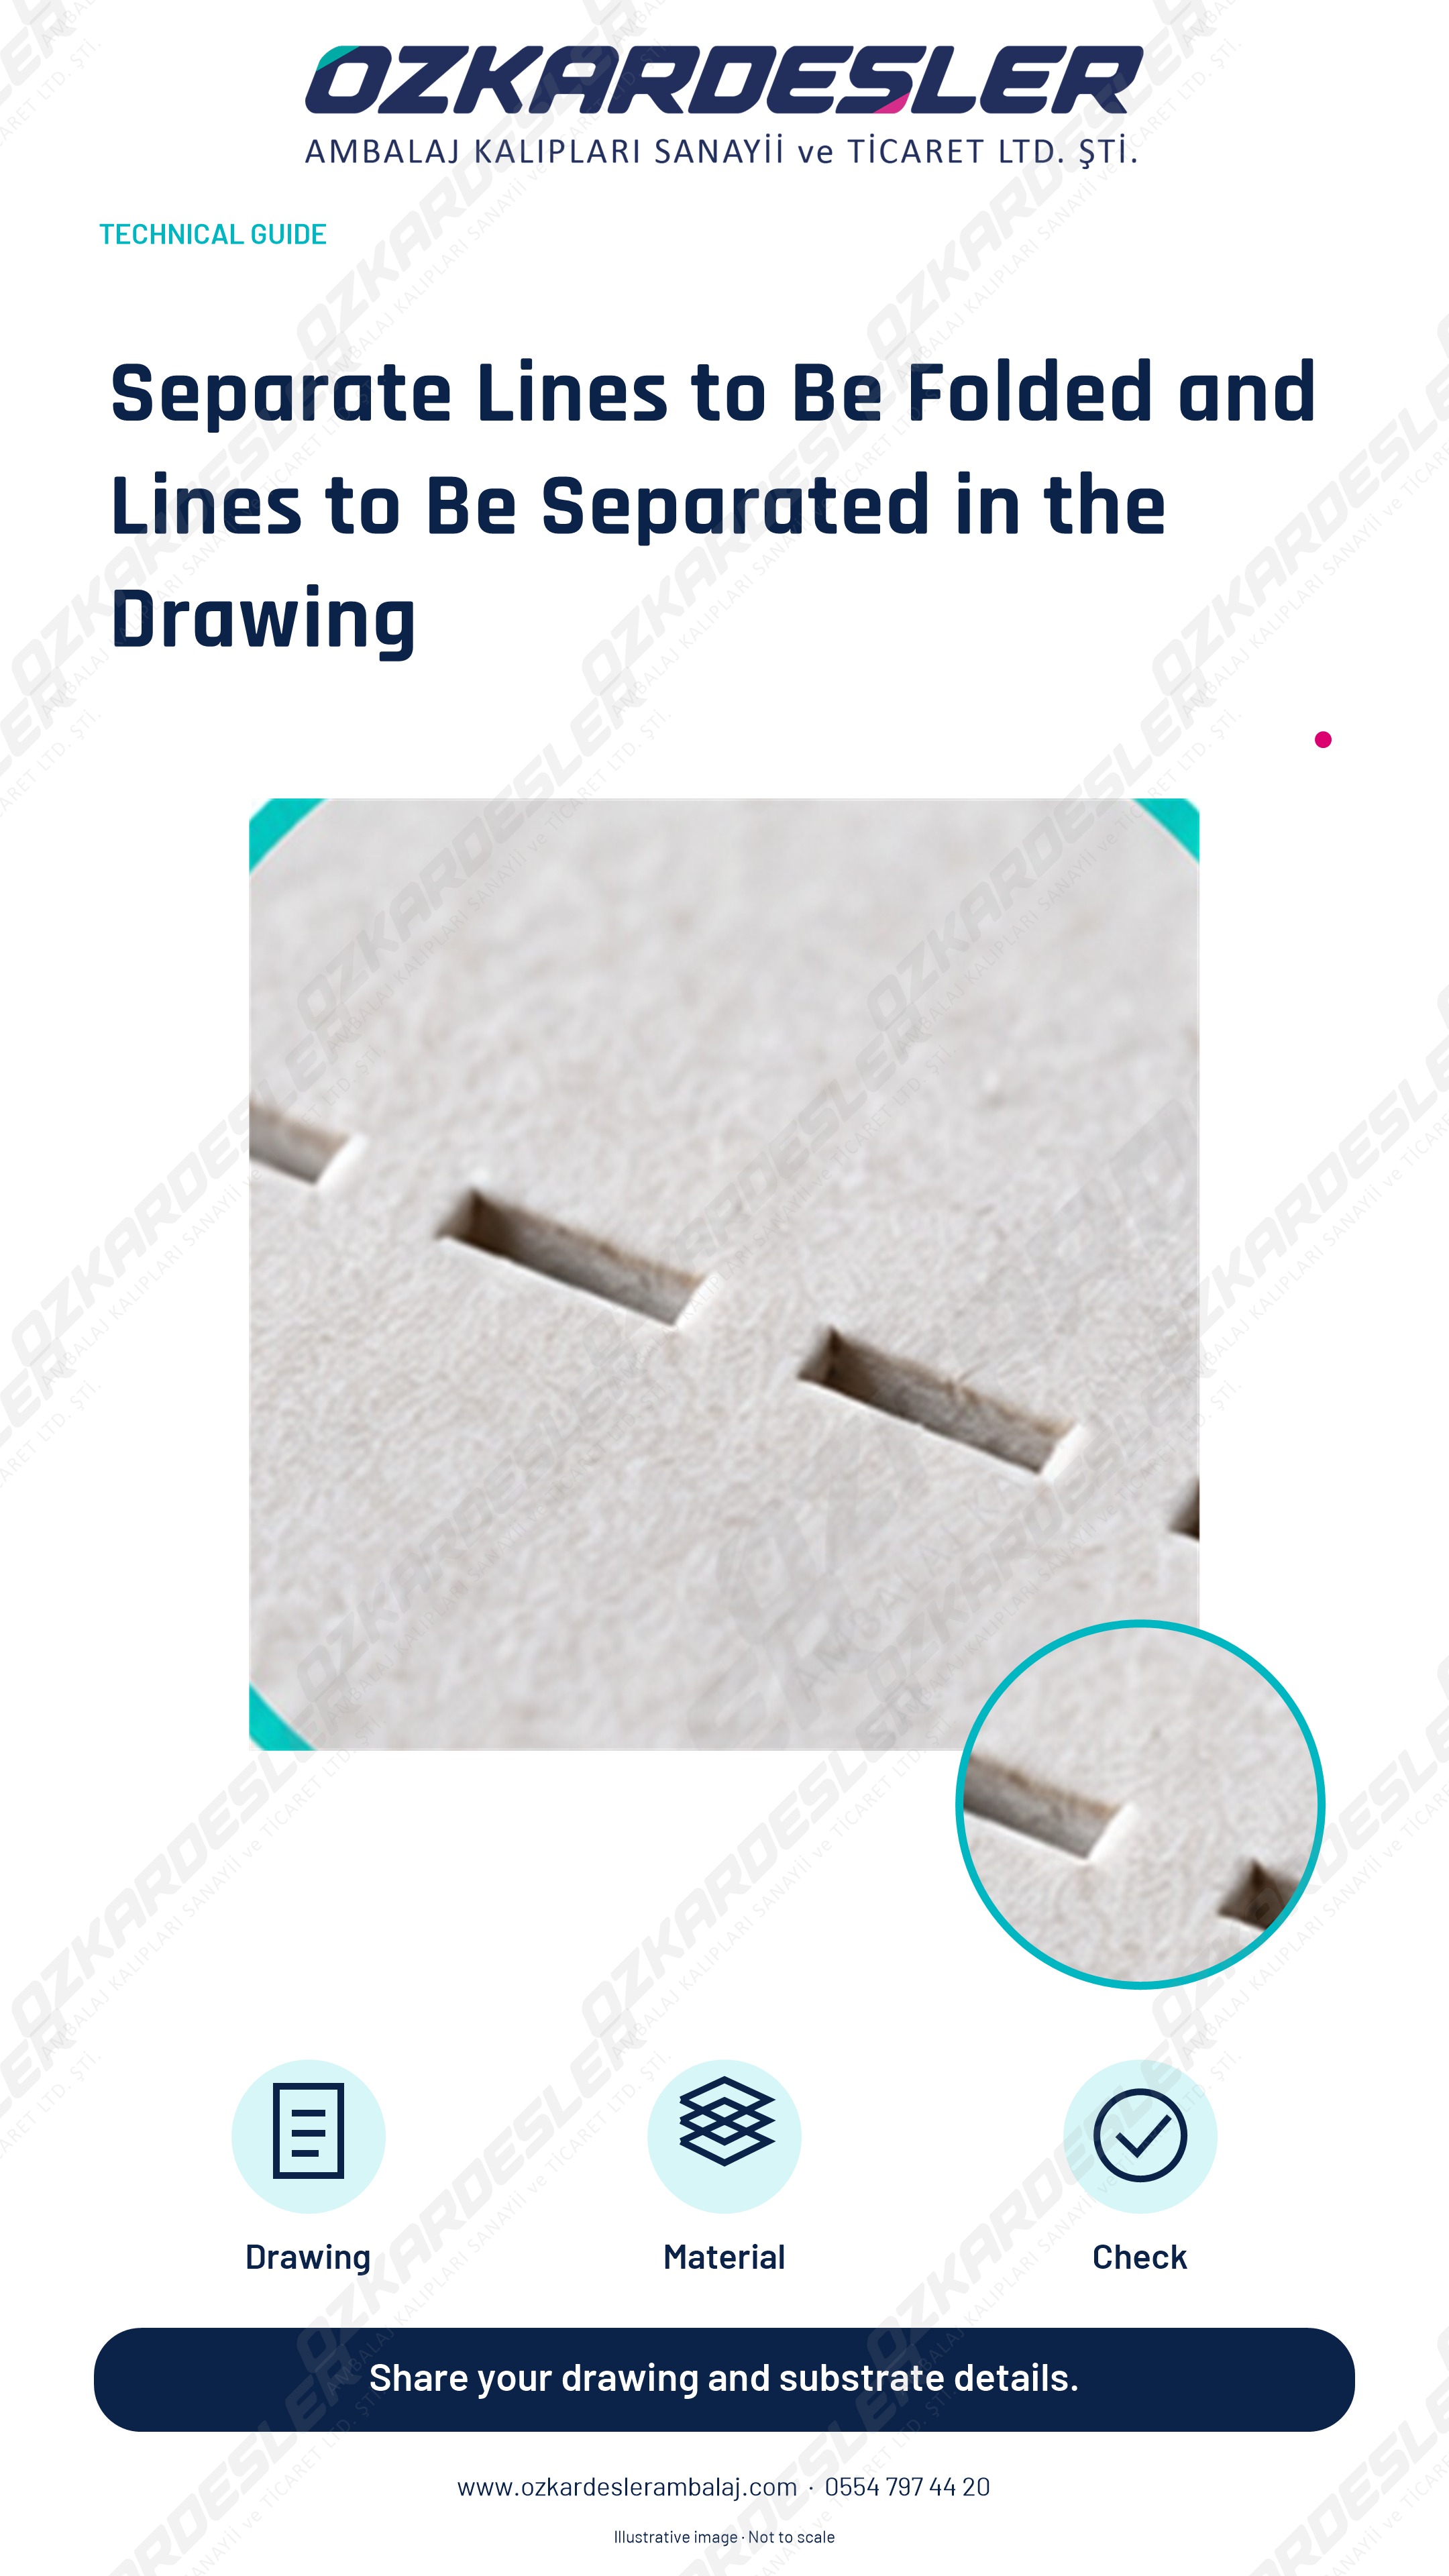
Separate the tasks of creasing and perforation; check folding and tearing behavior on the actual material.
Read the article →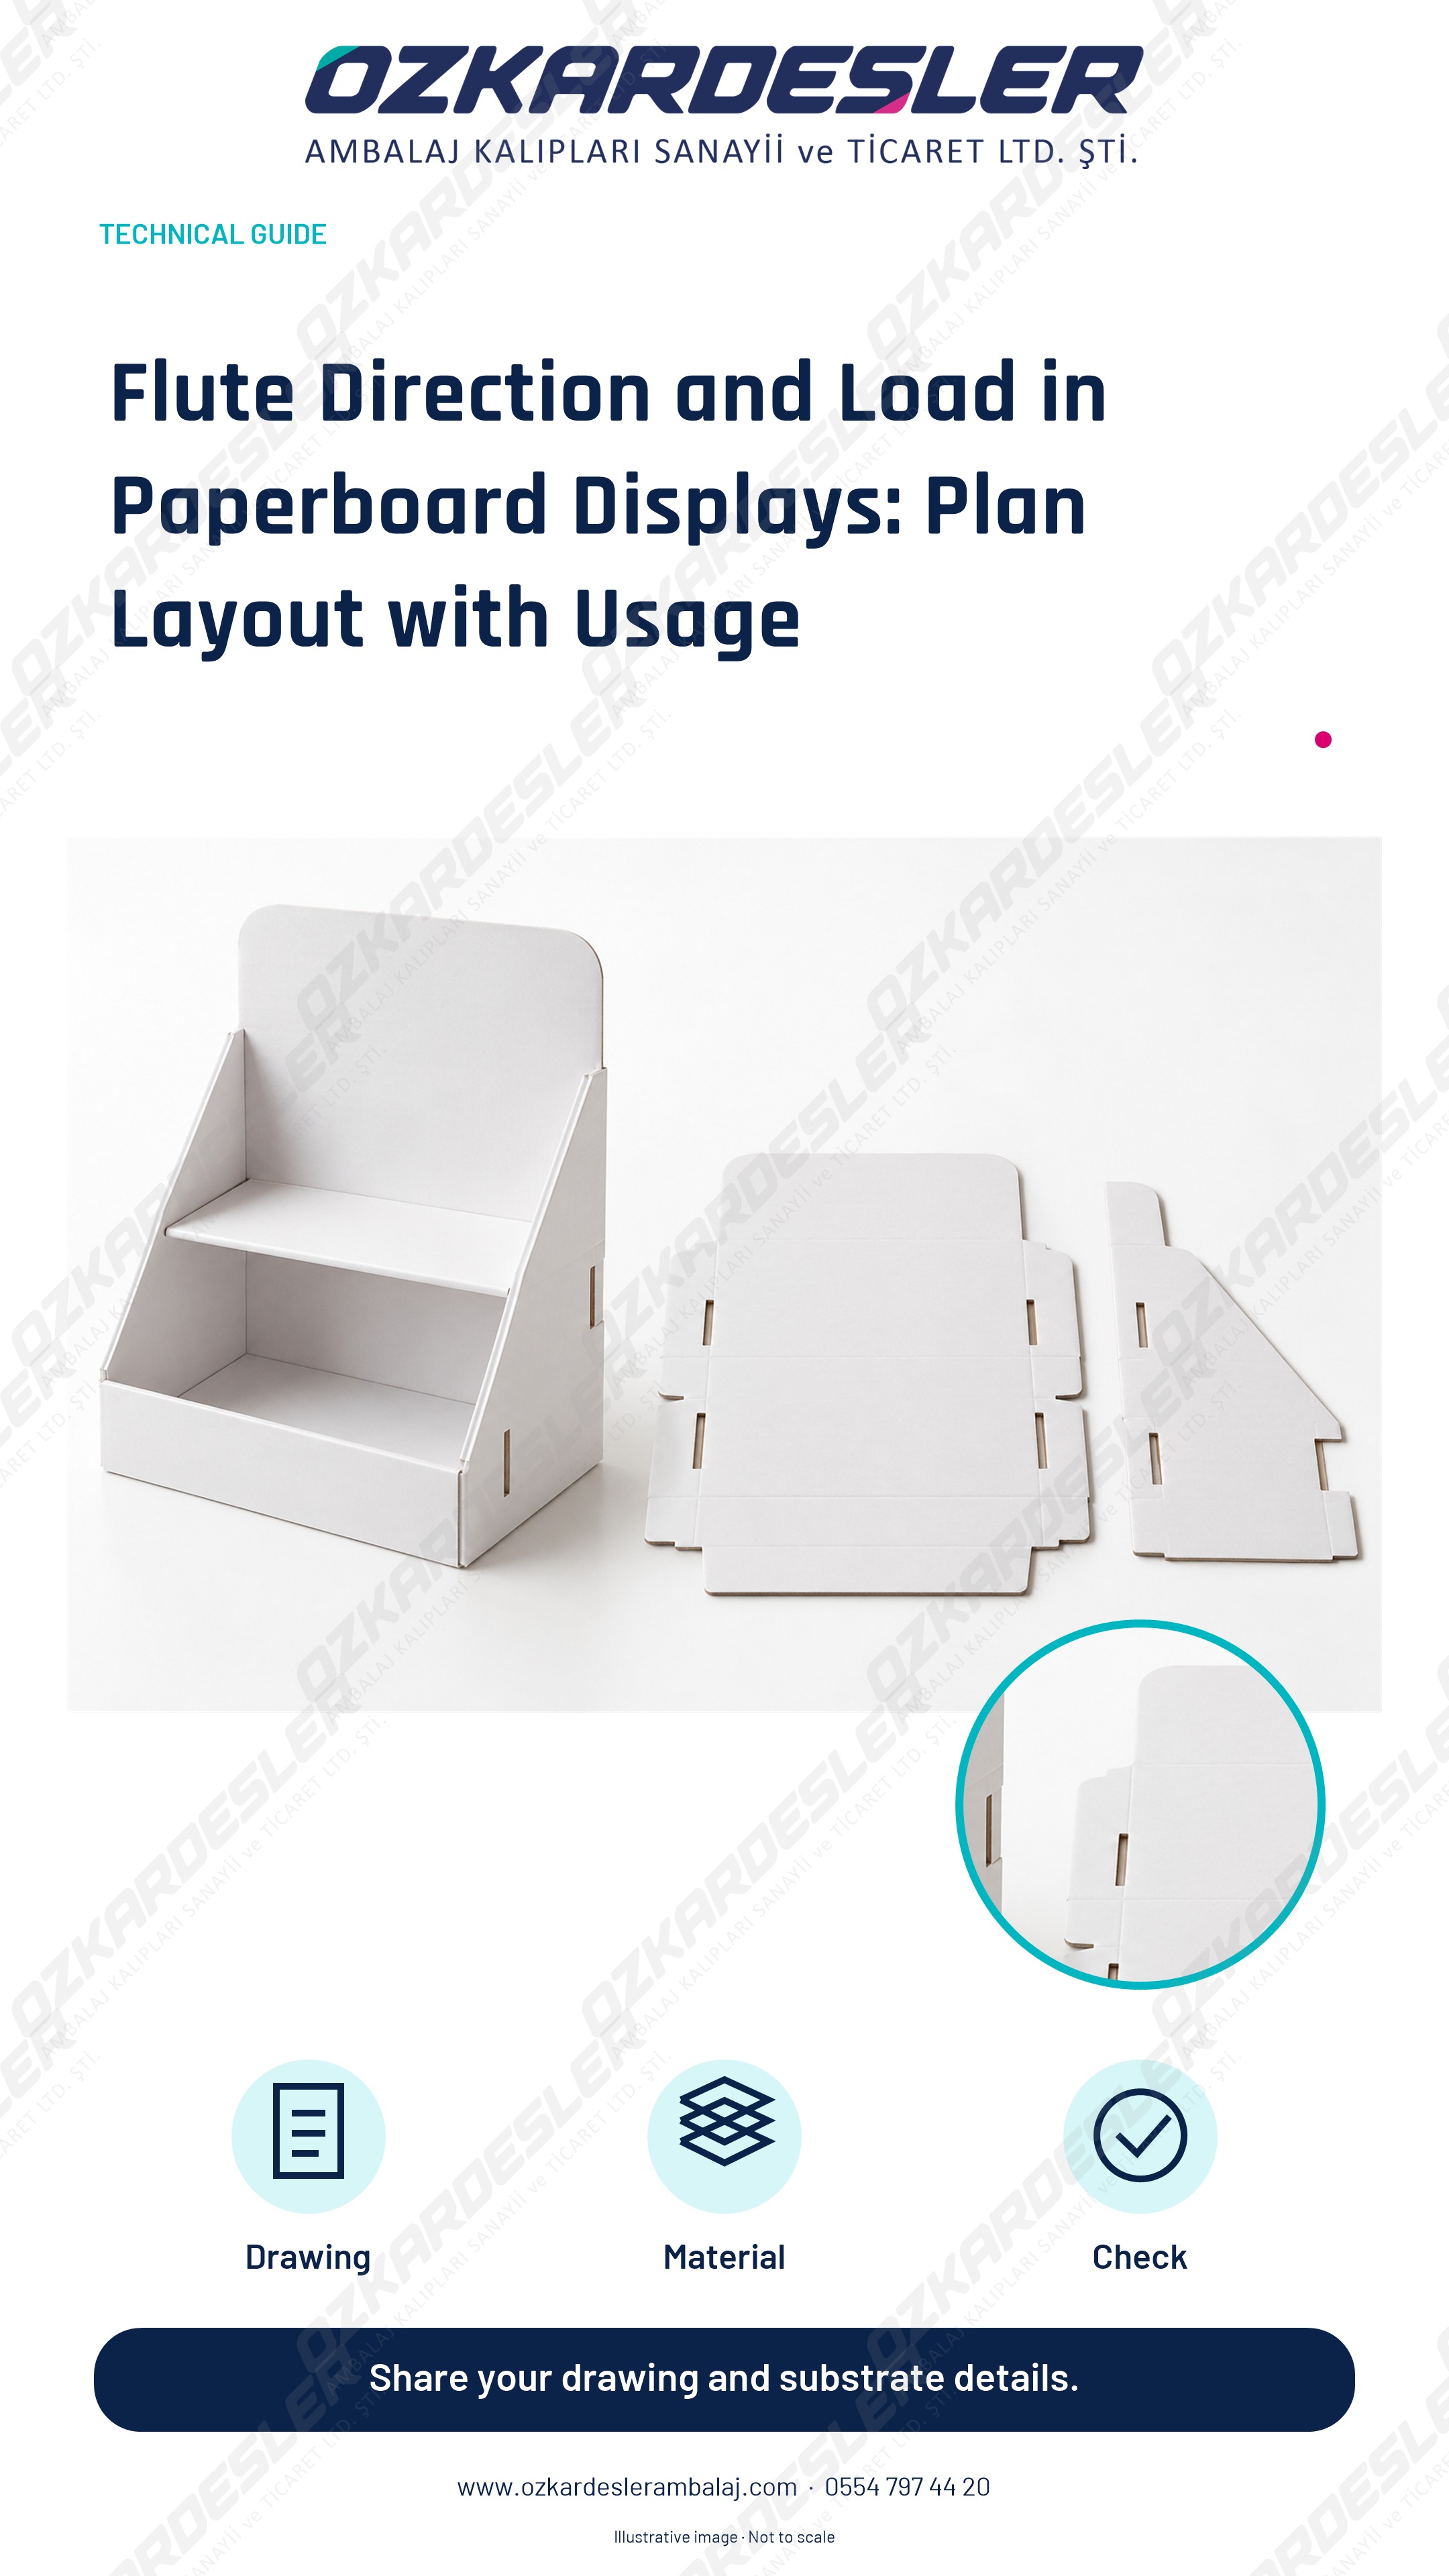
Evaluate part direction, product information per shelf, and interlocking details in the paperboard display cutting die through a load test conducted with actual material.
Read the article →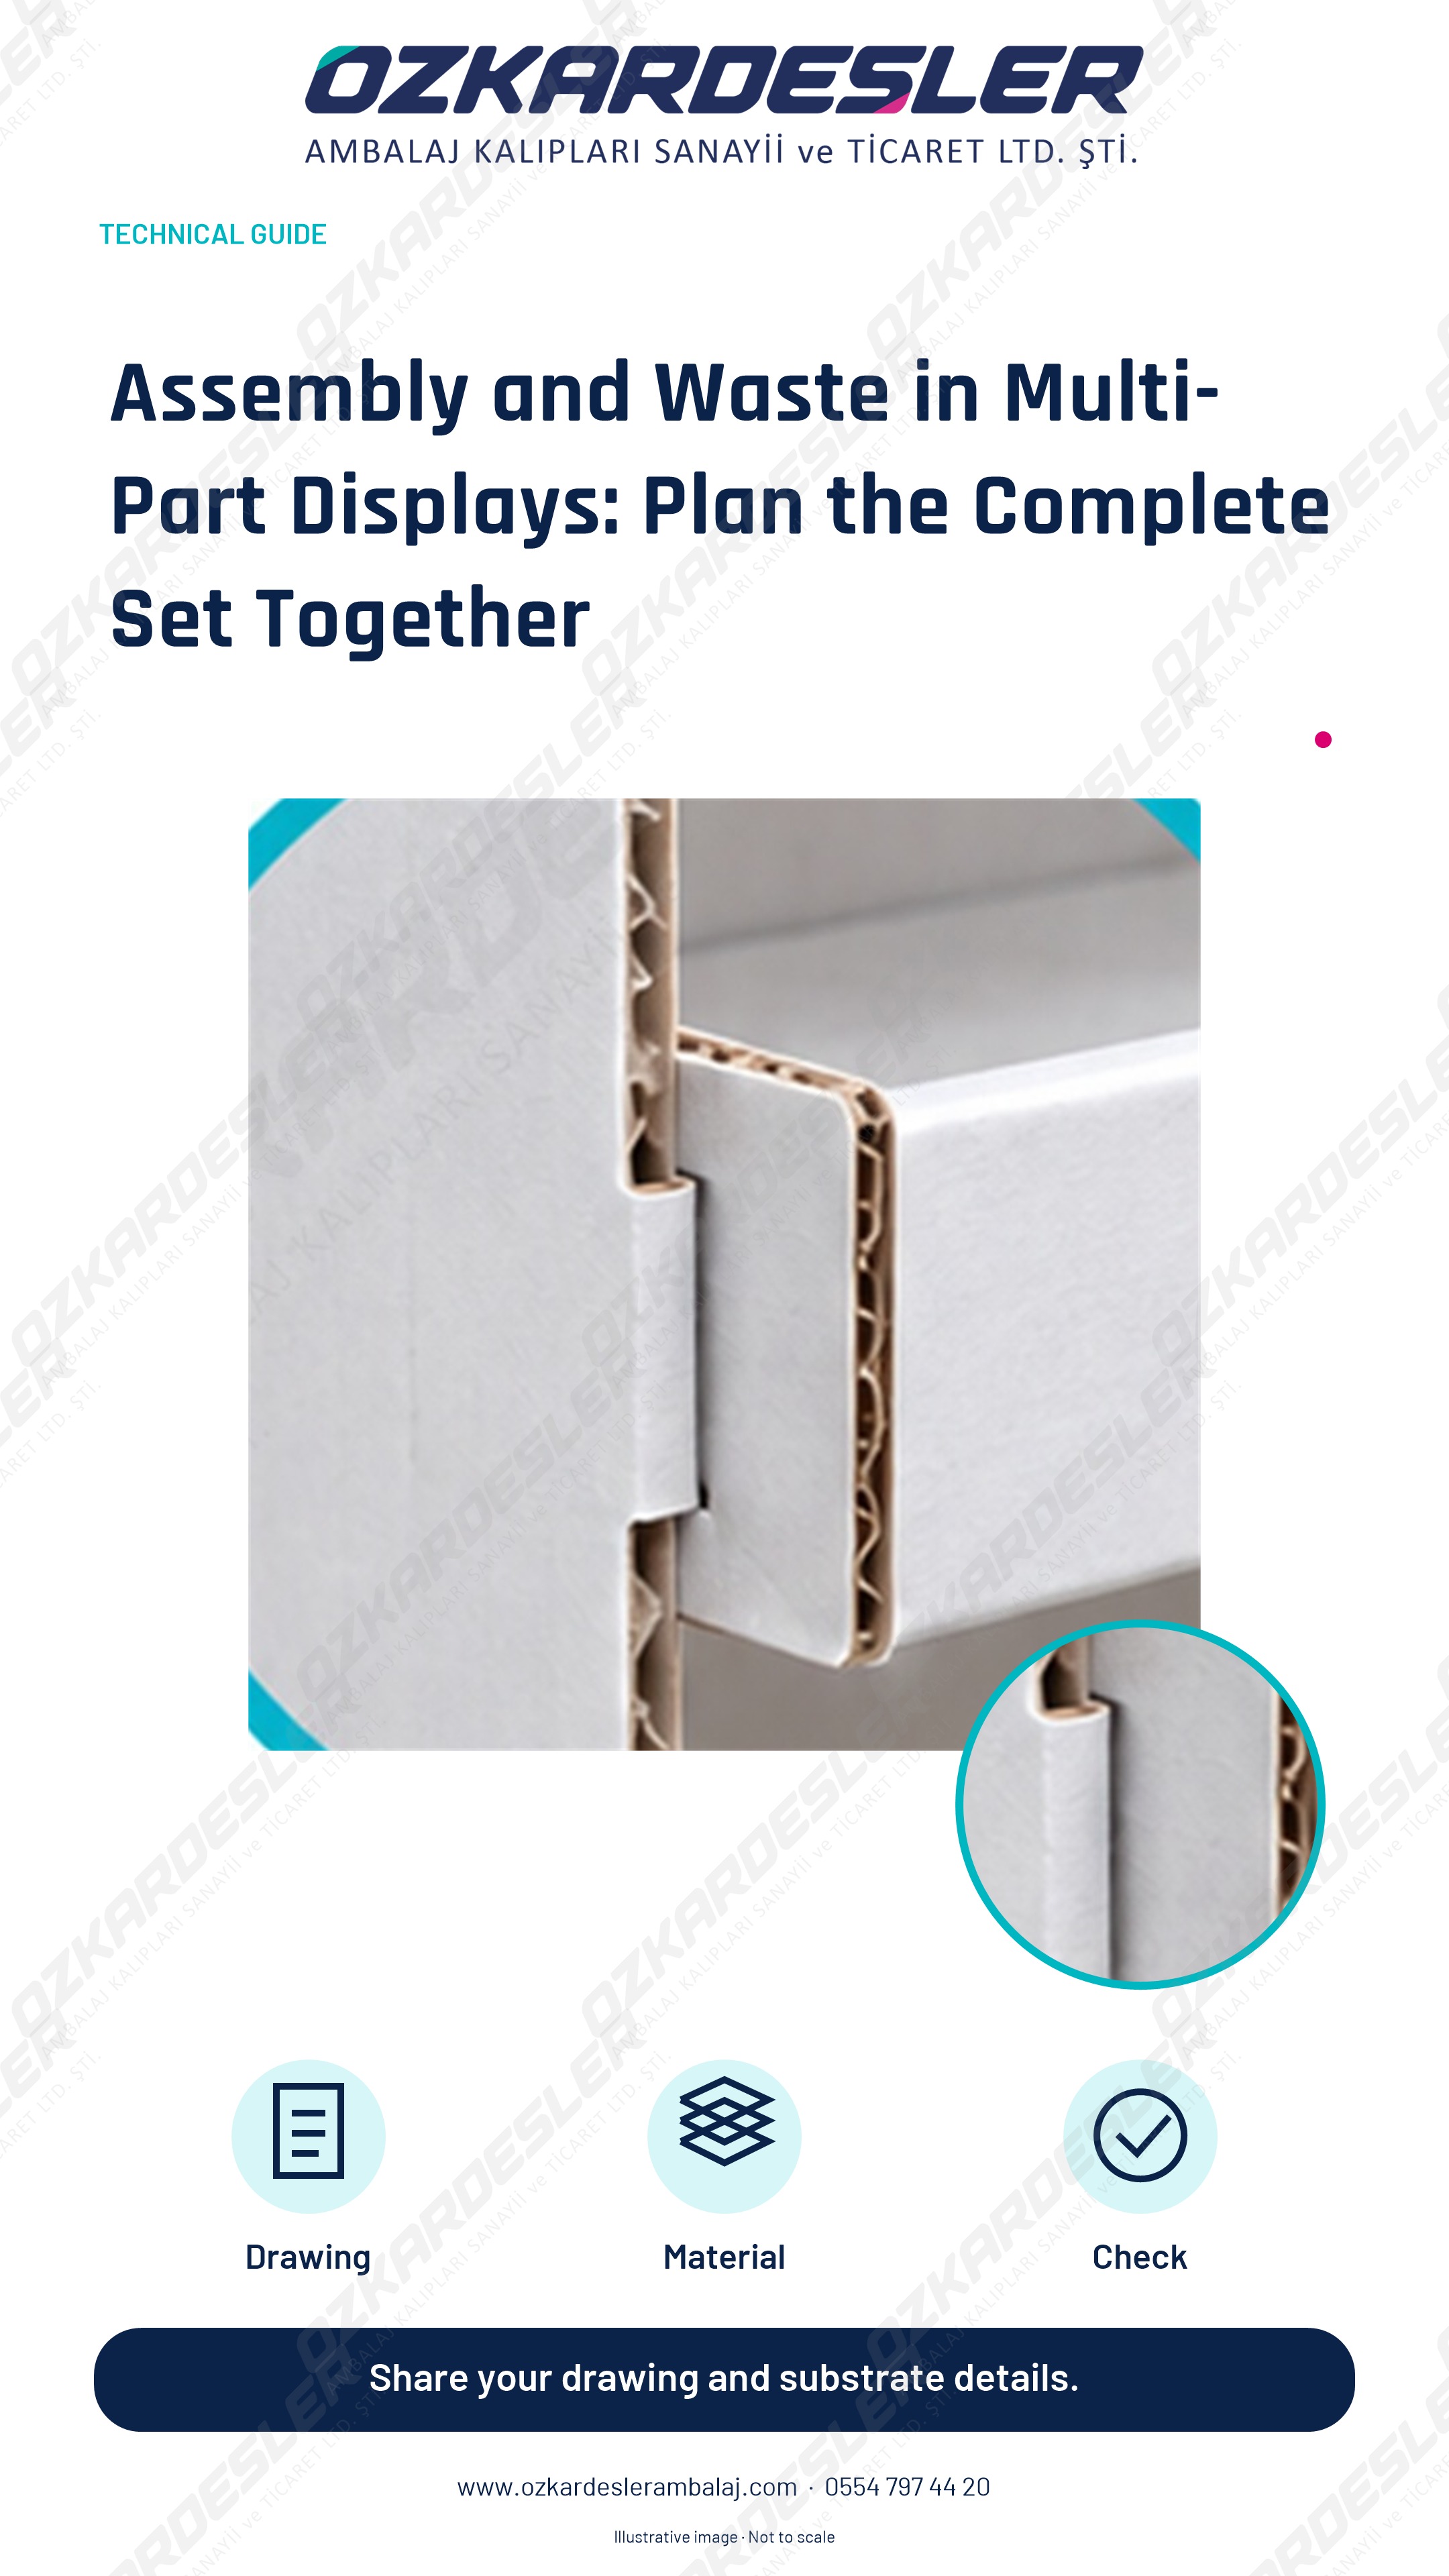
Evaluate the parts list, direction information, and sheet layout together with a full-set assembly test in multi-part display cutting dies.
Read the article →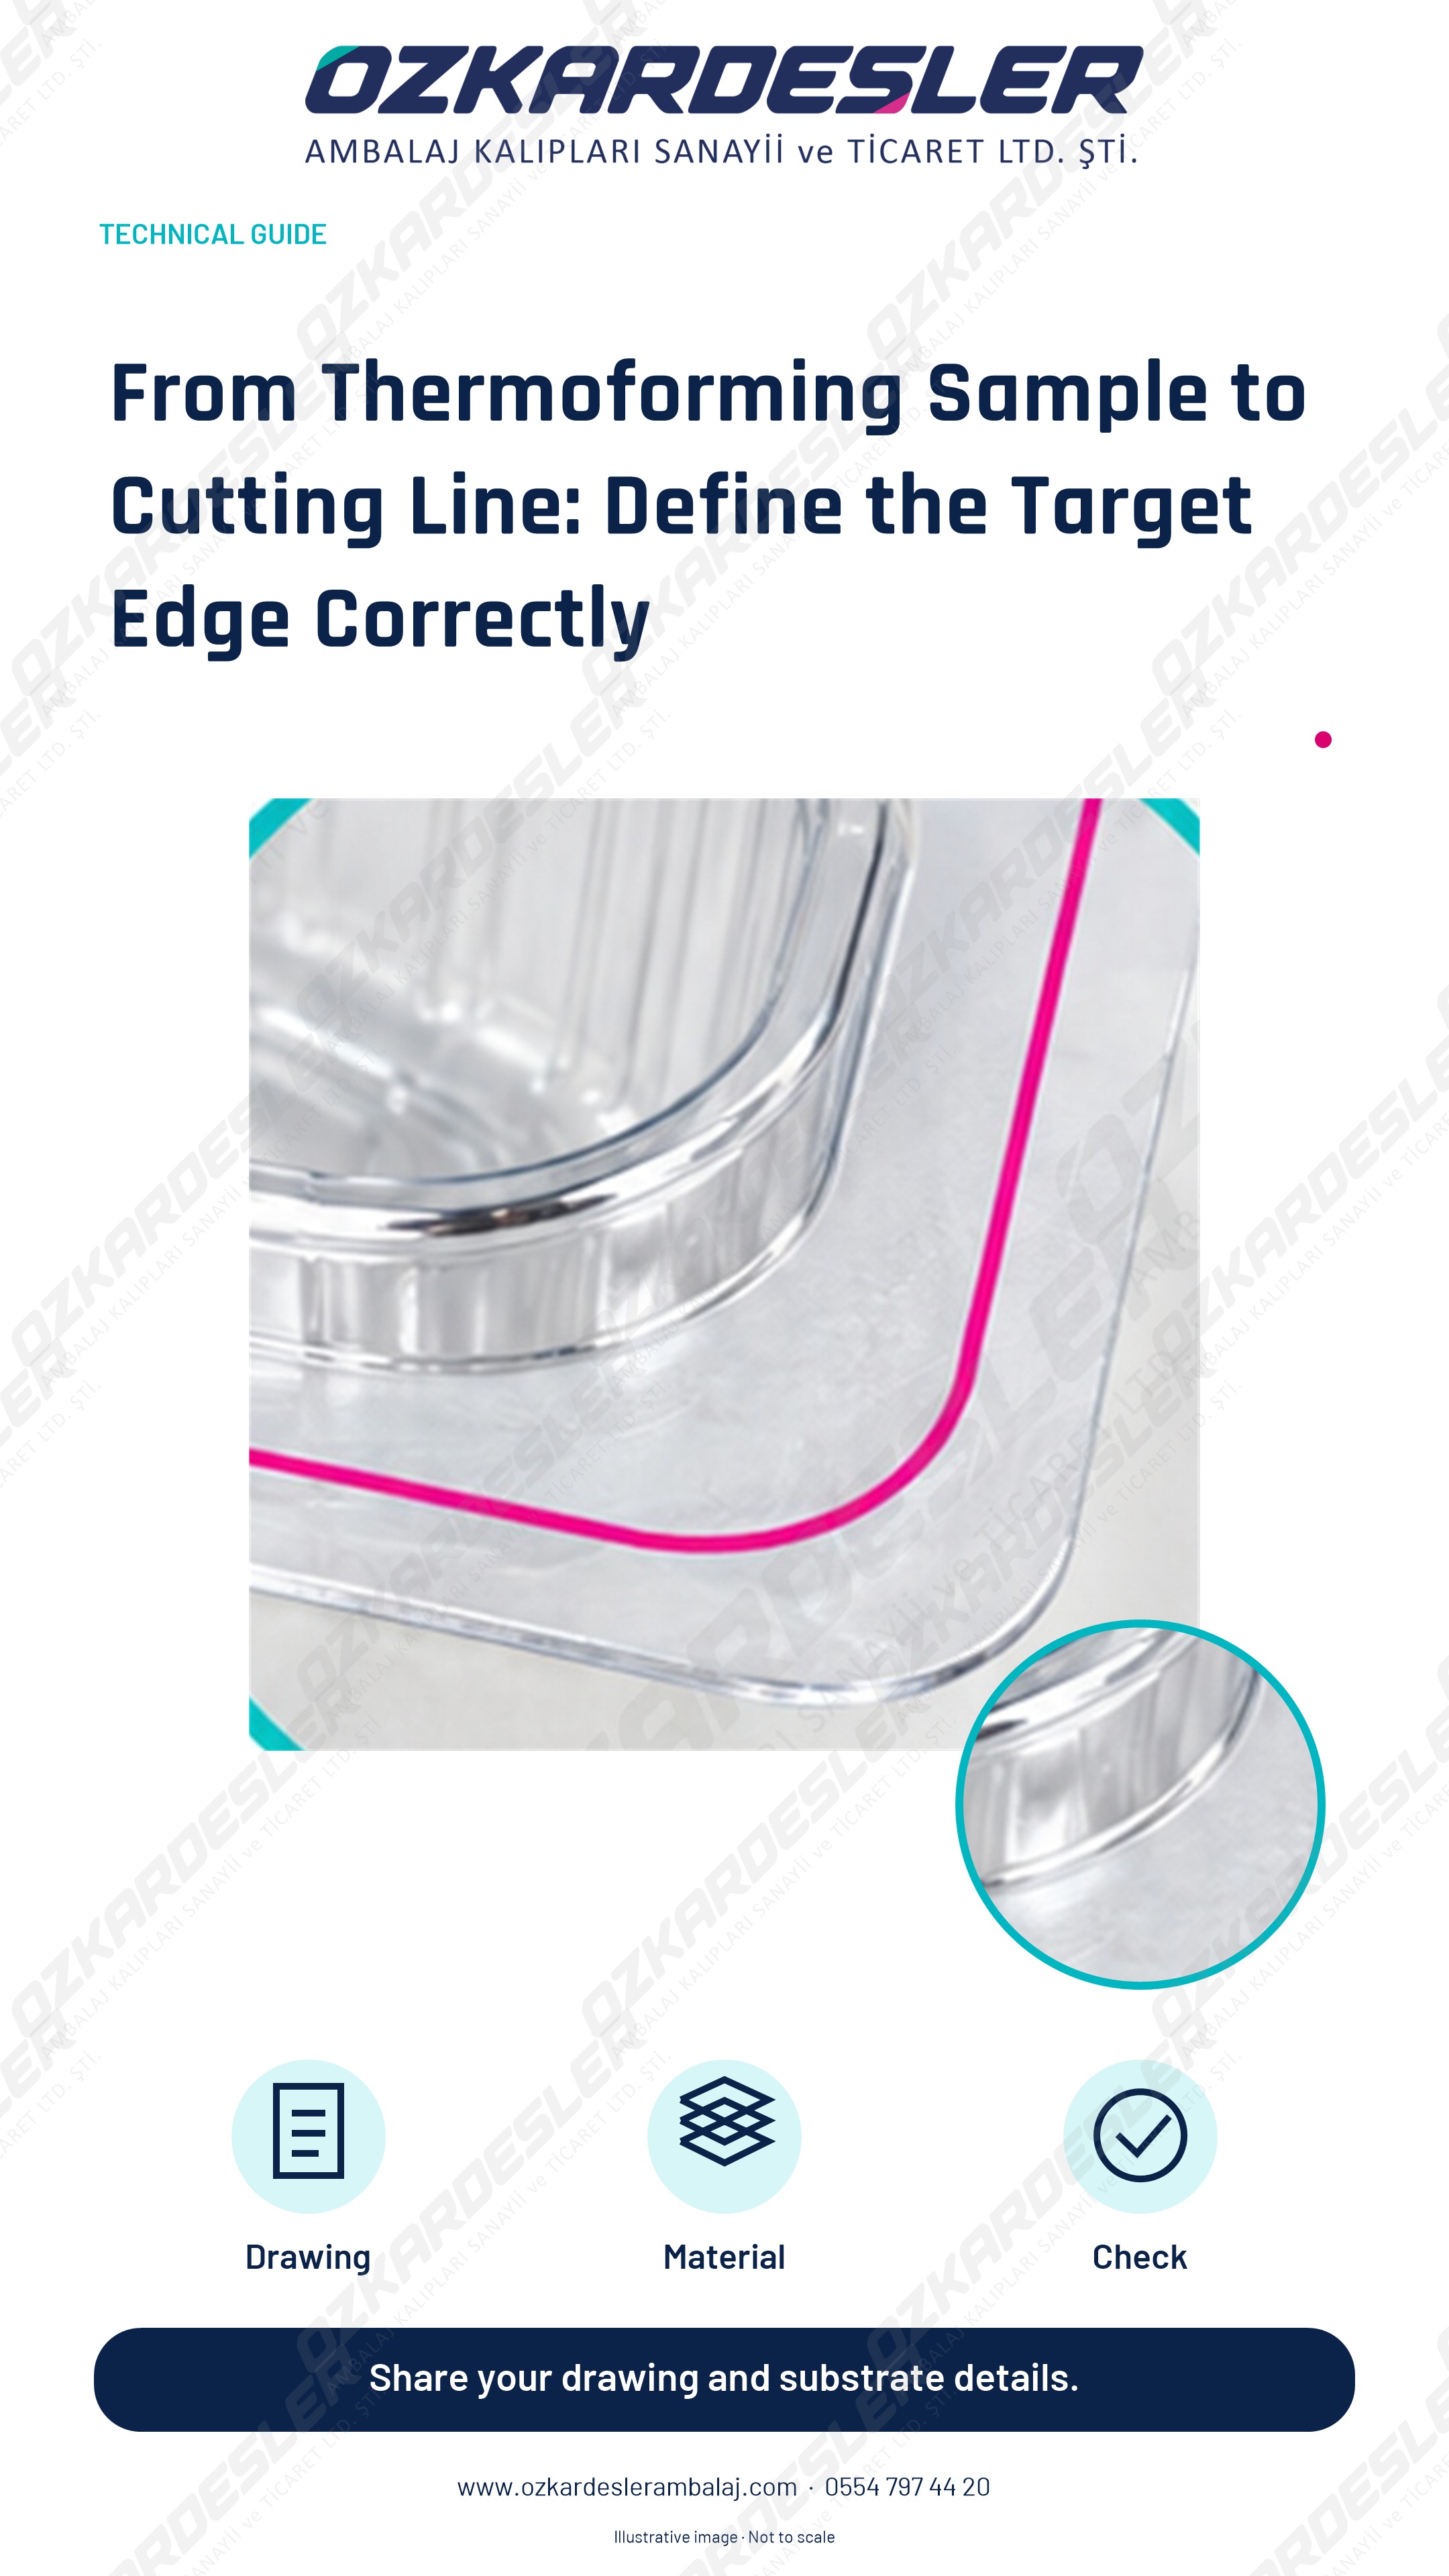
Evaluate the physical sample, final edge, remaining flange, and seating references together during thermoforming cutting line preparation.
Read the article →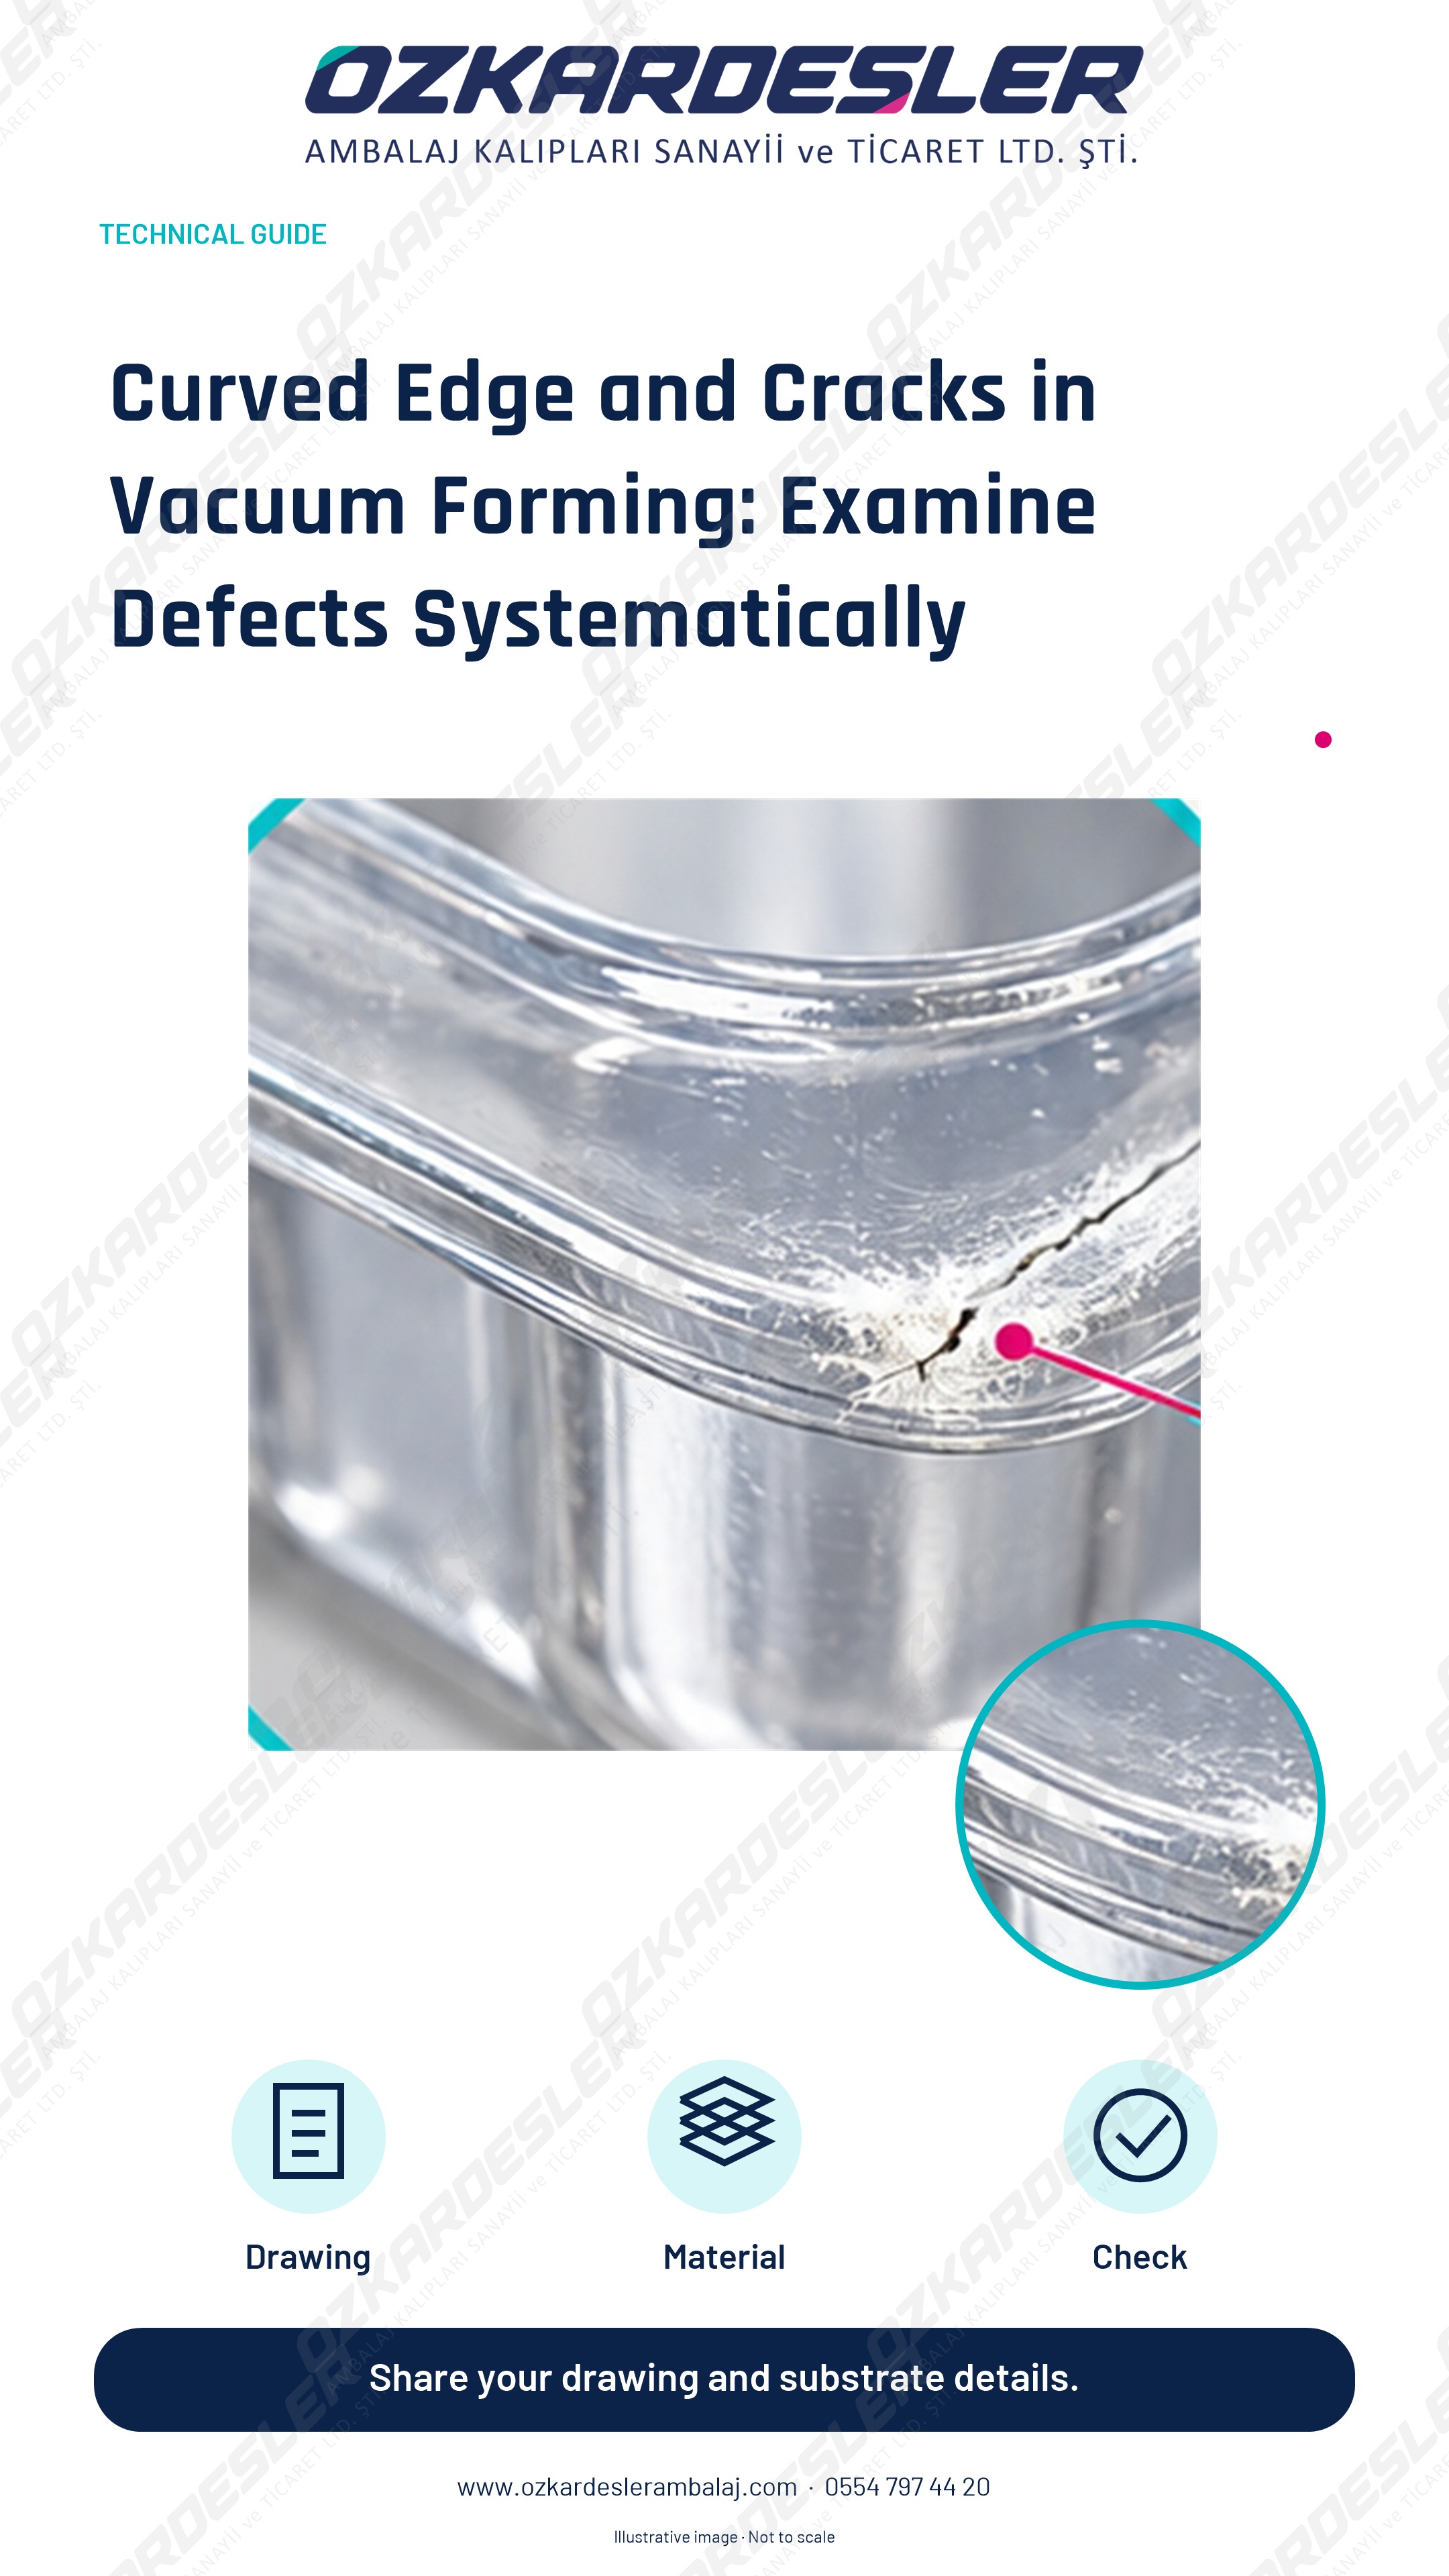
Evaluate edge waviness and corner cracks in vacuum form cutting systematically through seating, flange support, and sample comparison.
Read the article →
Evaluate the role of packaging in brand experience through closure, corner alignment, and series consistency; support sample approval with concrete observations.
Read the article →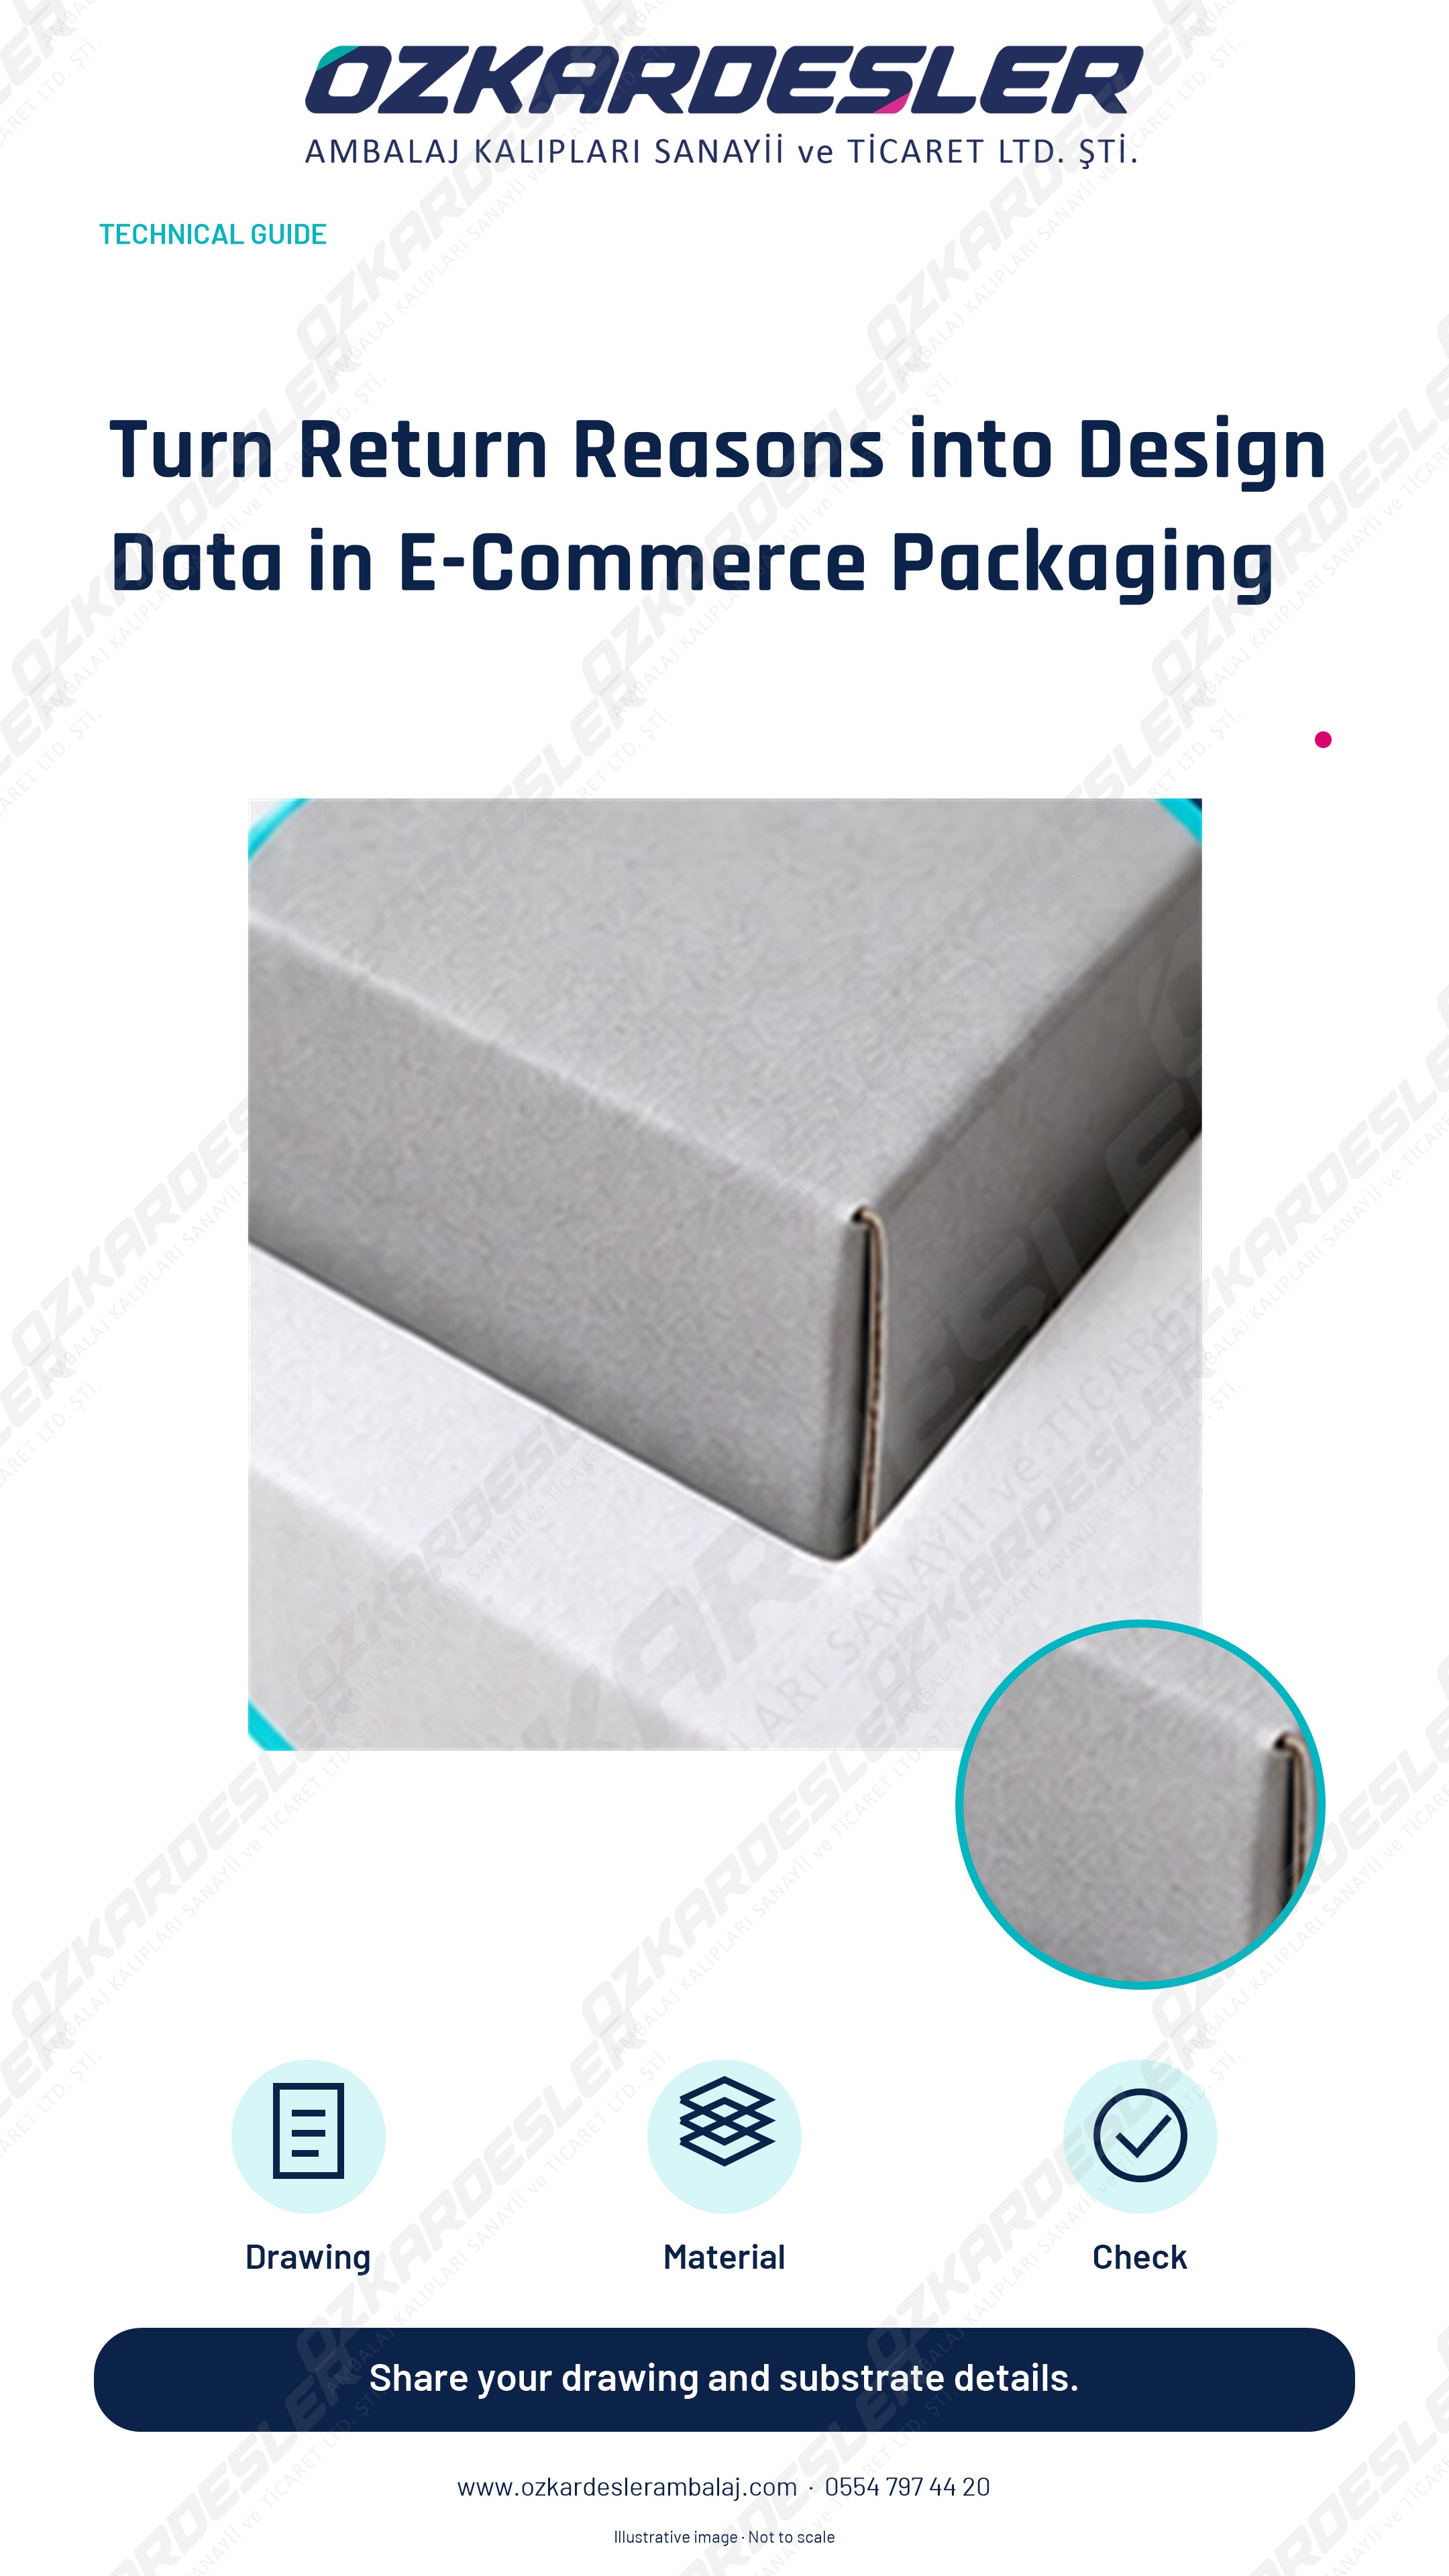
Review product fit, inner support, and closure together when evaluating damaged deliveries in e-commerce; carry return records over to design decisions.
Read the article →
Bring die delivery, sample approval, and campaign needs together on a common calendar during launch preparation; evaluate revision and shipping lead times together.
Read the article →
Gather product, material, quantity, and delivery information in a common file prior to ordering the cutting die; clarify information owners and the current revision.
Read the article →
Make the cutting die decision for limited-run packaging by evaluating initial quantities, repeat usage, and alternative production options together.
Read the article →
Evaluate the hanger hole, product balance, and seating area with the actual sample in blister cards; verify edge margins according to the project.
Read the article →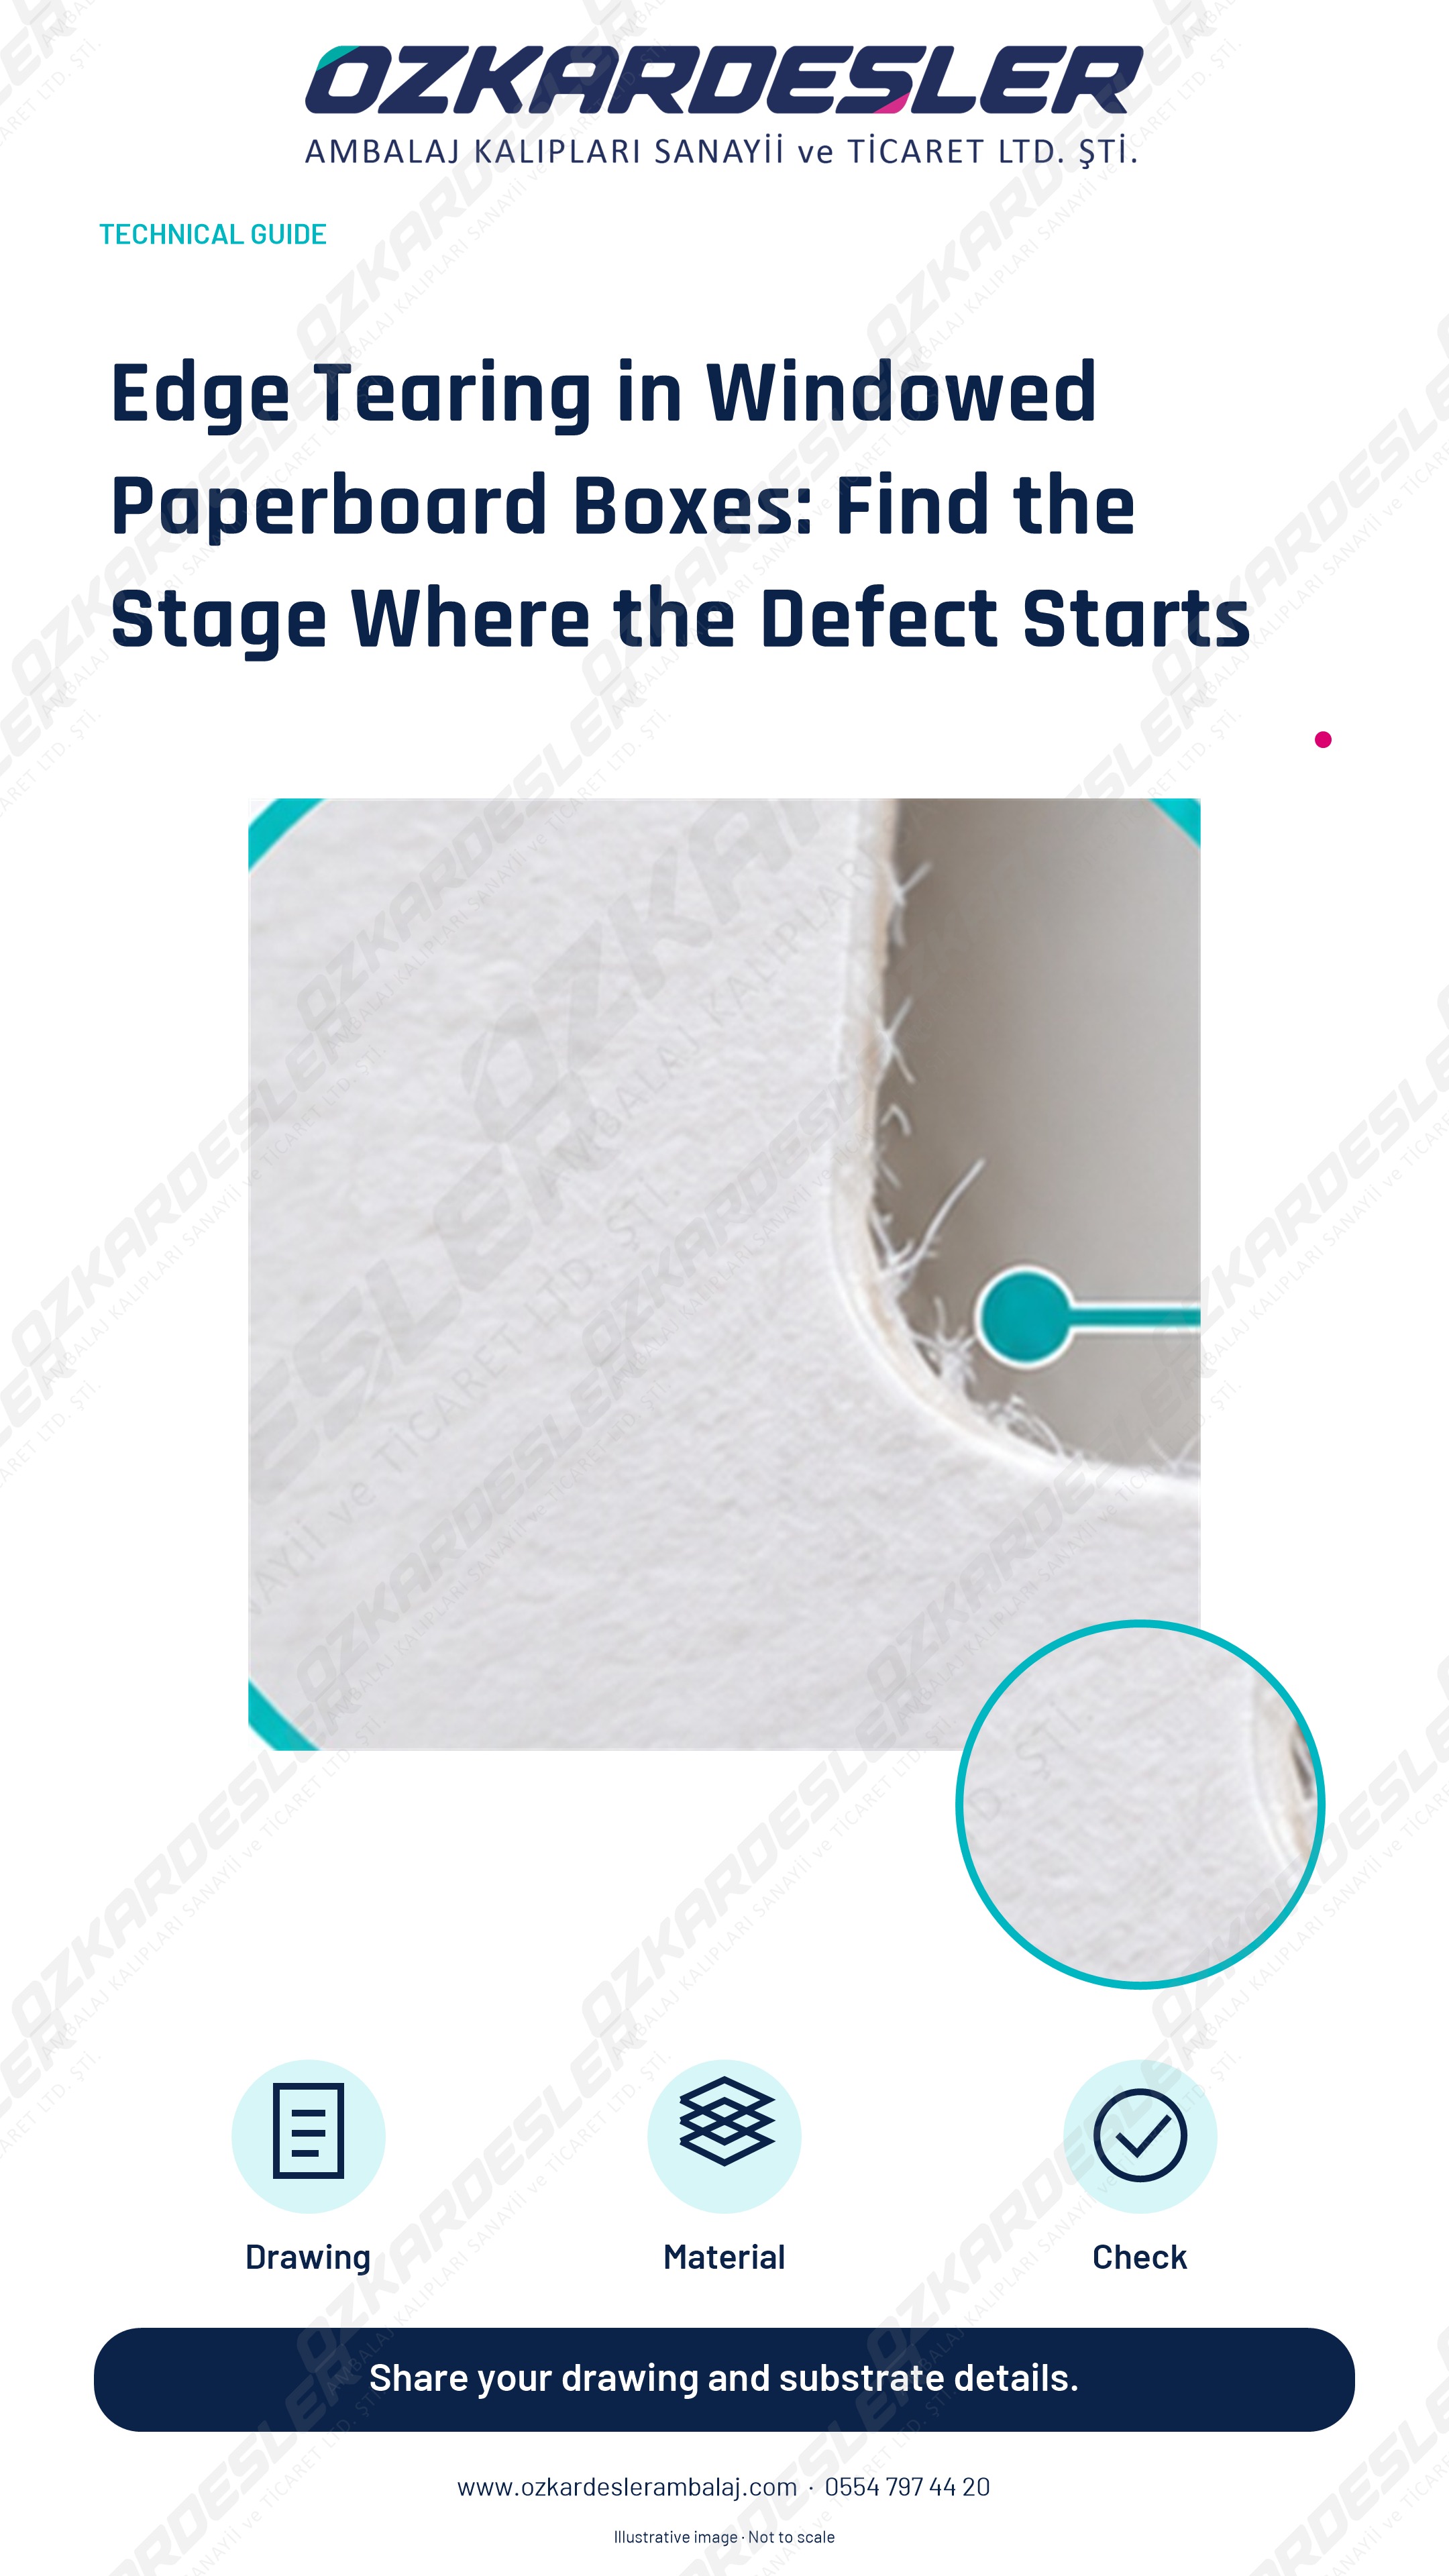
Check edge tearing in windowed paperboard boxes at the window geometry, paperboard properties, cutting, and waste stripping stages.
Read the article →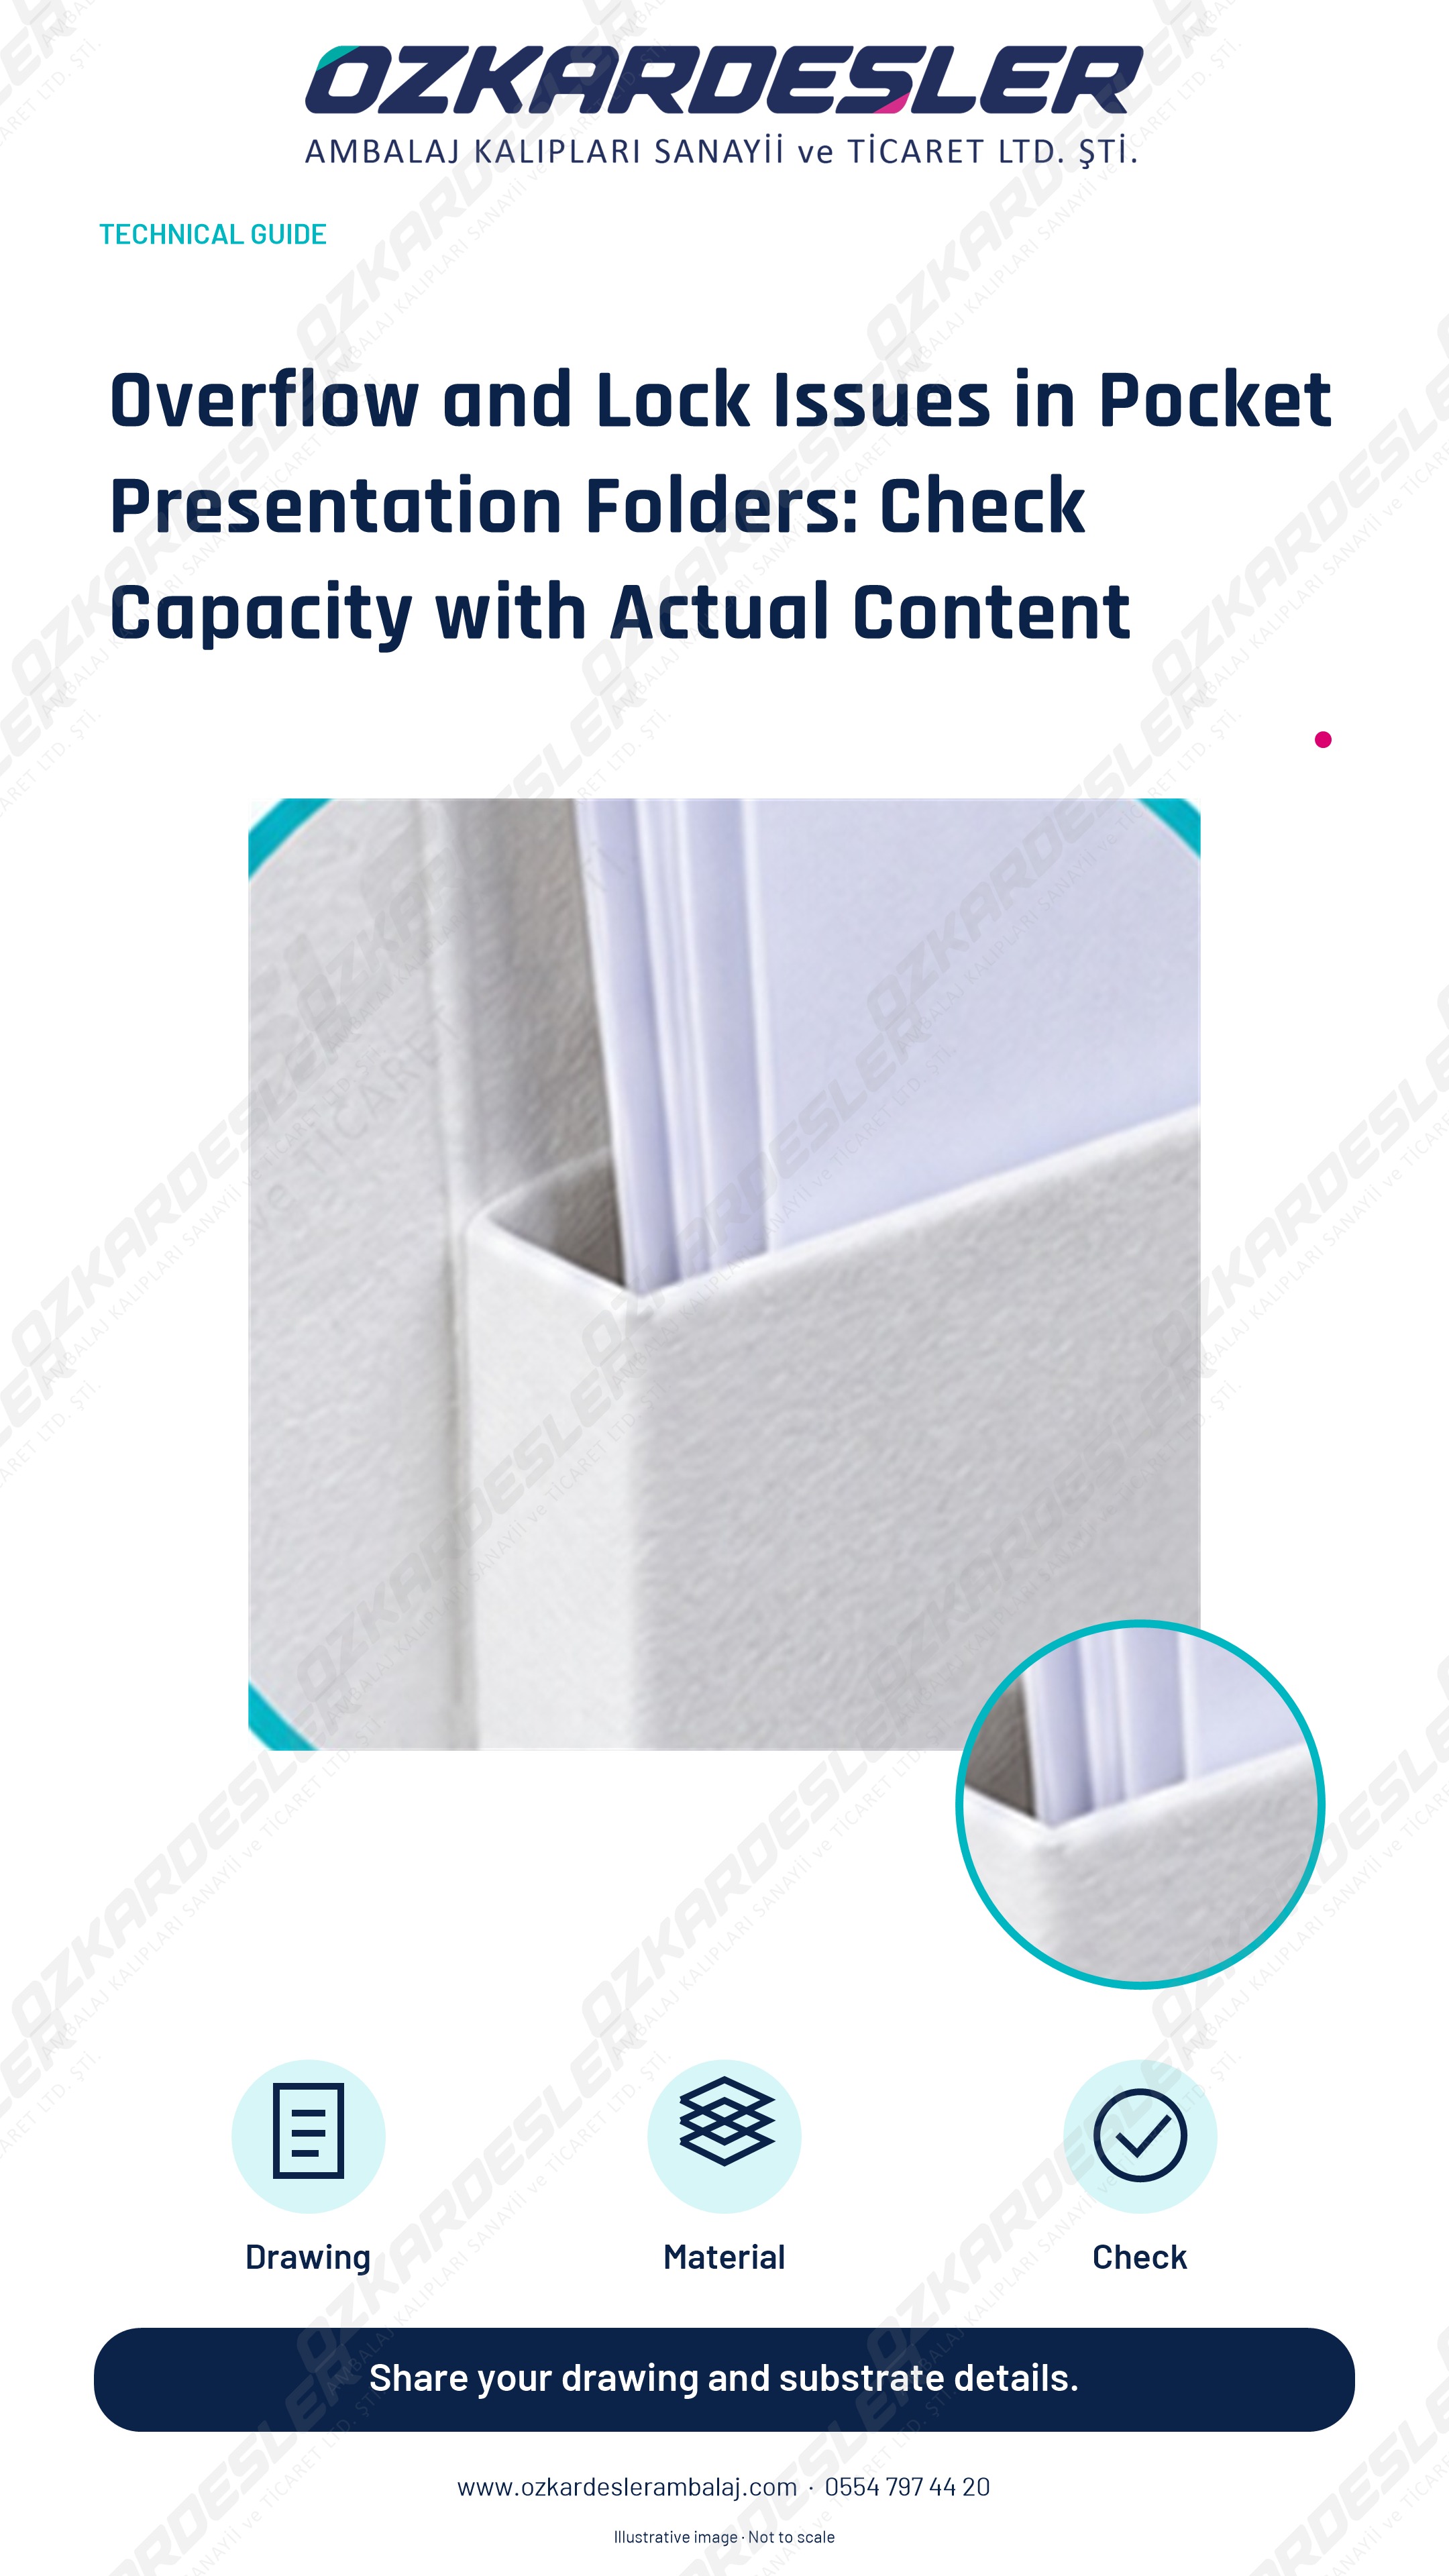
Evaluate overflow and lock opening in pocket presentation folders using actual content, pocket structure, paperboard, surface treatment, and a usage test.
Read the article →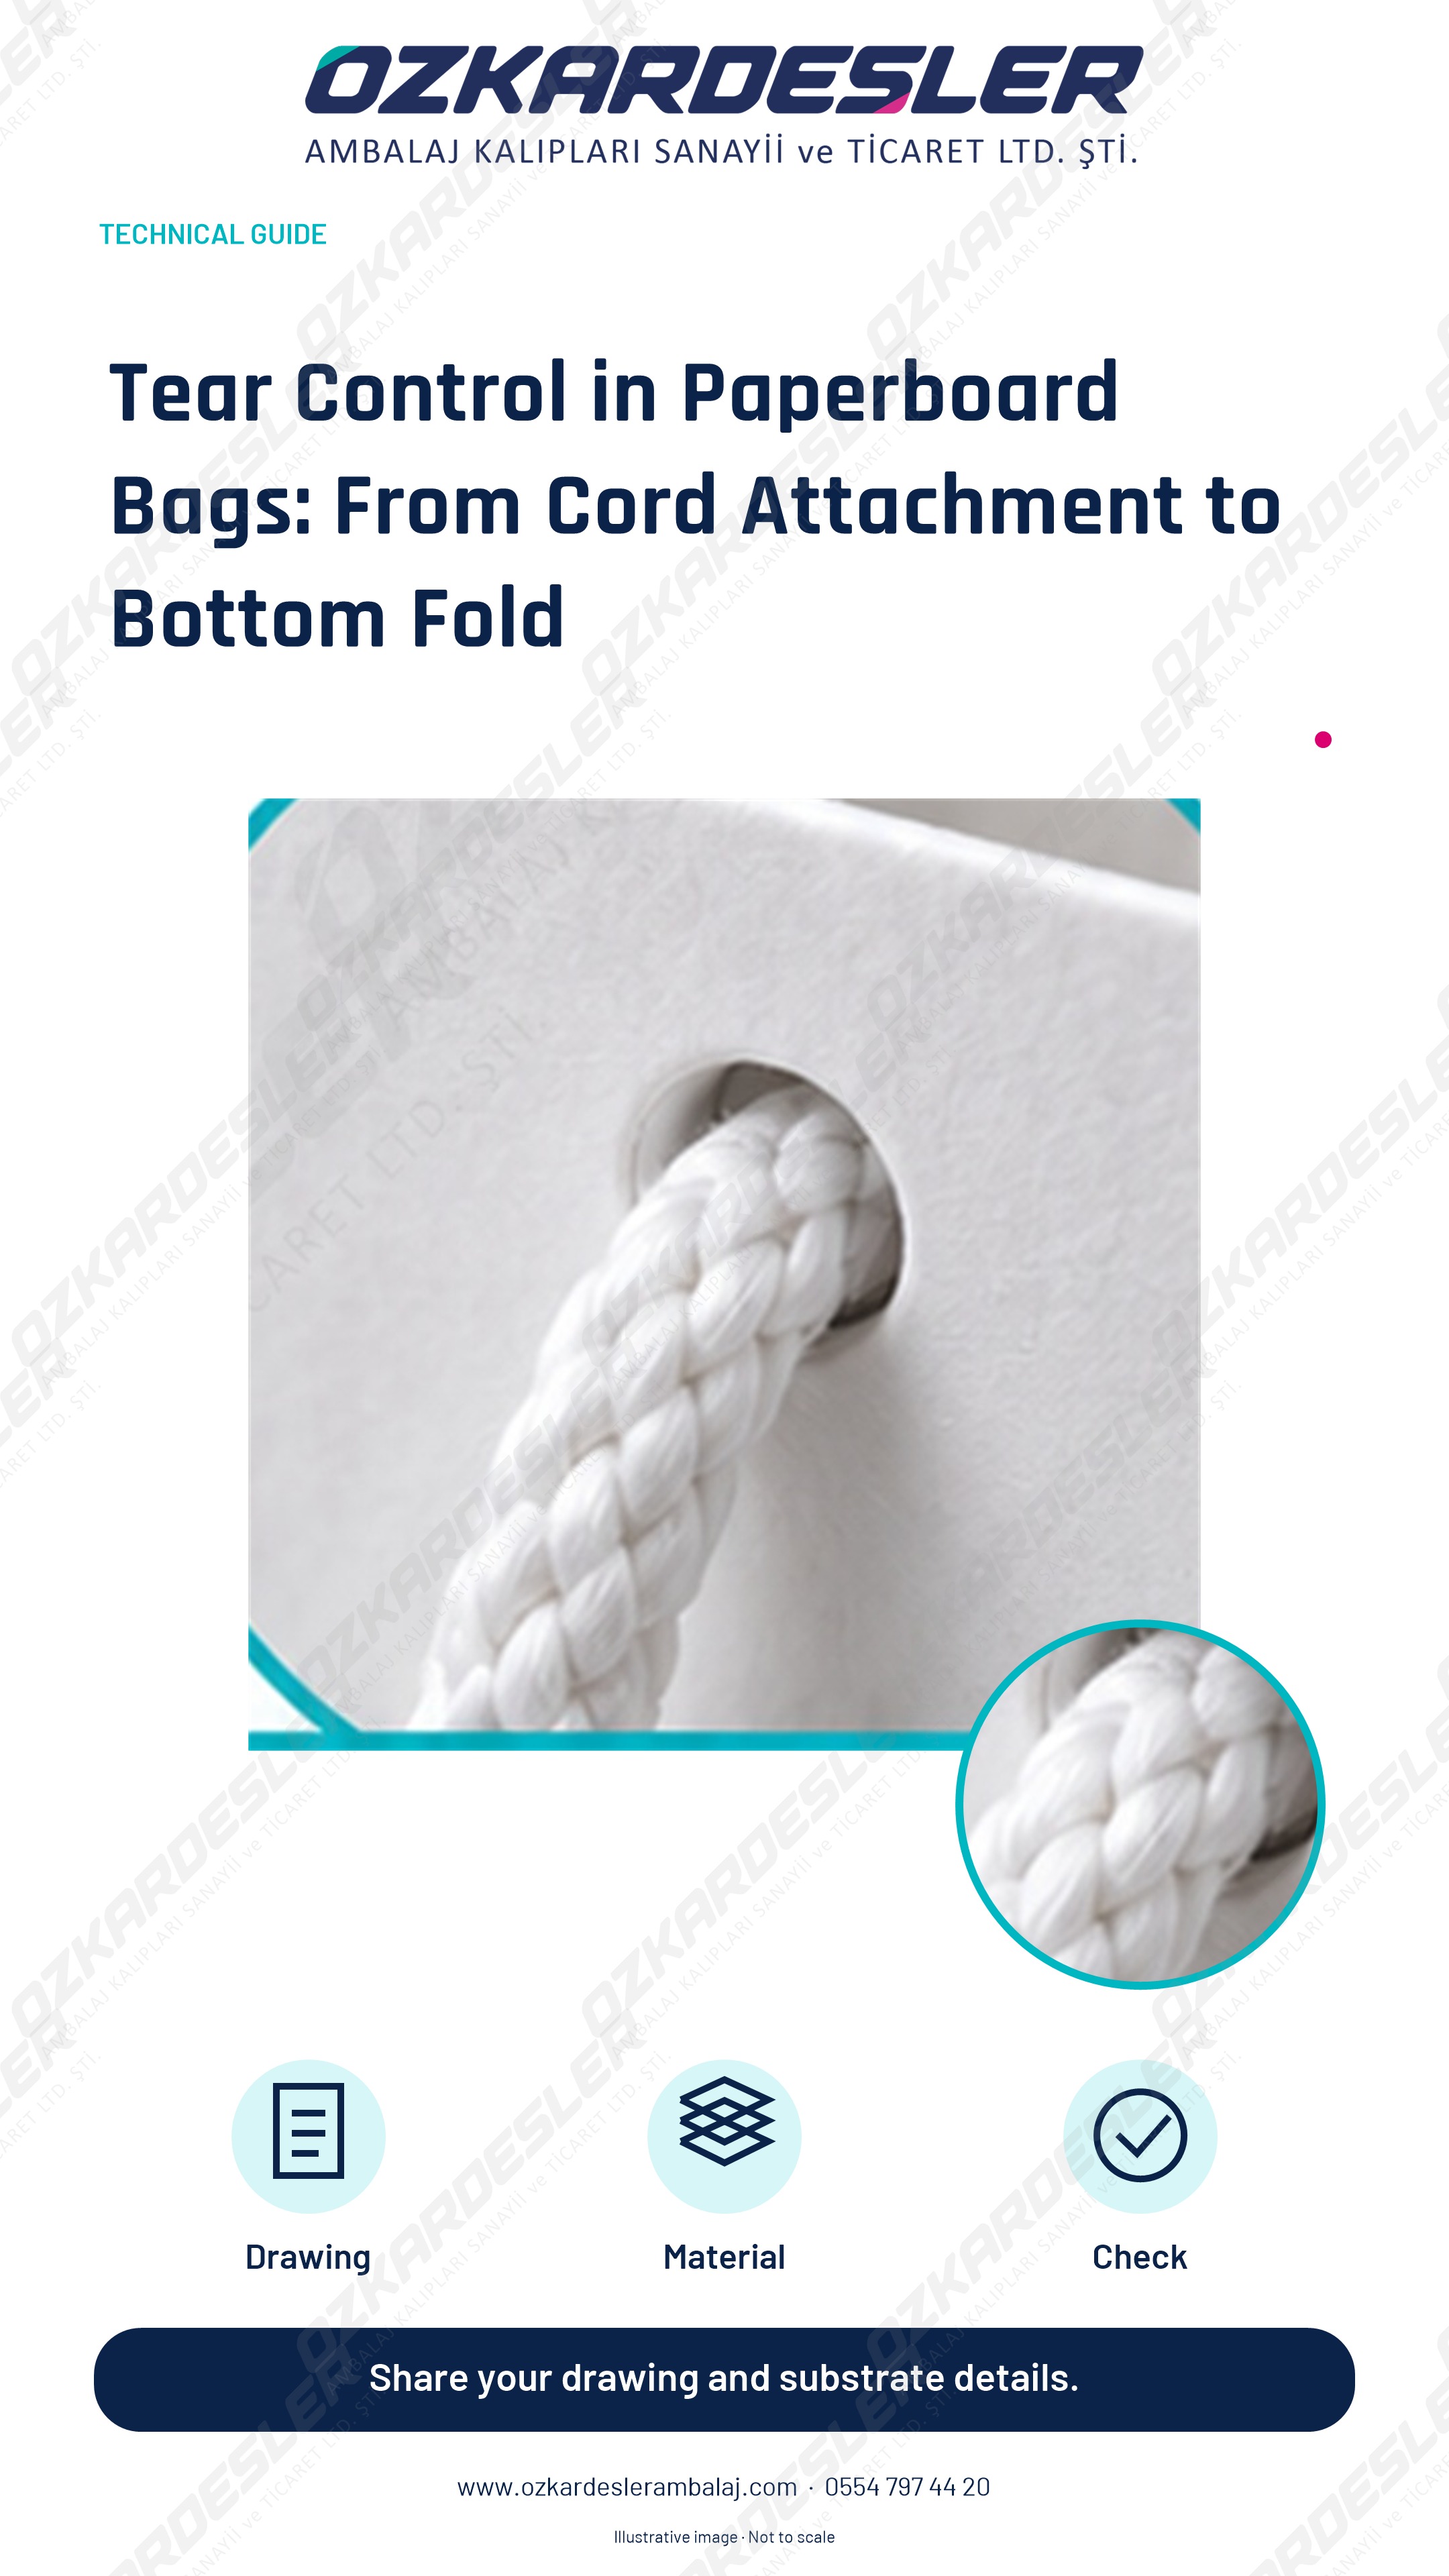
Evaluate cord holes and bottom tears in paperboard bags through sample inspection performed with the actual cord, reinforcement, paperboard properties, and product.
Read the article →
Check print PDF and the cutting line through the same scale, common reference, bleed area, and current revision to clarify file compatibility.
Read the article →
Measure consecutive sheets in print-cutting misalignment; evaluate the need for revision using file, print, die geometry, and feeding checks.
Read the article →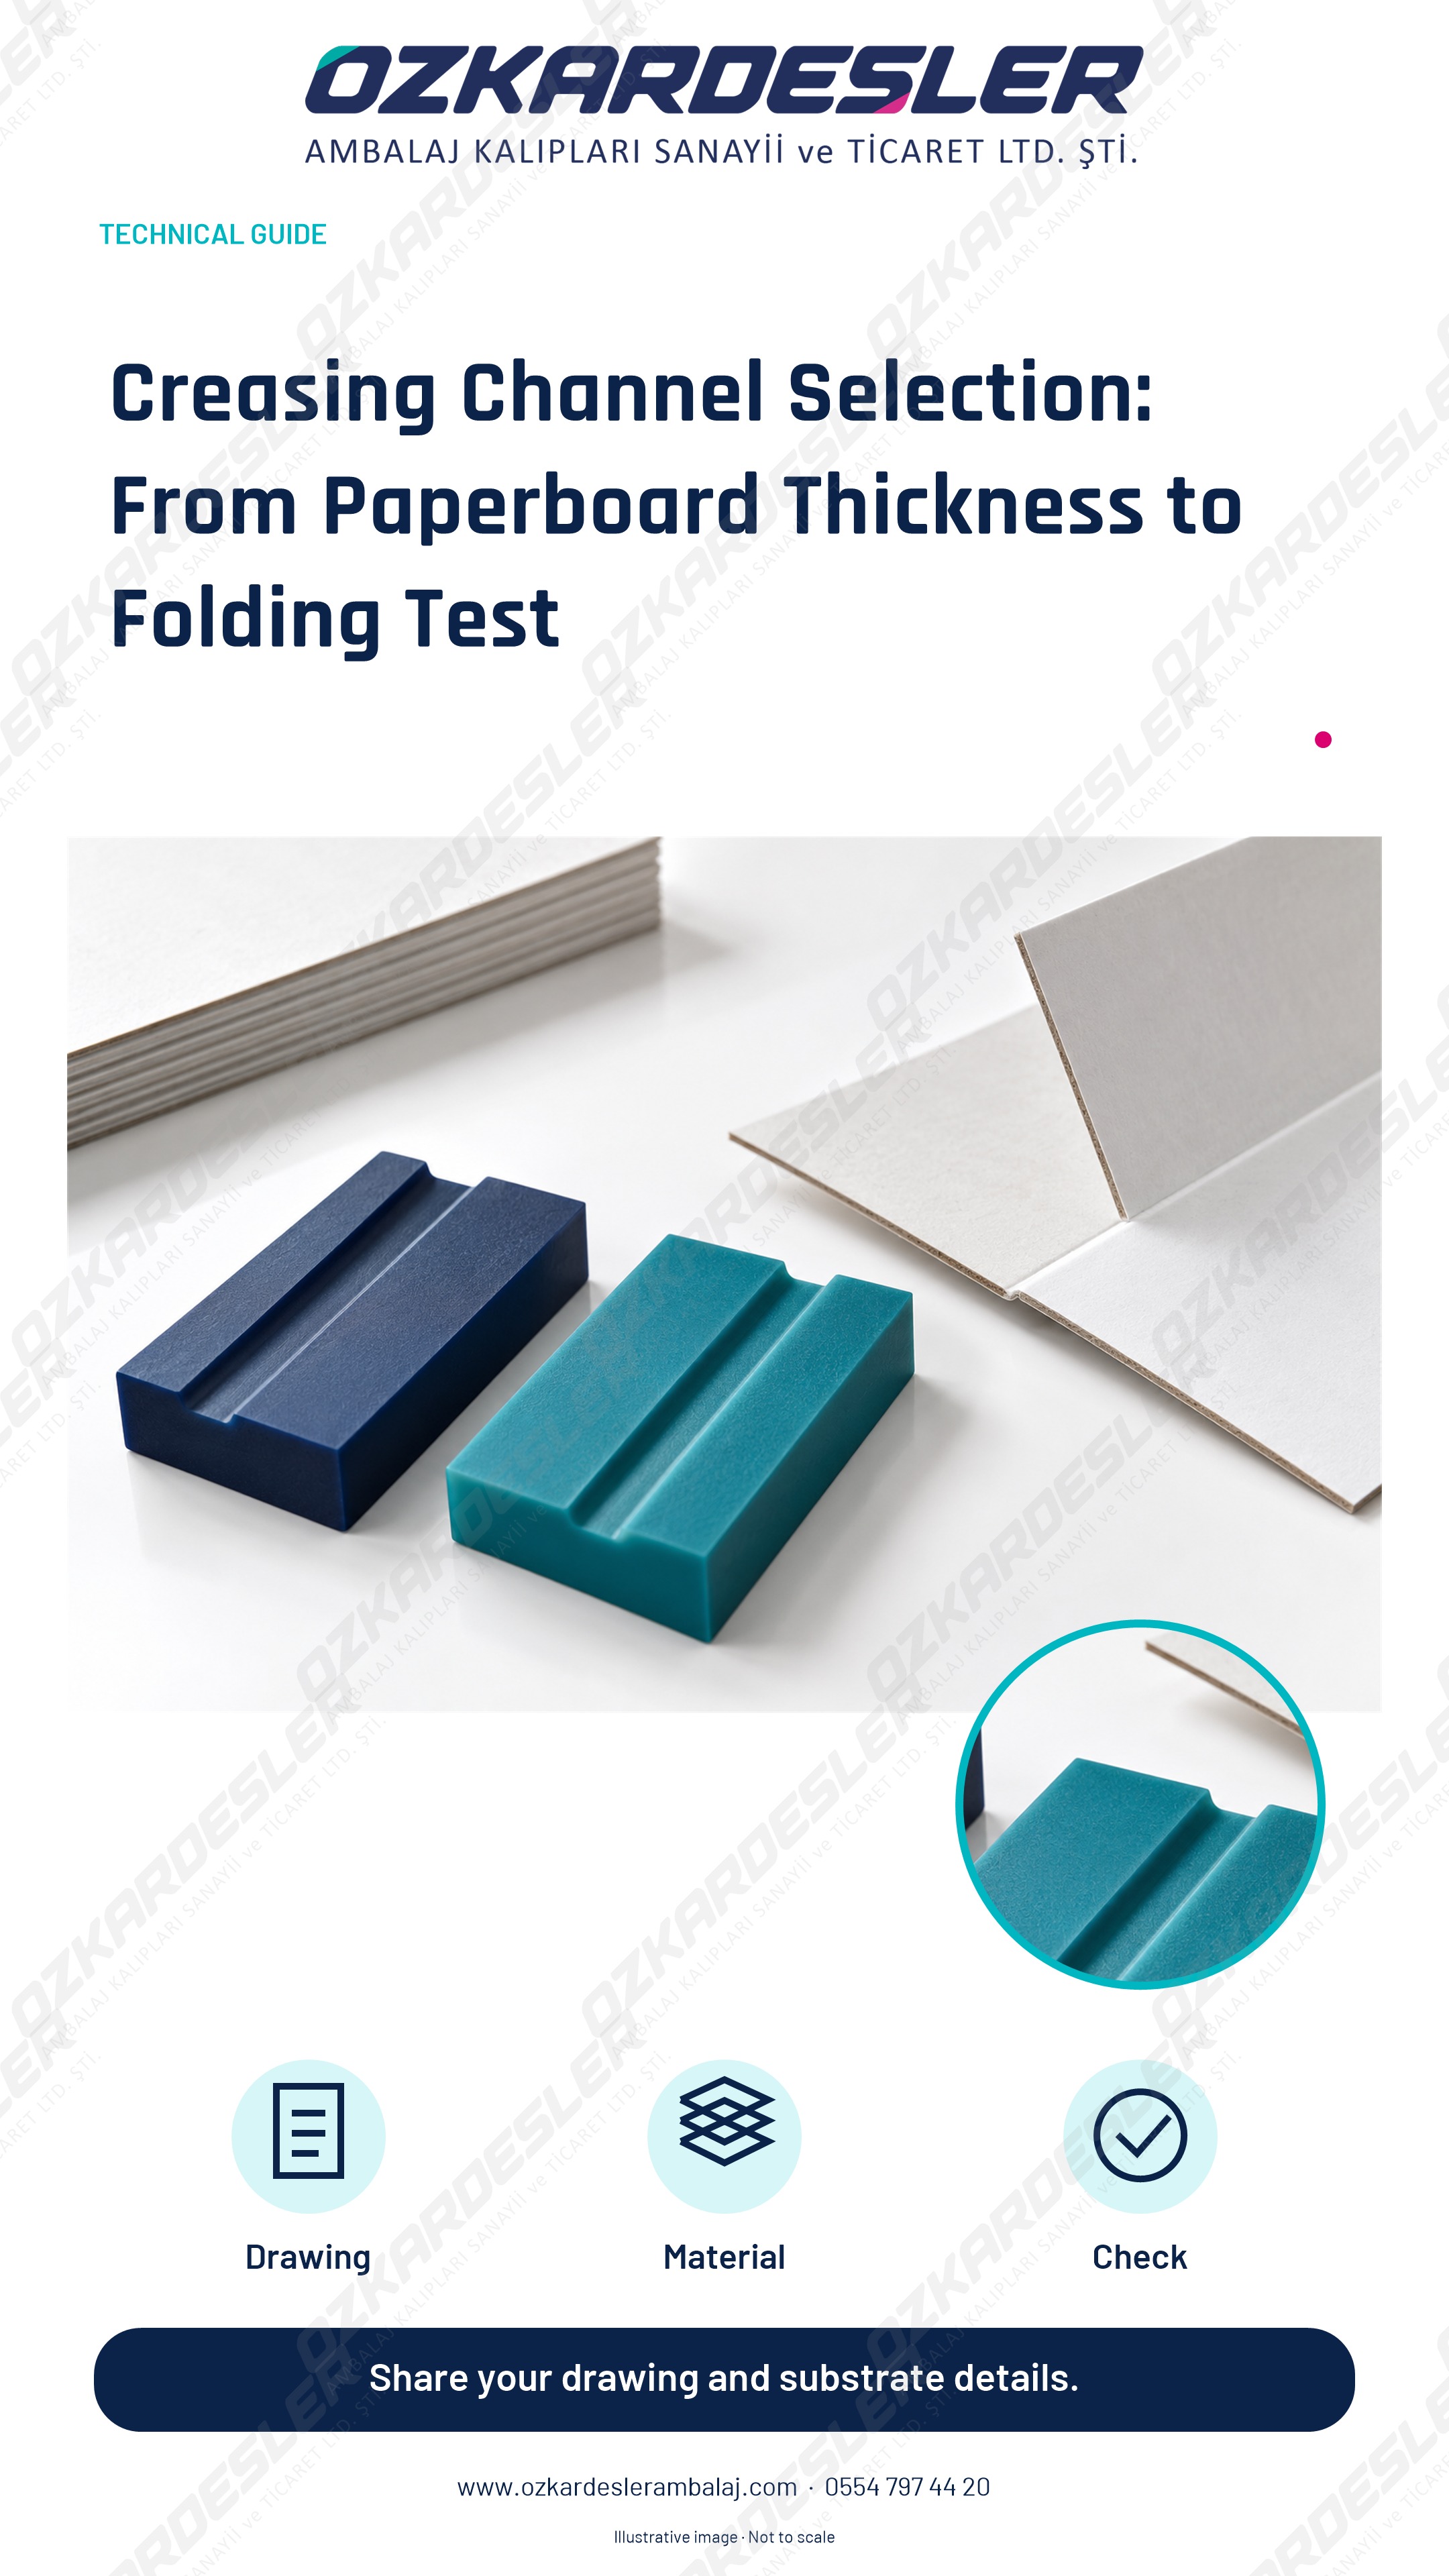
Evaluate actual paperboard thickness, cutting rule, grain direction, and the folding test performed with the finished material together during creasing channel selection.
Read the article →
Compare matrix and pertinax in creasing matrix selection through channel arrangement, frequency of repeats, setup requirements, and tests performed with actual paperboard.
Read the article →
Evaluate repair and remanufacture in cutting dies based on the current drawing, base condition, localized wear, and total production cost.
Read the article →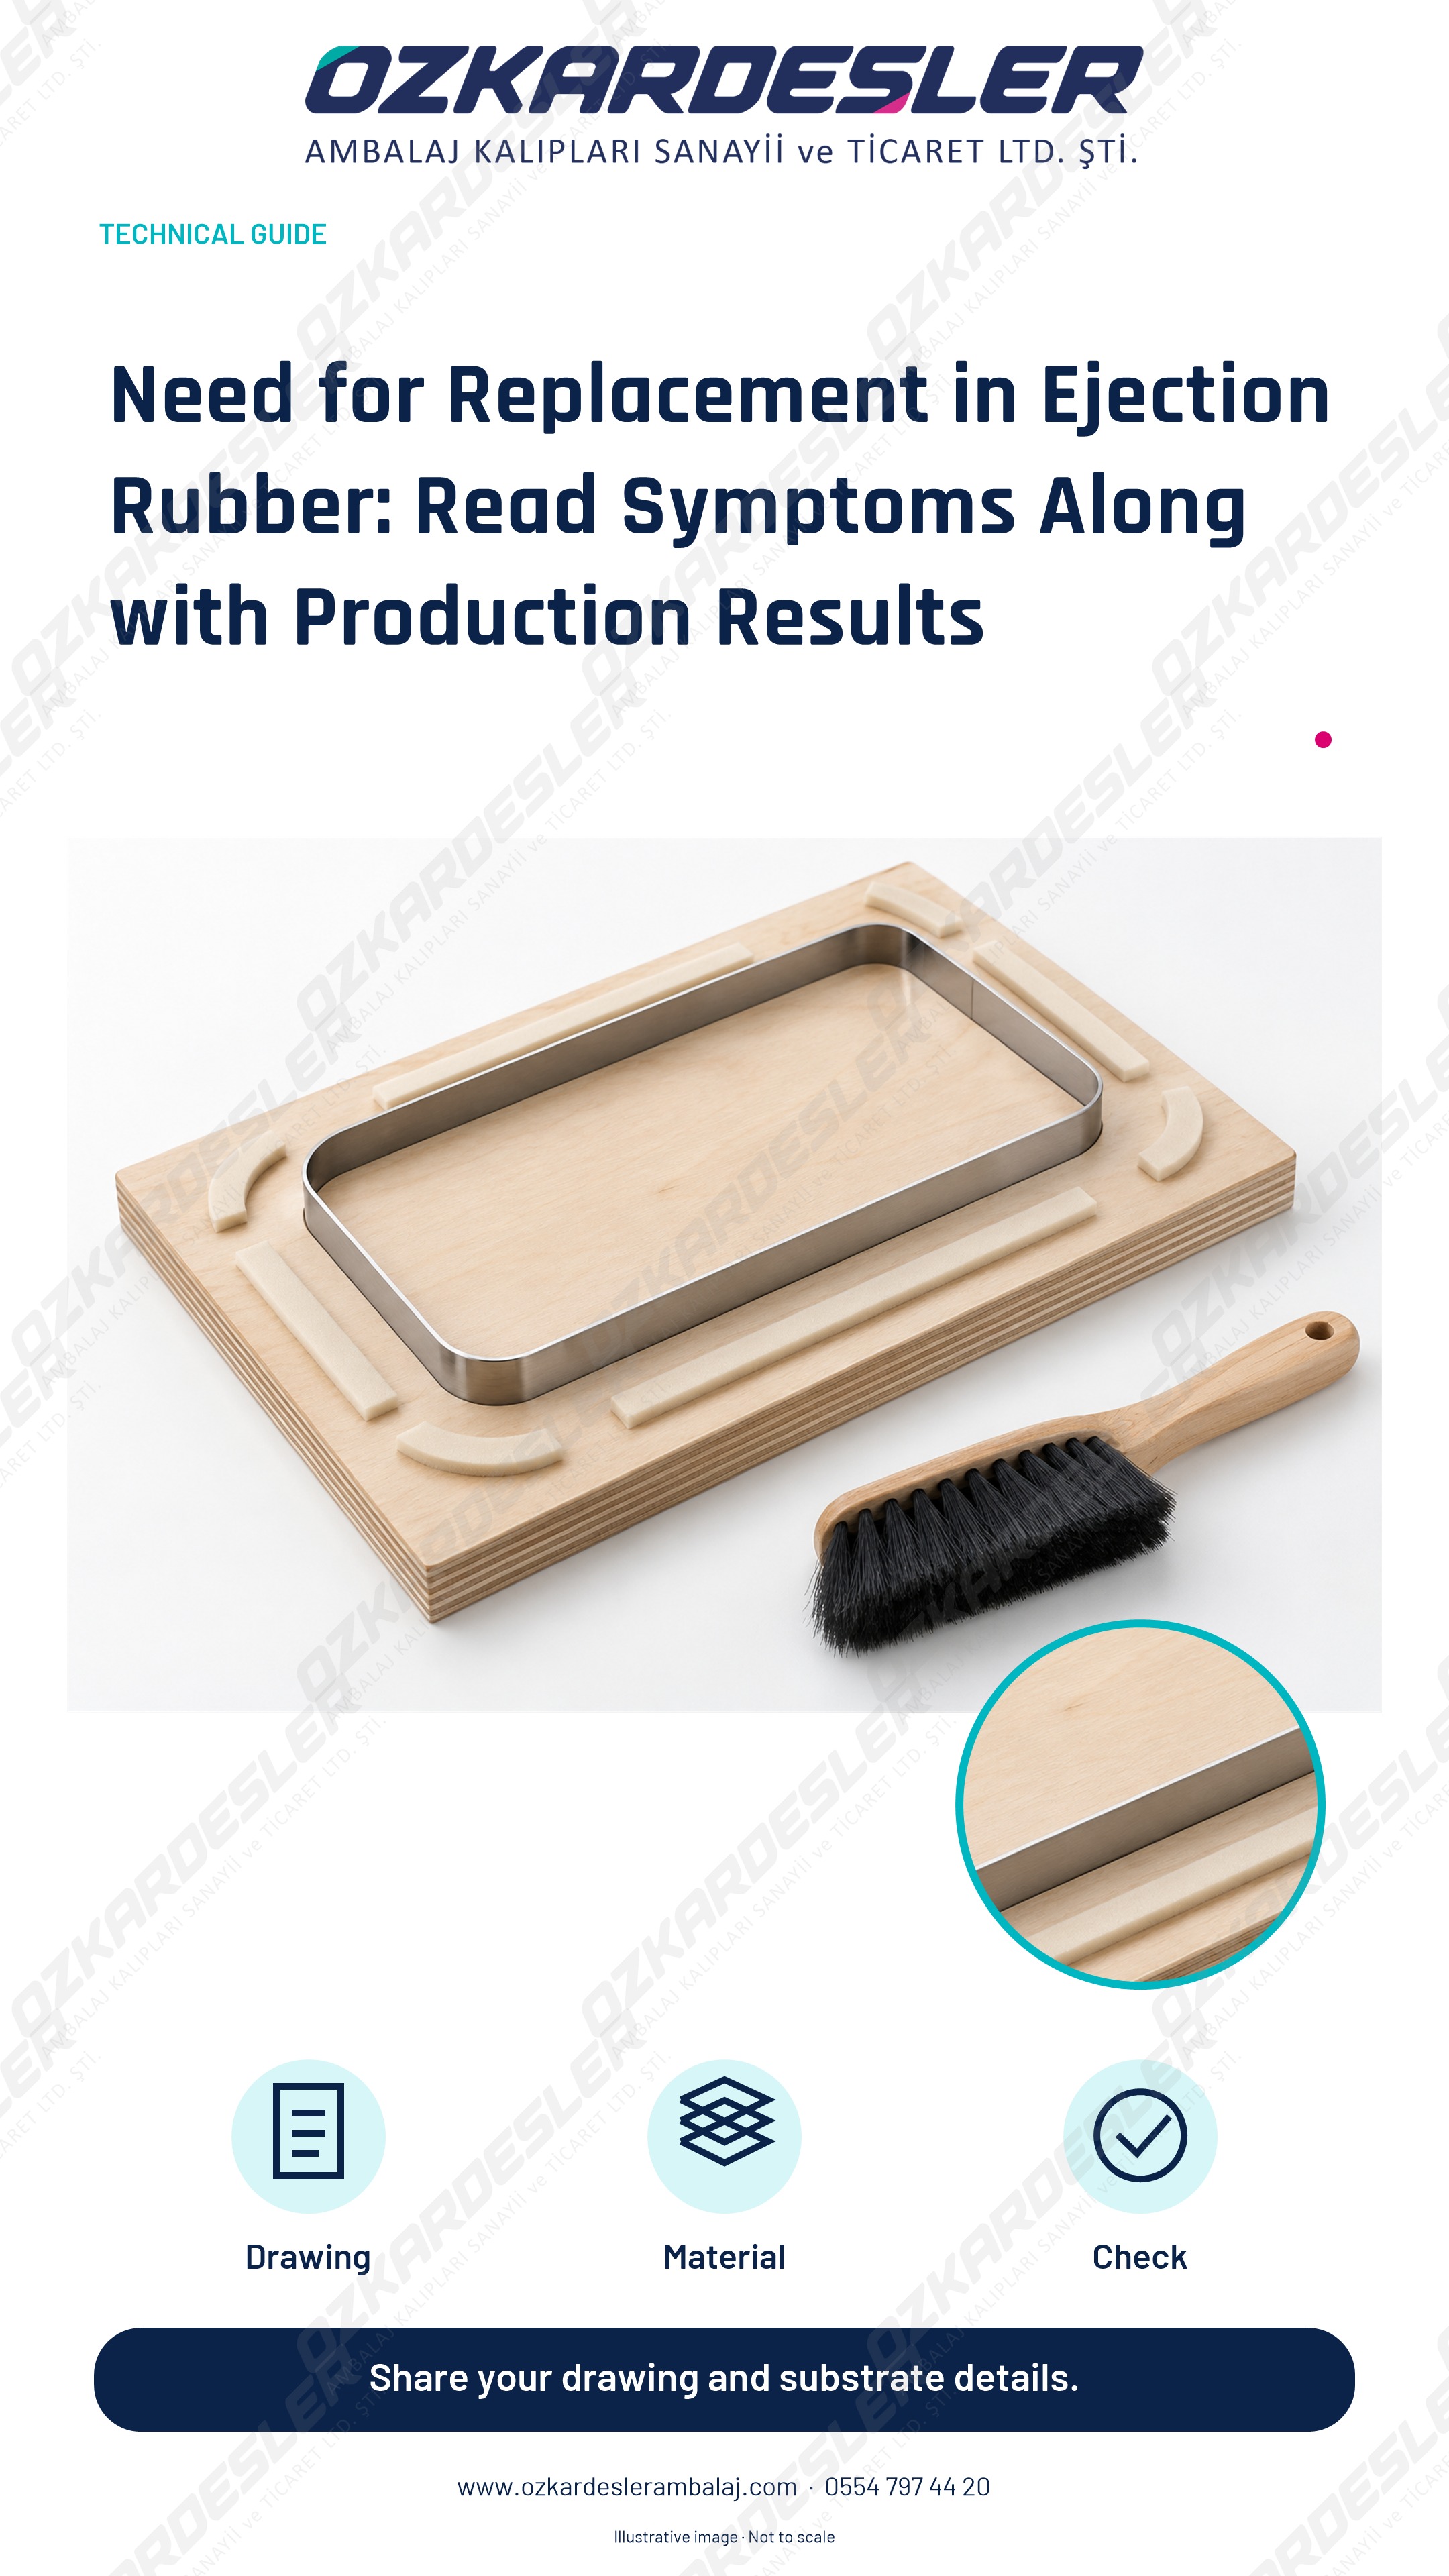
Evaluate permanent crushing, surface changes, and parts getting stuck in the die regarding ejection rubber together with rubber arrangement and actual cutting samples.
Read the article →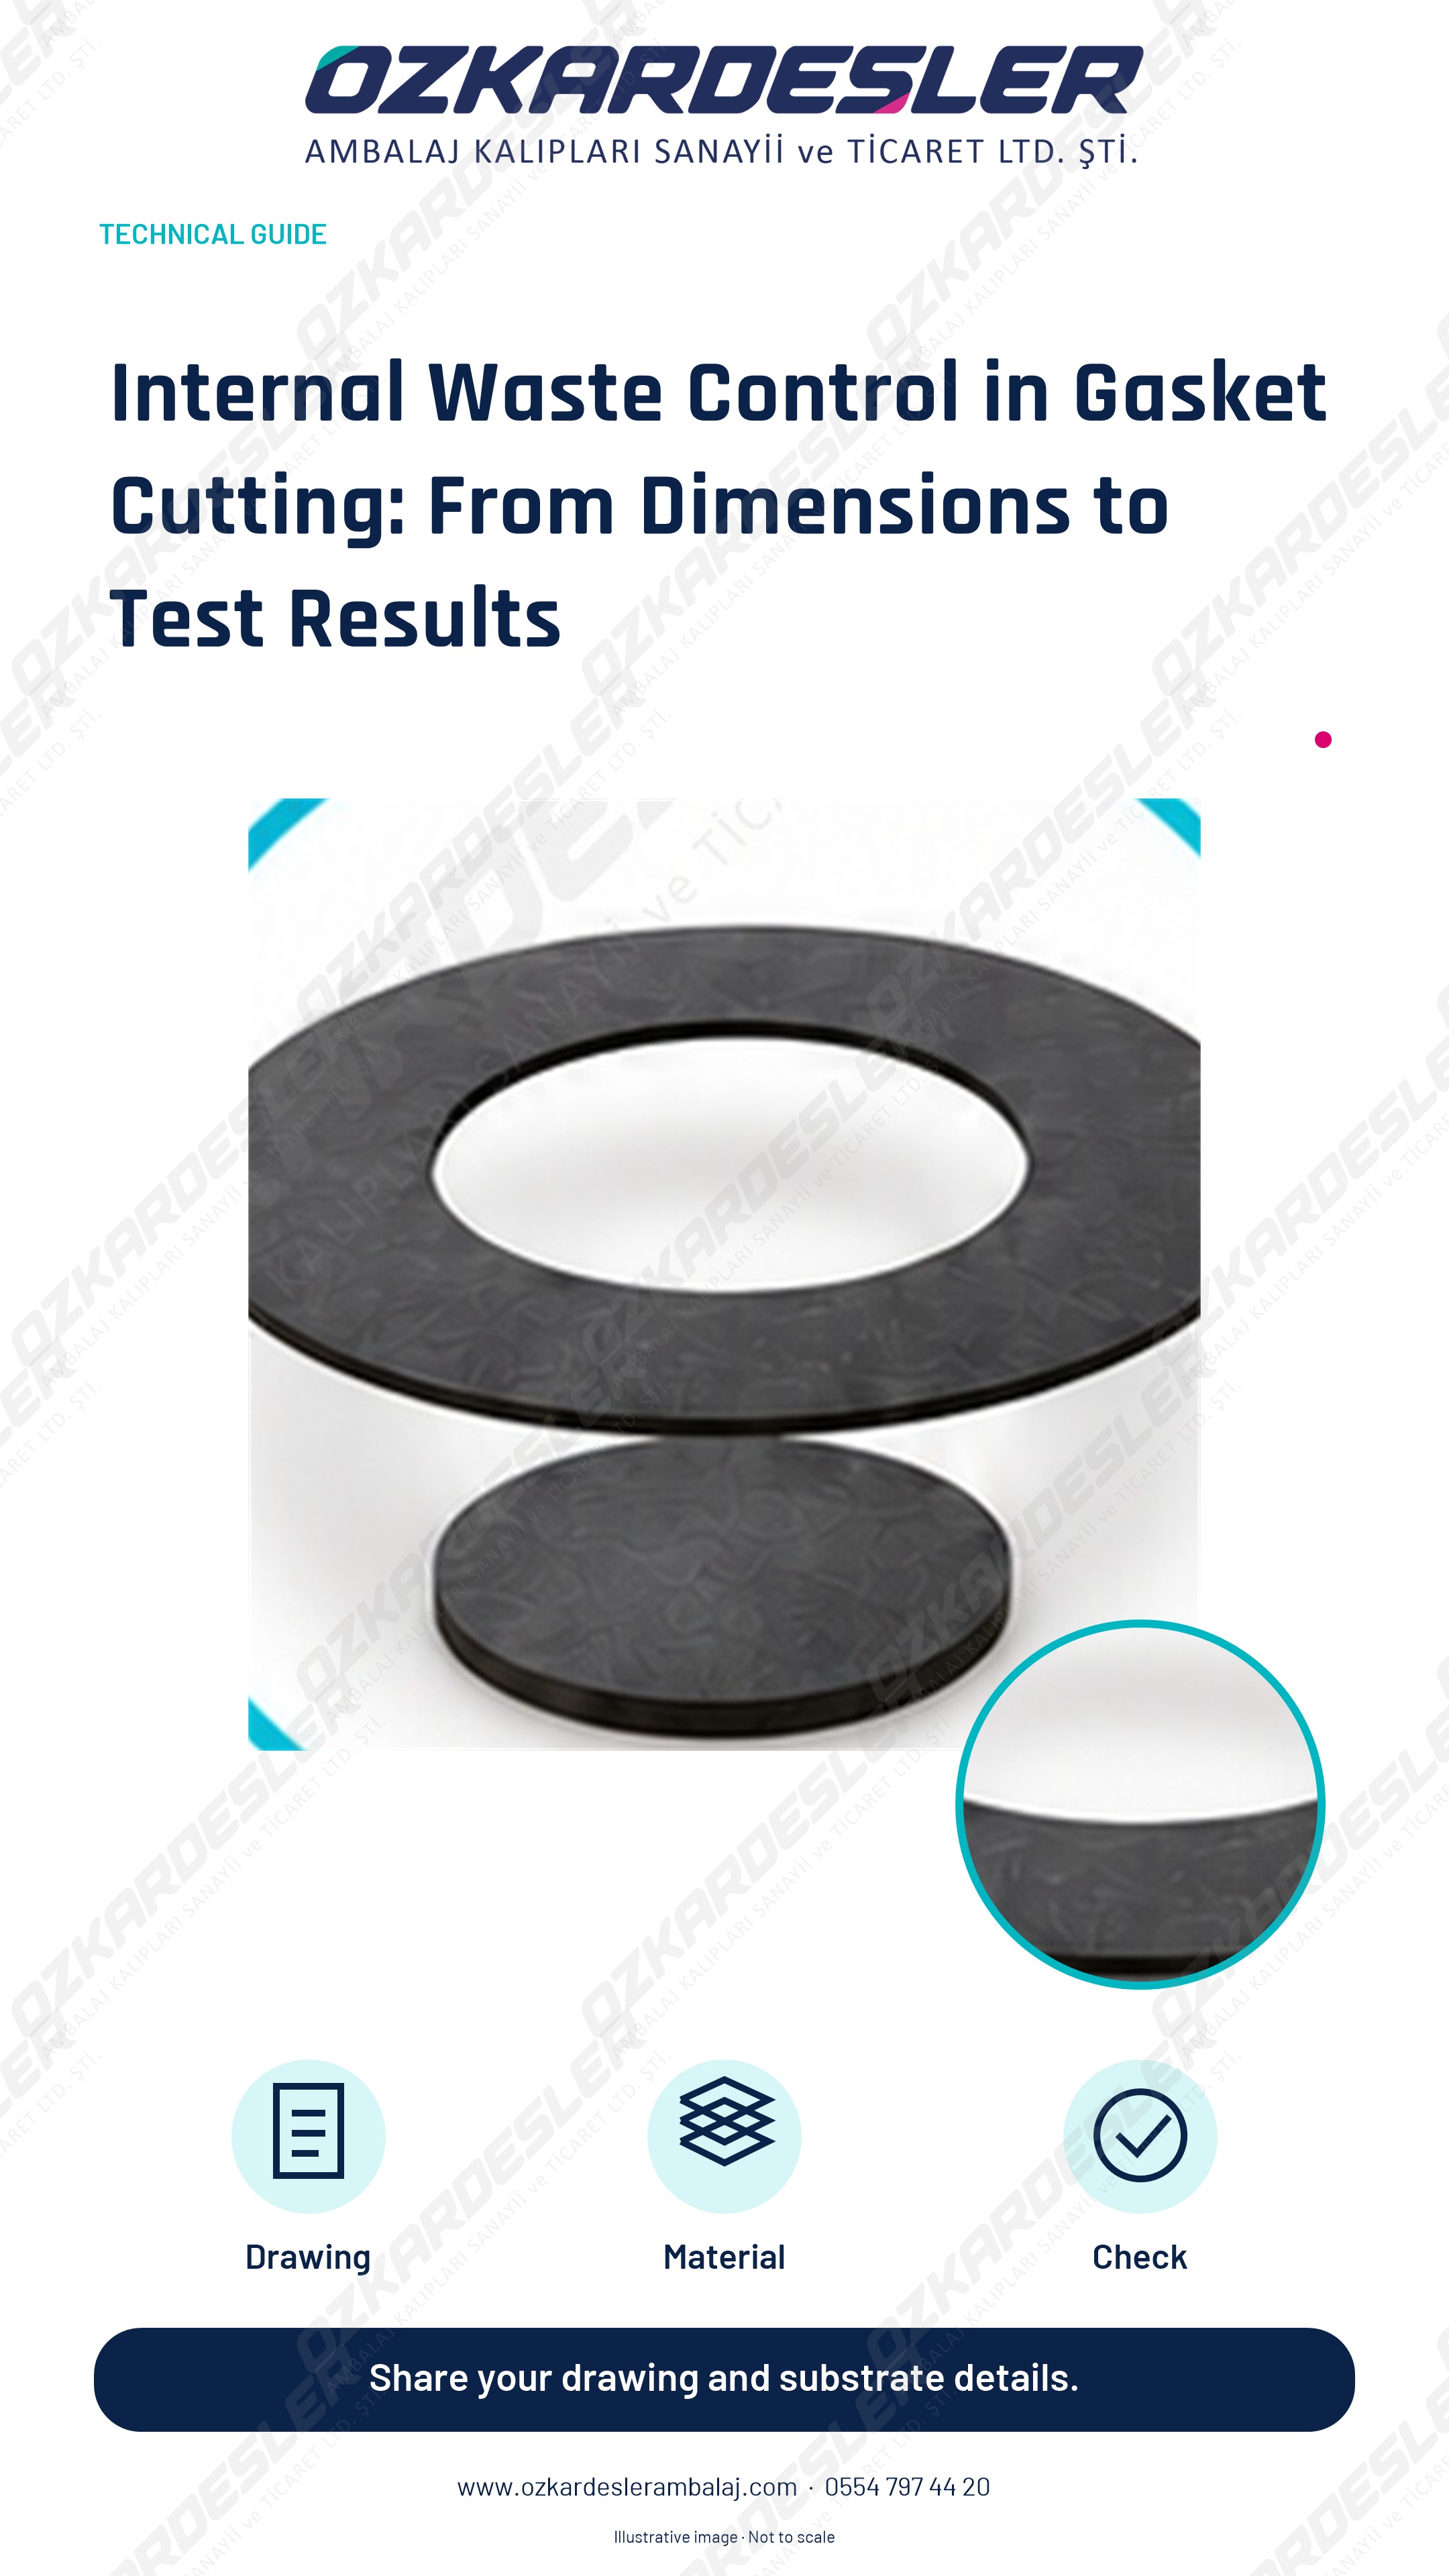
Evaluate internal waste stripping in gasket cutting through contour geometry, actual material sample, ejection expectations, and cutting tests.
Read the article →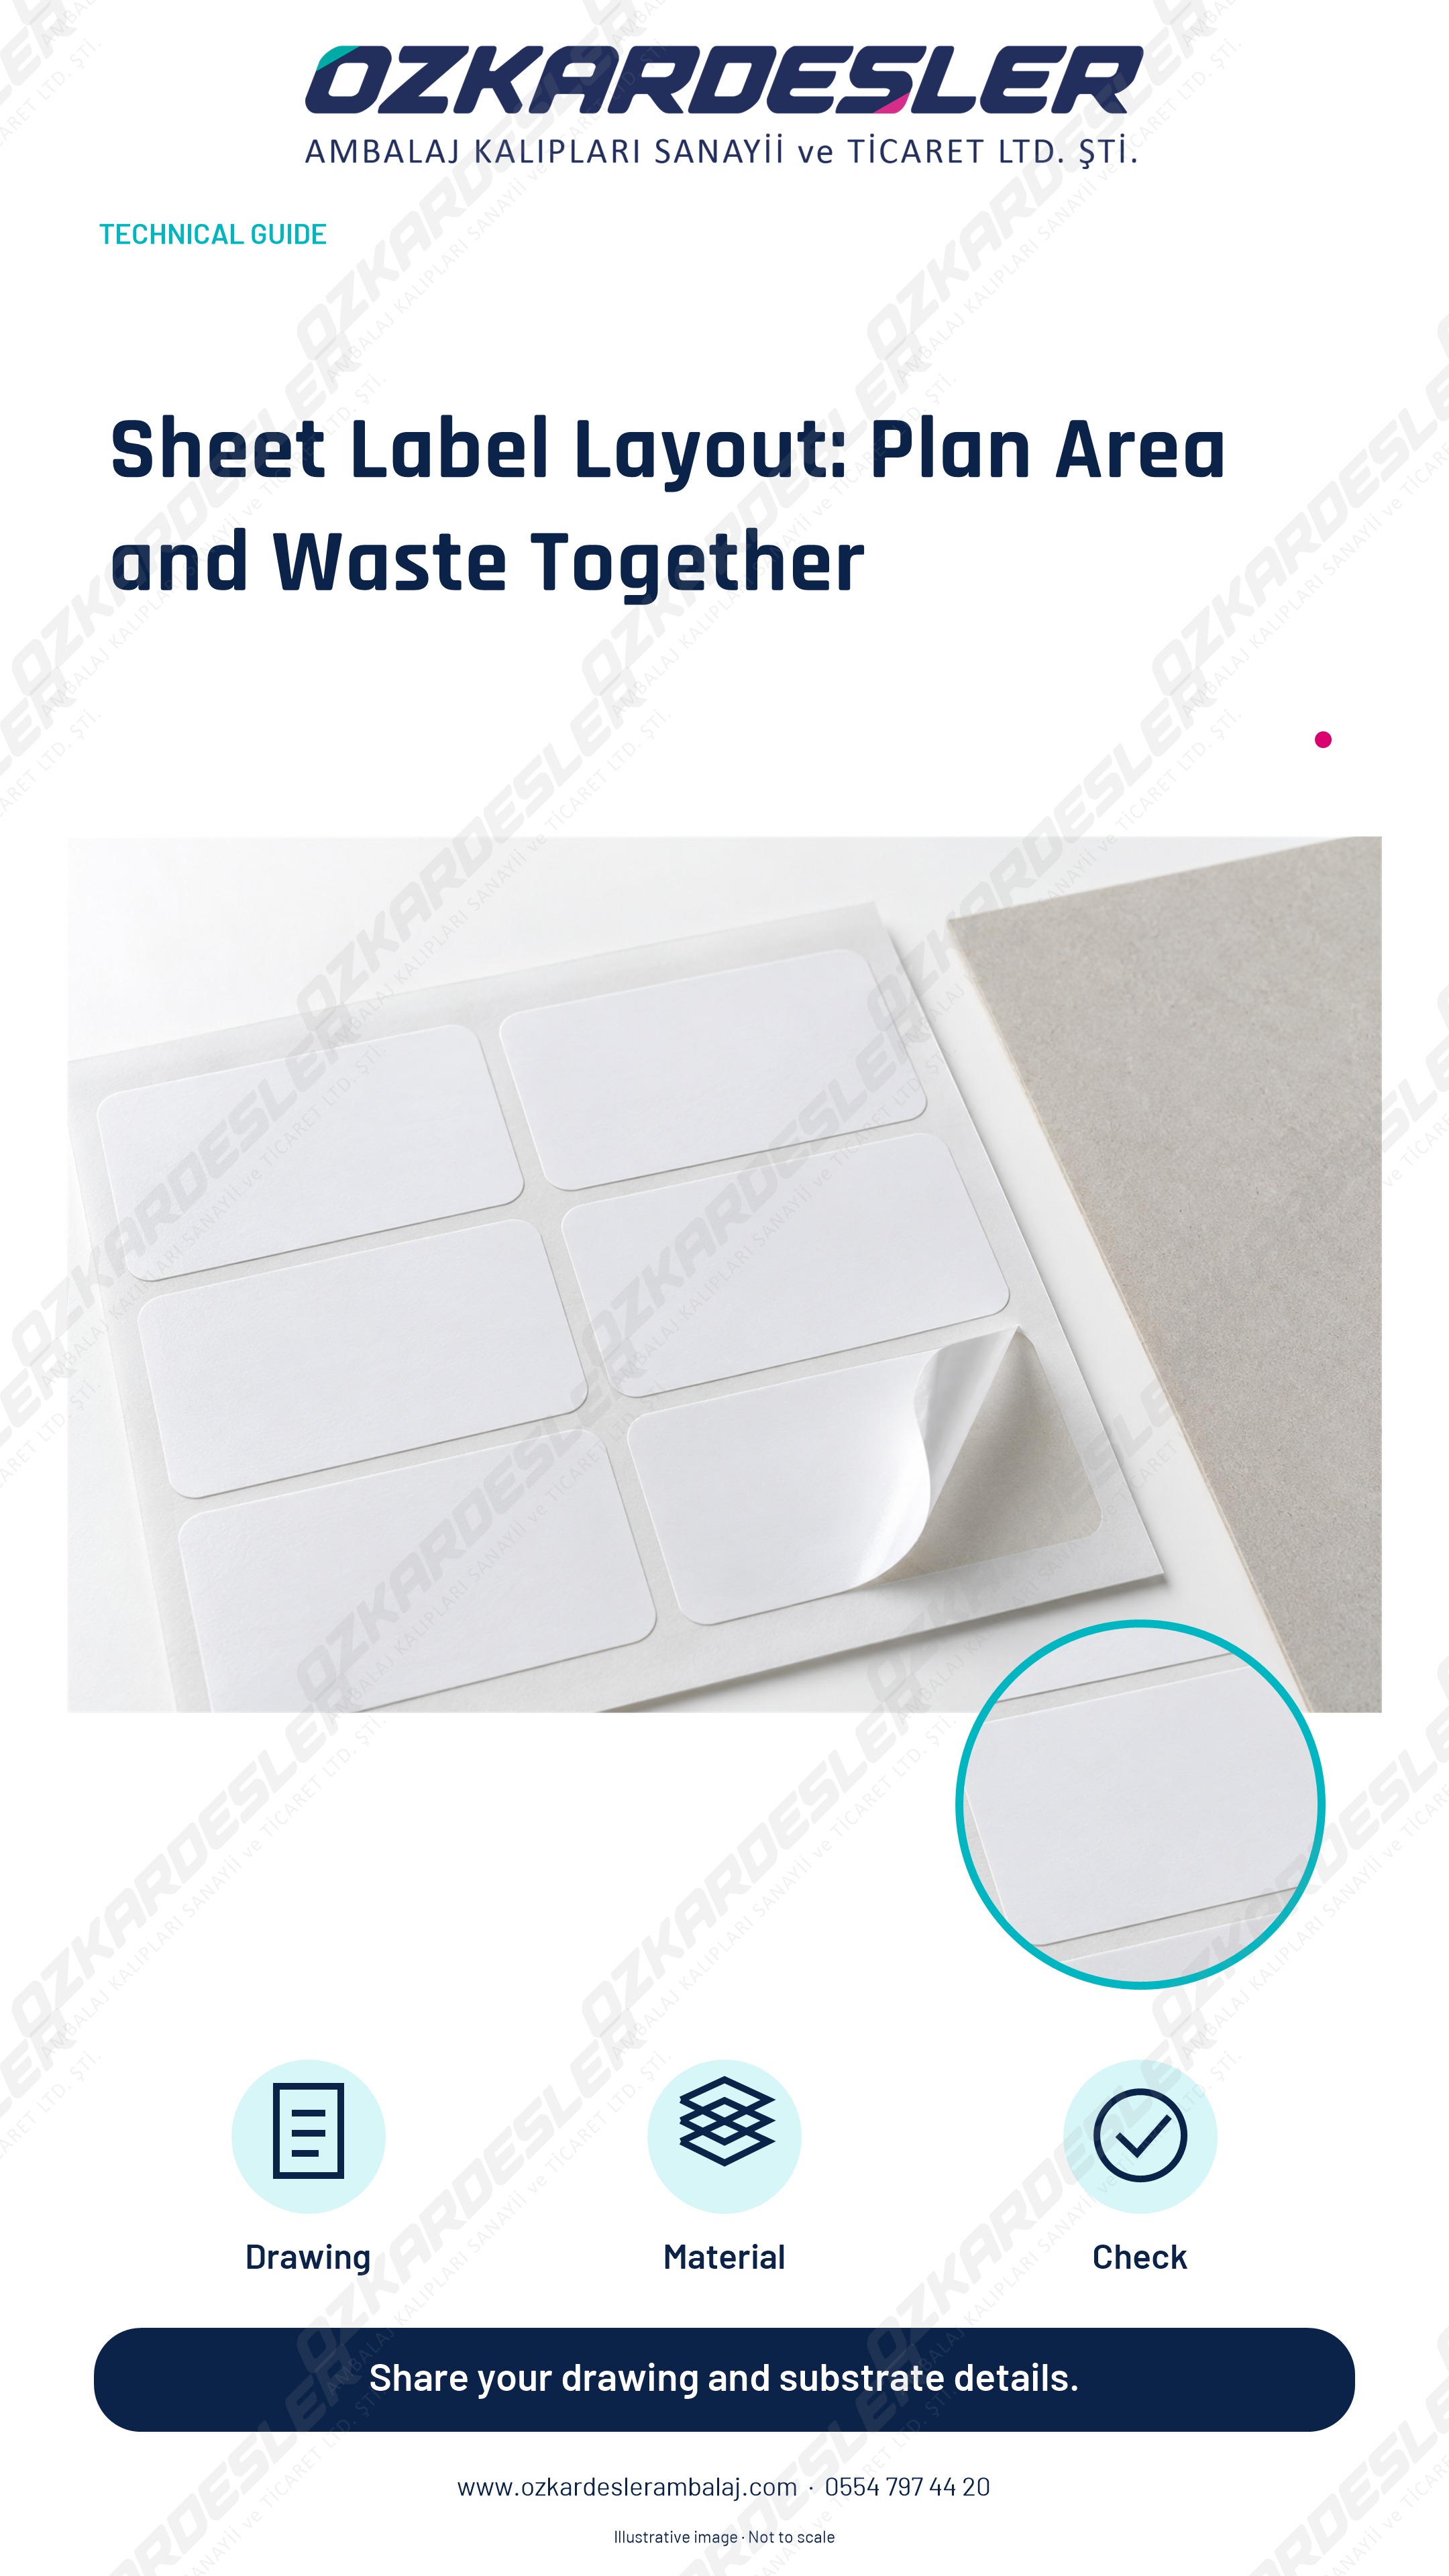
Clarify the layout decision by evaluating usable area, label spacings, and cutting tests together in sheet label cutting dies.
Read the article →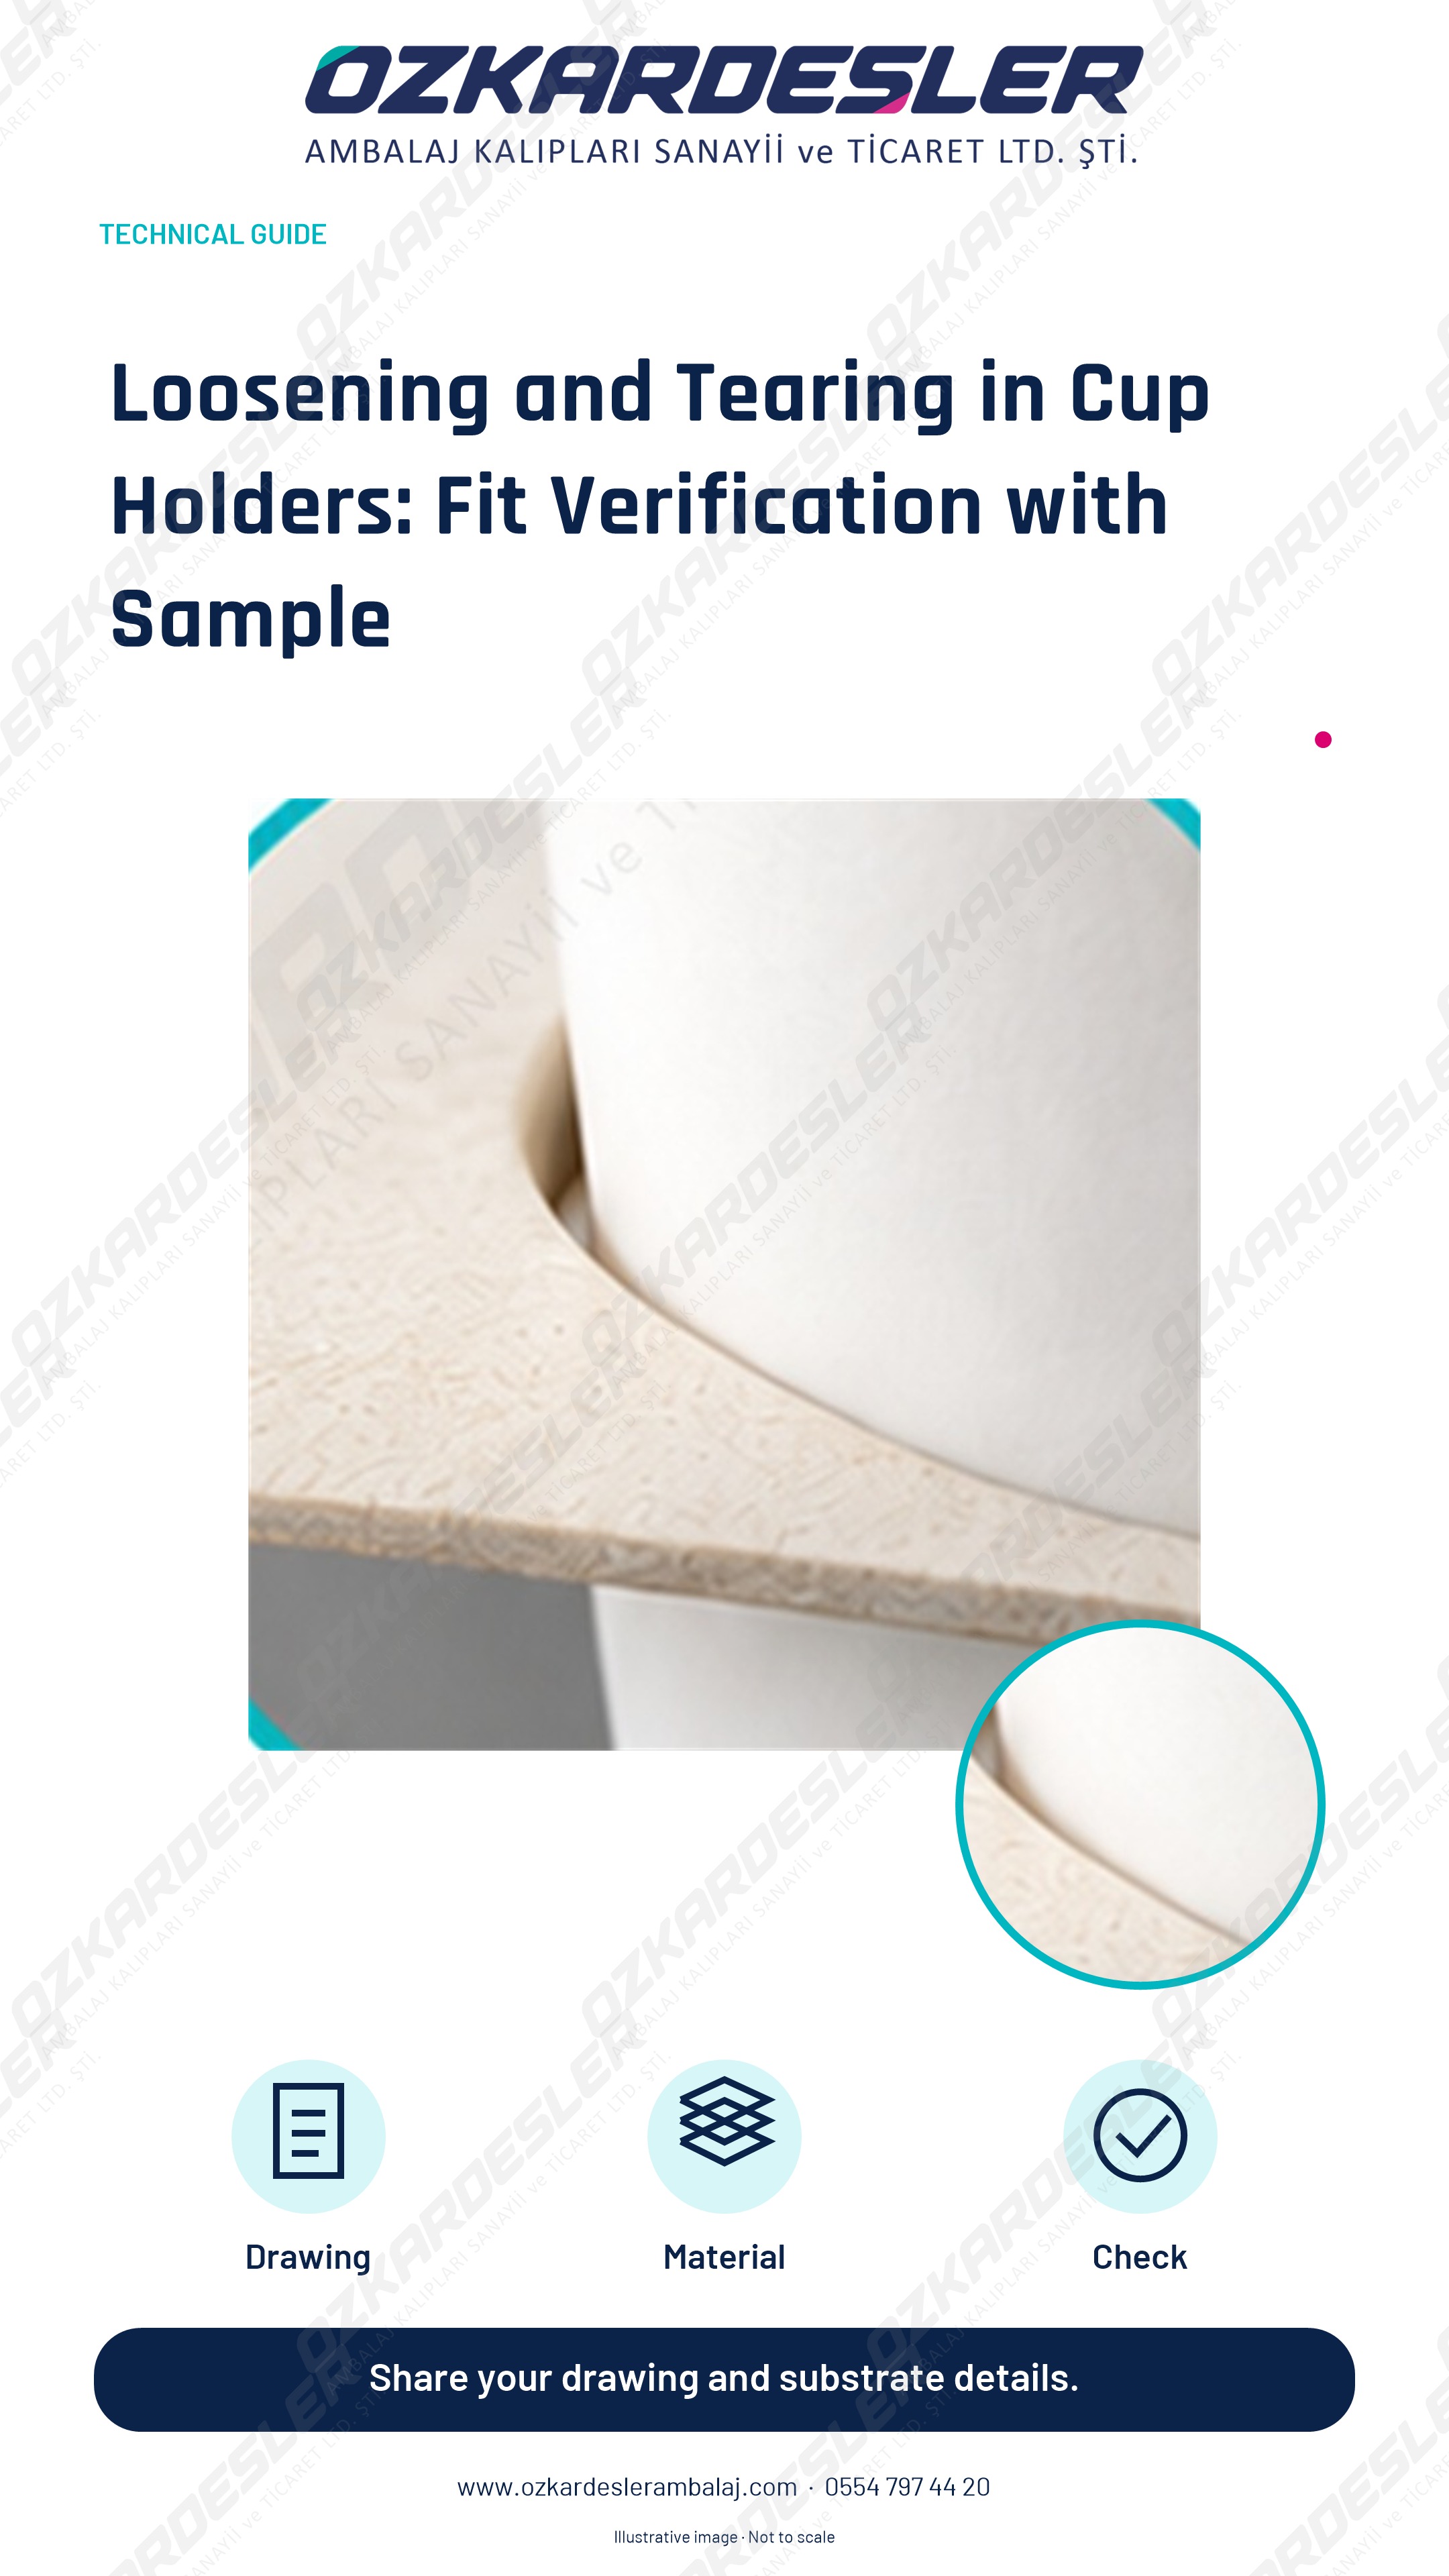
Evaluate loosening and tearing in the paperboard cup holder using actual cups, lids, paperboard properties, and filled-use trials.
Read the article →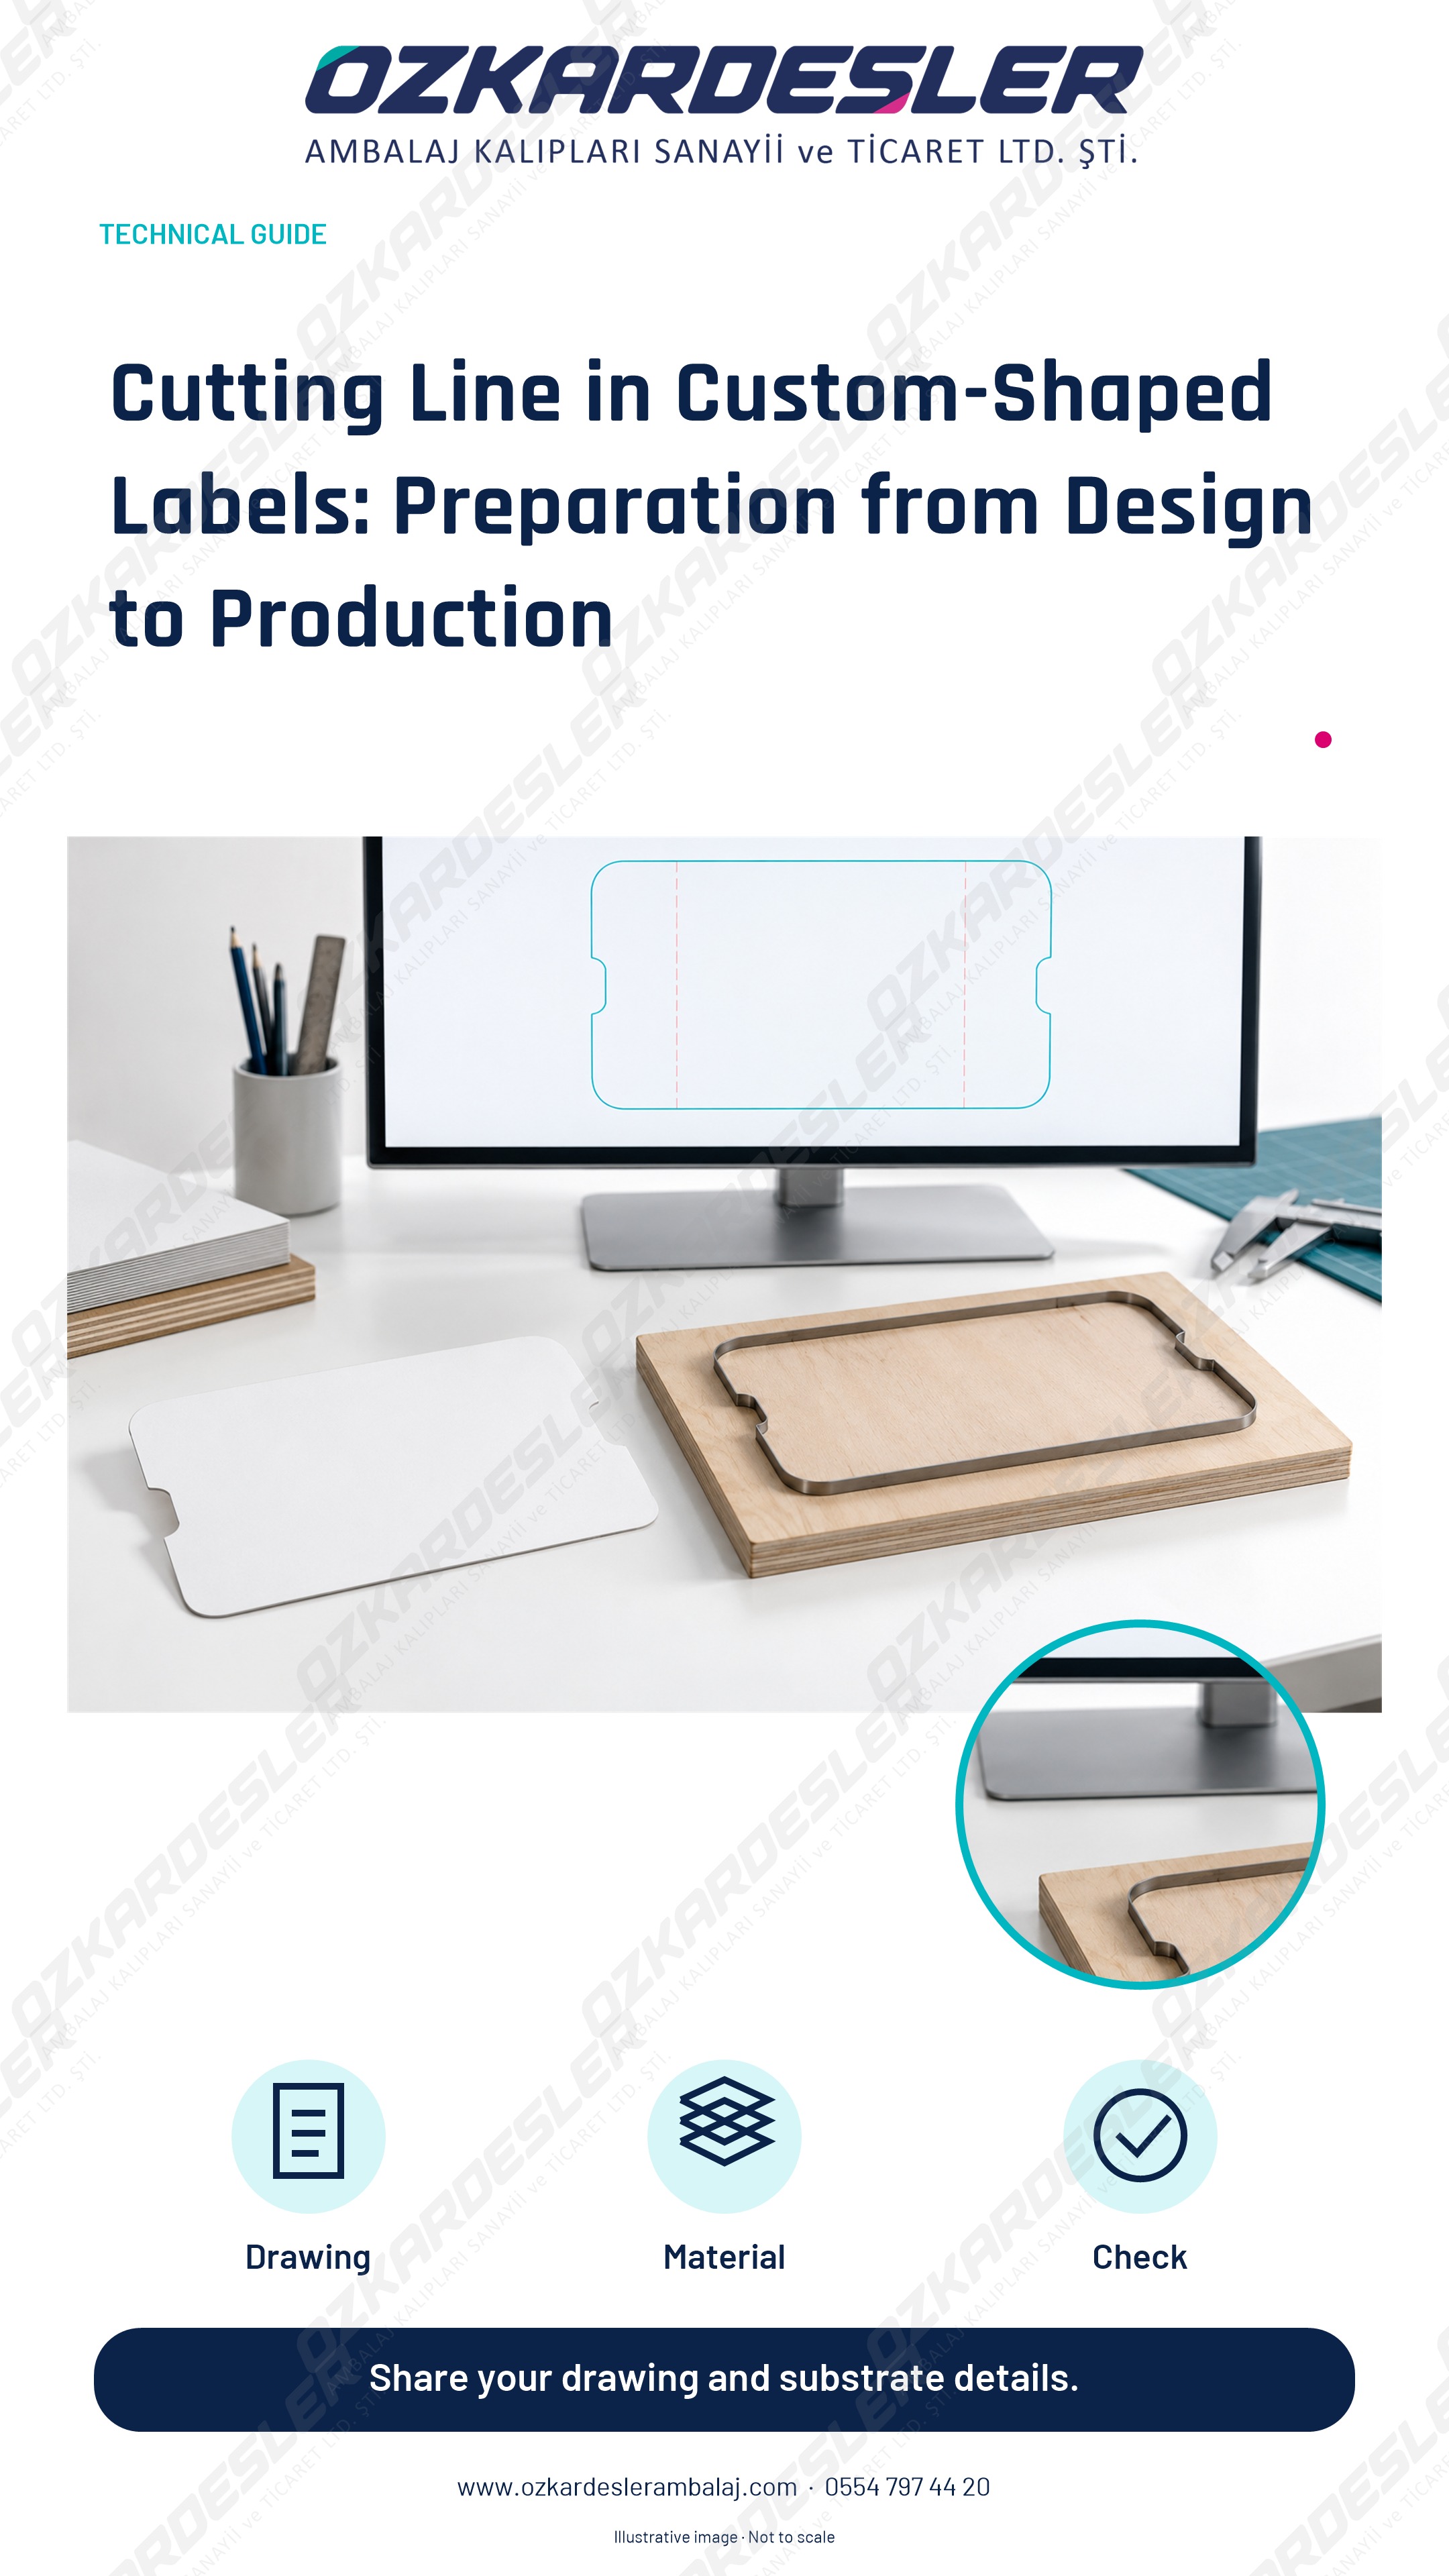
Evaluate closed vector contours, corner details, bleed, and revision checks together prior to production for custom-shaped labels.
Read the article →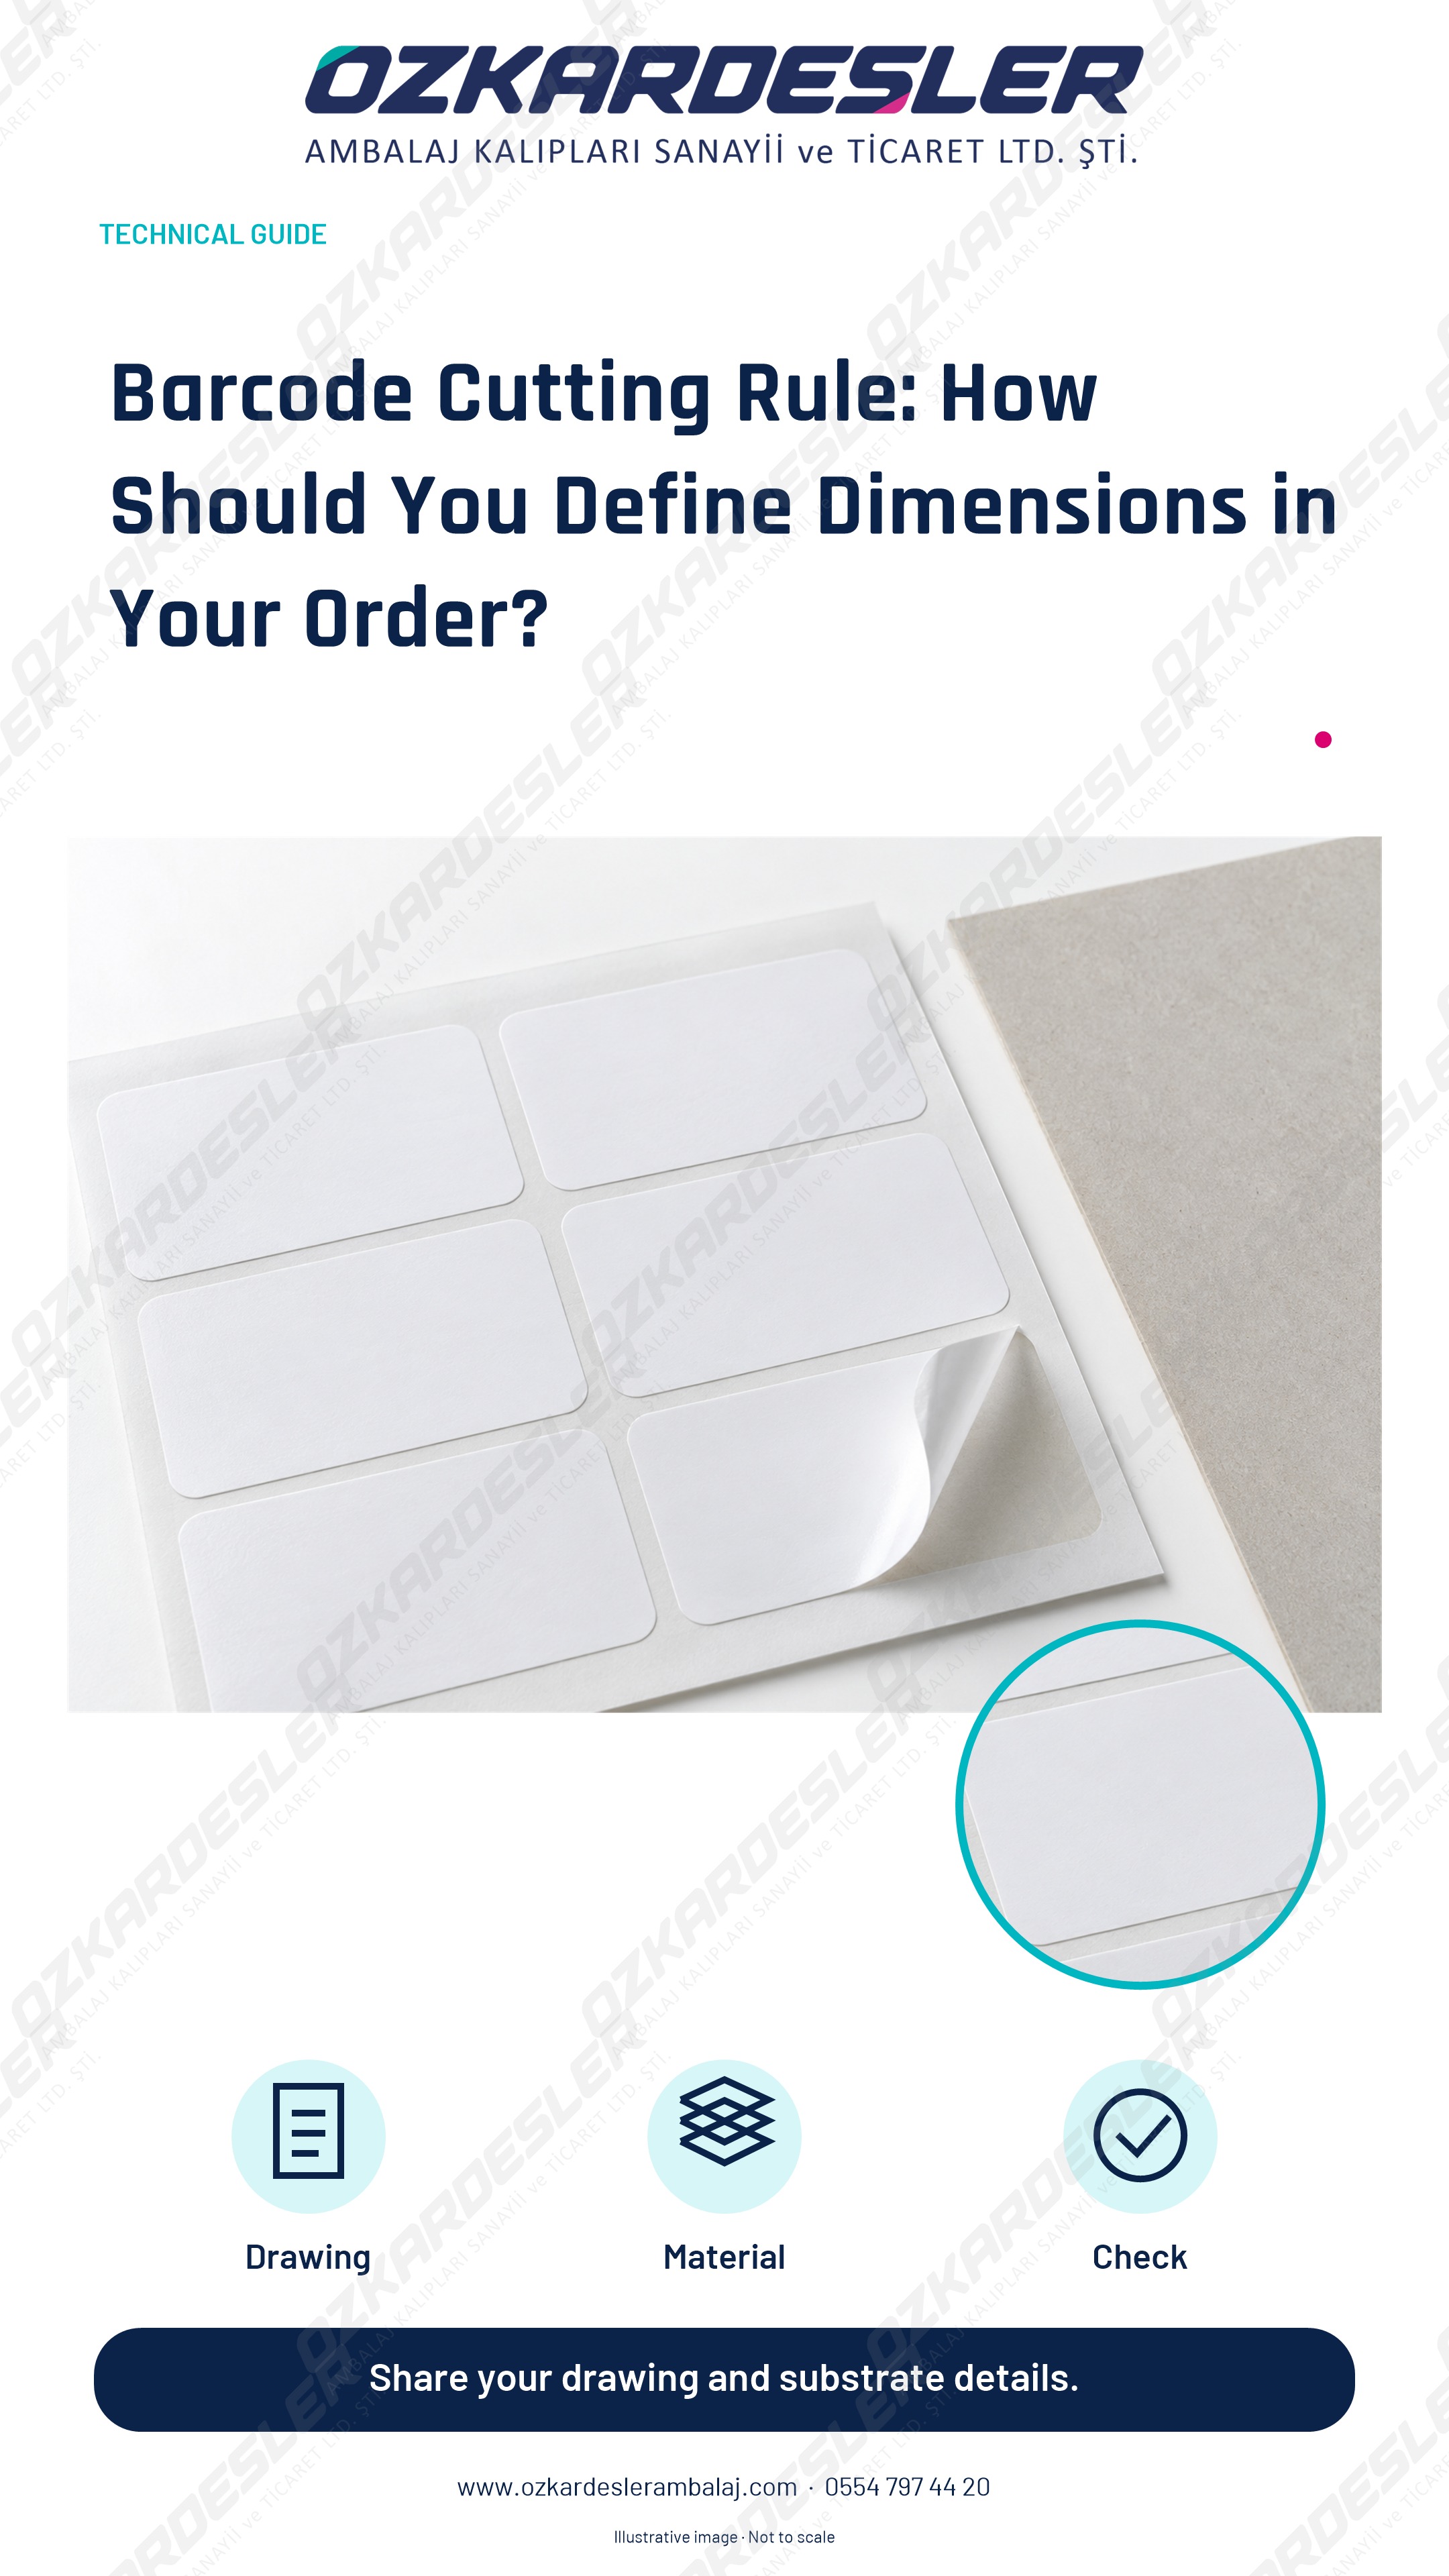
Separate height, point size, and number of positions when ordering barcode cutting rules. A preparation guide that clarifies material, cutting type, and die scope.
Read the article →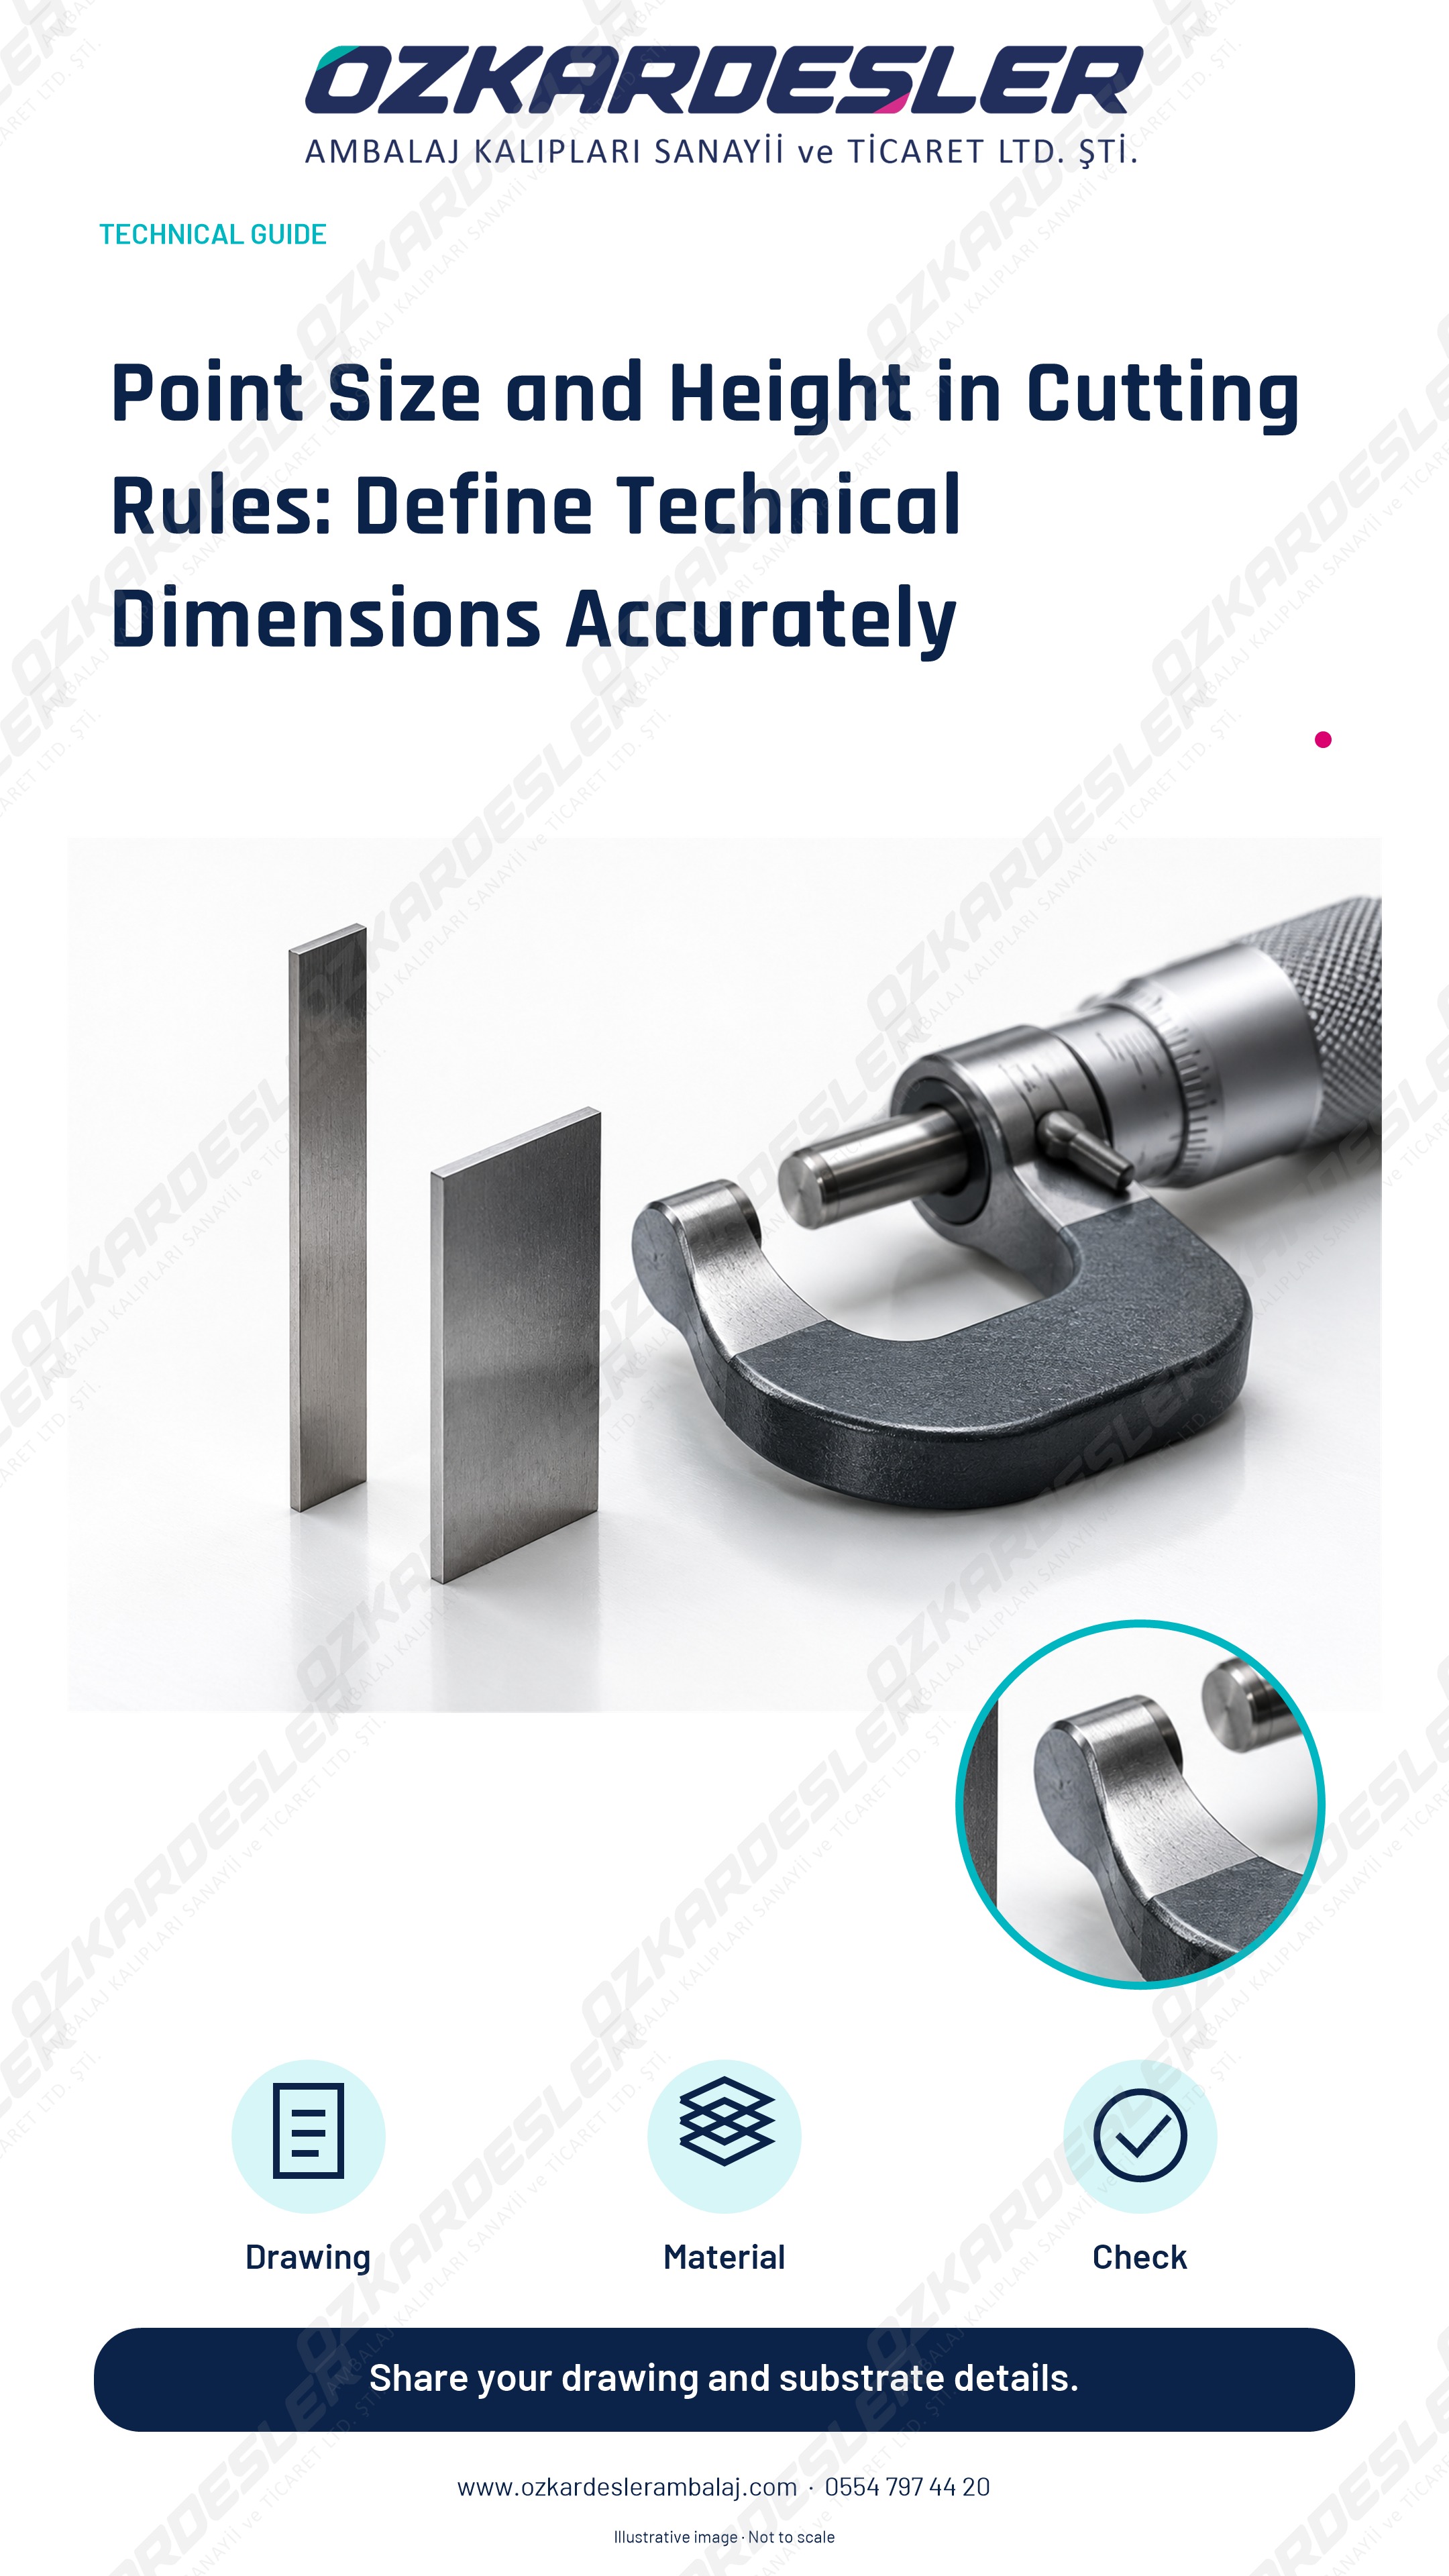
Learn the difference between point size and height in cutting rules; clearly define dimensions, line types, and material information in your order file.
Read the article →
Reduce pre-production uncertainties by checking right-left matching, inner-outer part separation, and orientation information in footwear upper cutting dies.
Read the article →
Reduce file confusion by preparing the size list, part drawings, and current revision in a single package when ordering footwear upper dies.
Read the article →
Check body and gusset compatibility in leather bag cutting through joining edges, reference points, orientation information, and current drawings.
Read the article →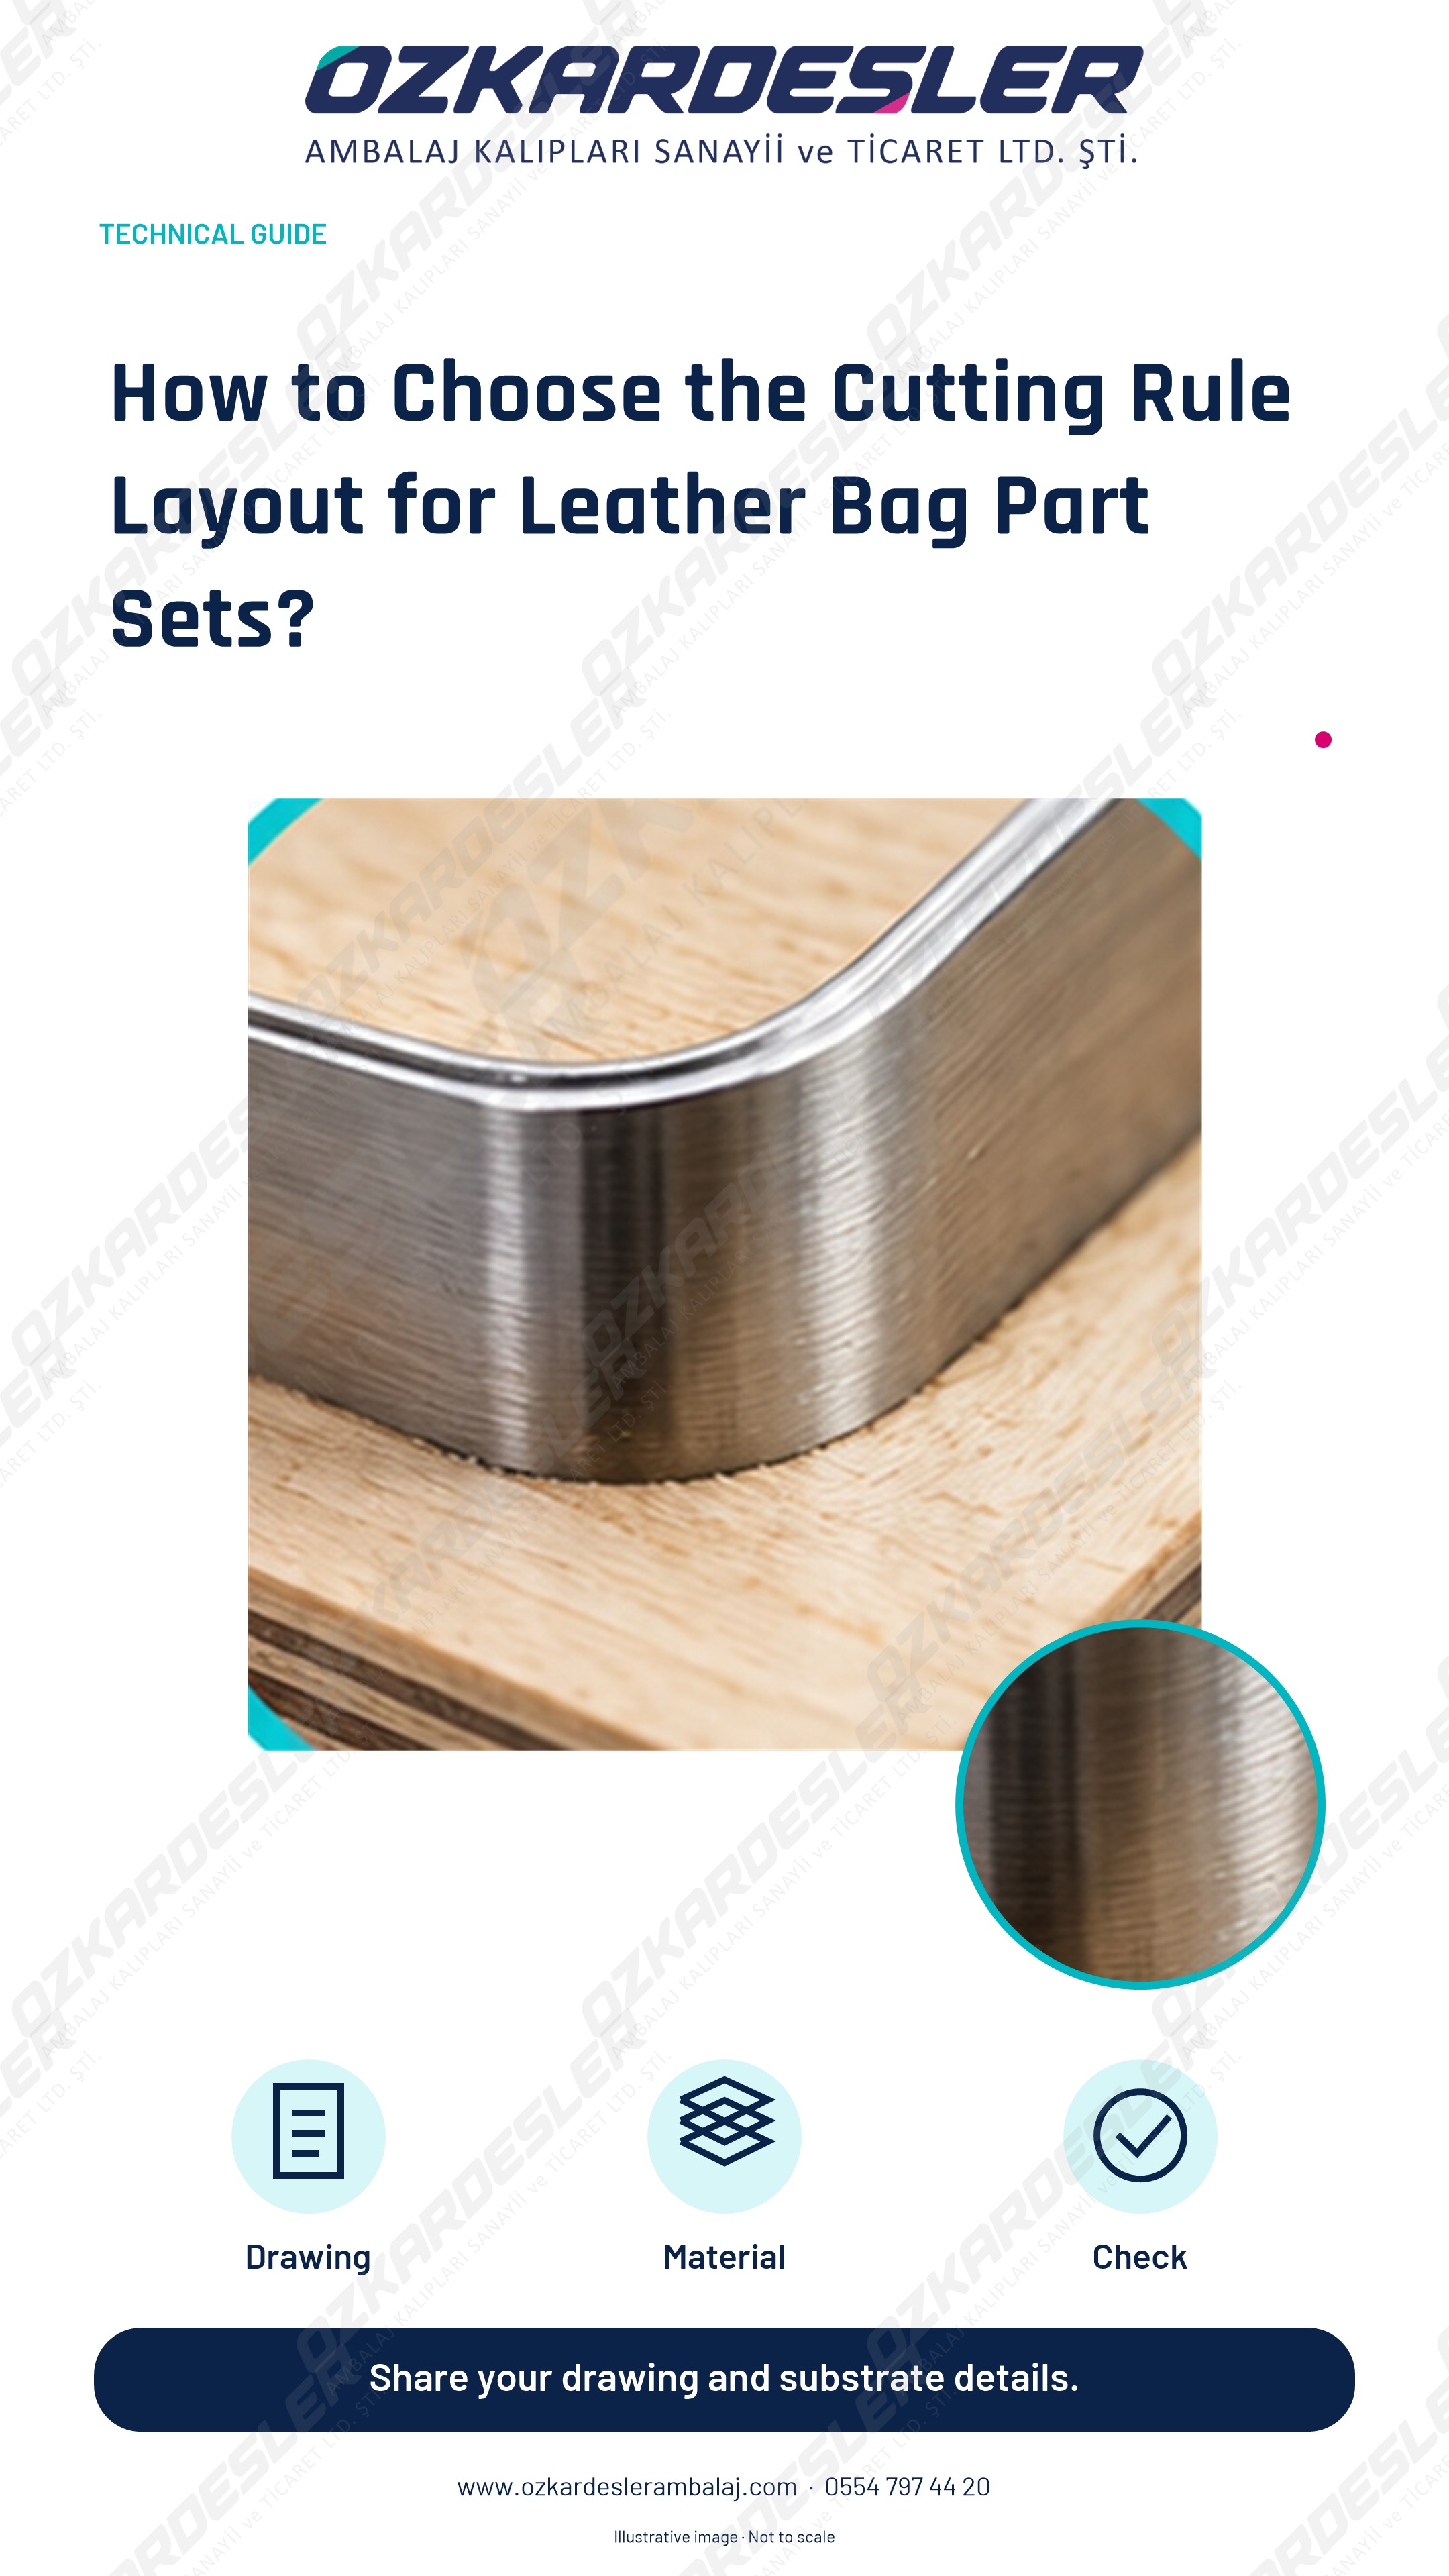
Consider quantities, materials, usage sequence, and revision needs when evaluating leather bag parts together or in separate cutting layouts.
Read the article →
Evaluate the kiss-cut test on label dies with actual material. Key points to watch for clean release, liner control, and sample approval.
Read the article →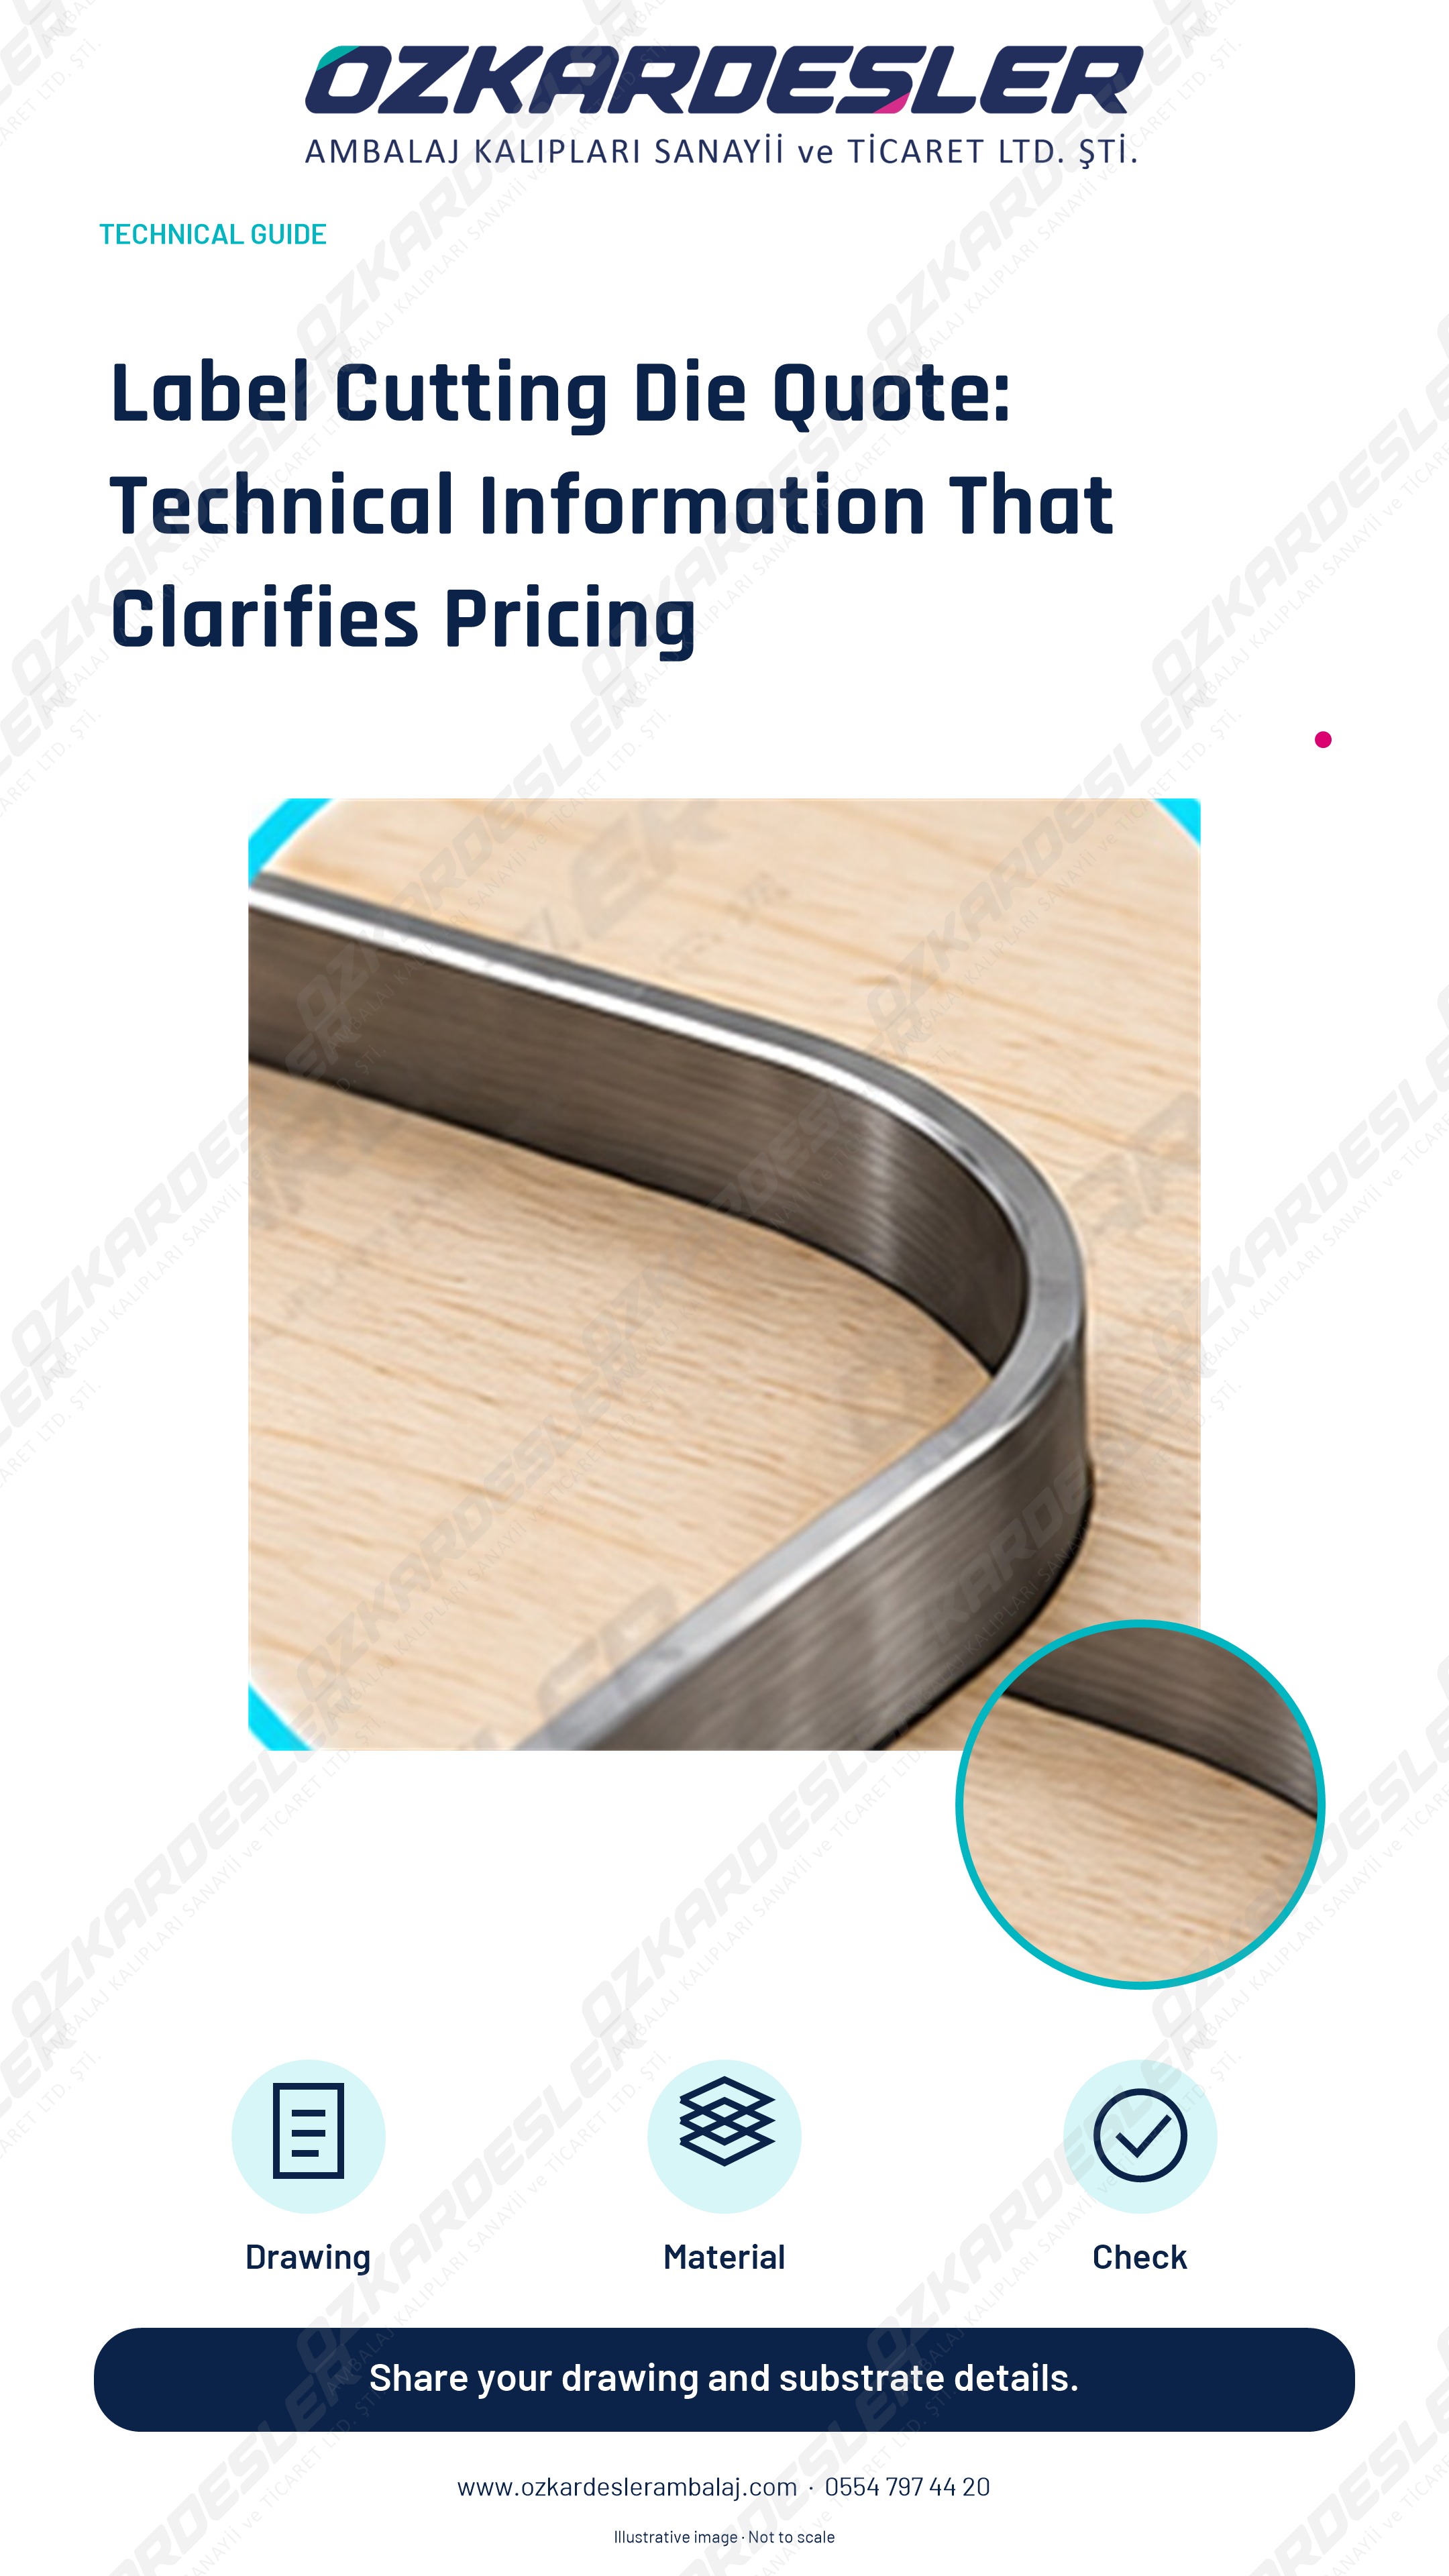
Clarify dimensions, position layout, material, and delivery details in label cutting die quotes. A preparation guide for comparable quotes.
Read the article →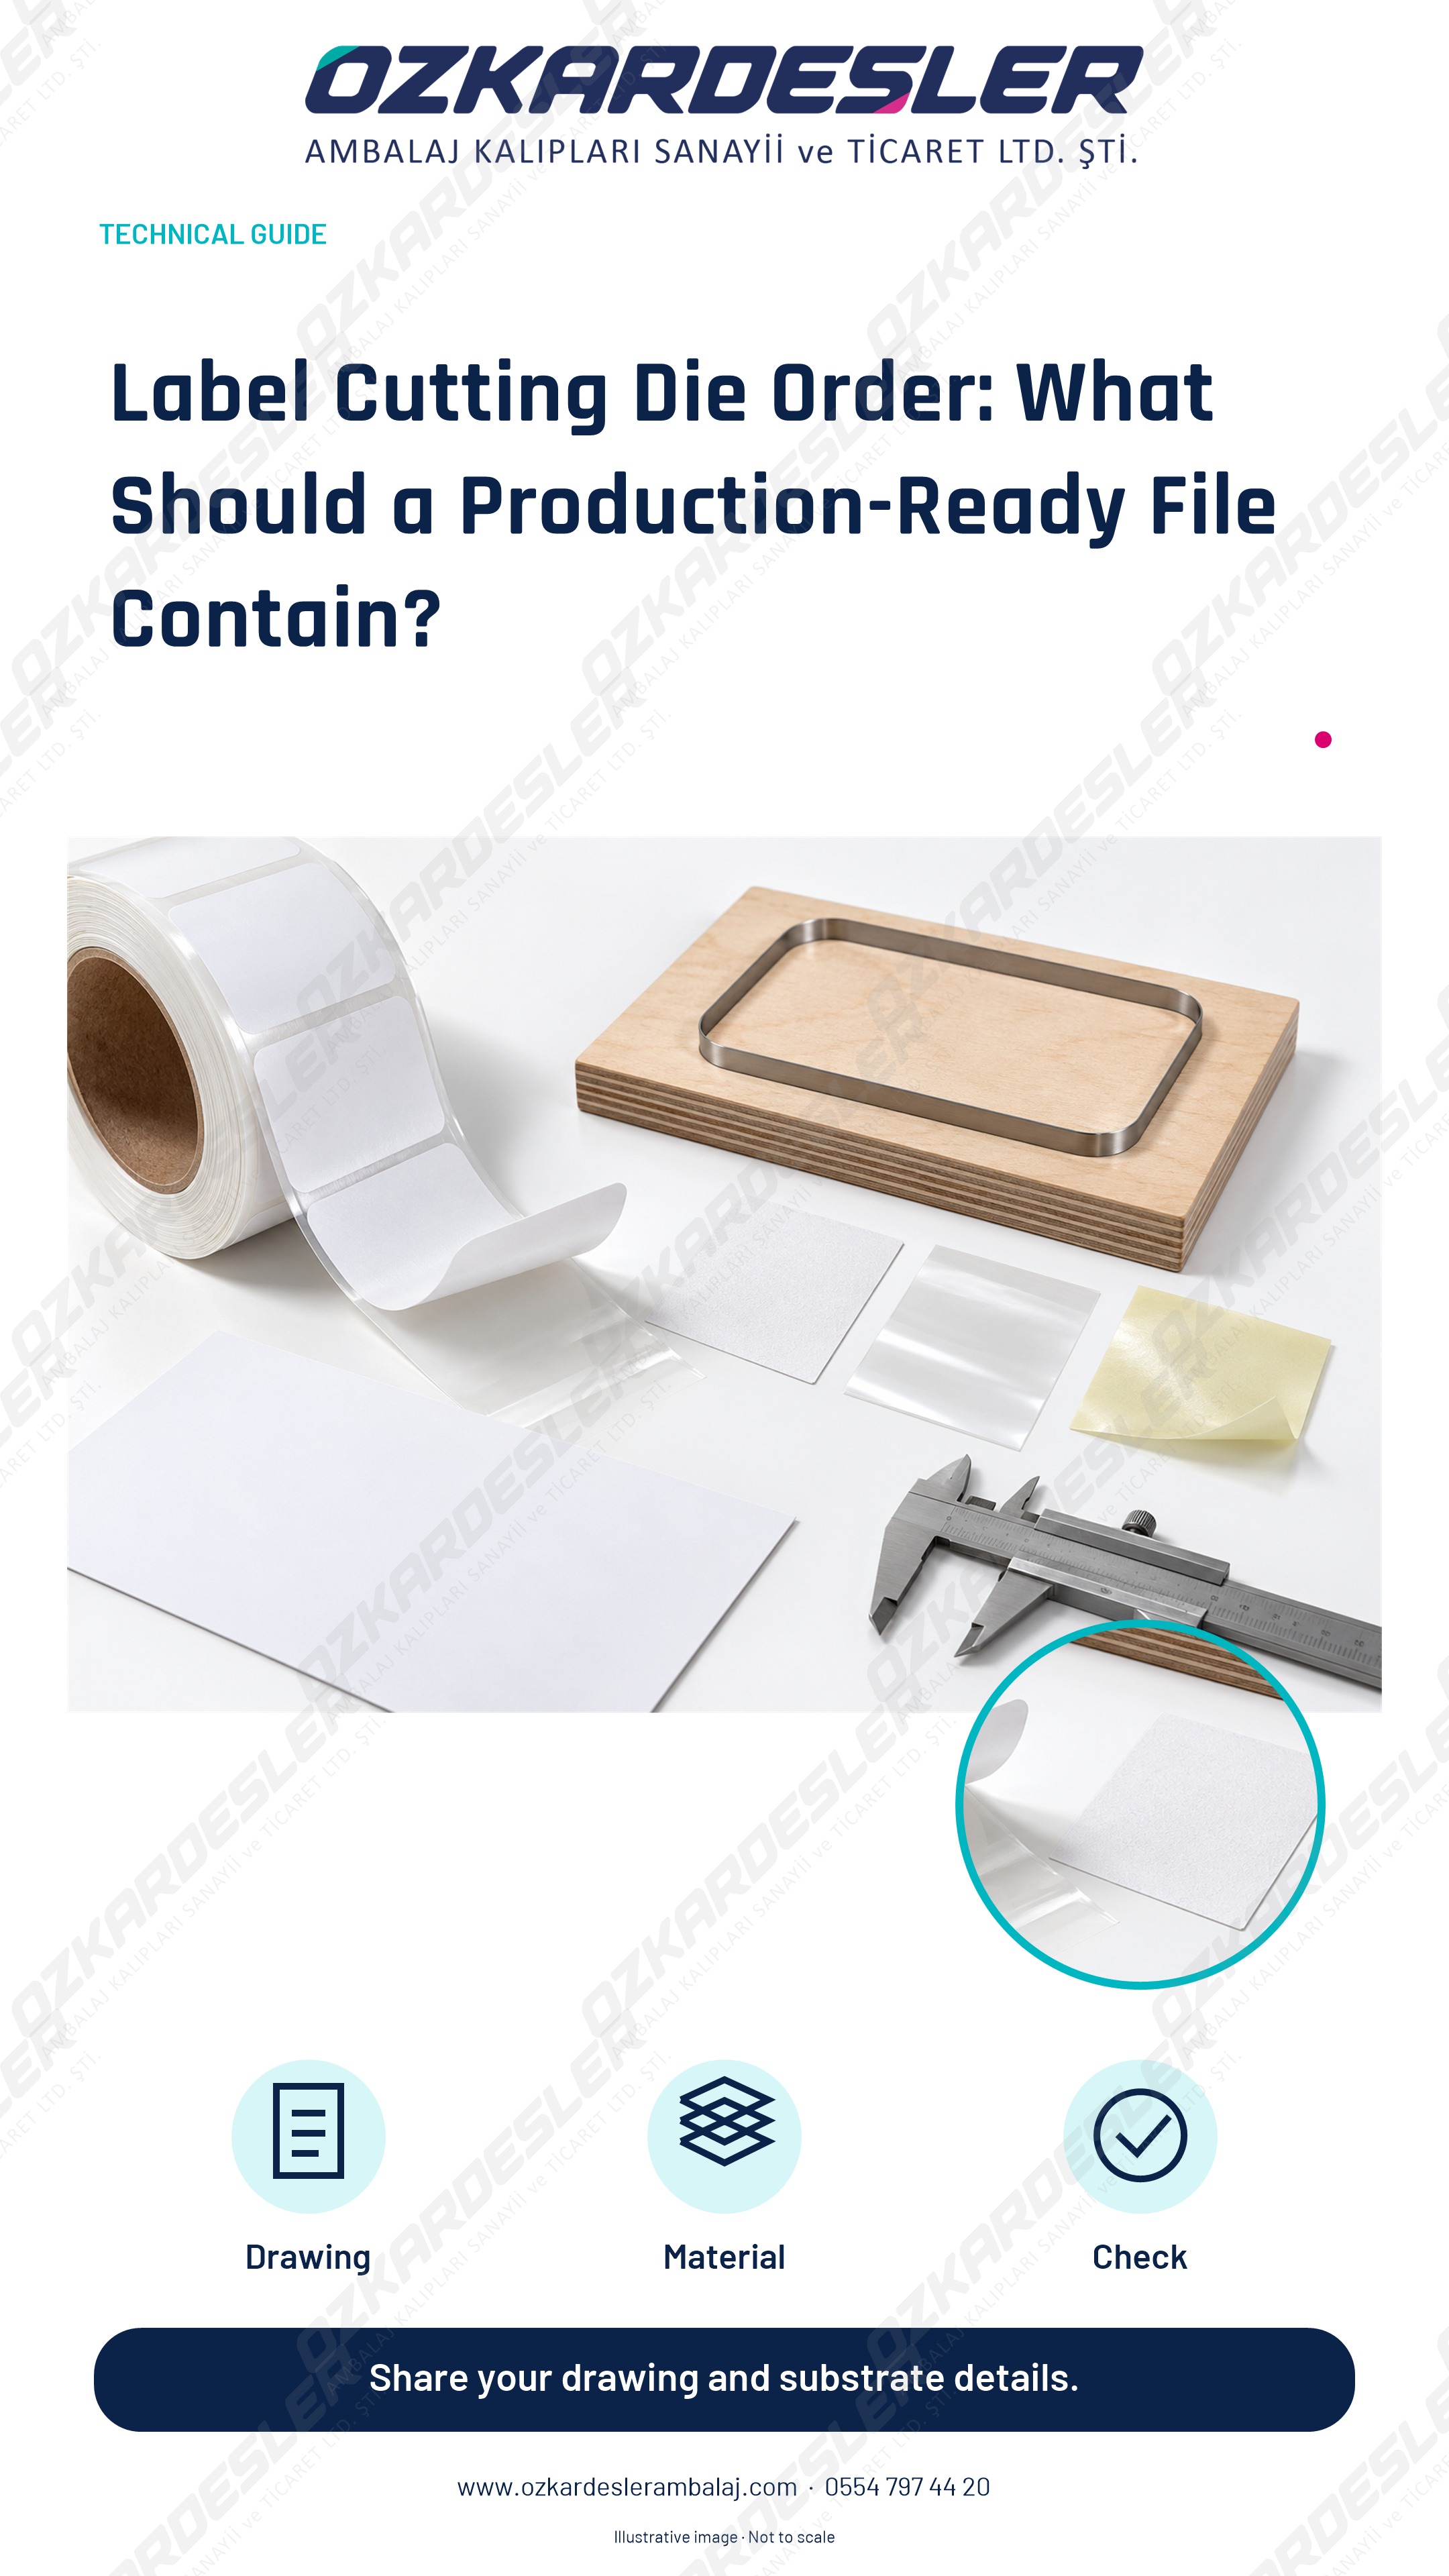
Gather drawings, sheets, materials, cutting types, and delivery details in a single file for label die orders. A pre-production preparation guide.
Read the article →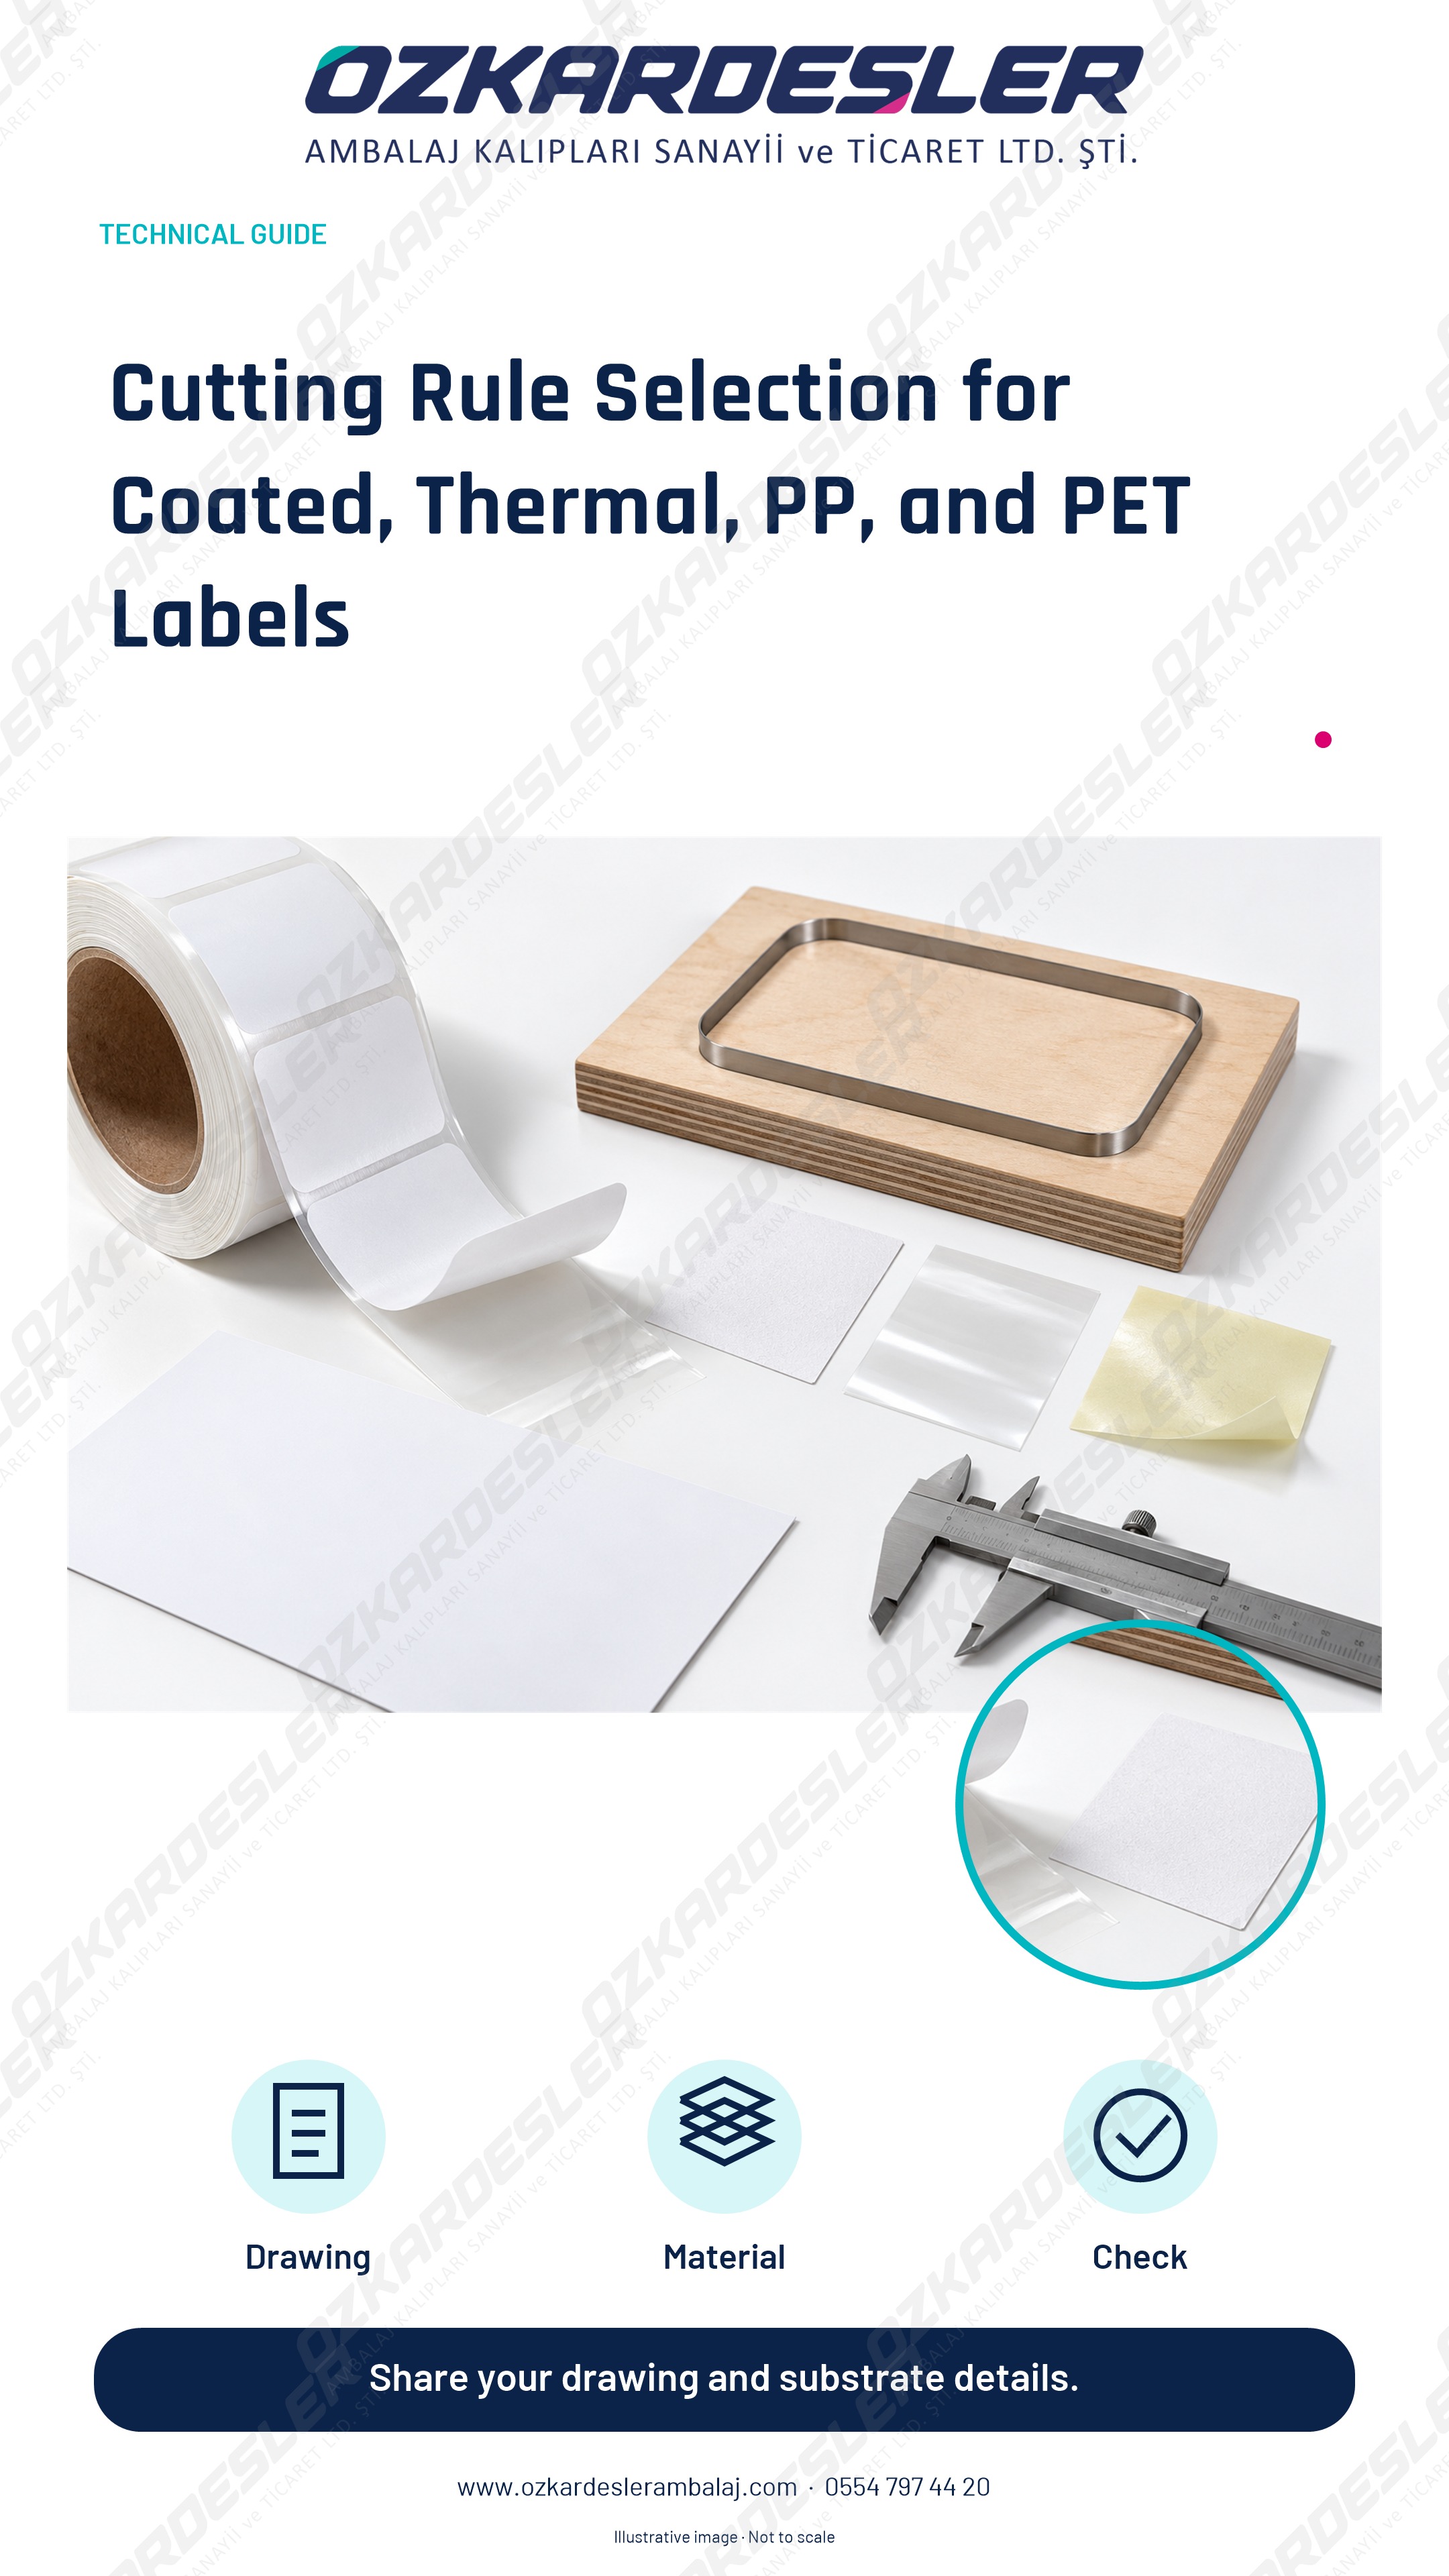
Evaluate cutting rule selection for coated, thermal, PP, and PET labels alongside surface, adhesive, liner, and actual material samples.
Read the article →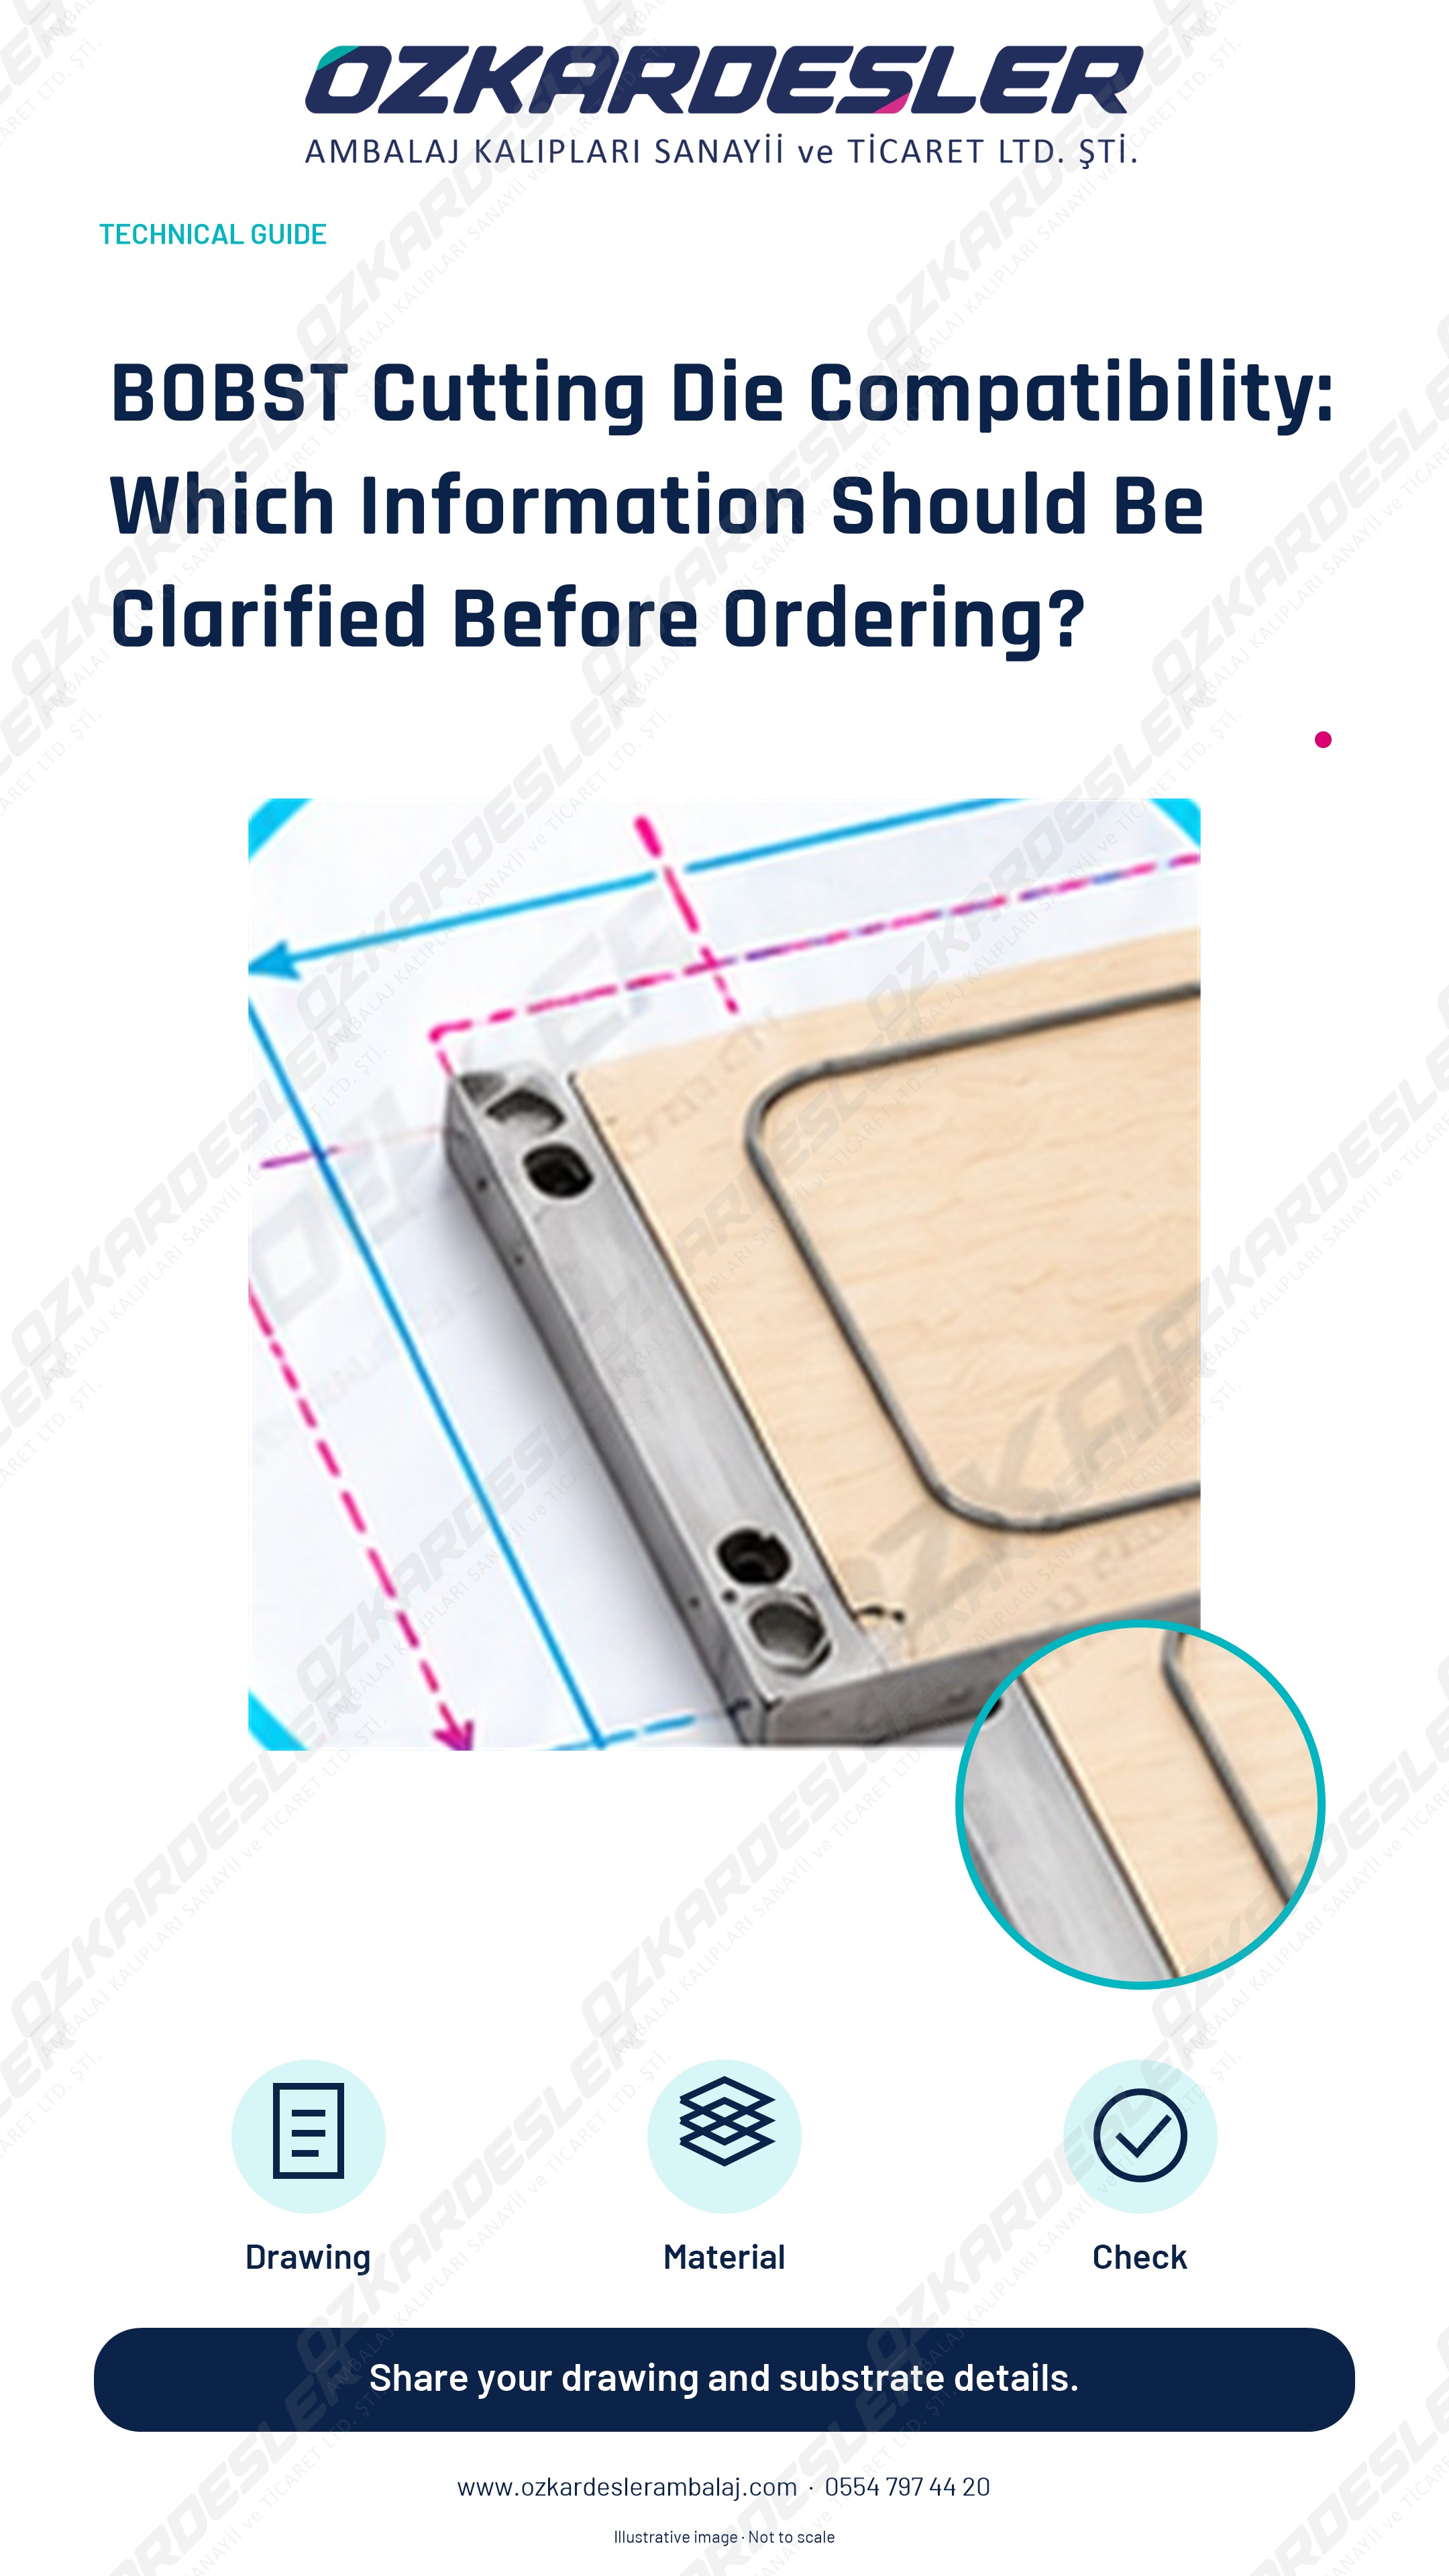
Evaluate the machine model, cutting die dimensions, center reference and layout information together before production in your BOBST cutting die order.
Read the article →
Organize cutting, creasing, dimension, and revision information in cutting die design. Discover key points to watch out for during pre-production file checking.
Read the article →
Plan your delivery schedule more reliably by clarifying file, approval, material, and shipping information when ordering a cutting die.
Read the article →
Clarify dimensions, samples, file approval, and quote scope for your packaging order. Discover the key questions to ask before purchasing.
Read the article →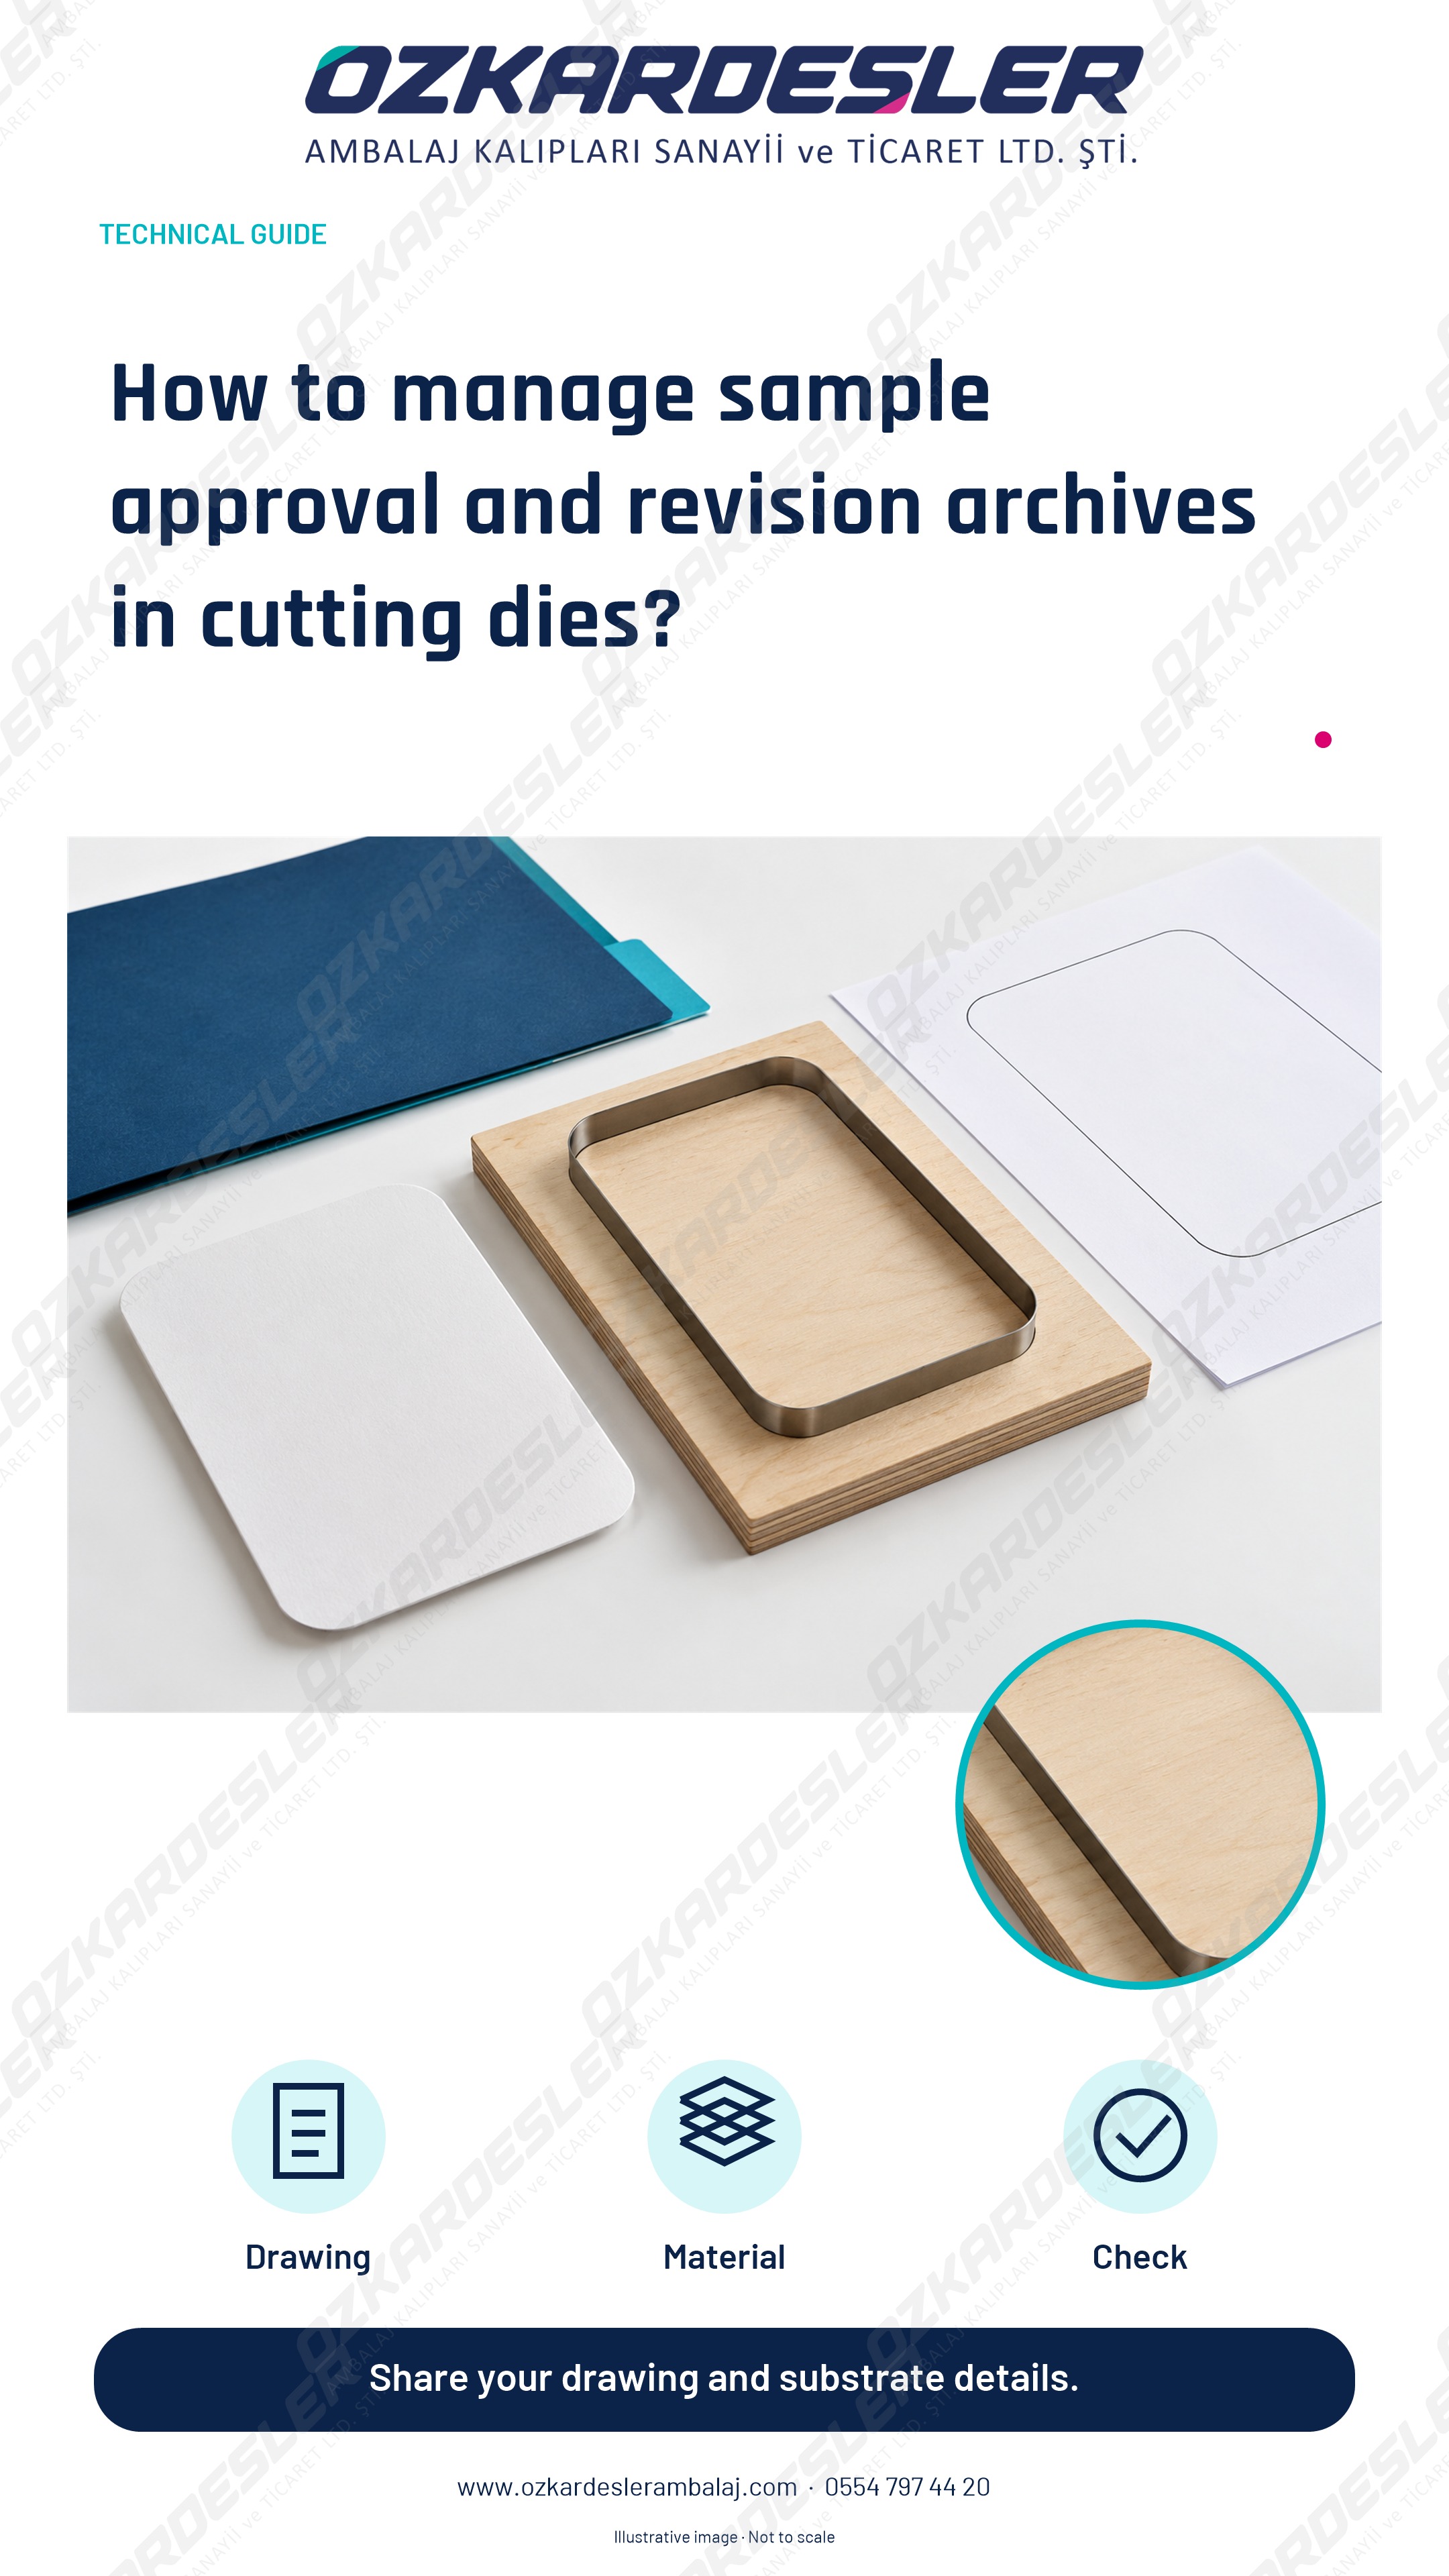
Match the die number, approved sample, drawing revision and reorder record in the same file.
Read the article →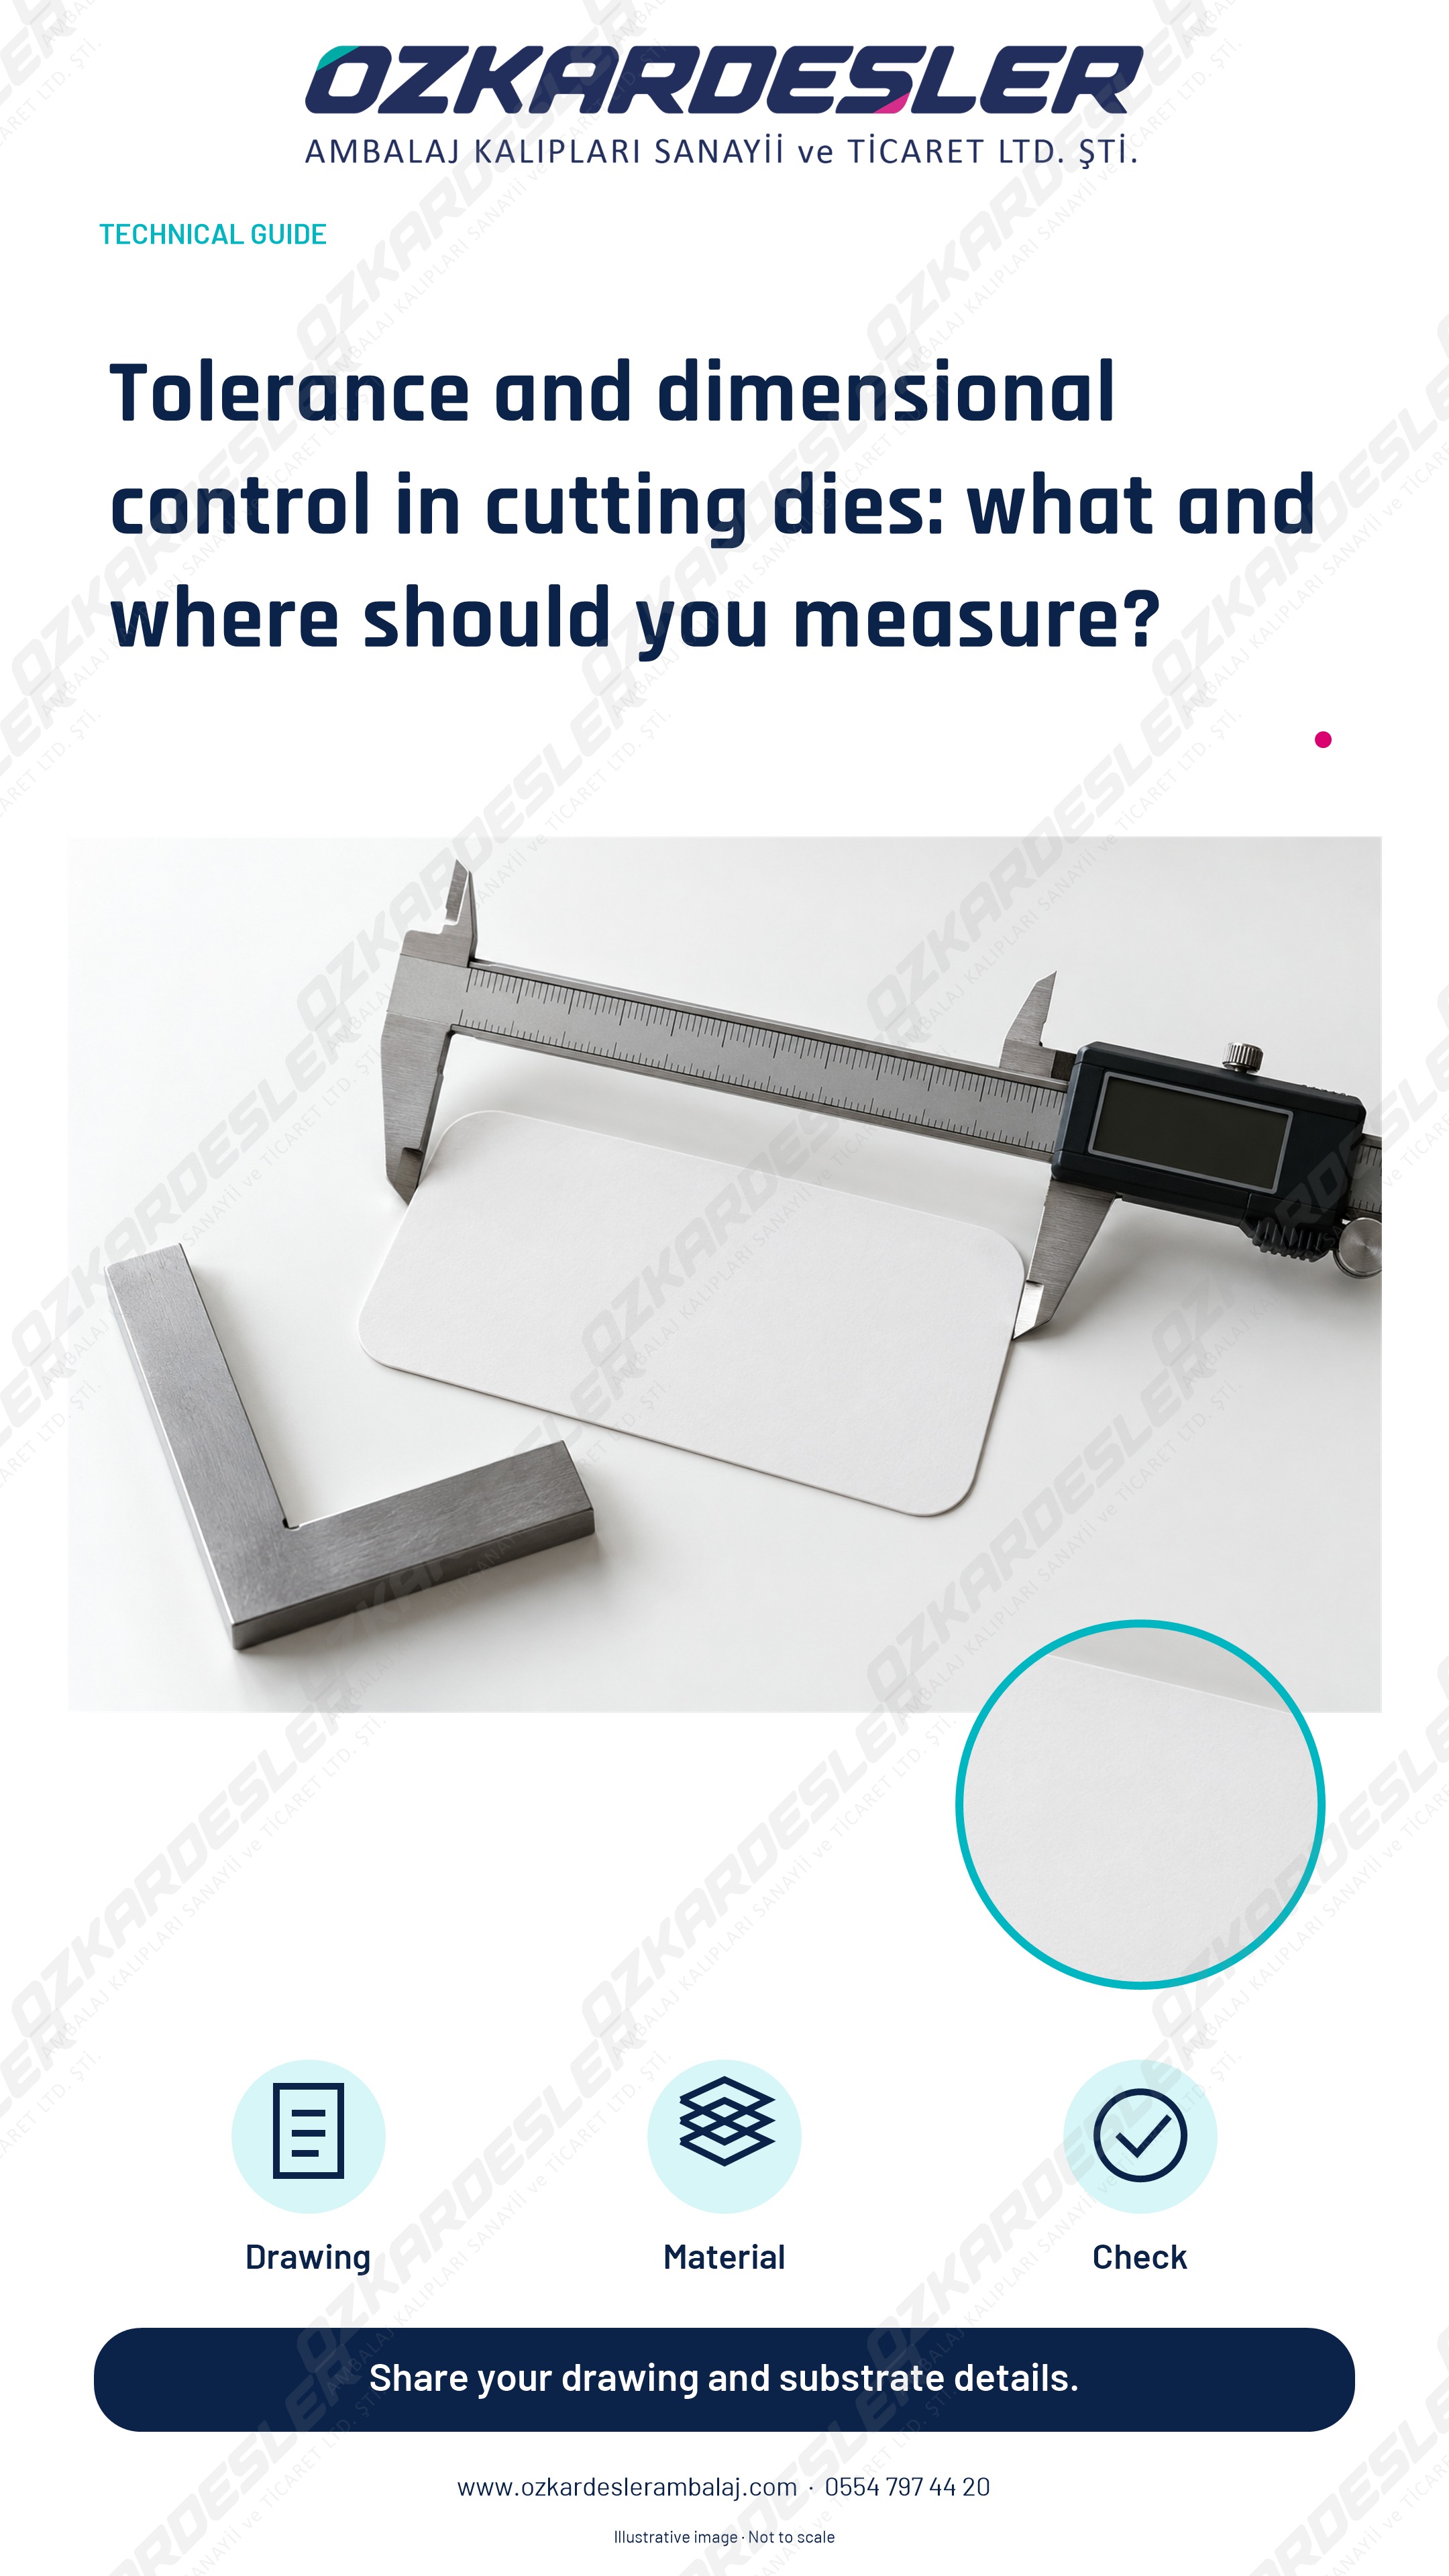
Separate drawing, cut part and folded box dimensions; clarify reference and acceptance criteria prior to production.
Read the article →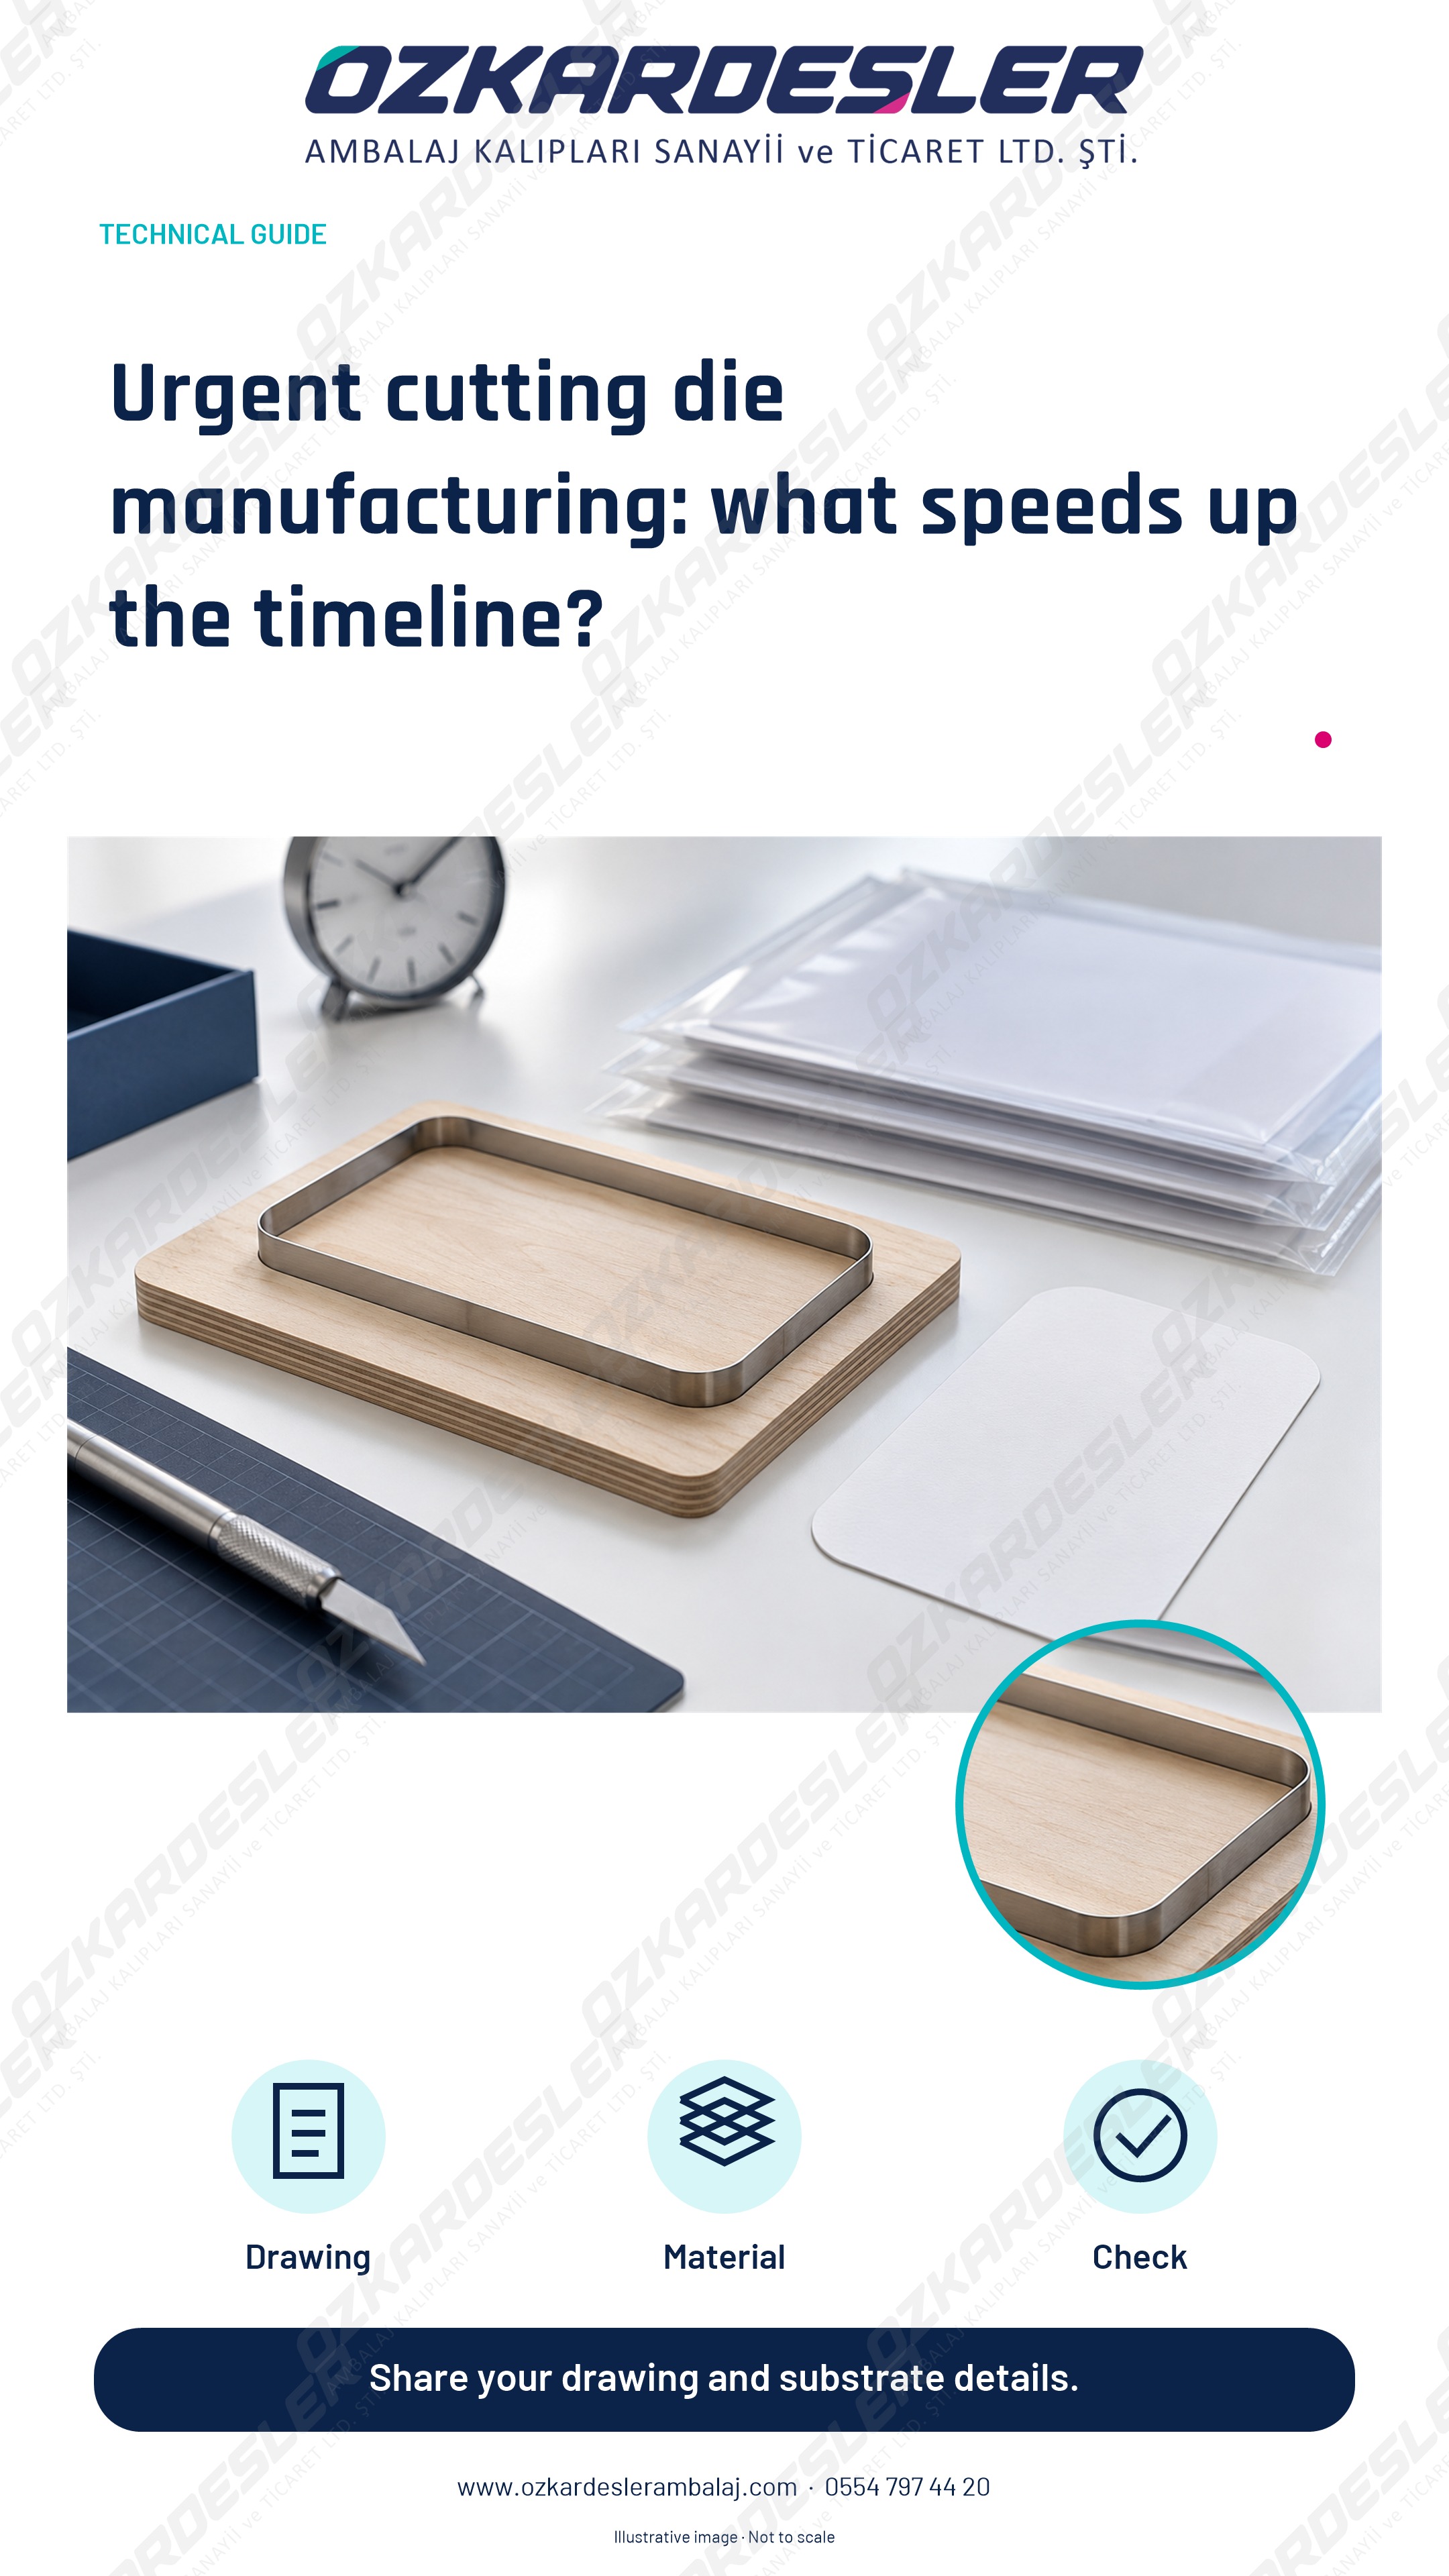
Clarify the file, machine, material and approval sequence for urgent die requests. Prepare the required information package for rapid evaluation.
Read the article →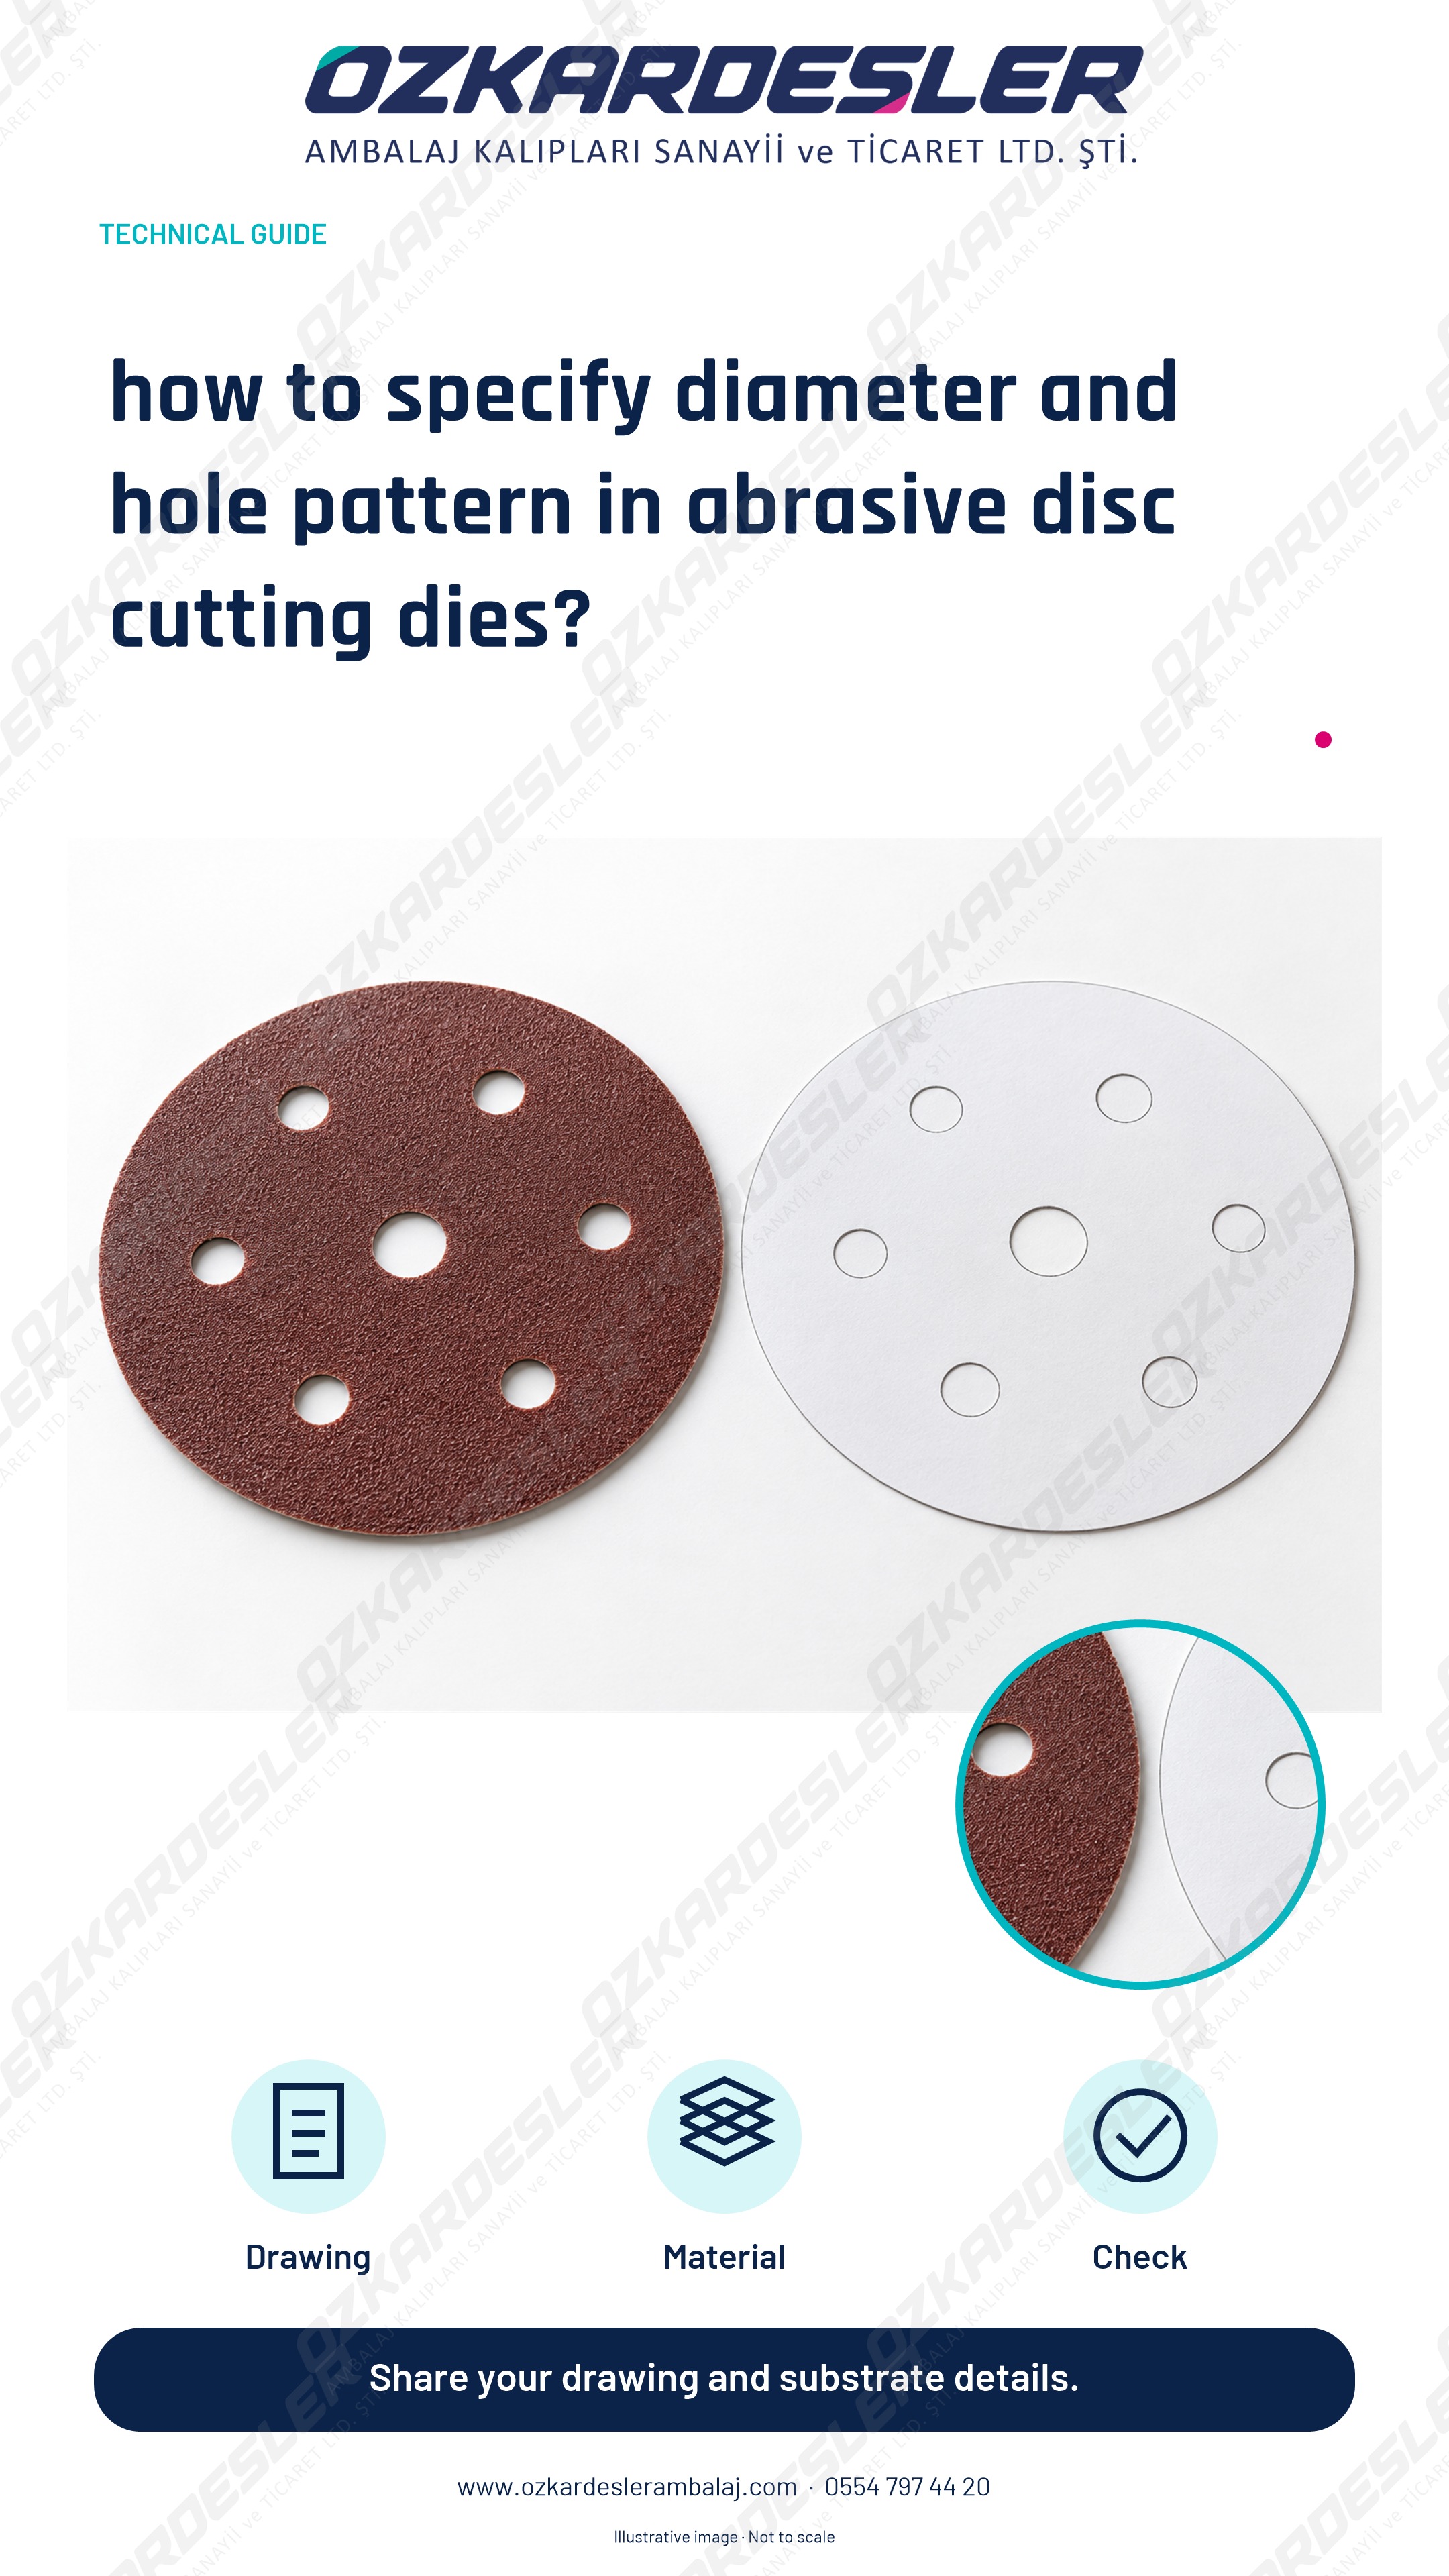
Define the outer diameter, center hole, suction holes and carrier layer together in sanding disc dies.
Read the article →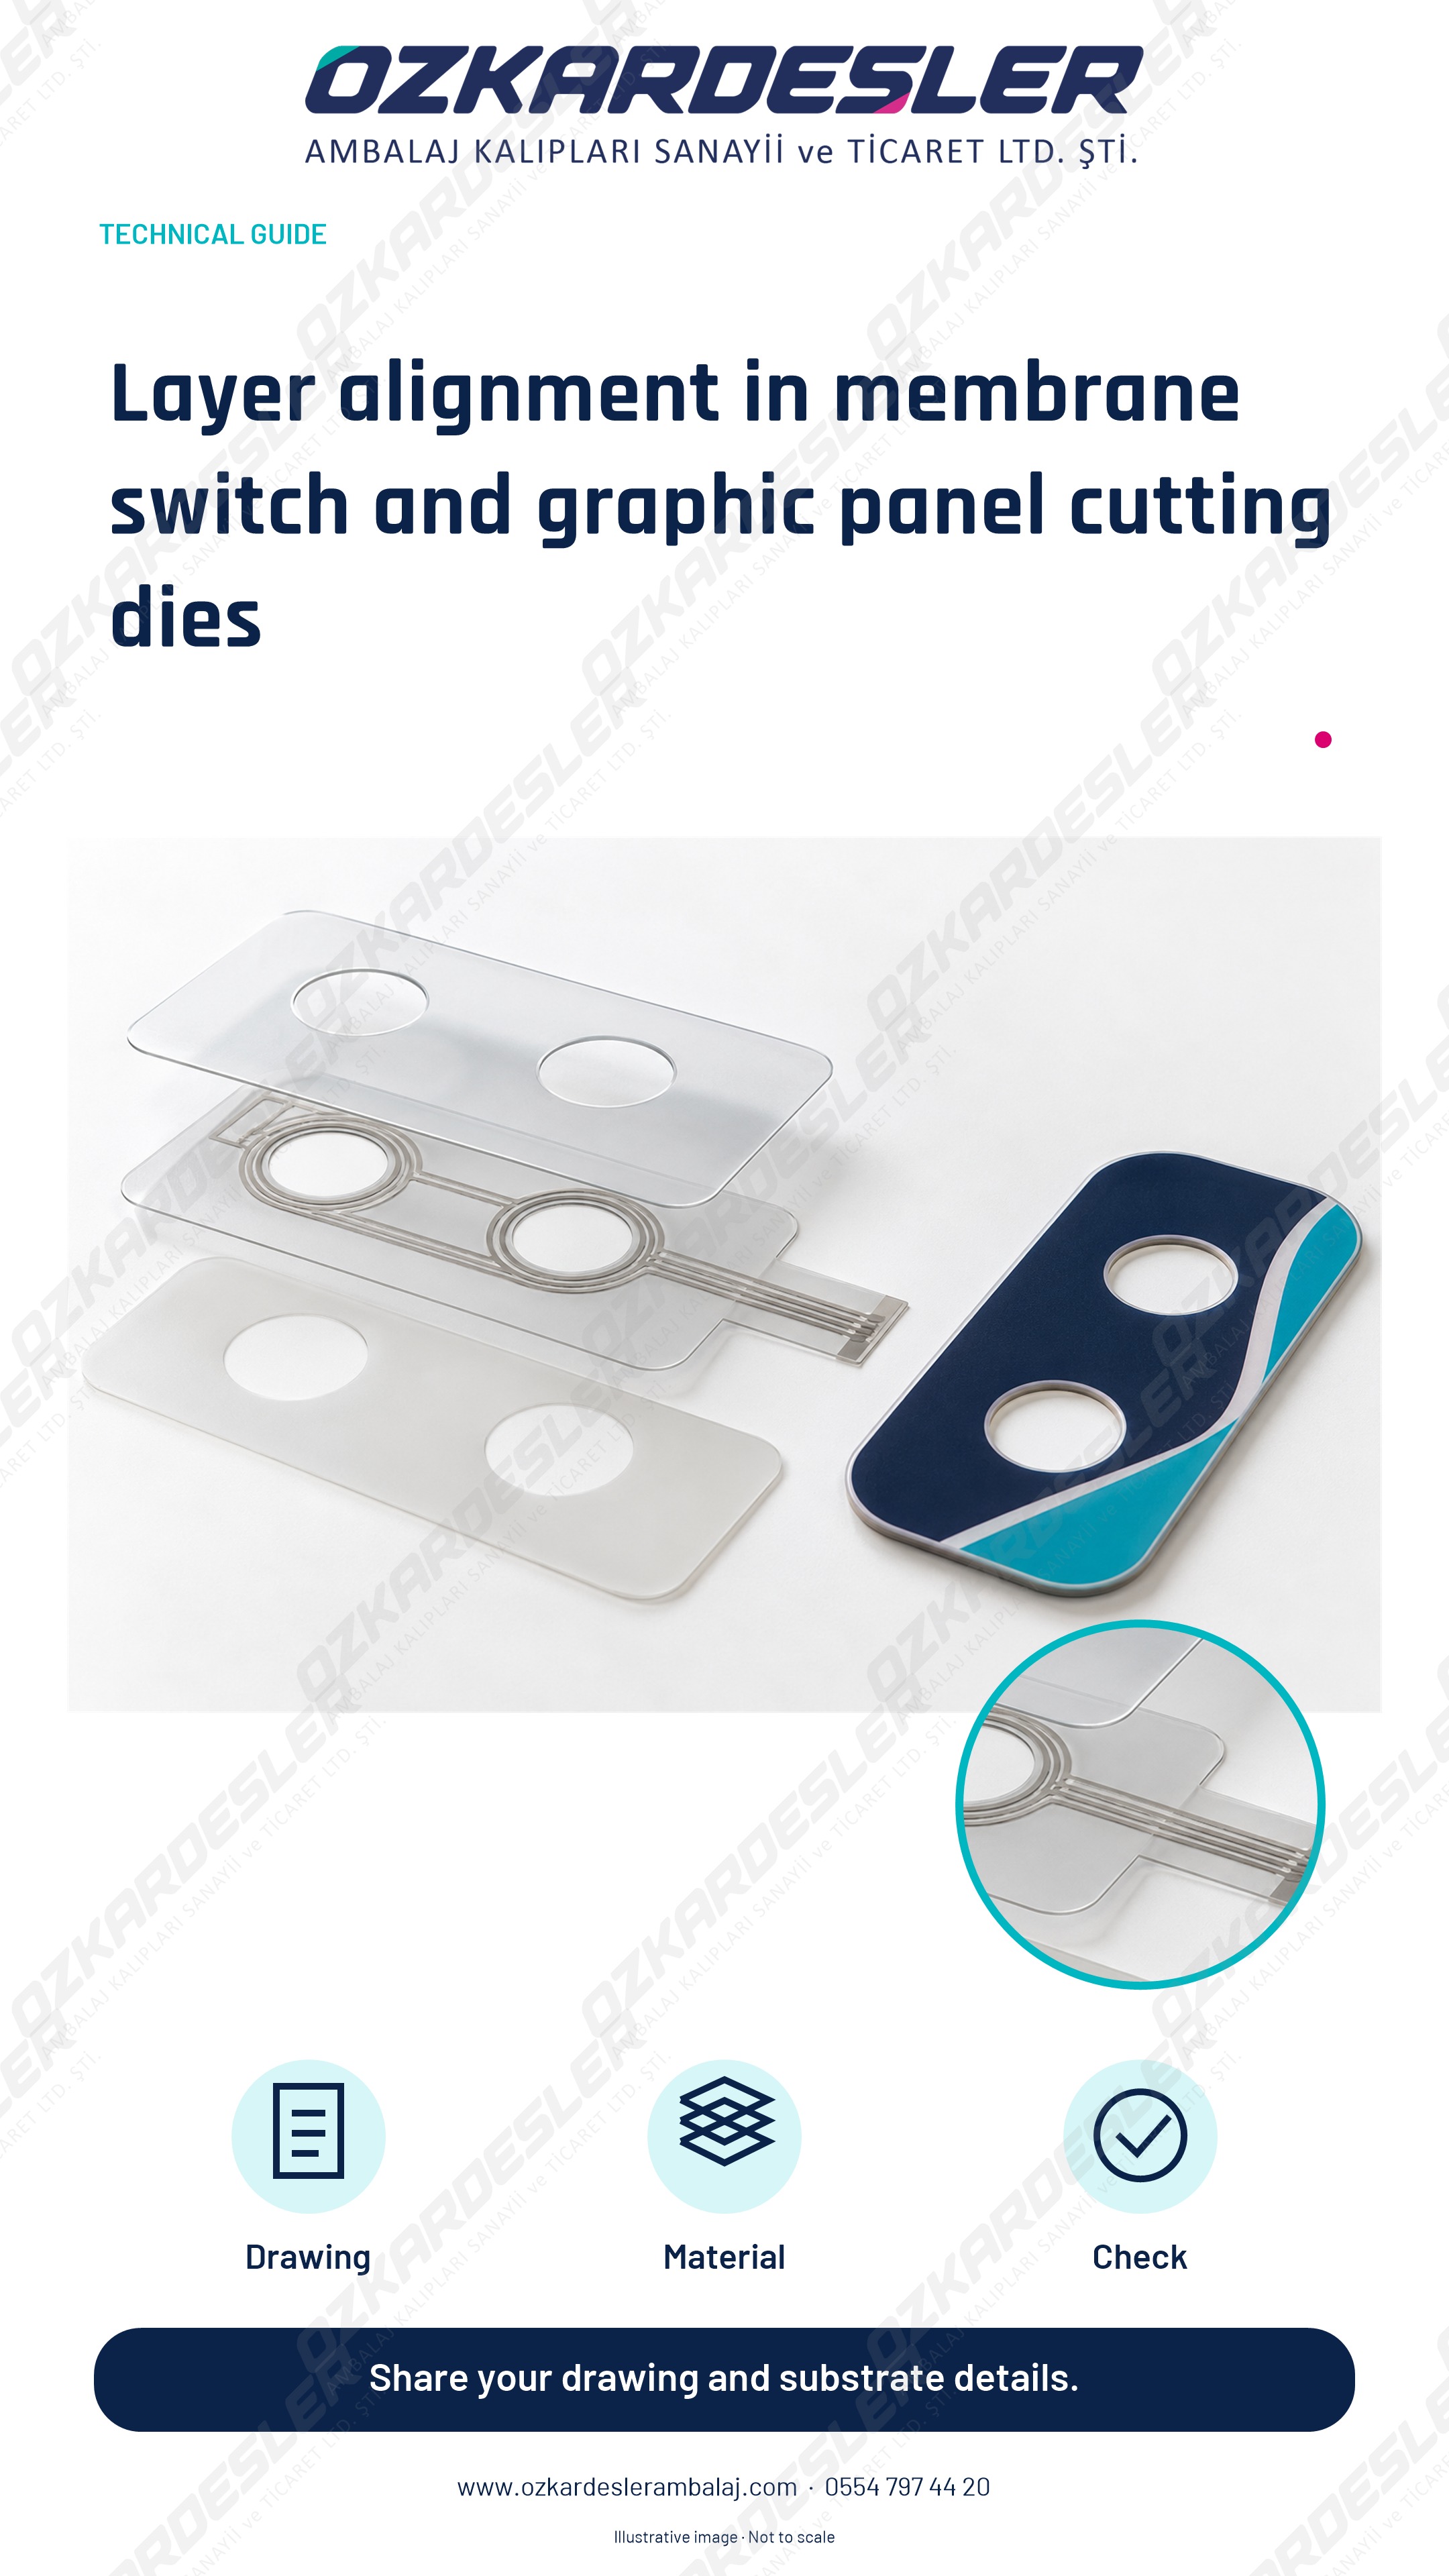
Separate graphic panel, adhesive and interlayer cuts; share hole, window and register details in the same revision.
Read the article →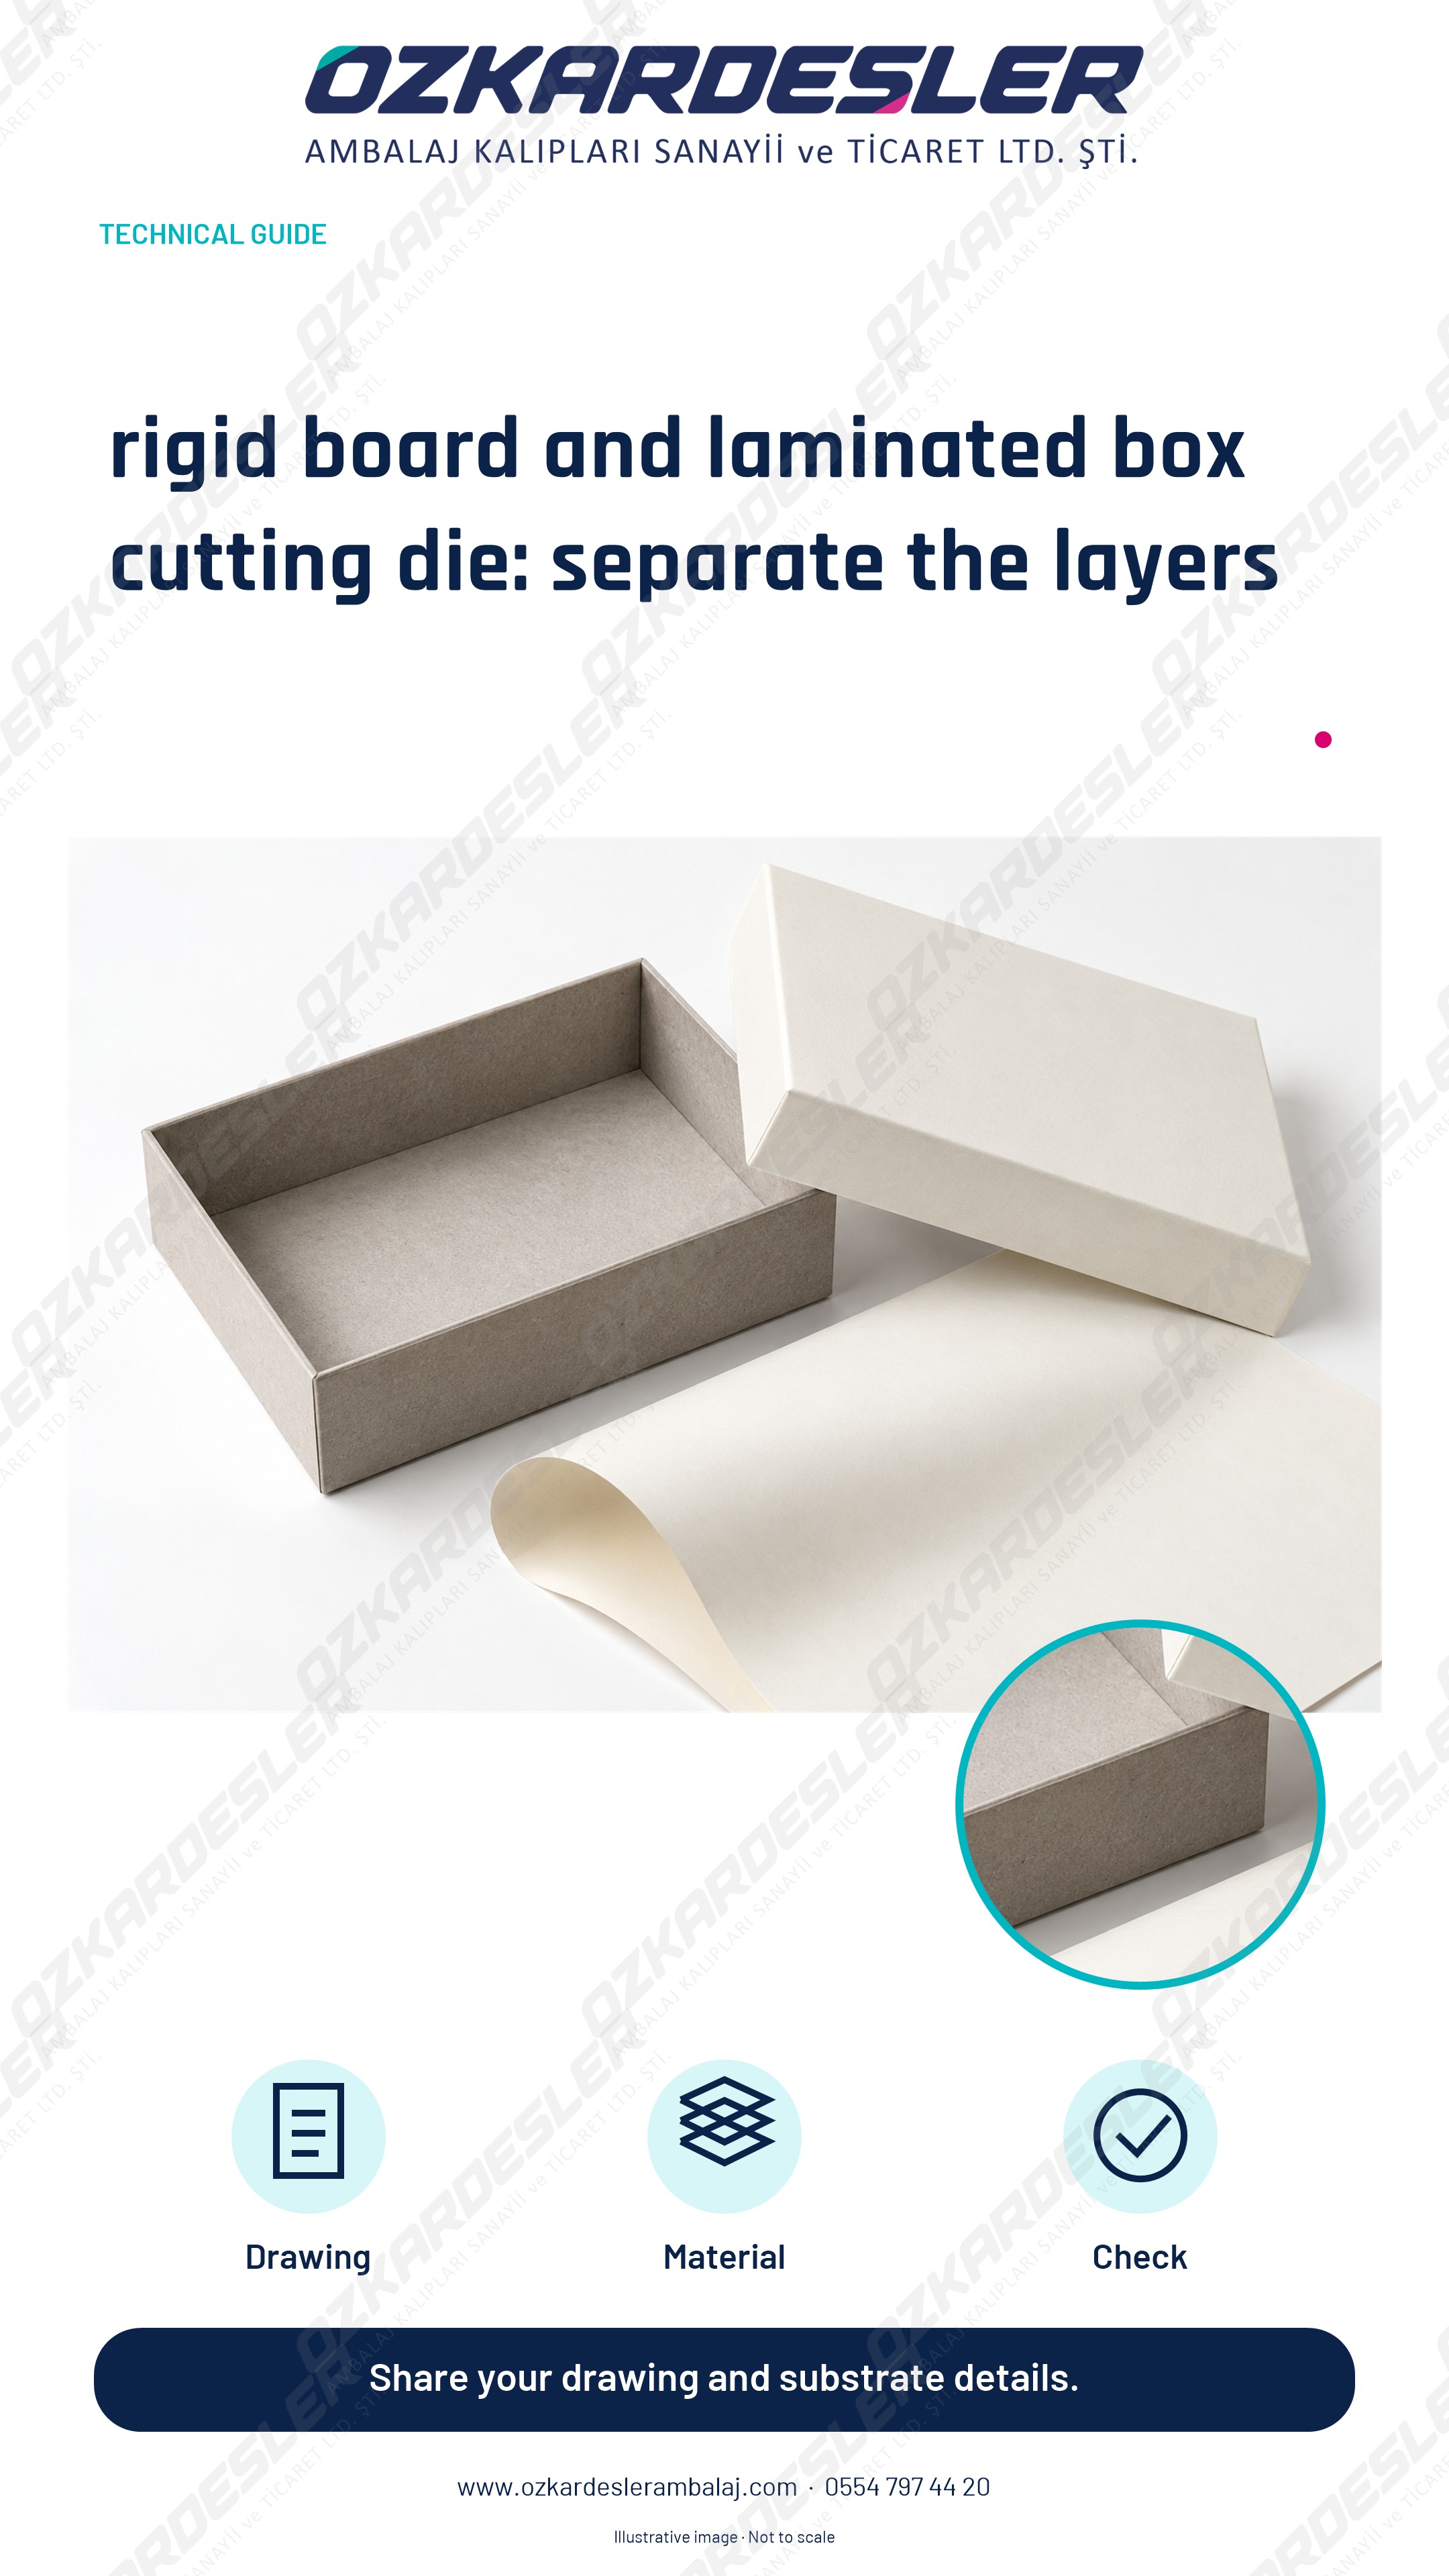
Describe the cutting requirements of greyboard, cover paper and laminated products separately; plan folding, corner and assembly control together.
Read the article →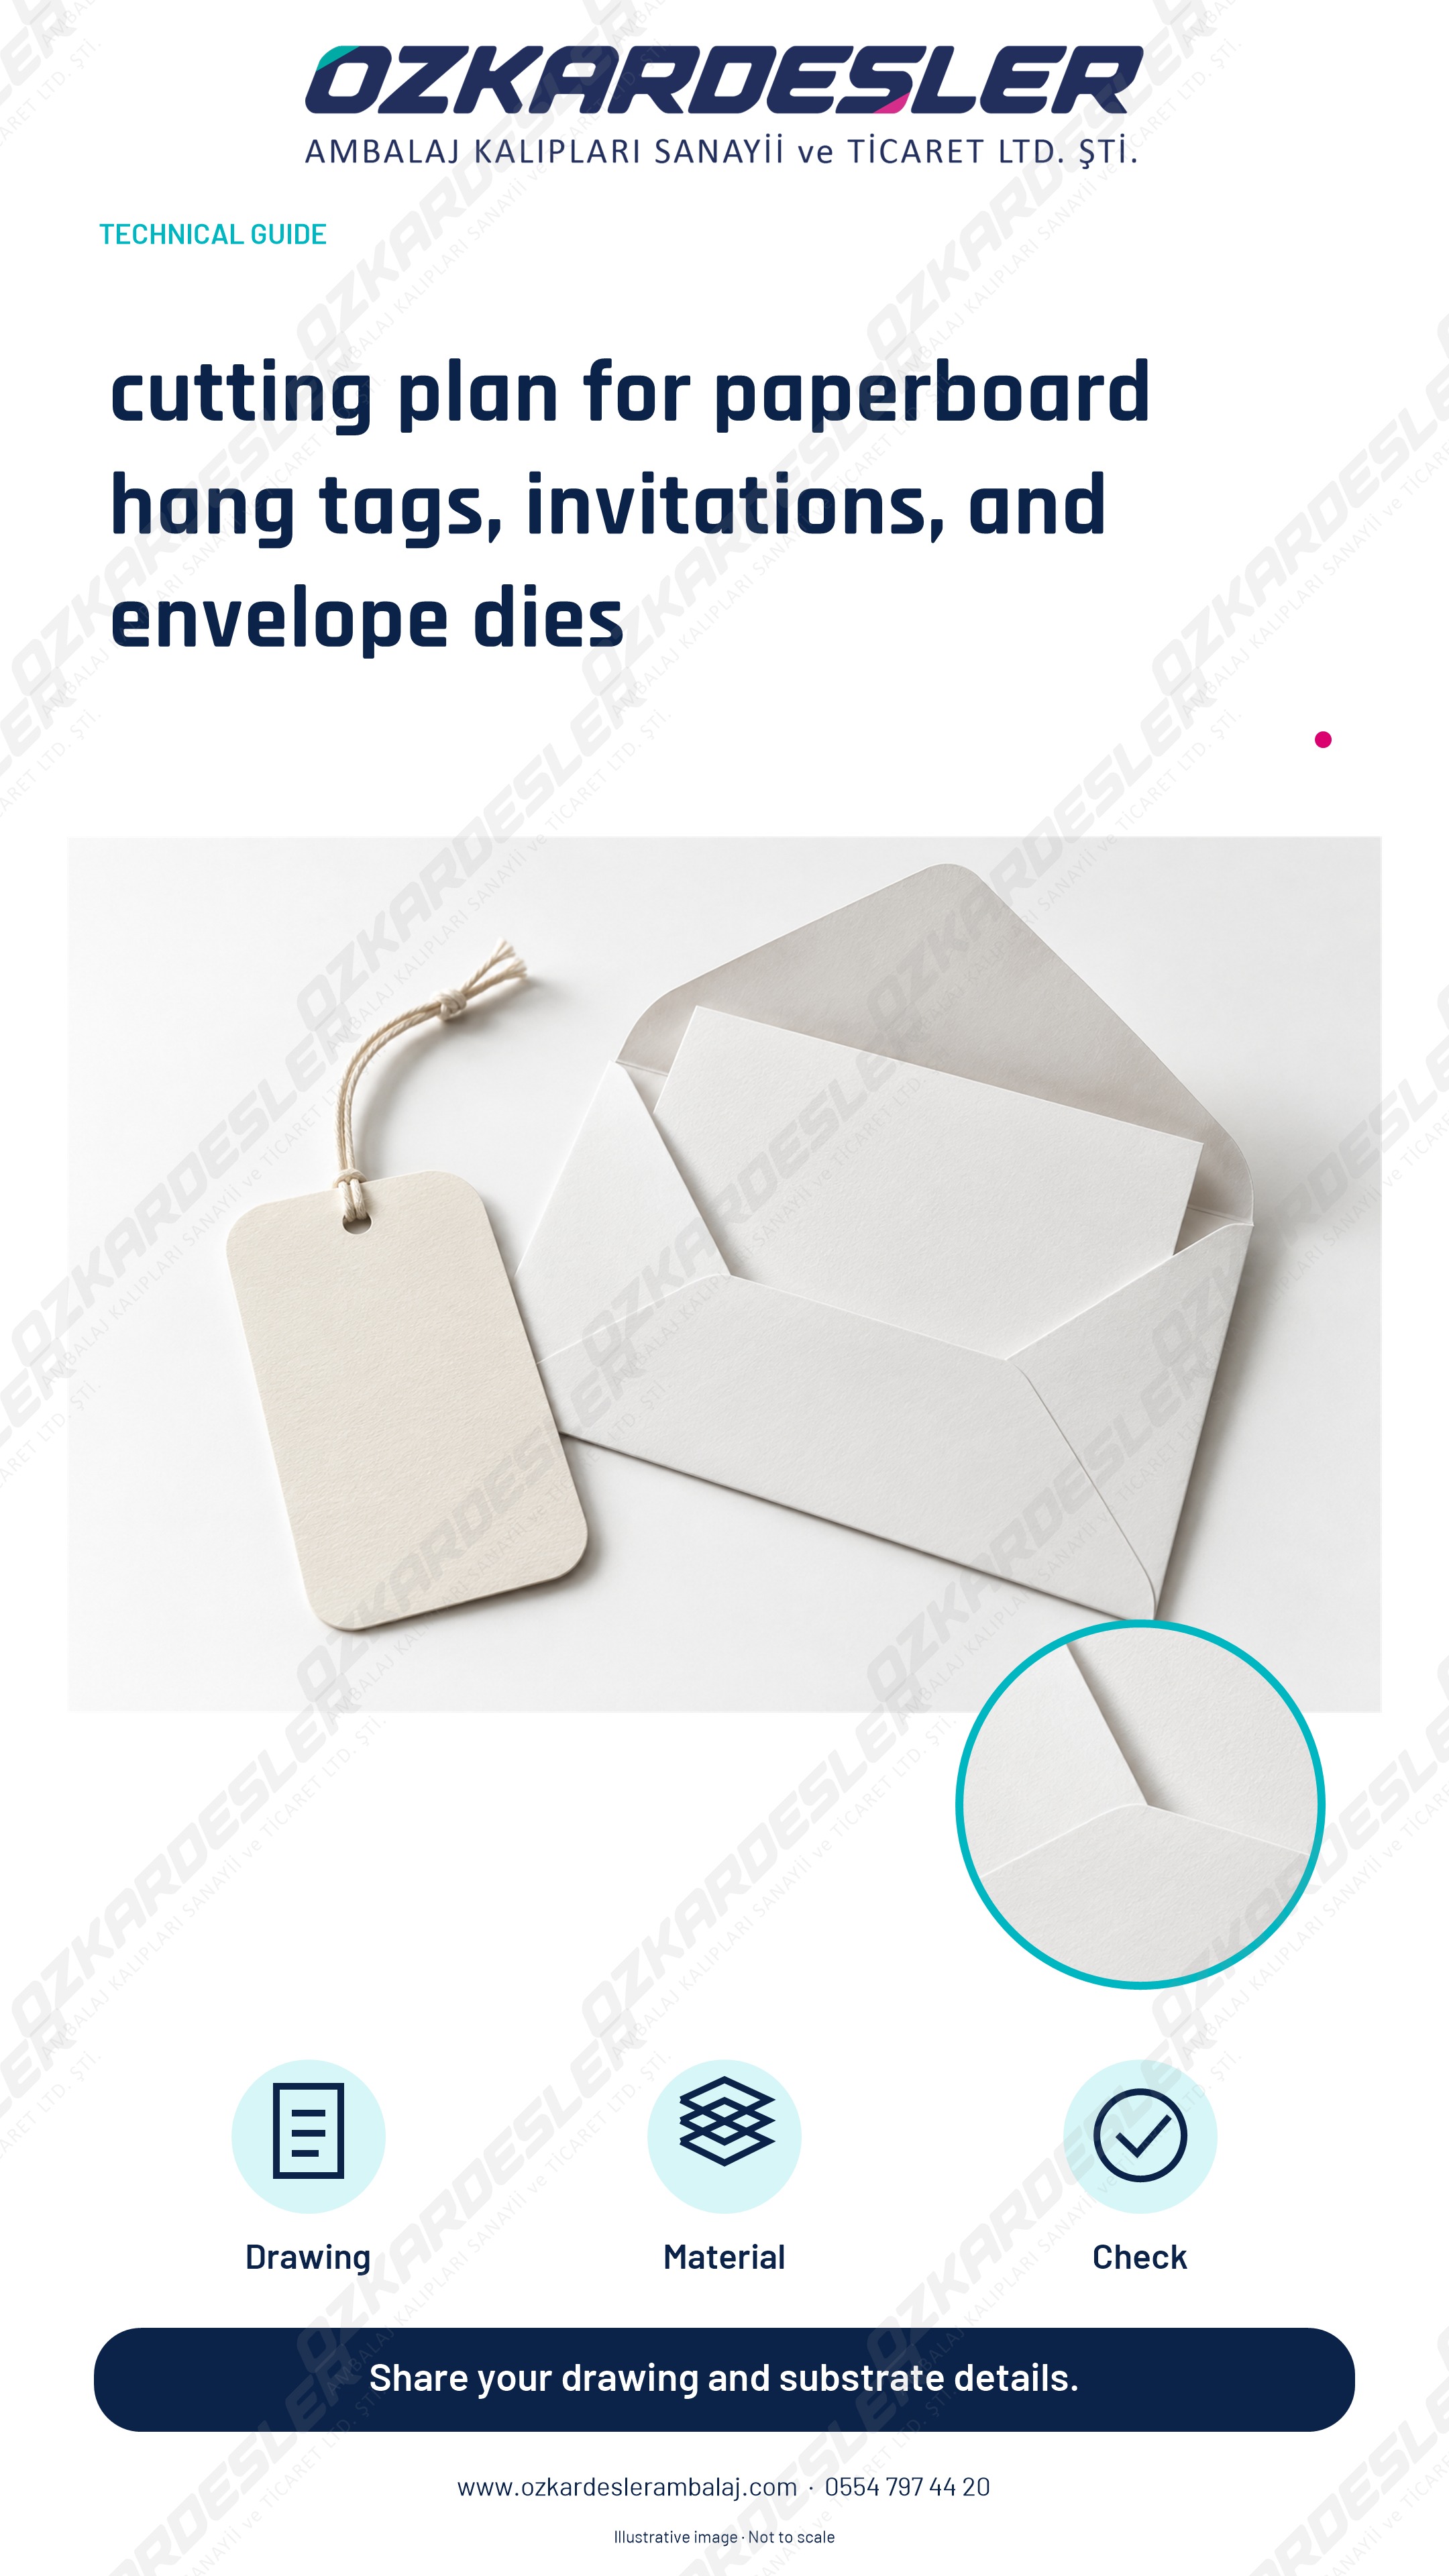
Describe the hang hole, special contour and folding lines together. Clarify the machine, grain direction and sheet layout for paper and paperboard jobs.
Read the article →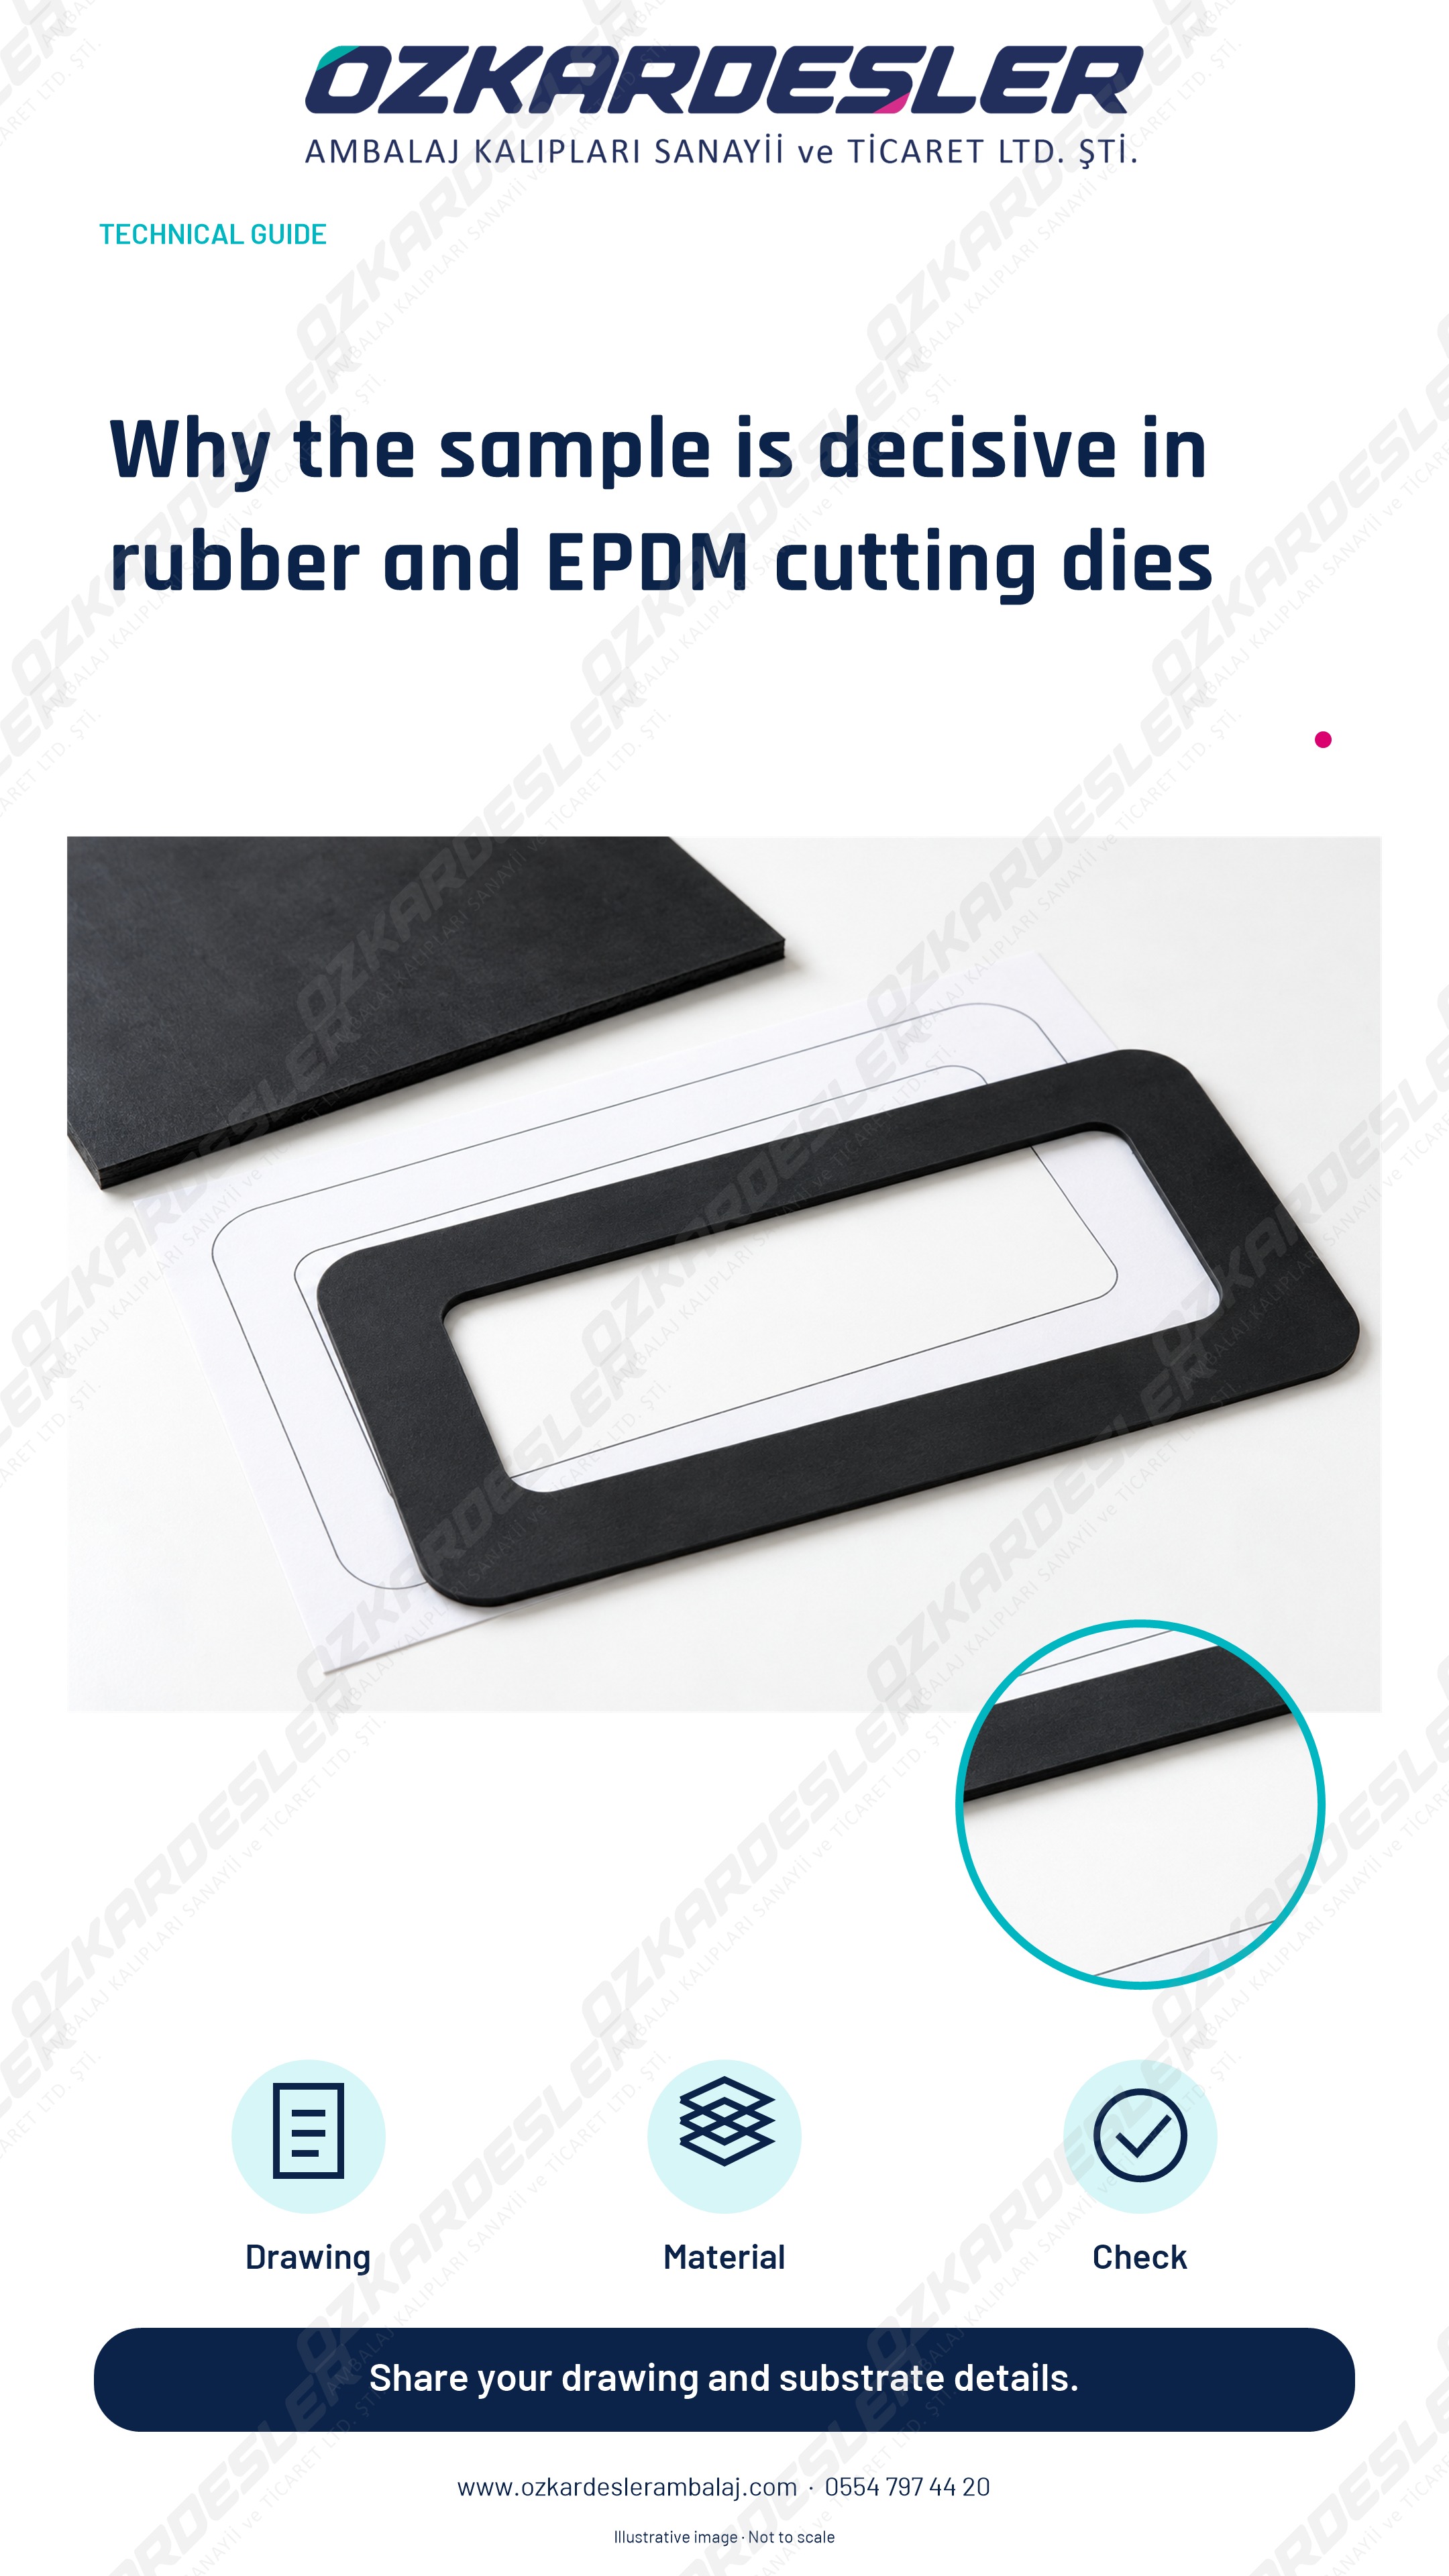
Describe hardness, layers, hole clearance and dimensional expectations together for rubber, EPDM and elastomer parts.
Read the article →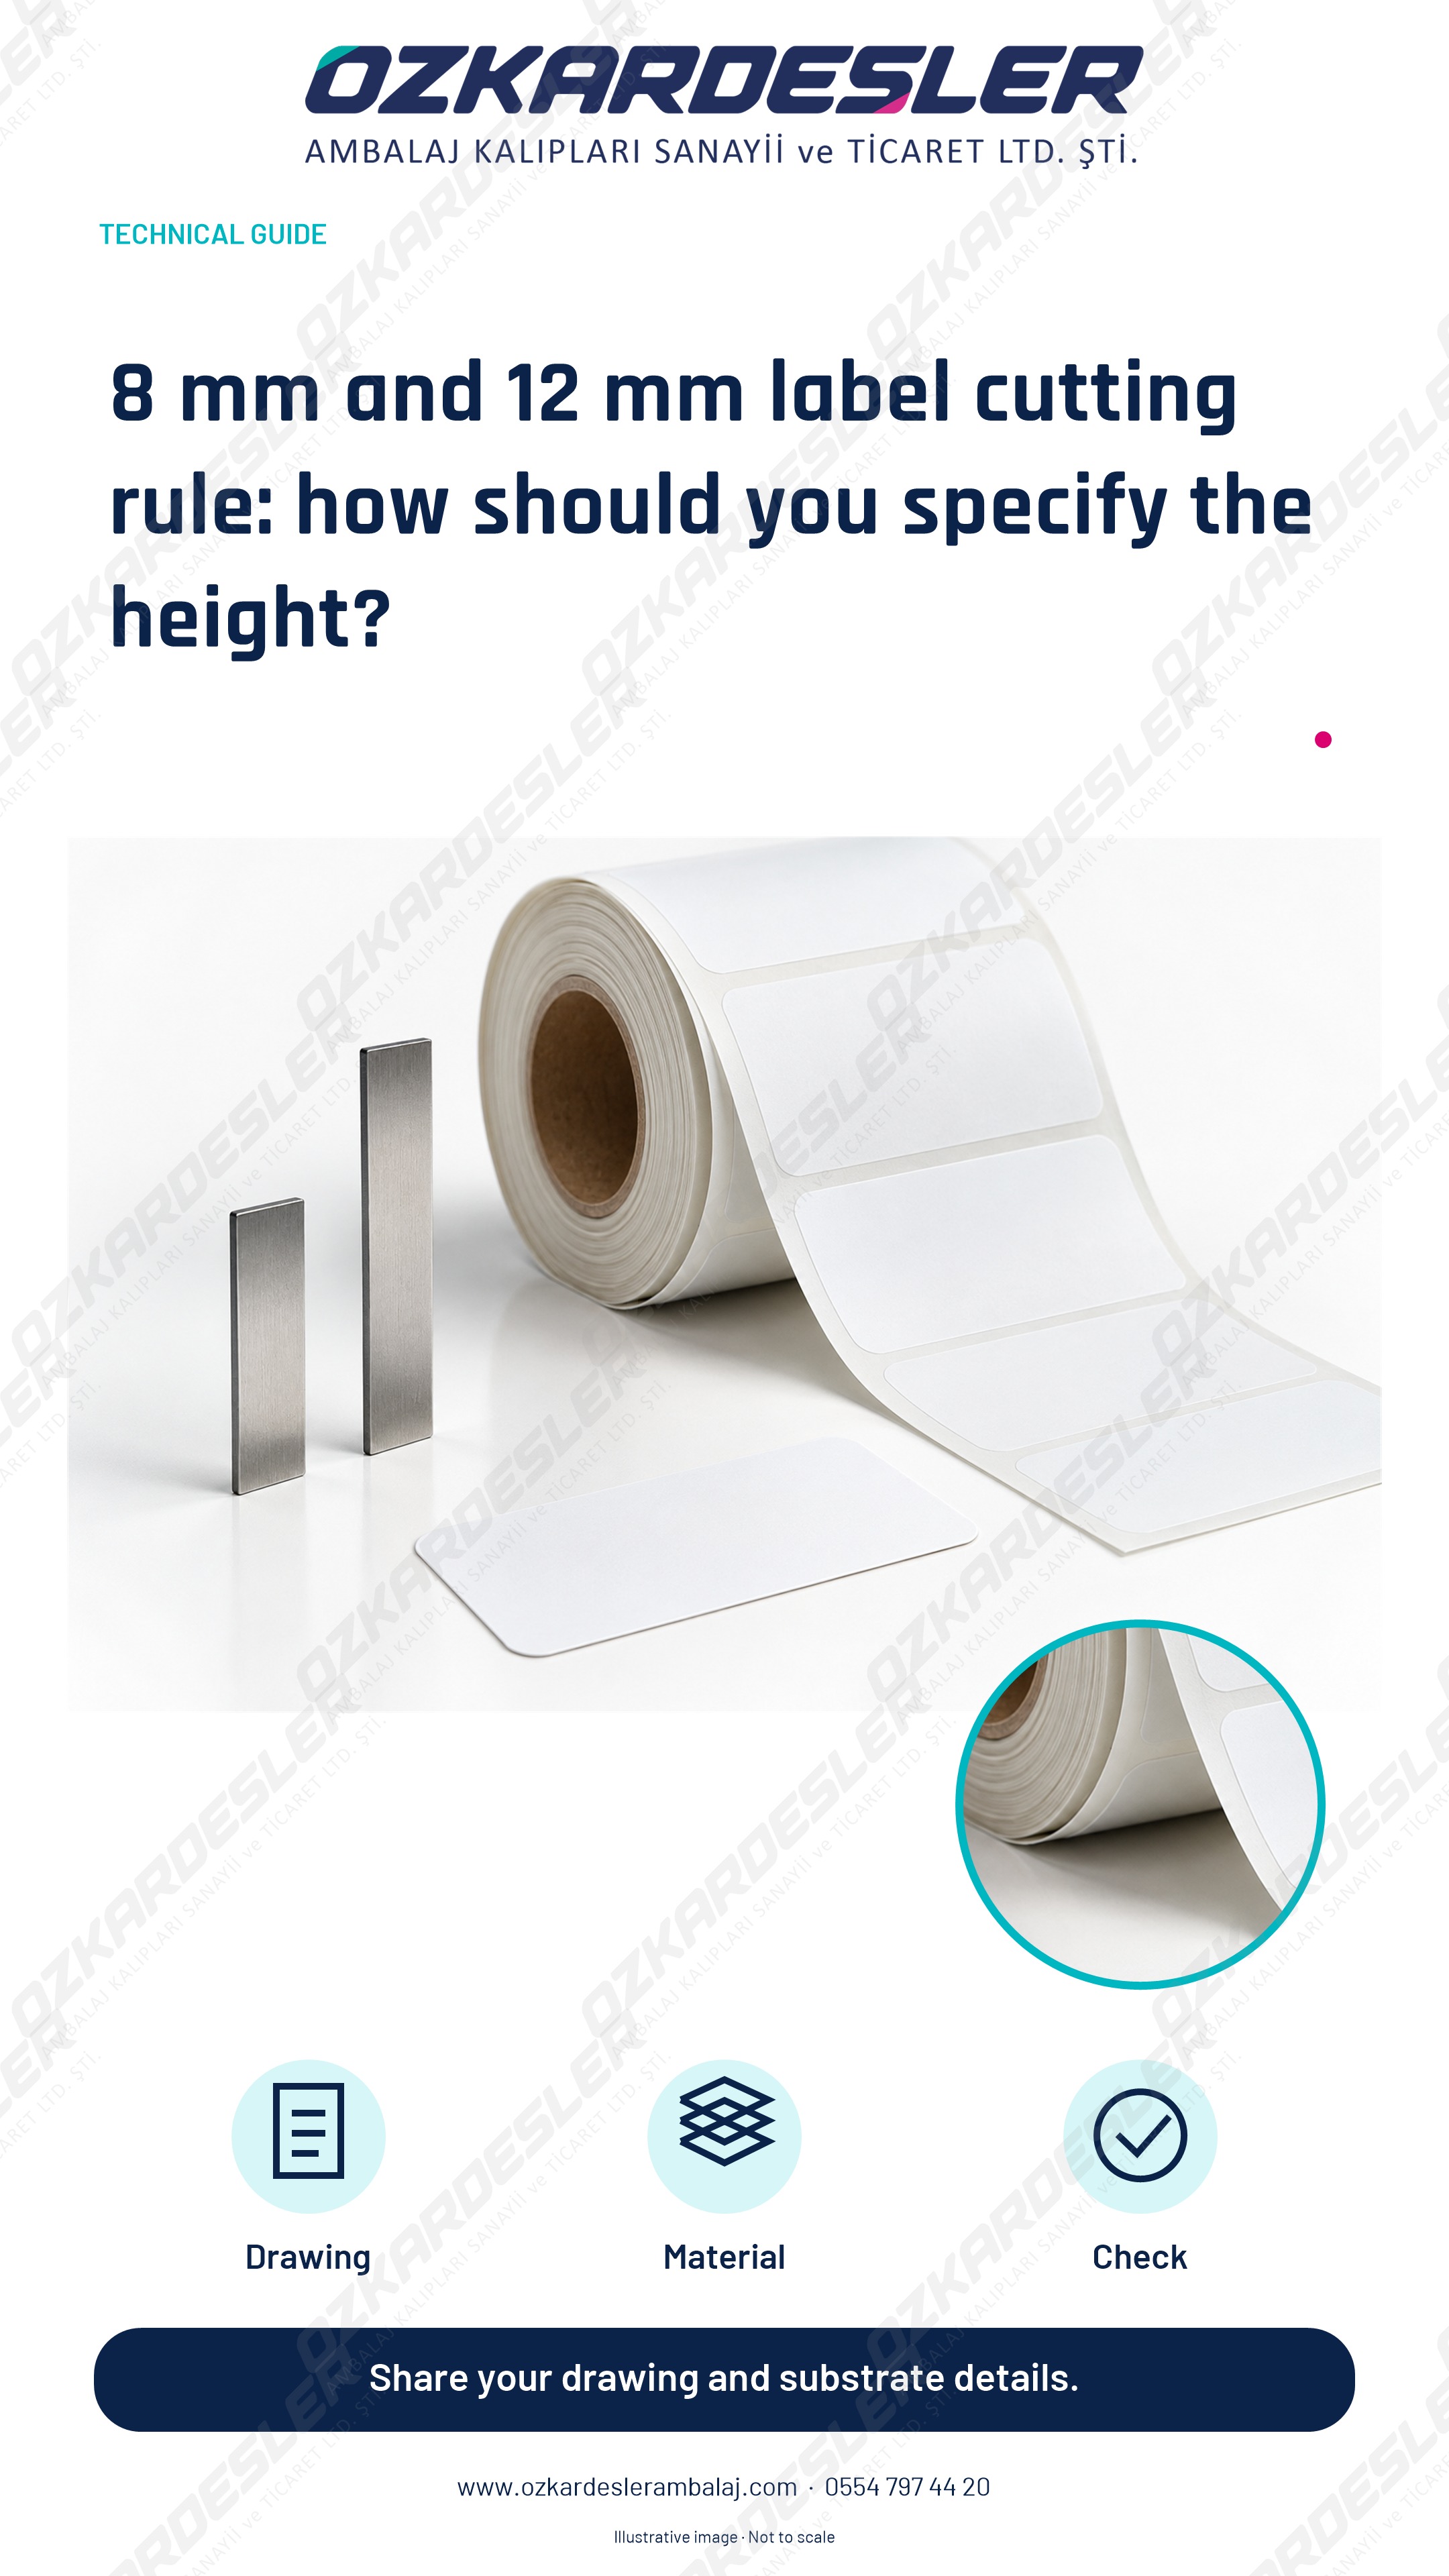
Separate total height, point size and wood protrusion in label cutting rules; verify machine and liner compatibility.
Read the article →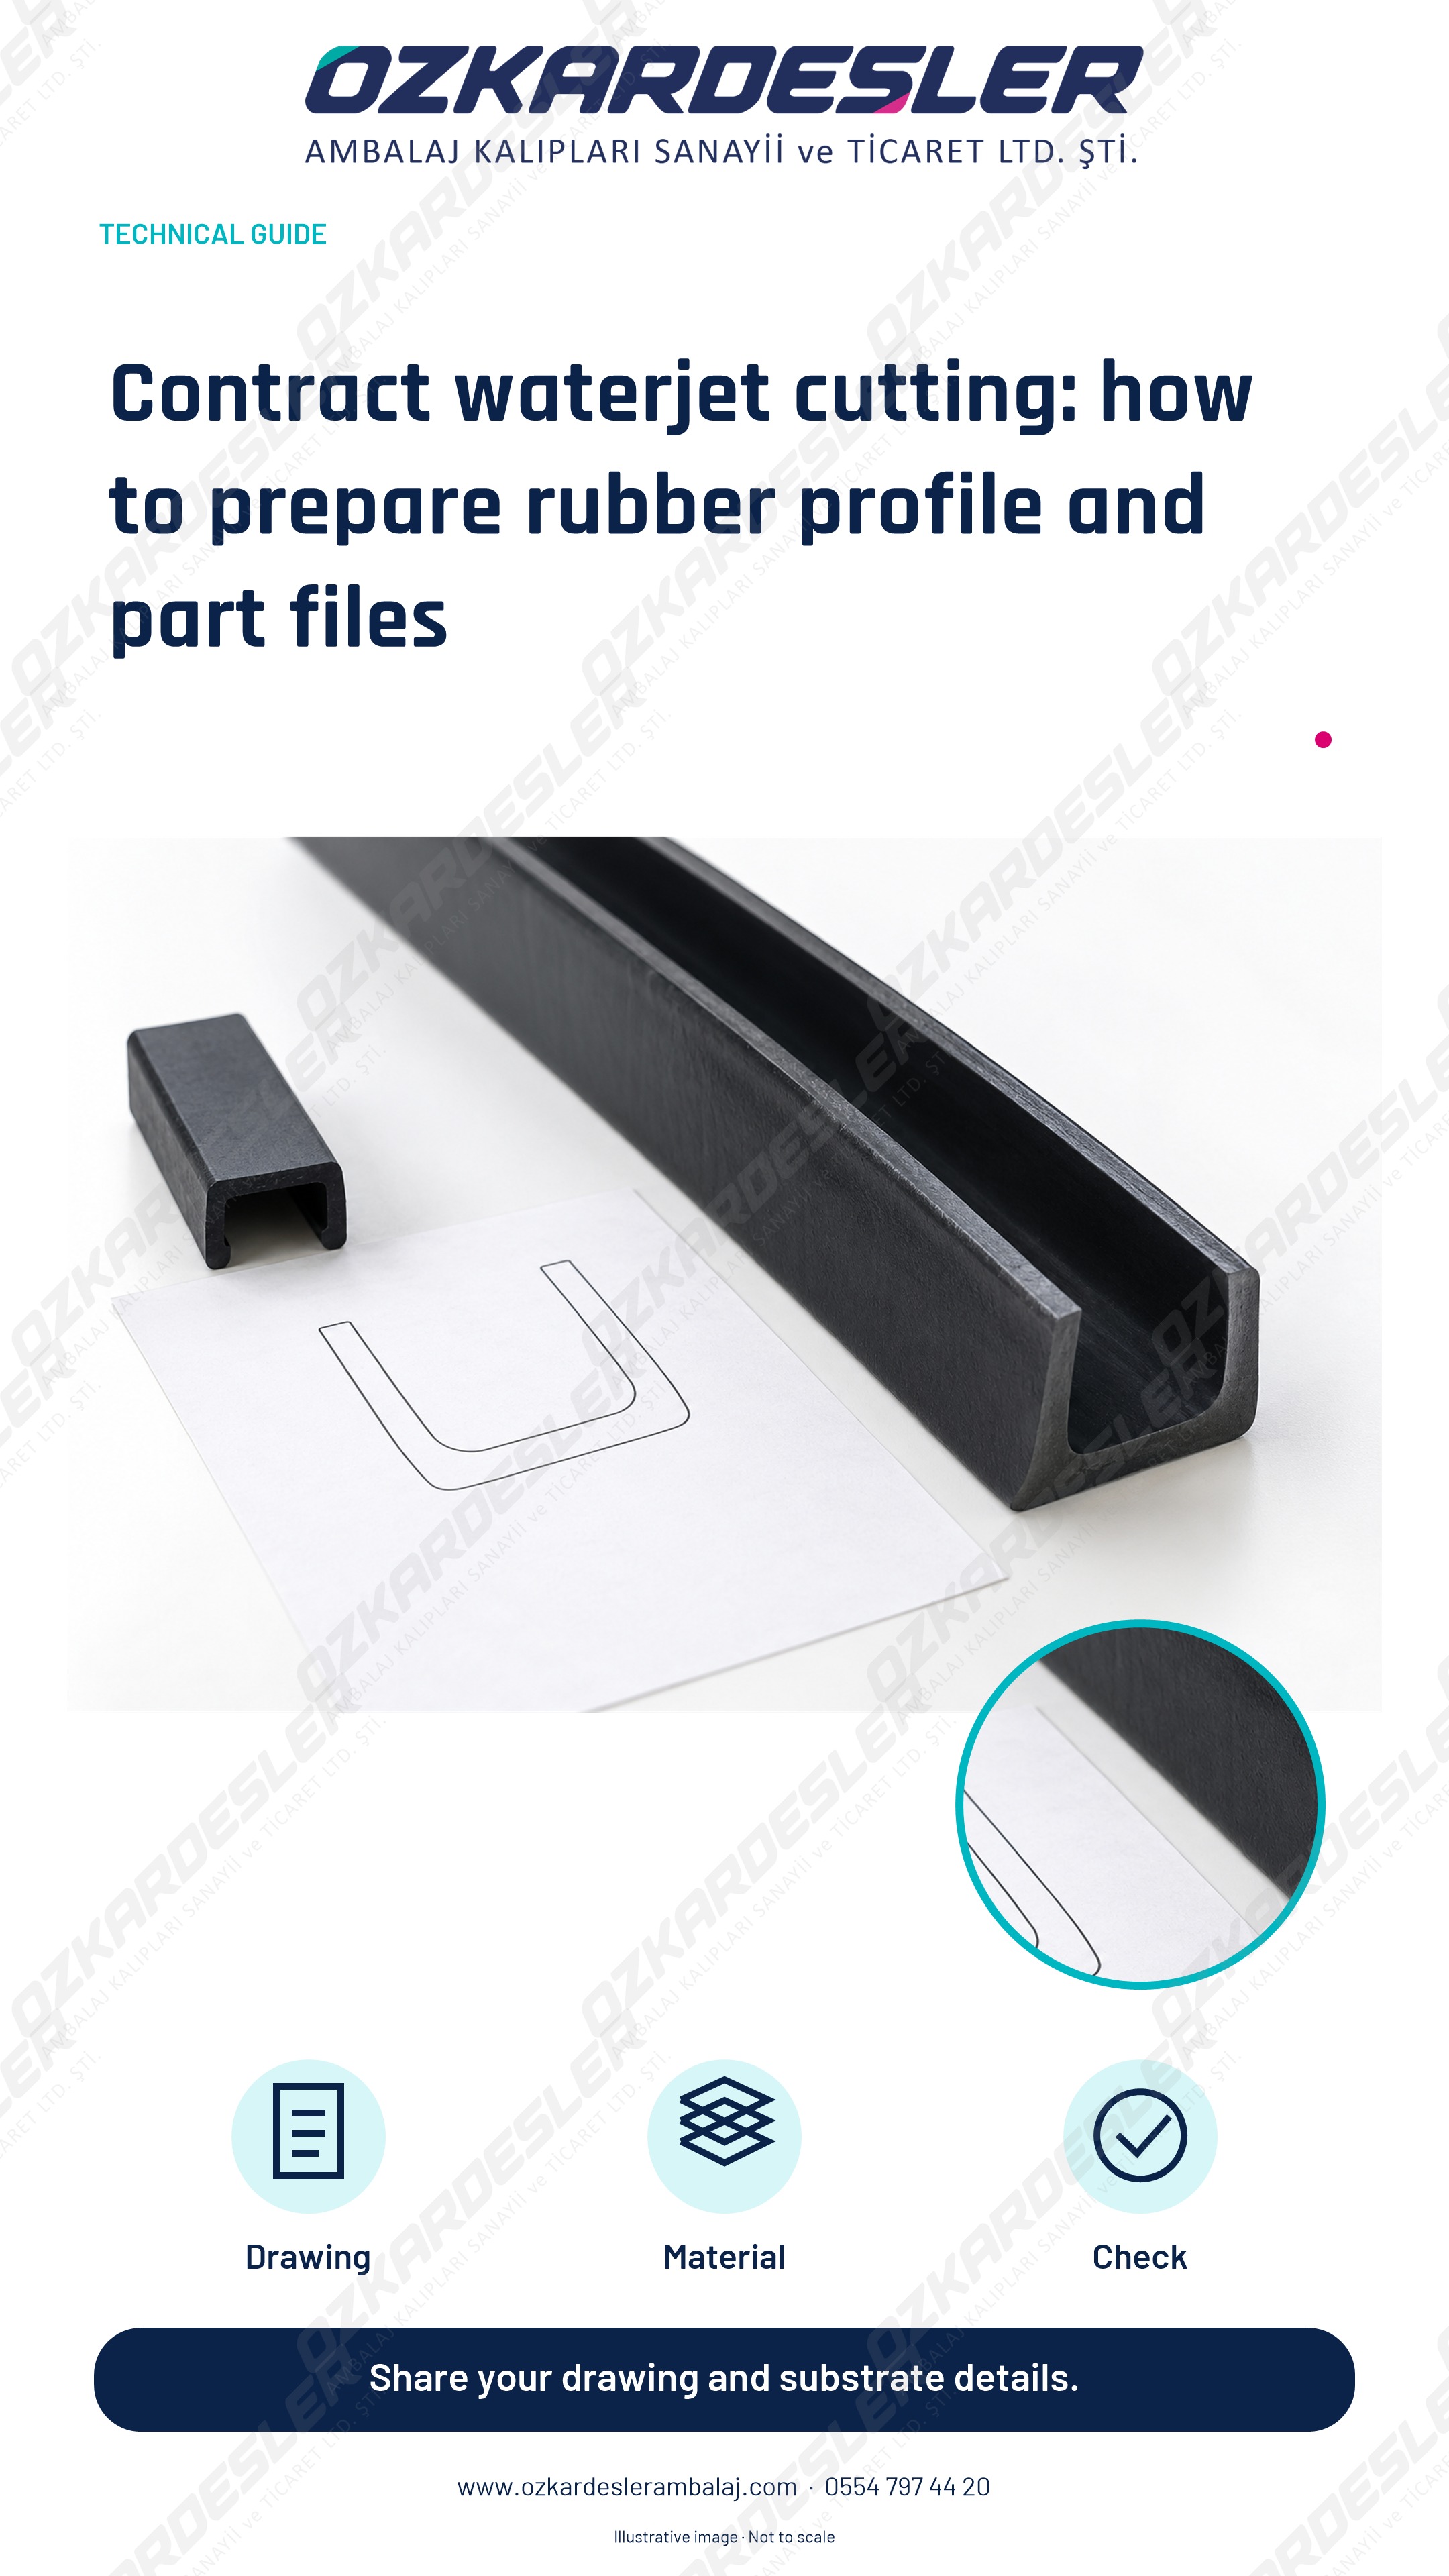
Send material, thickness, contour and sheet layout together for contract waterjet requests; separate ejection rubber and finished part expectations.
Read the article →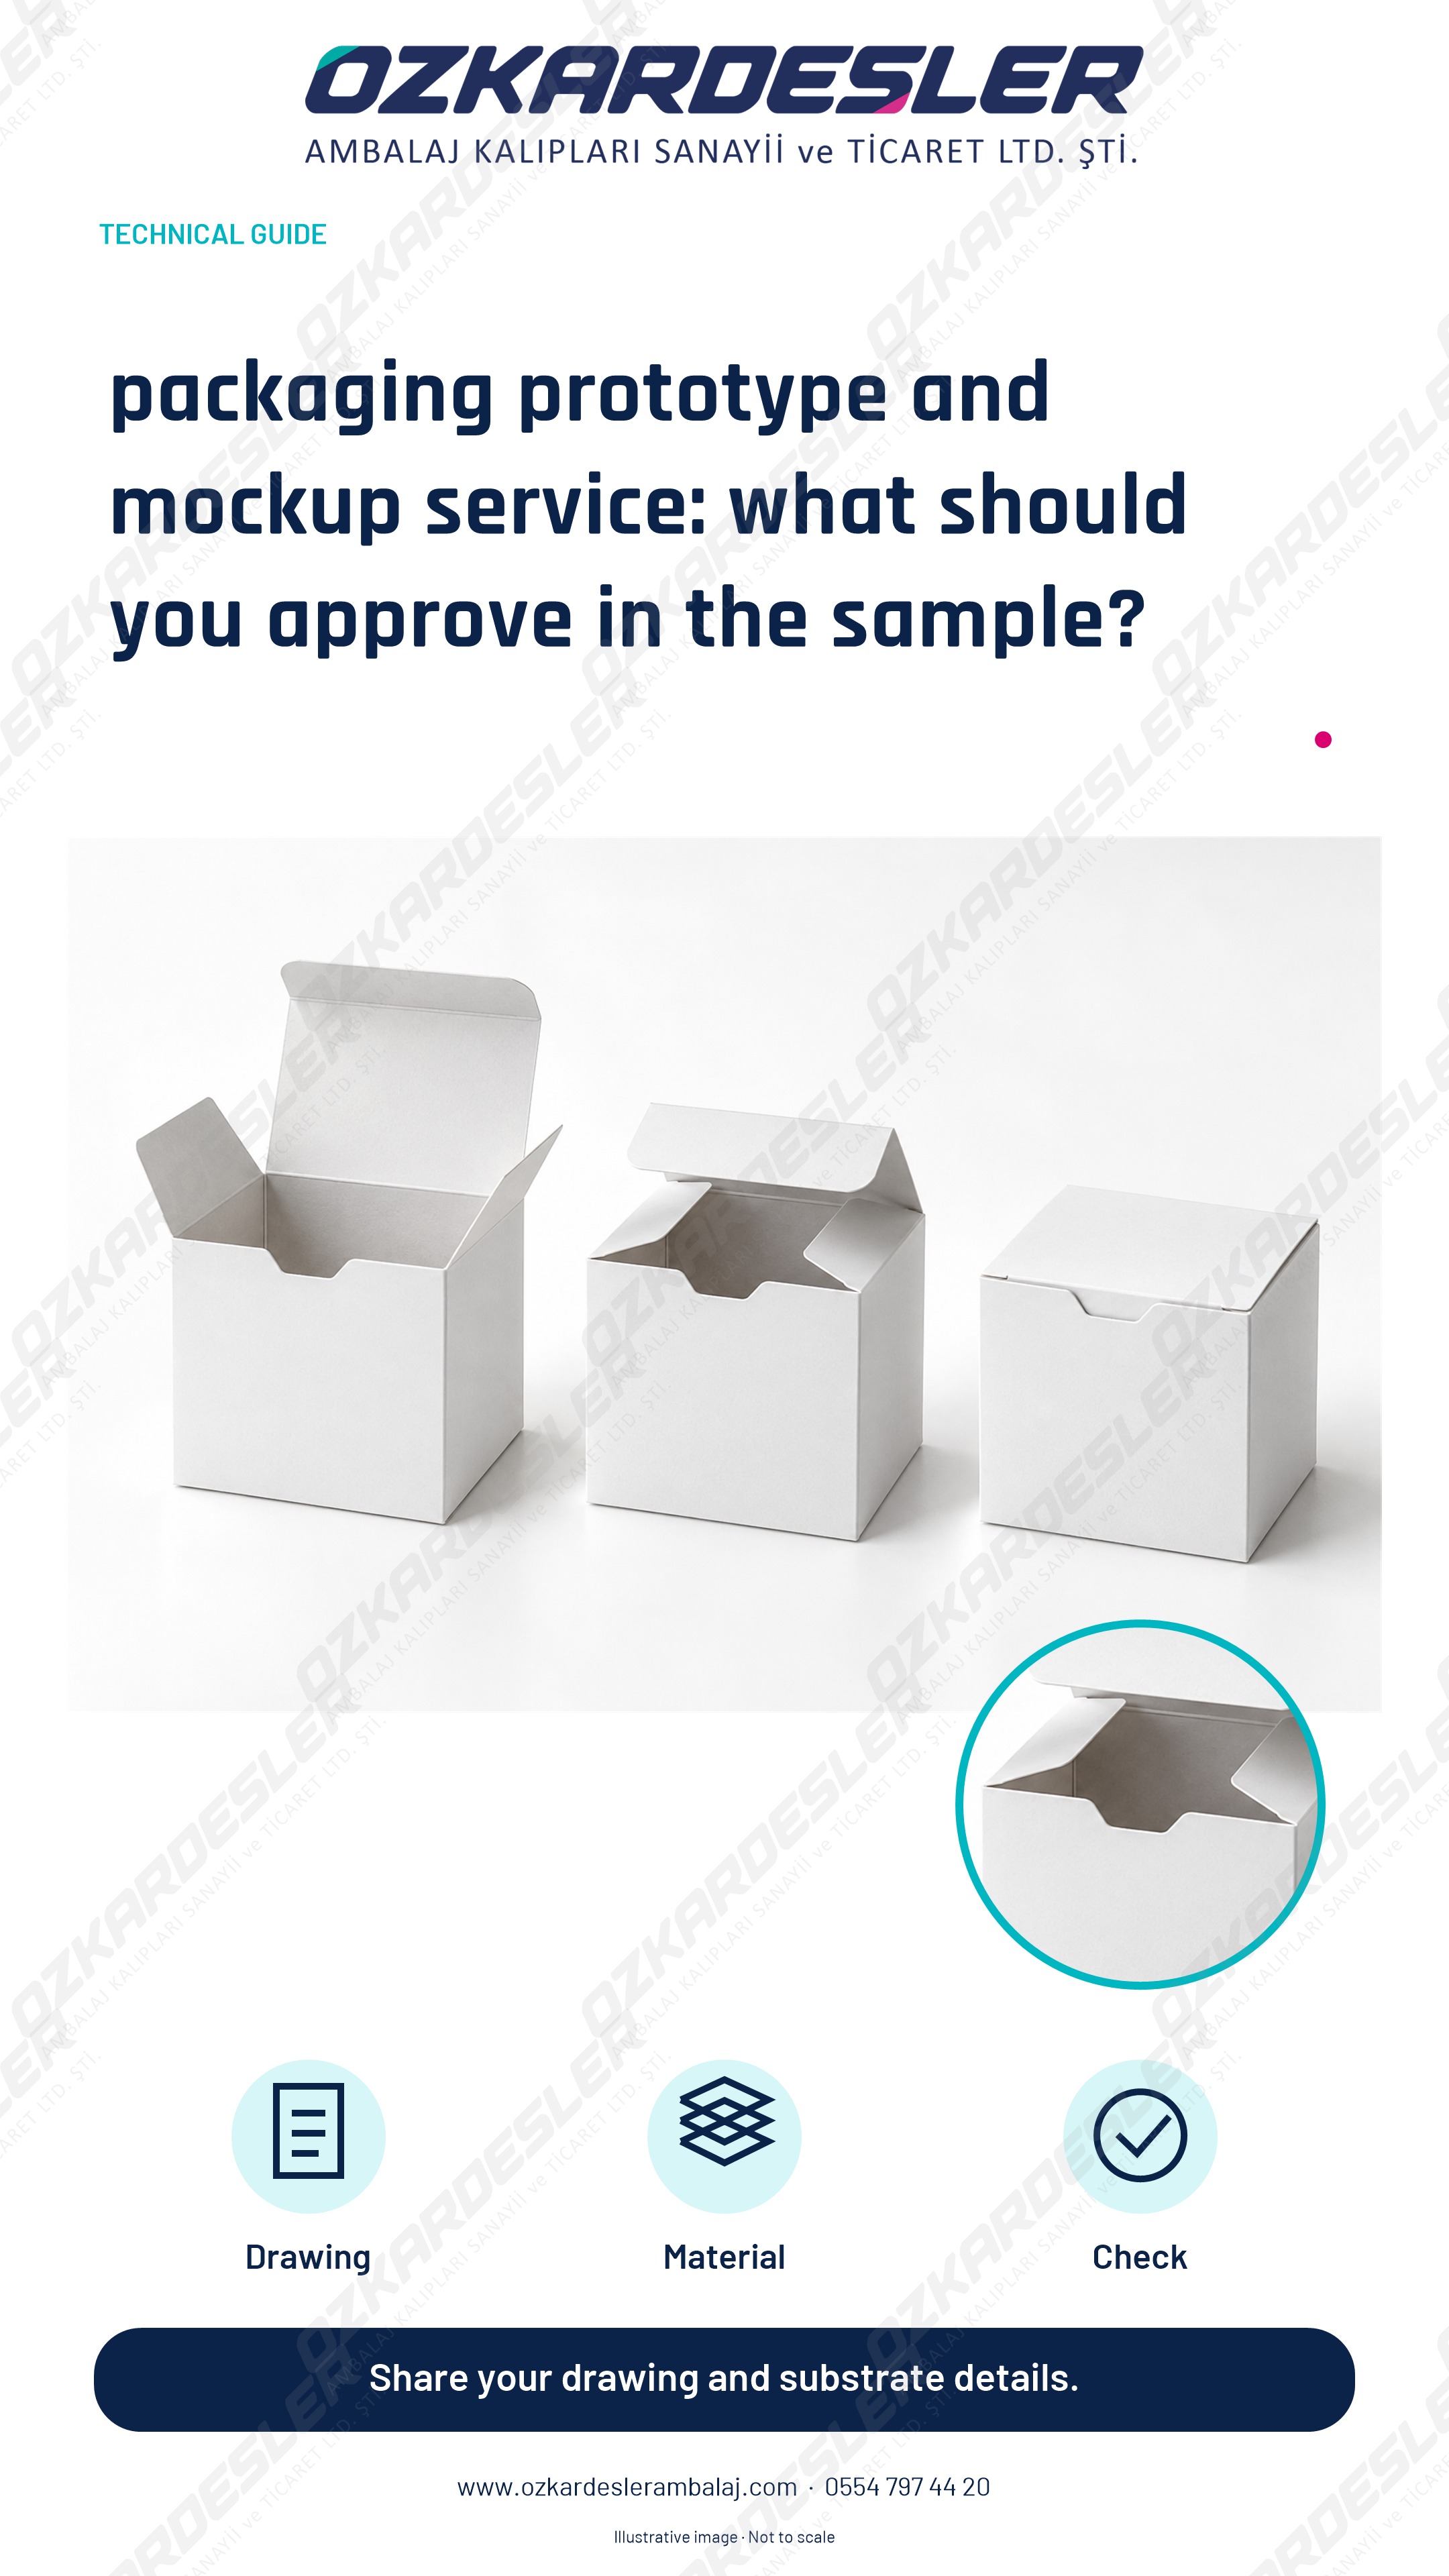
Prepare prototypes with product dimensions, material and usage scenarios; separate the approval scope of visual mockups and production samples.
Read the article →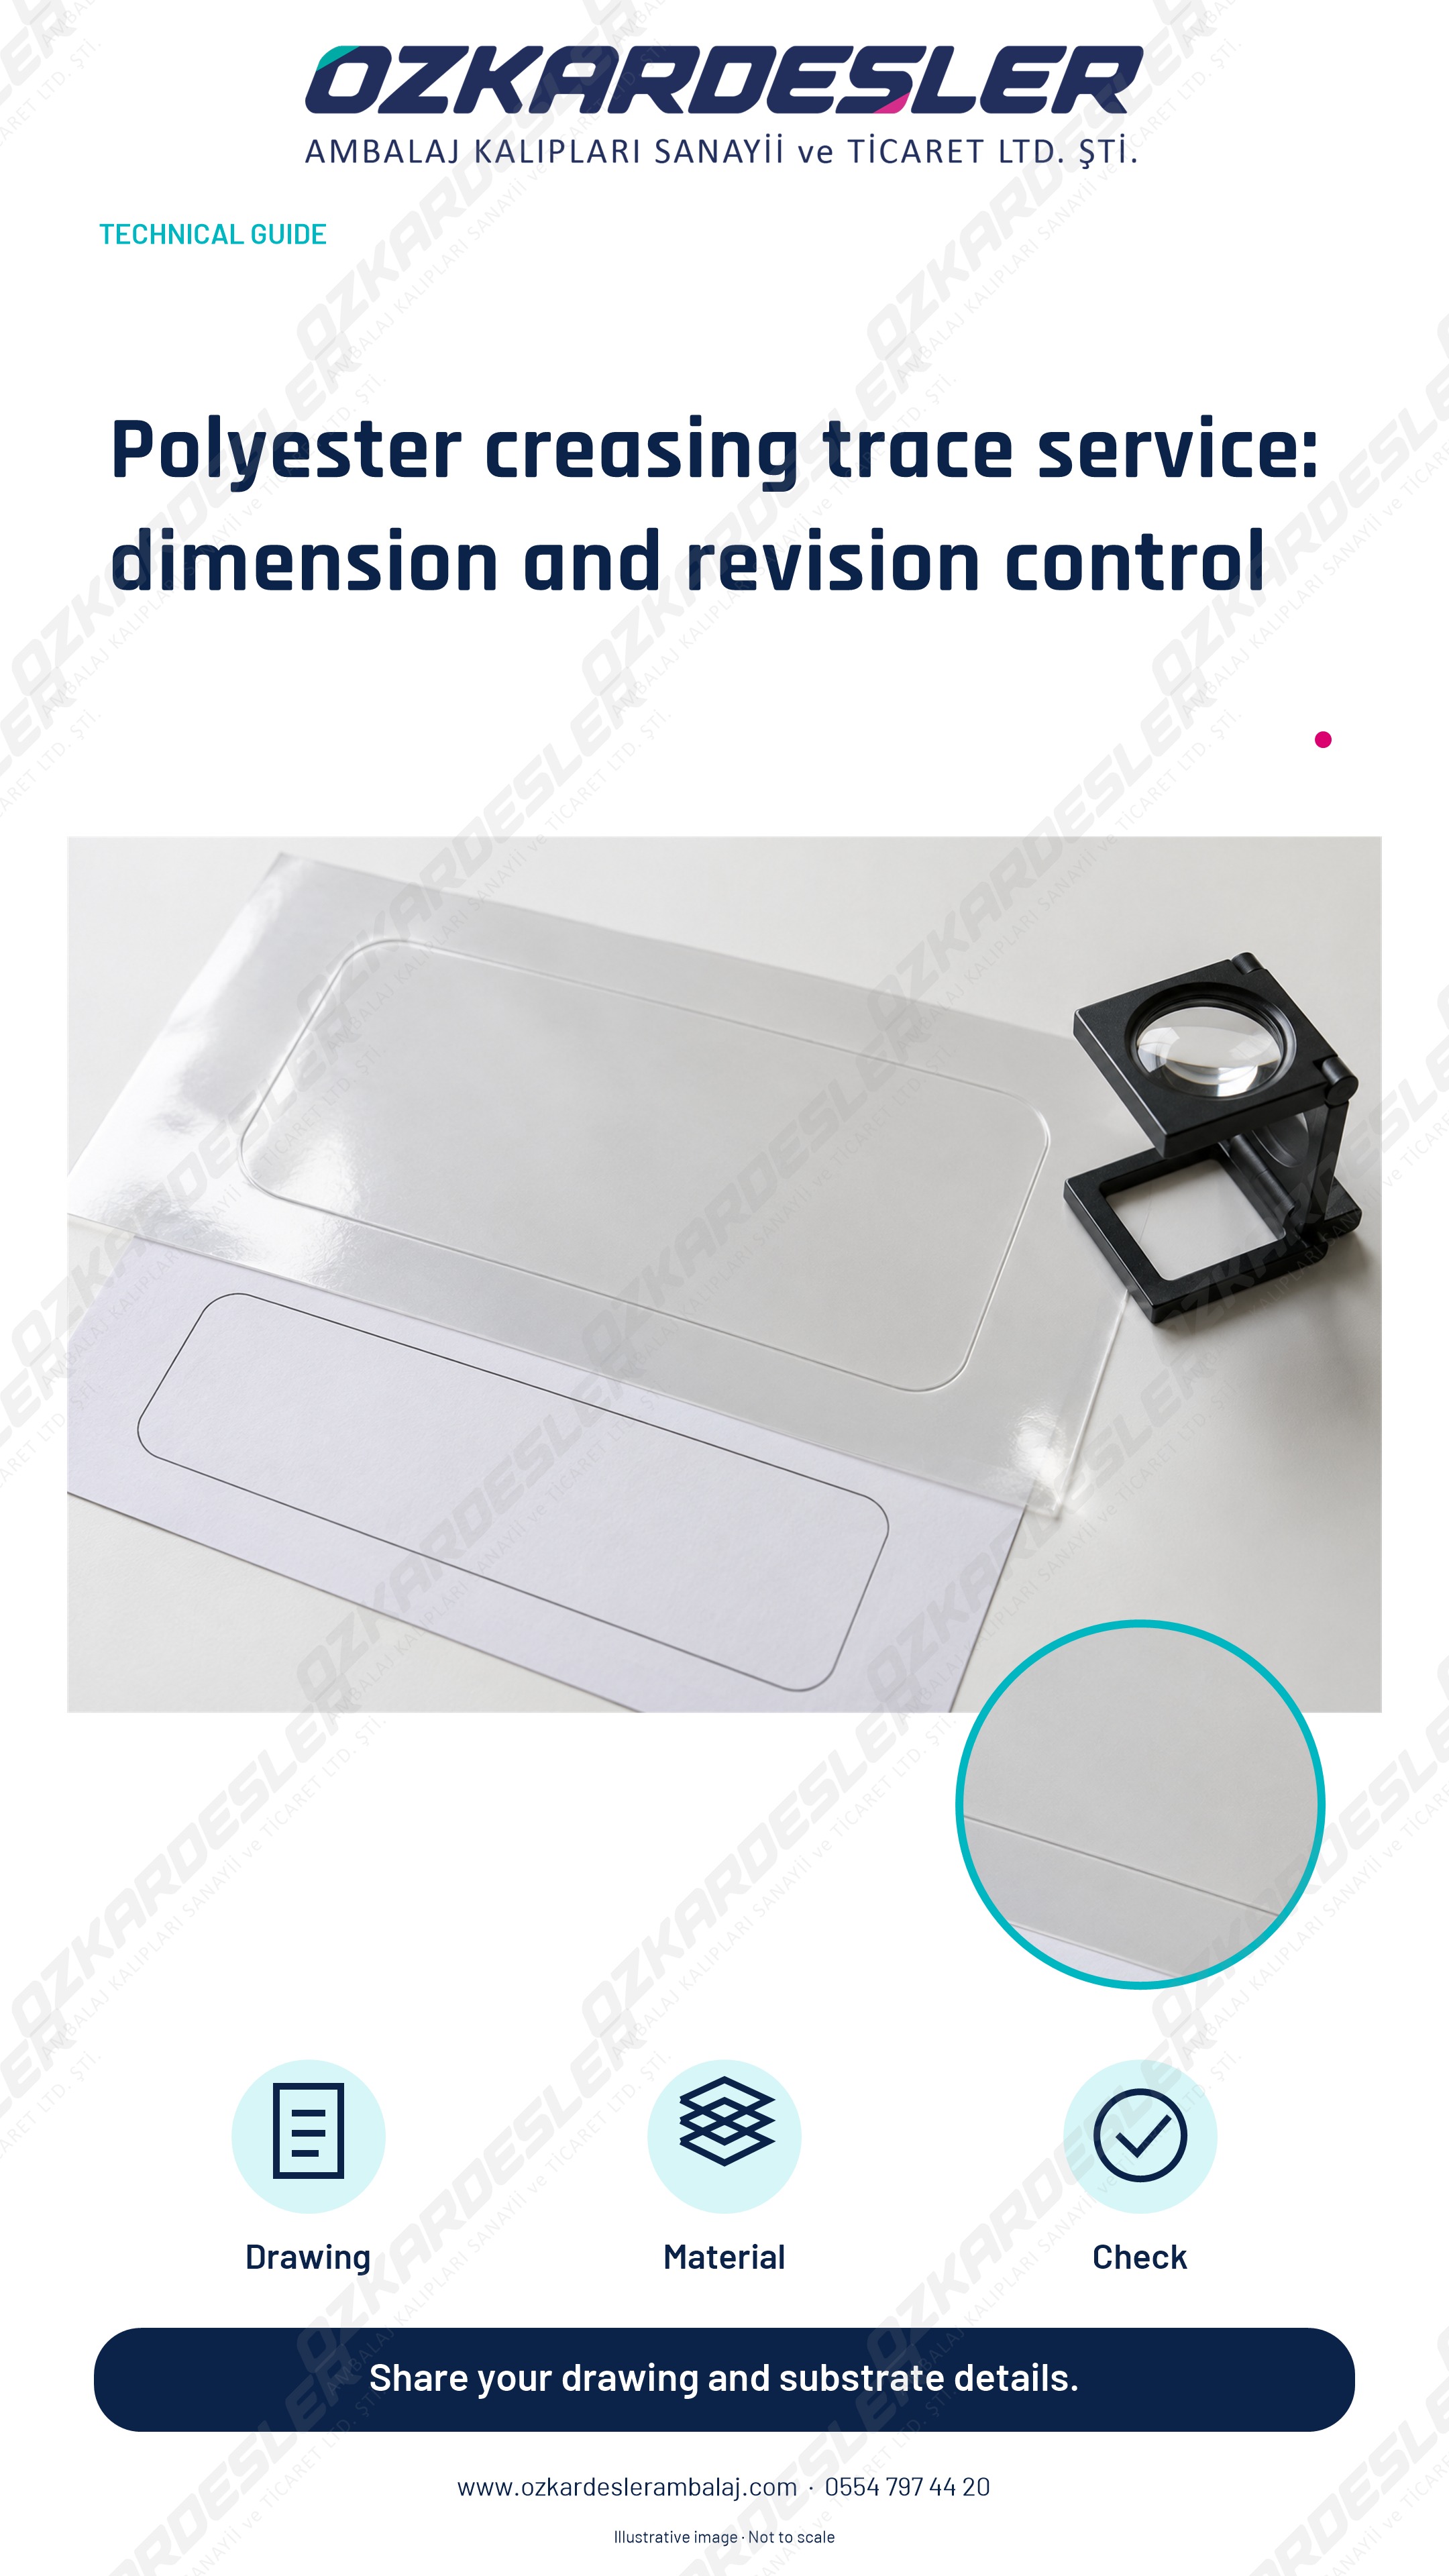
Check 1:1 scale, reference lines, line separation and current revision in polyester cutting marks.
Read the article →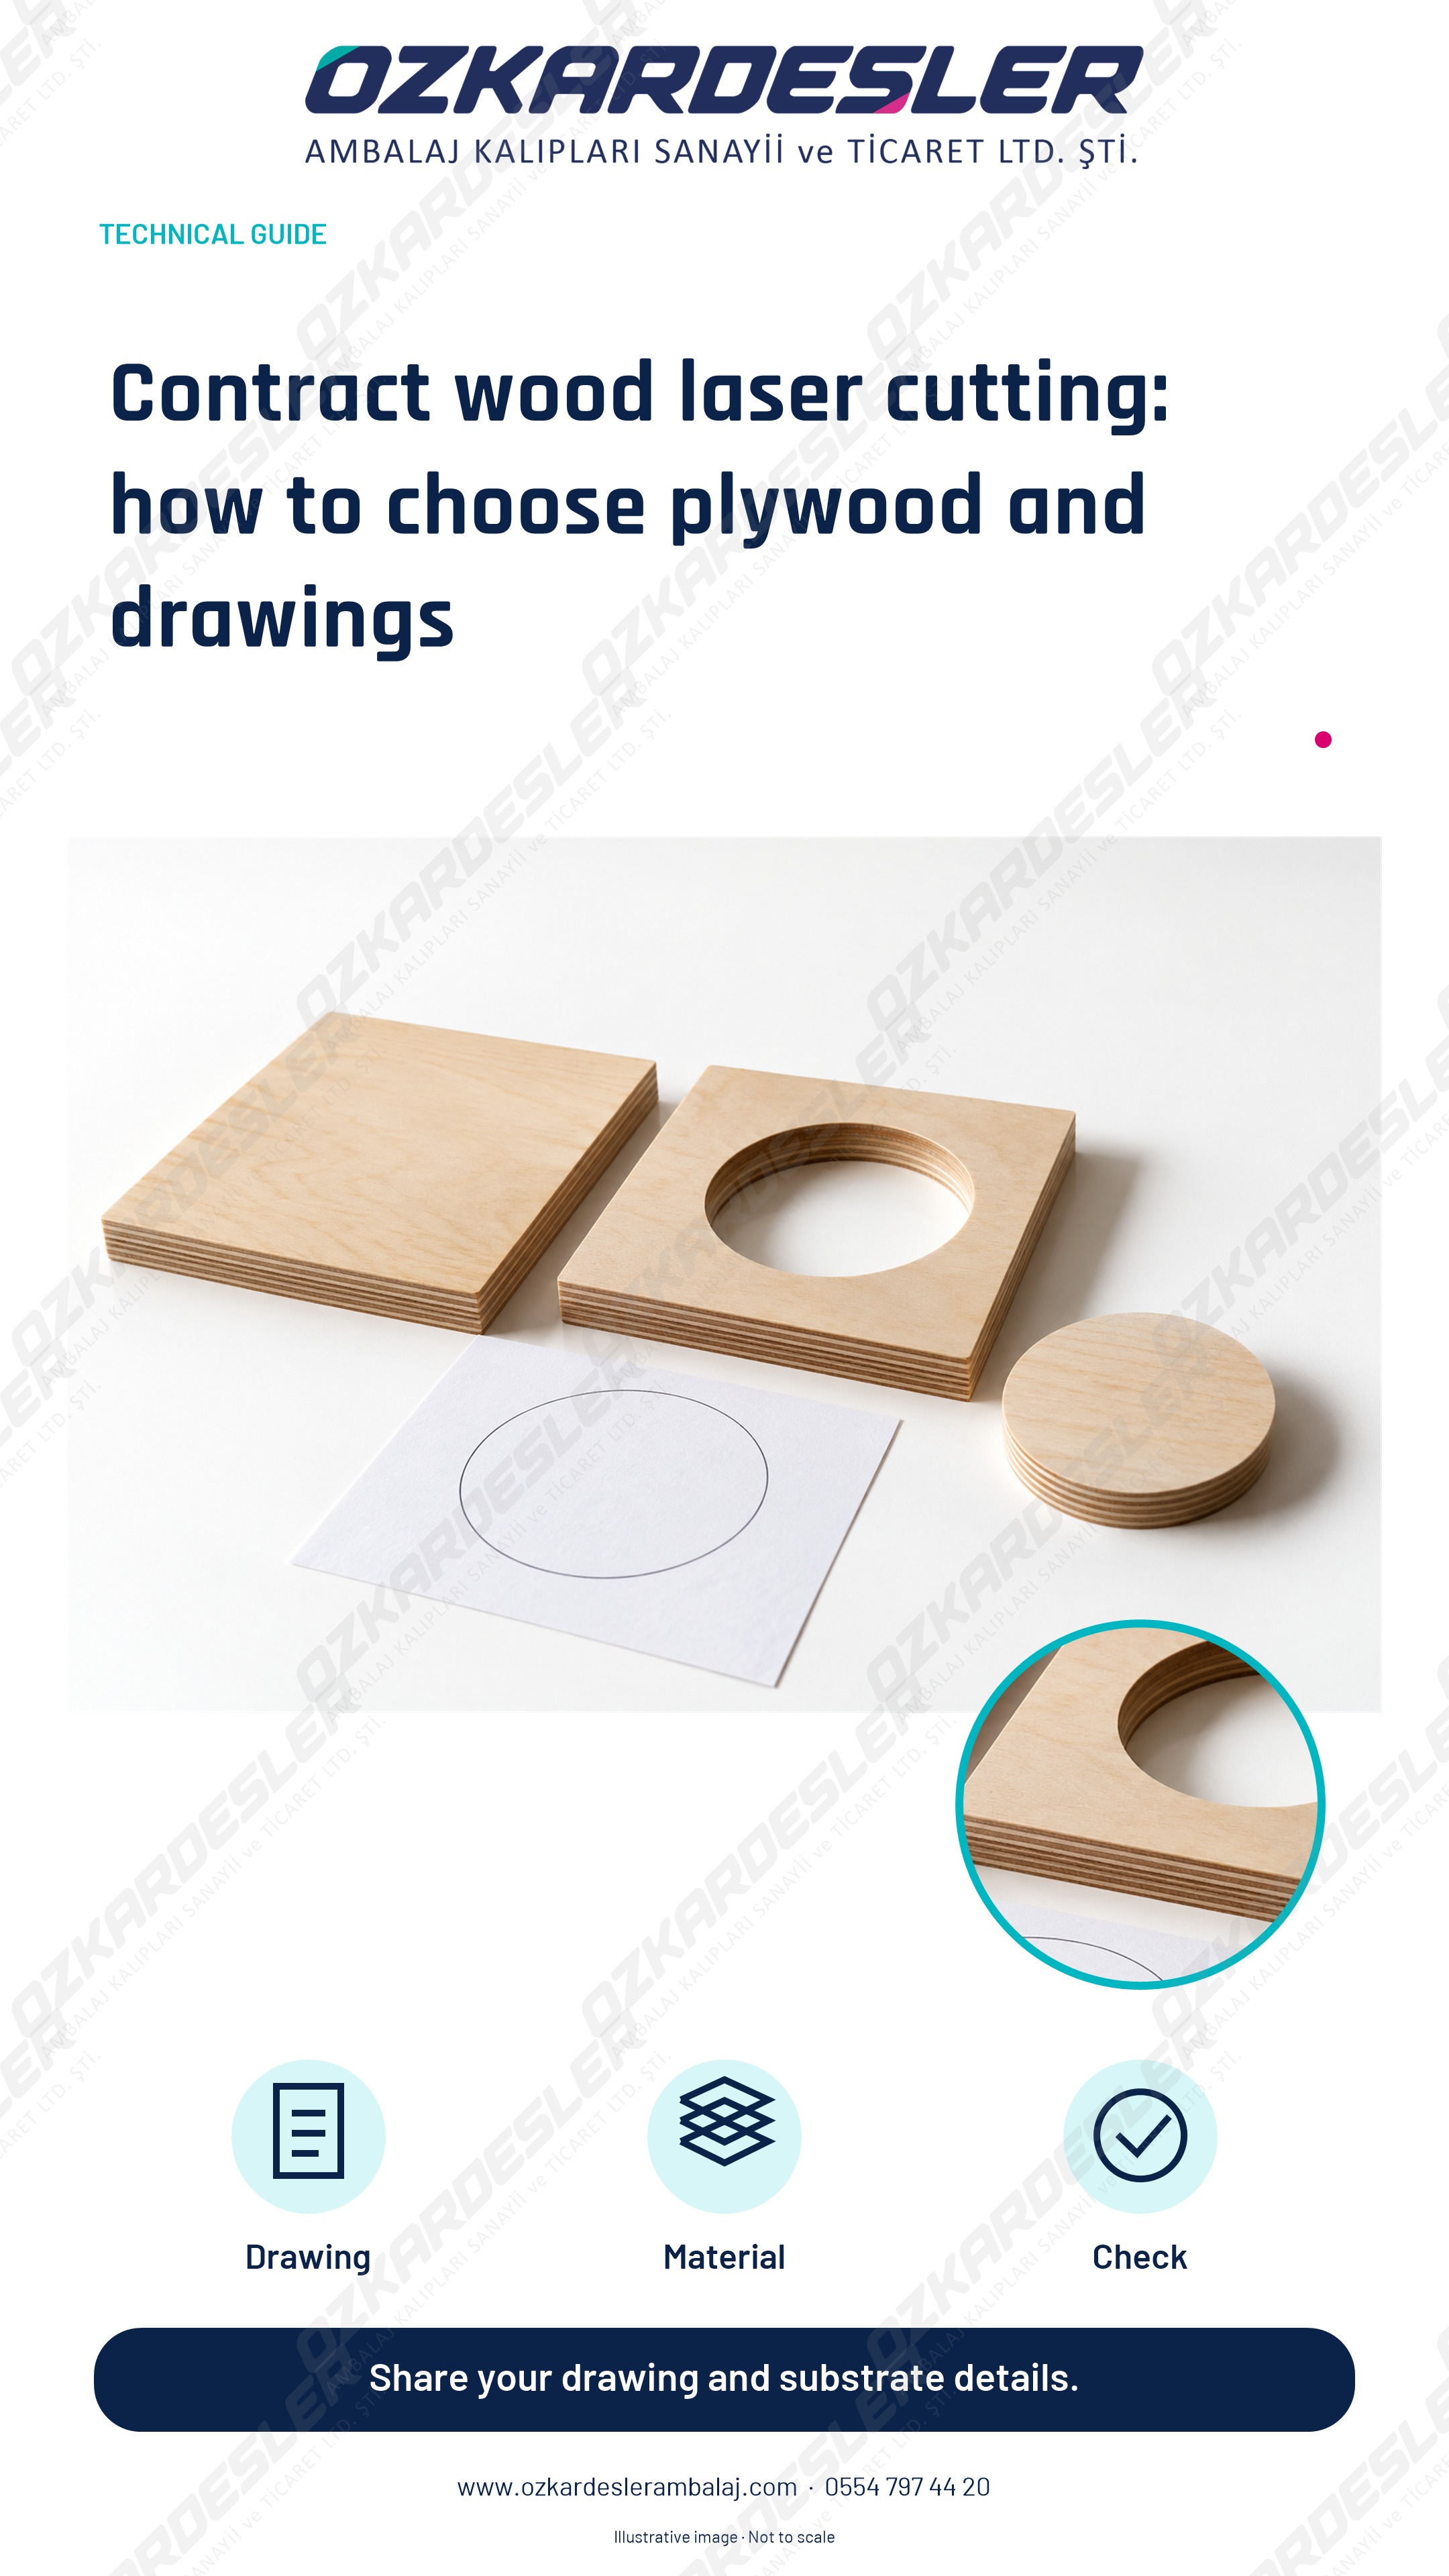
Evaluate plywood structure, glue, thickness and drawing control together in wood laser cutting; separate the die base from the finished product.
Read the article →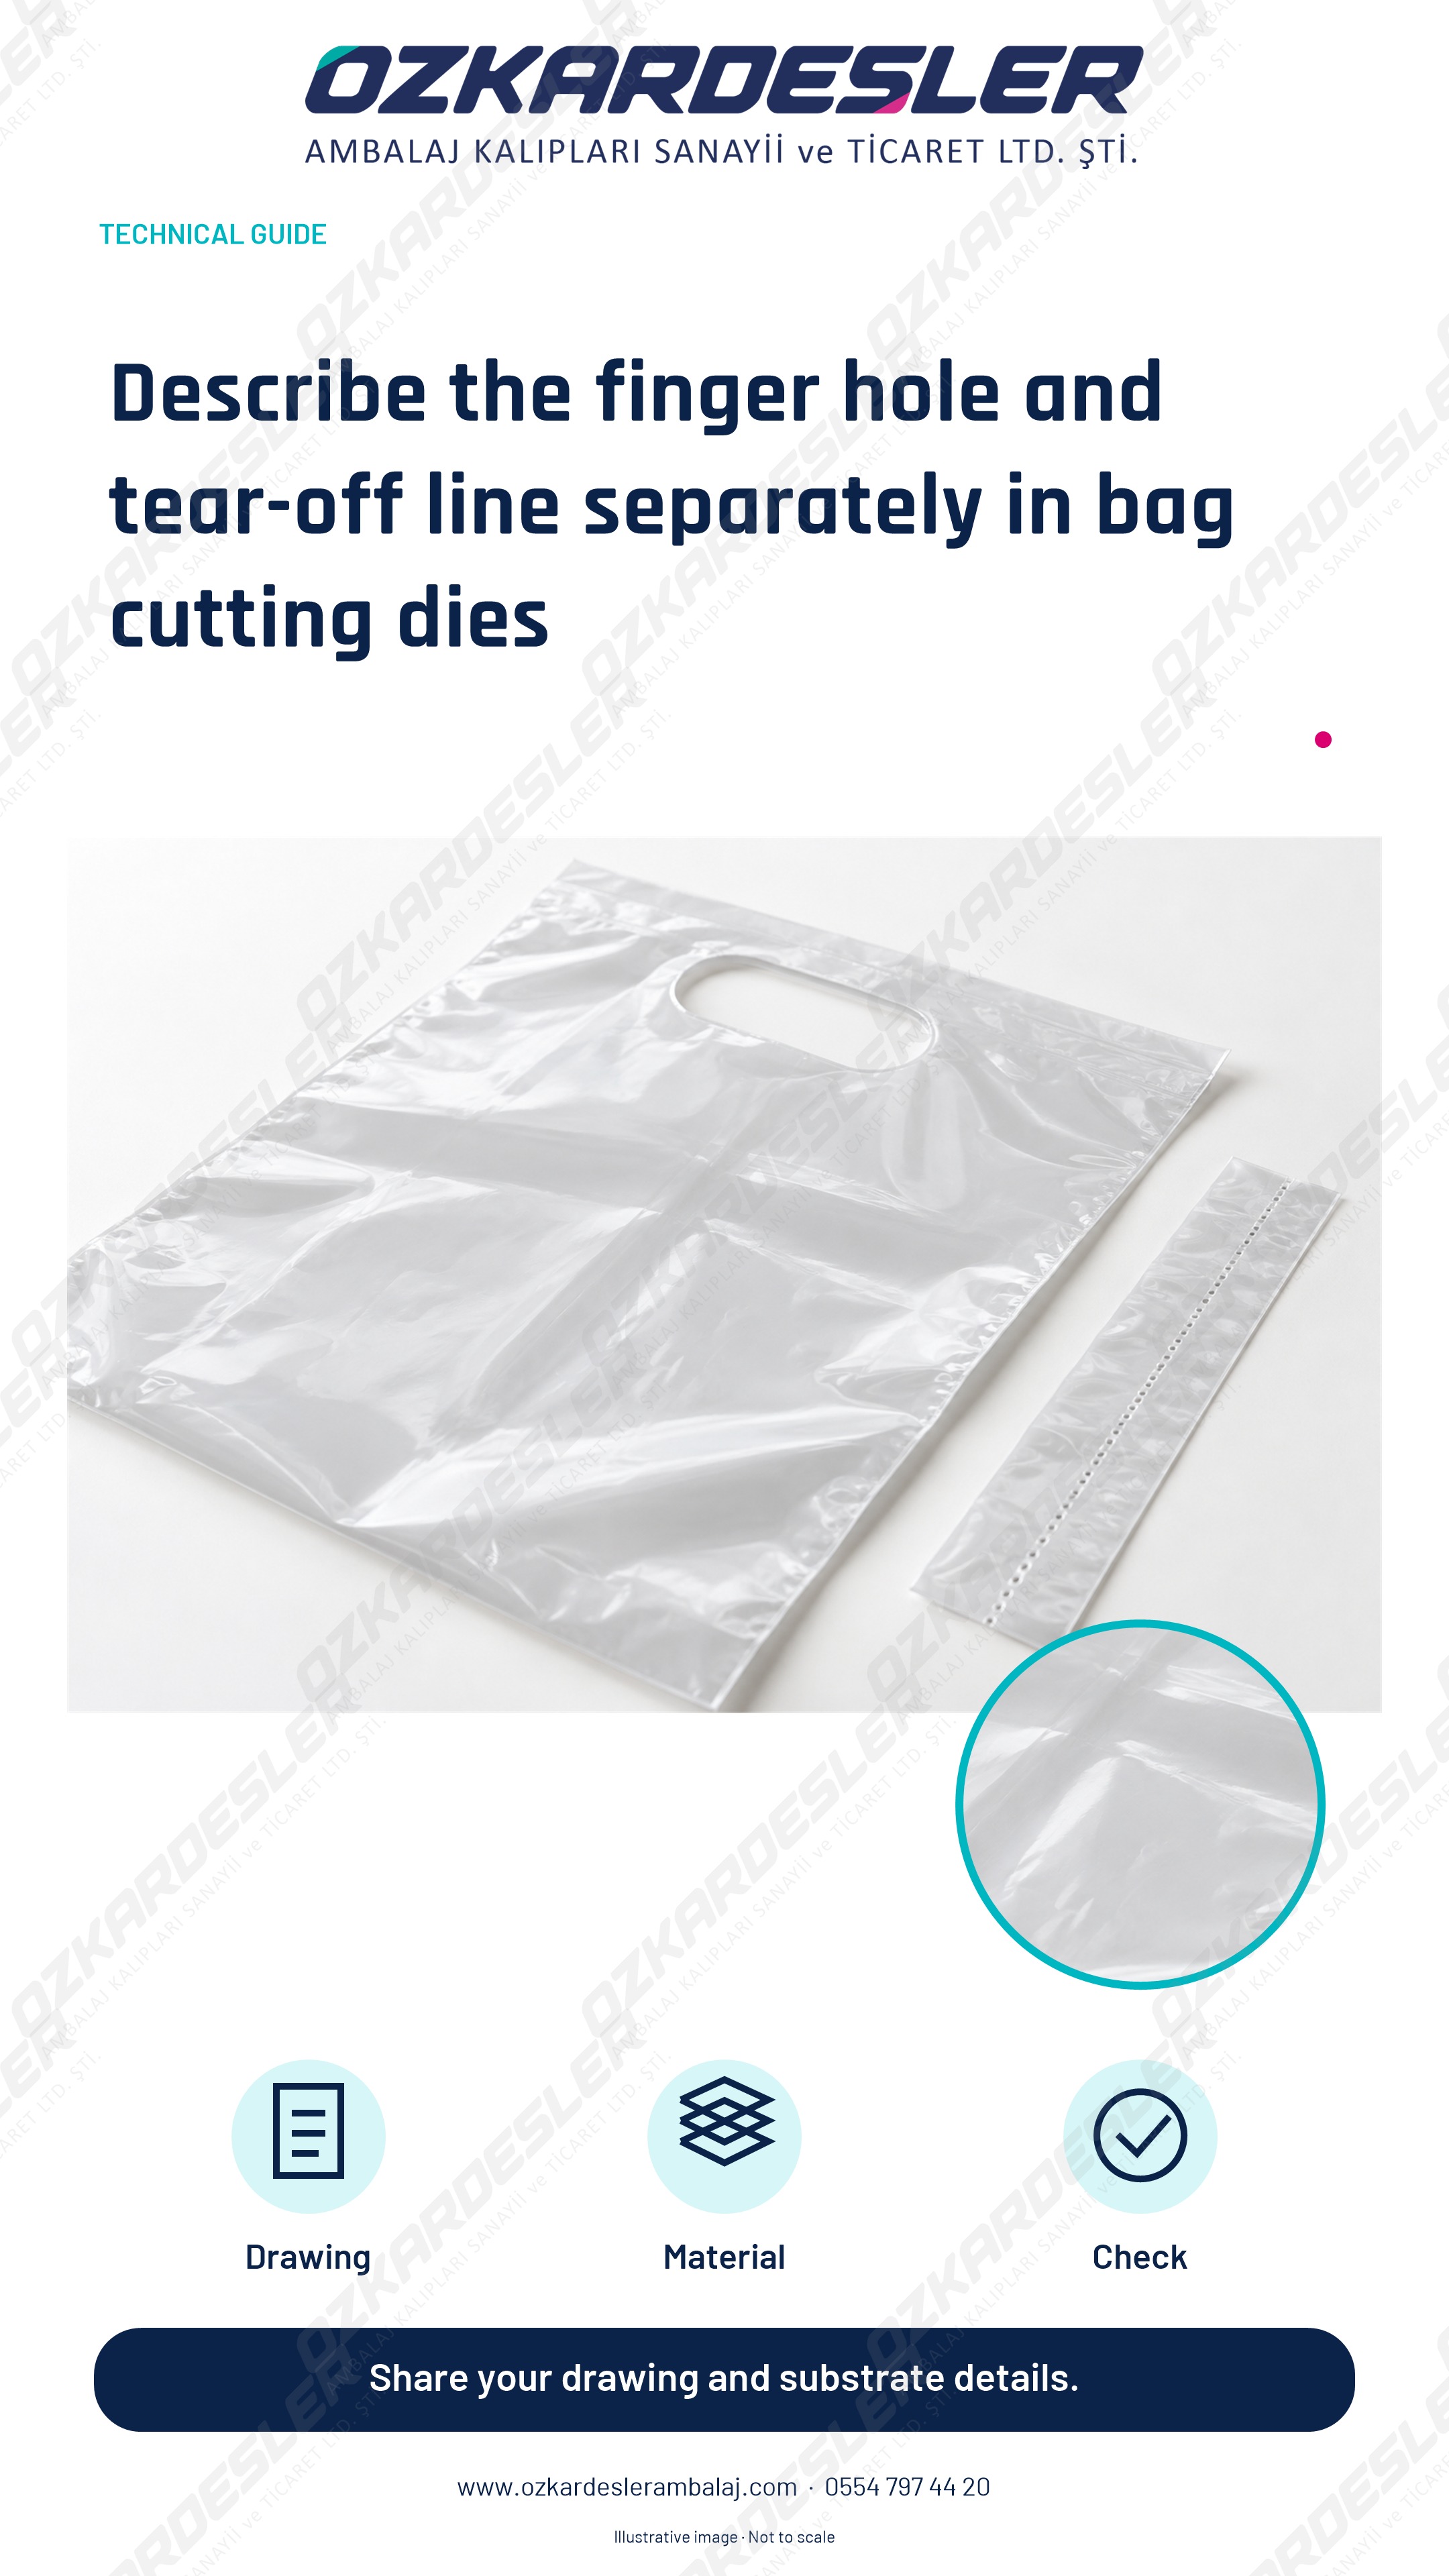
Separate handle cutout, tear-off line, material and machine references in bag die requests. Clarify the quote scope with samples and drawings.
Read the article →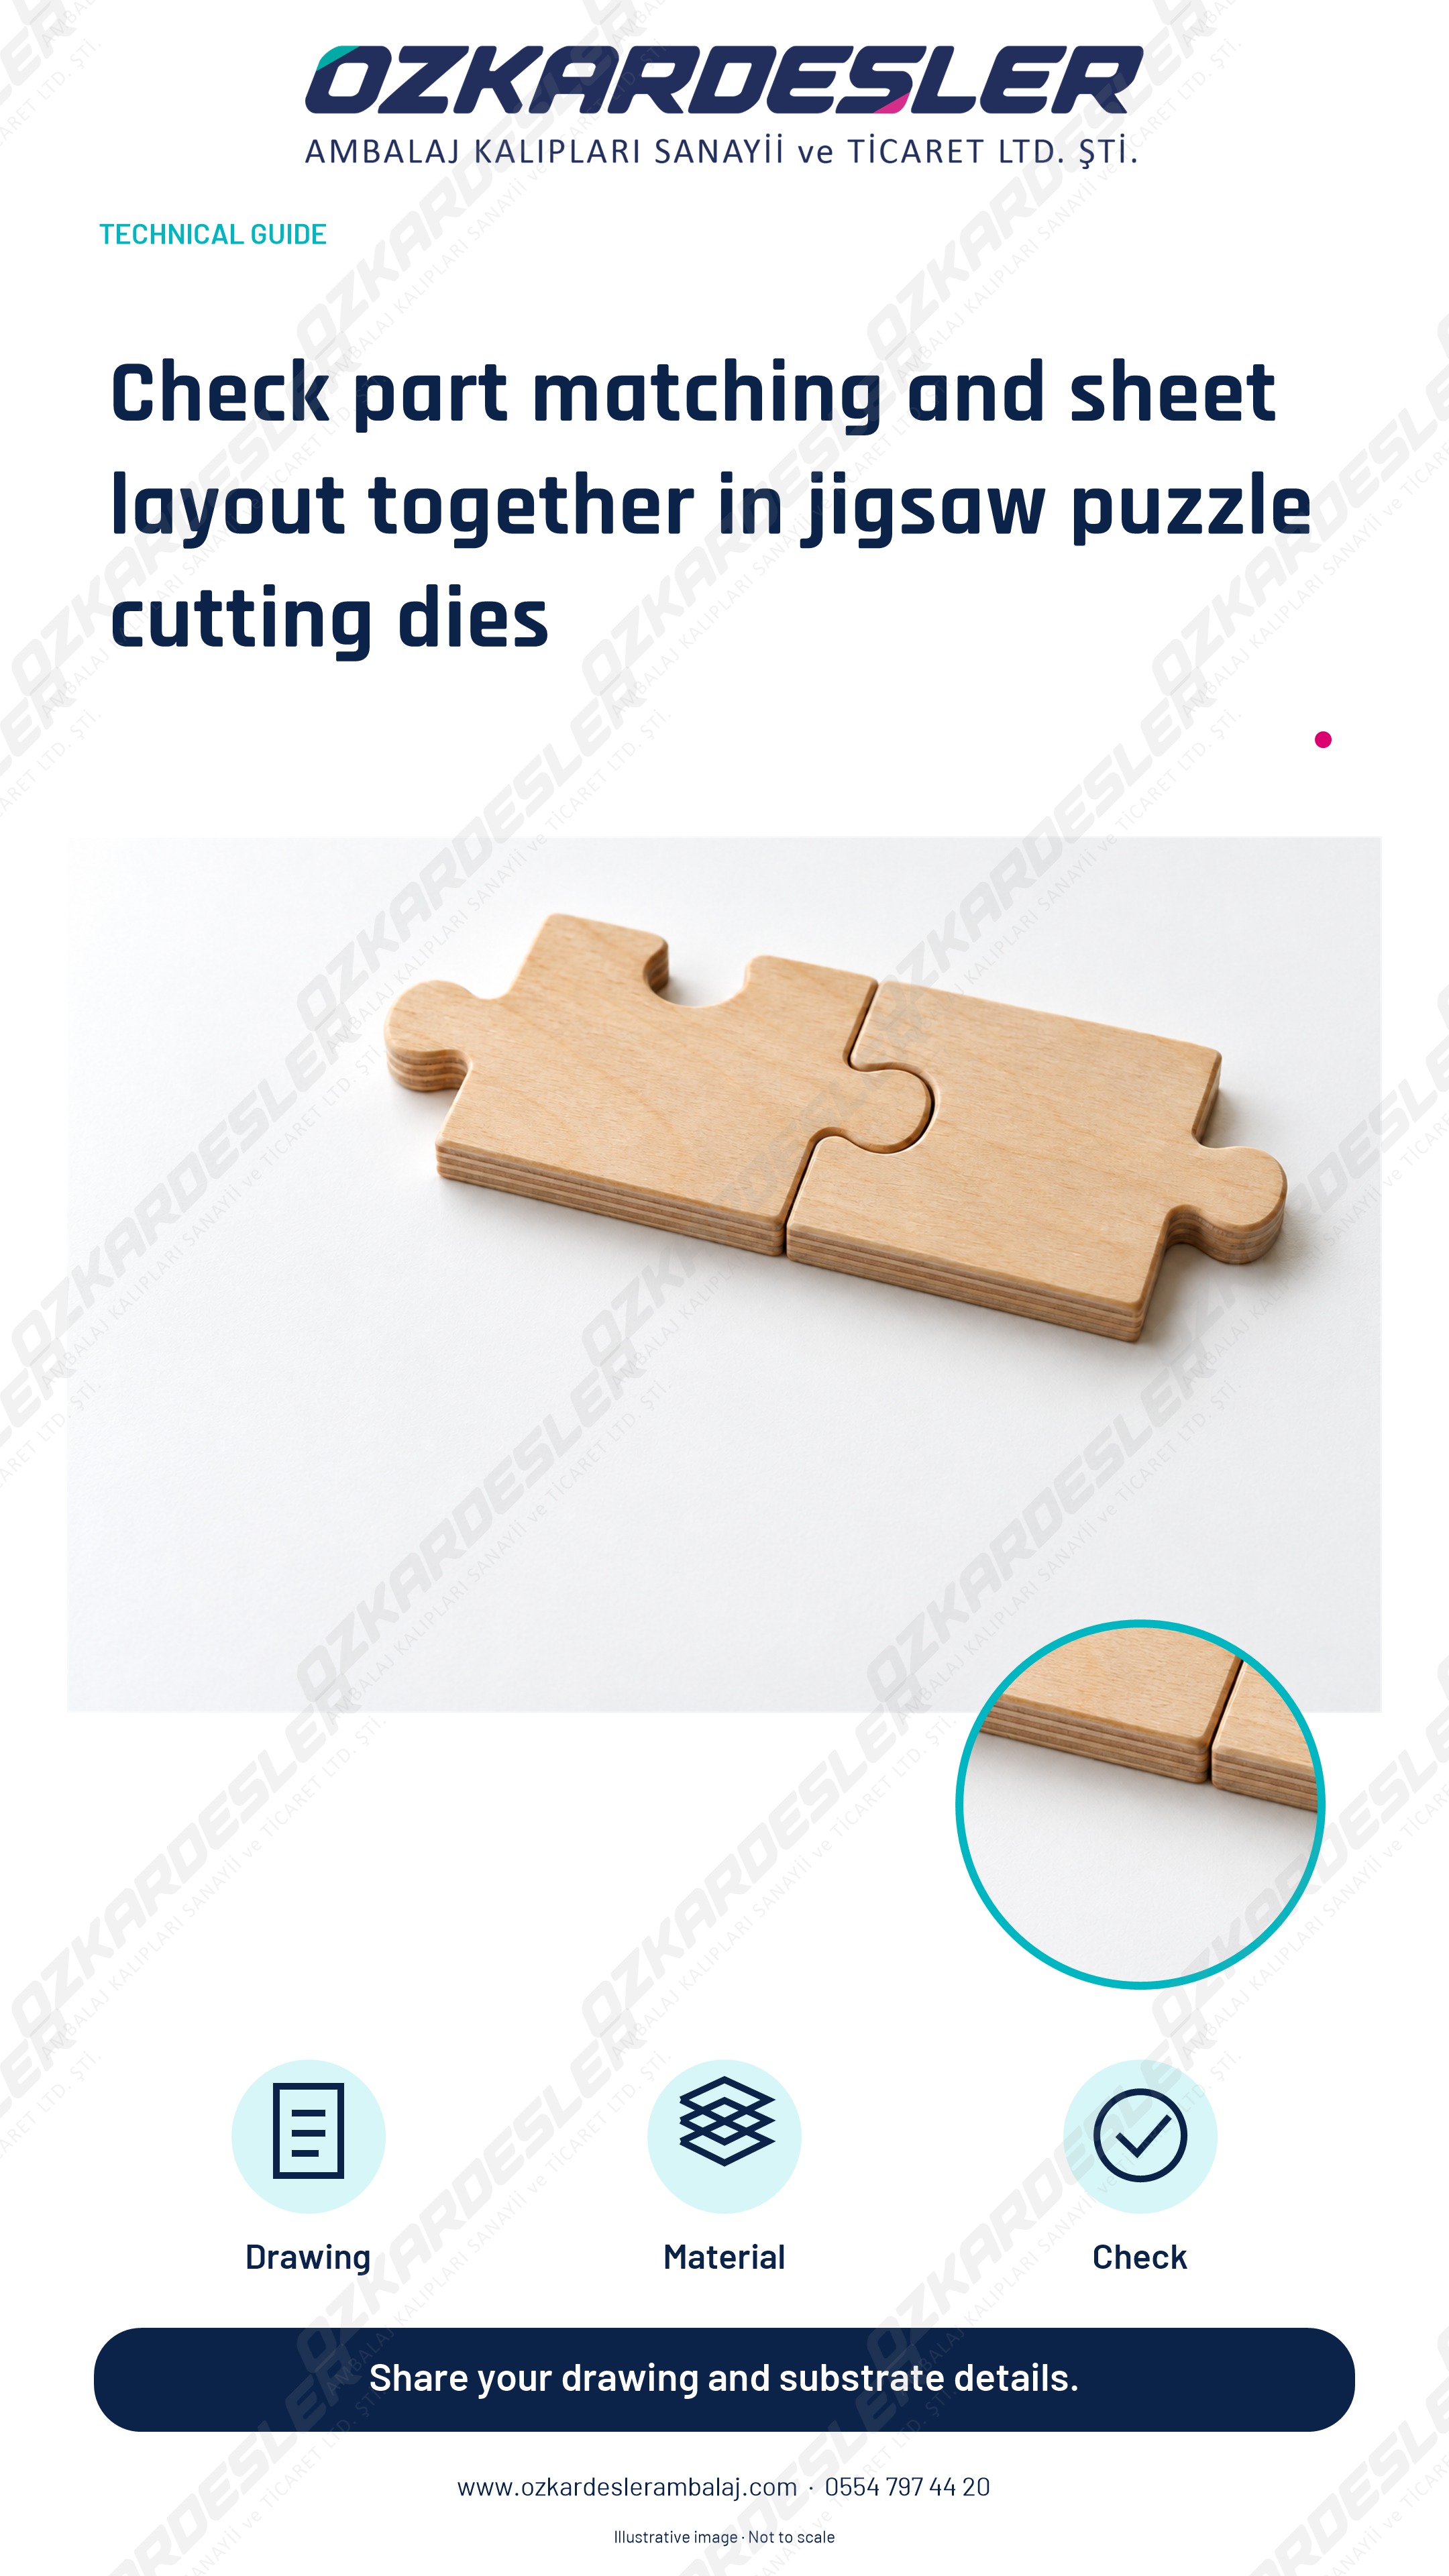
Evaluate part boundaries, outer contour, print alignment and material samples together in puzzle dies. Prepare quotes with approved layouts.
Read the article →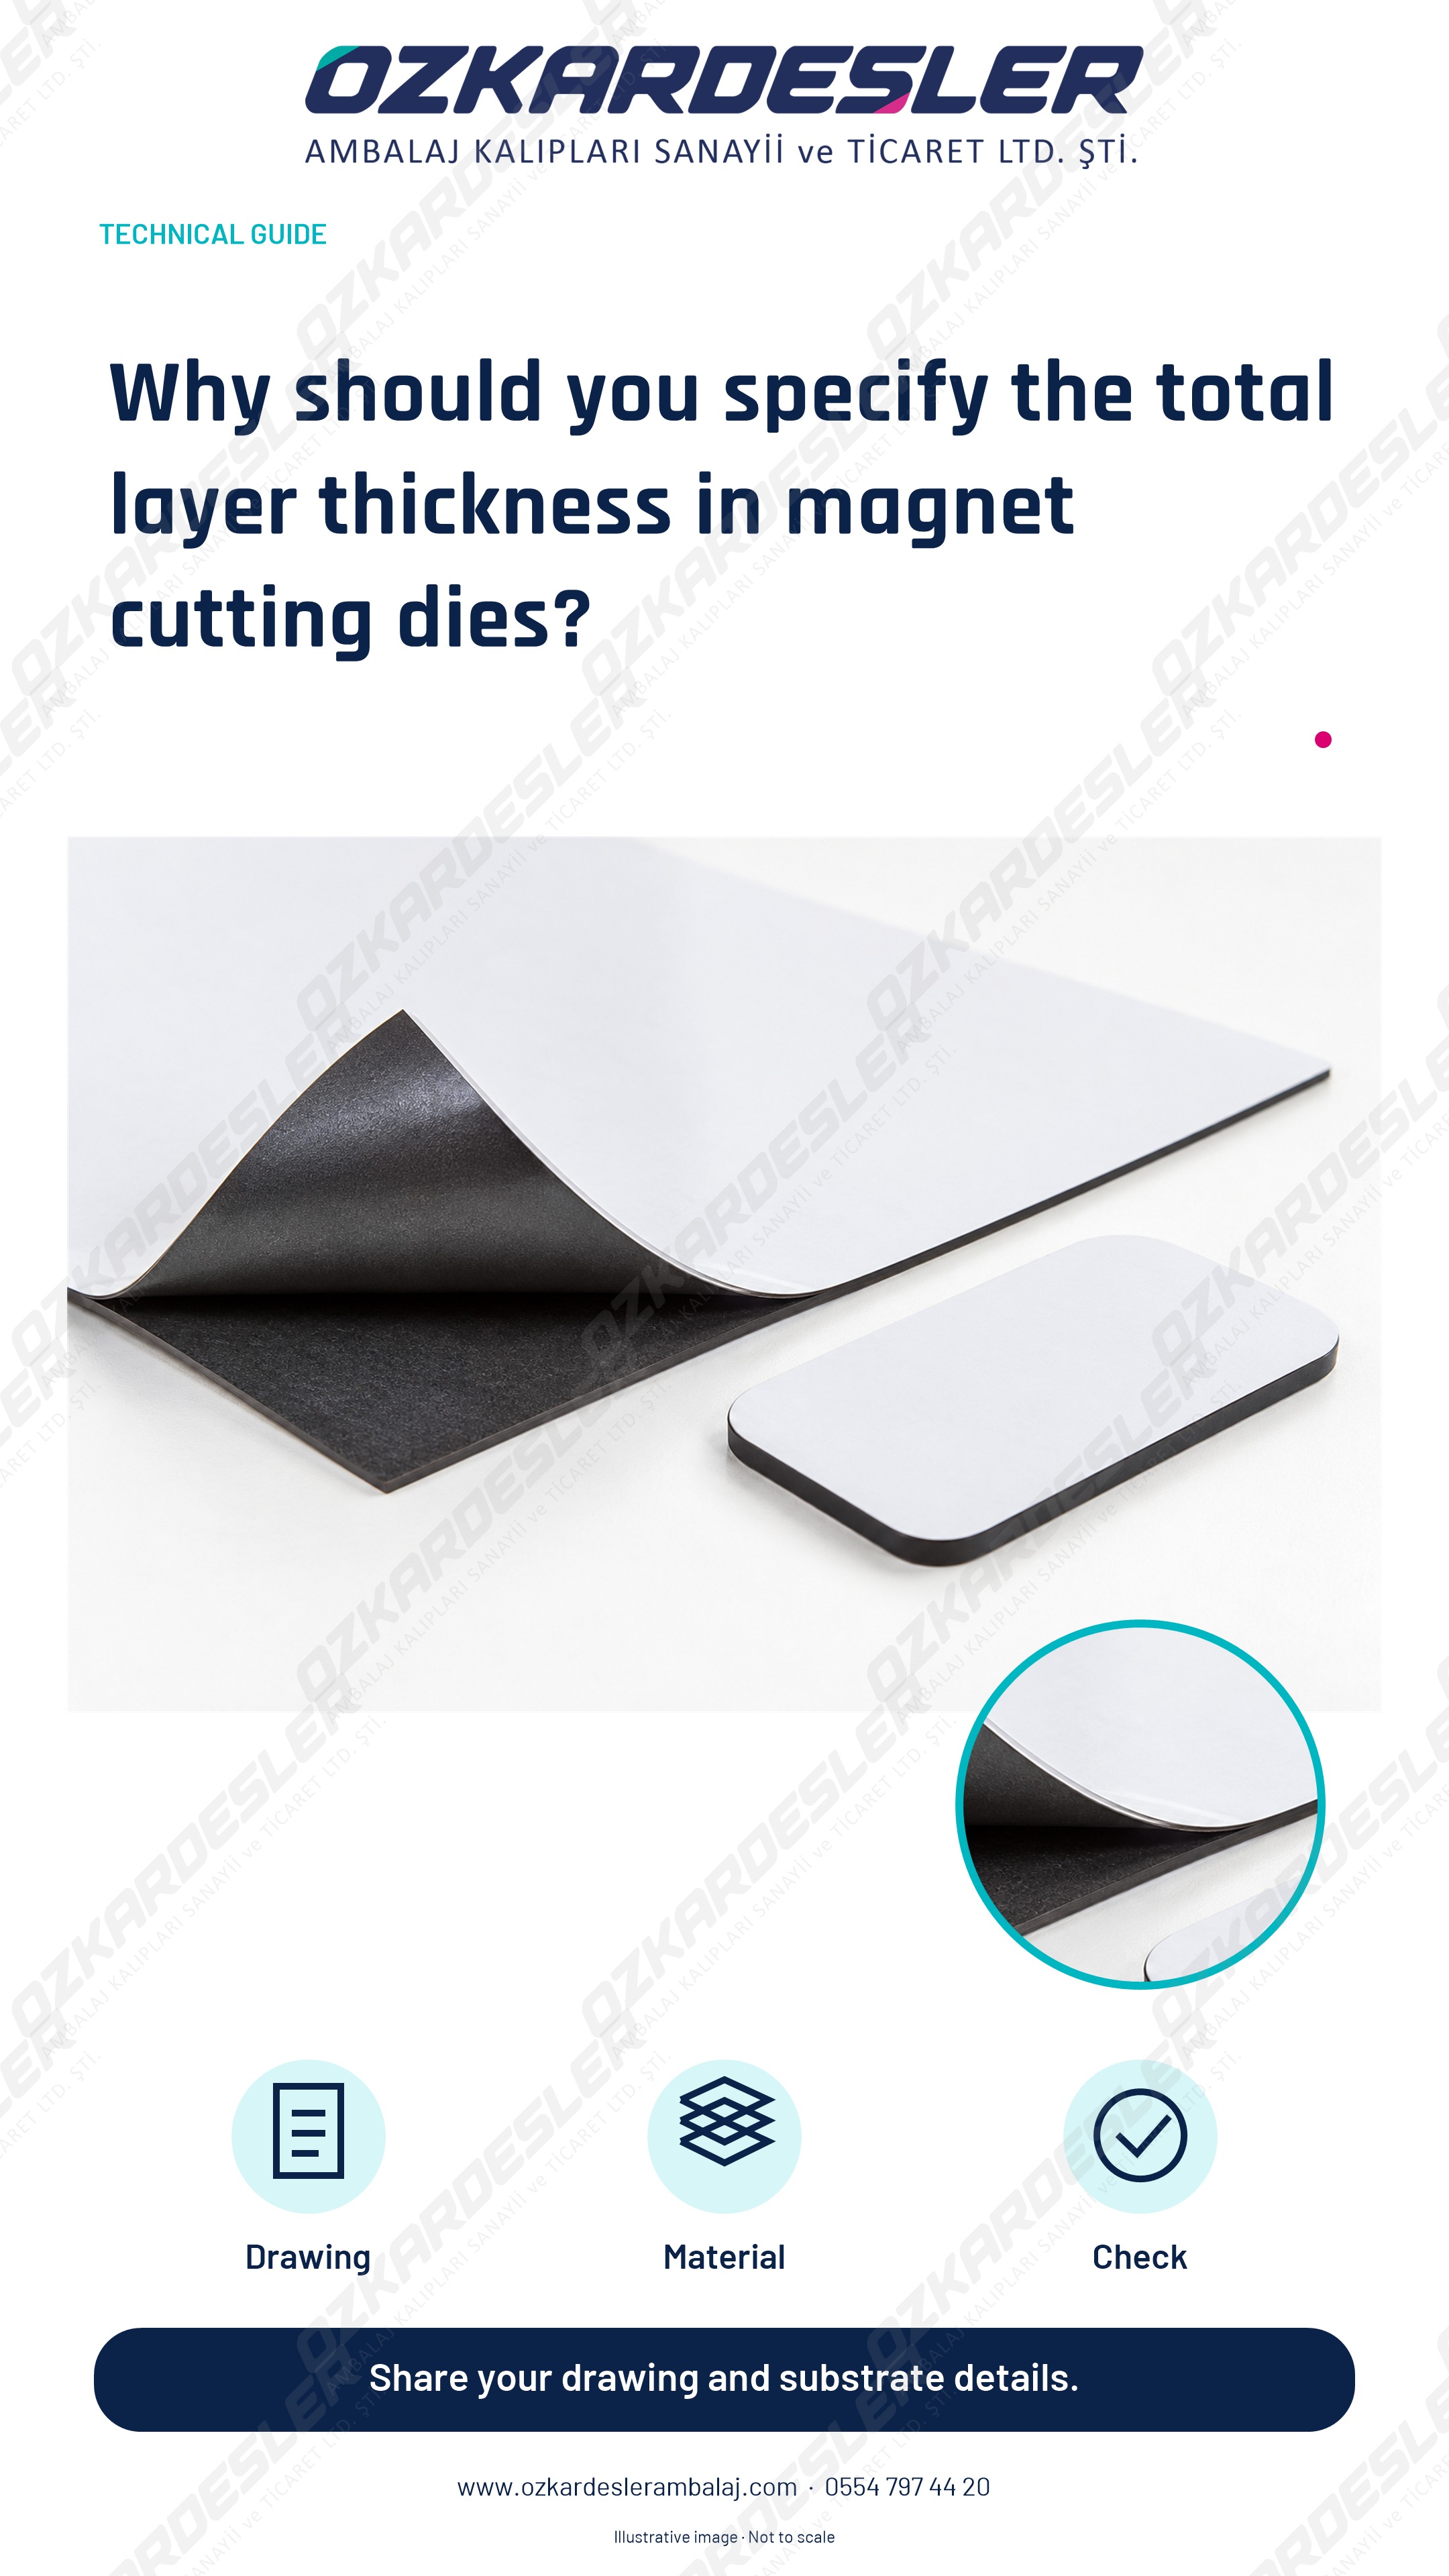
Specify magnetic sheets, printing, adhesive and coating layers separately in magnet cutting. Prepare die requests with contours and samples.
Read the article →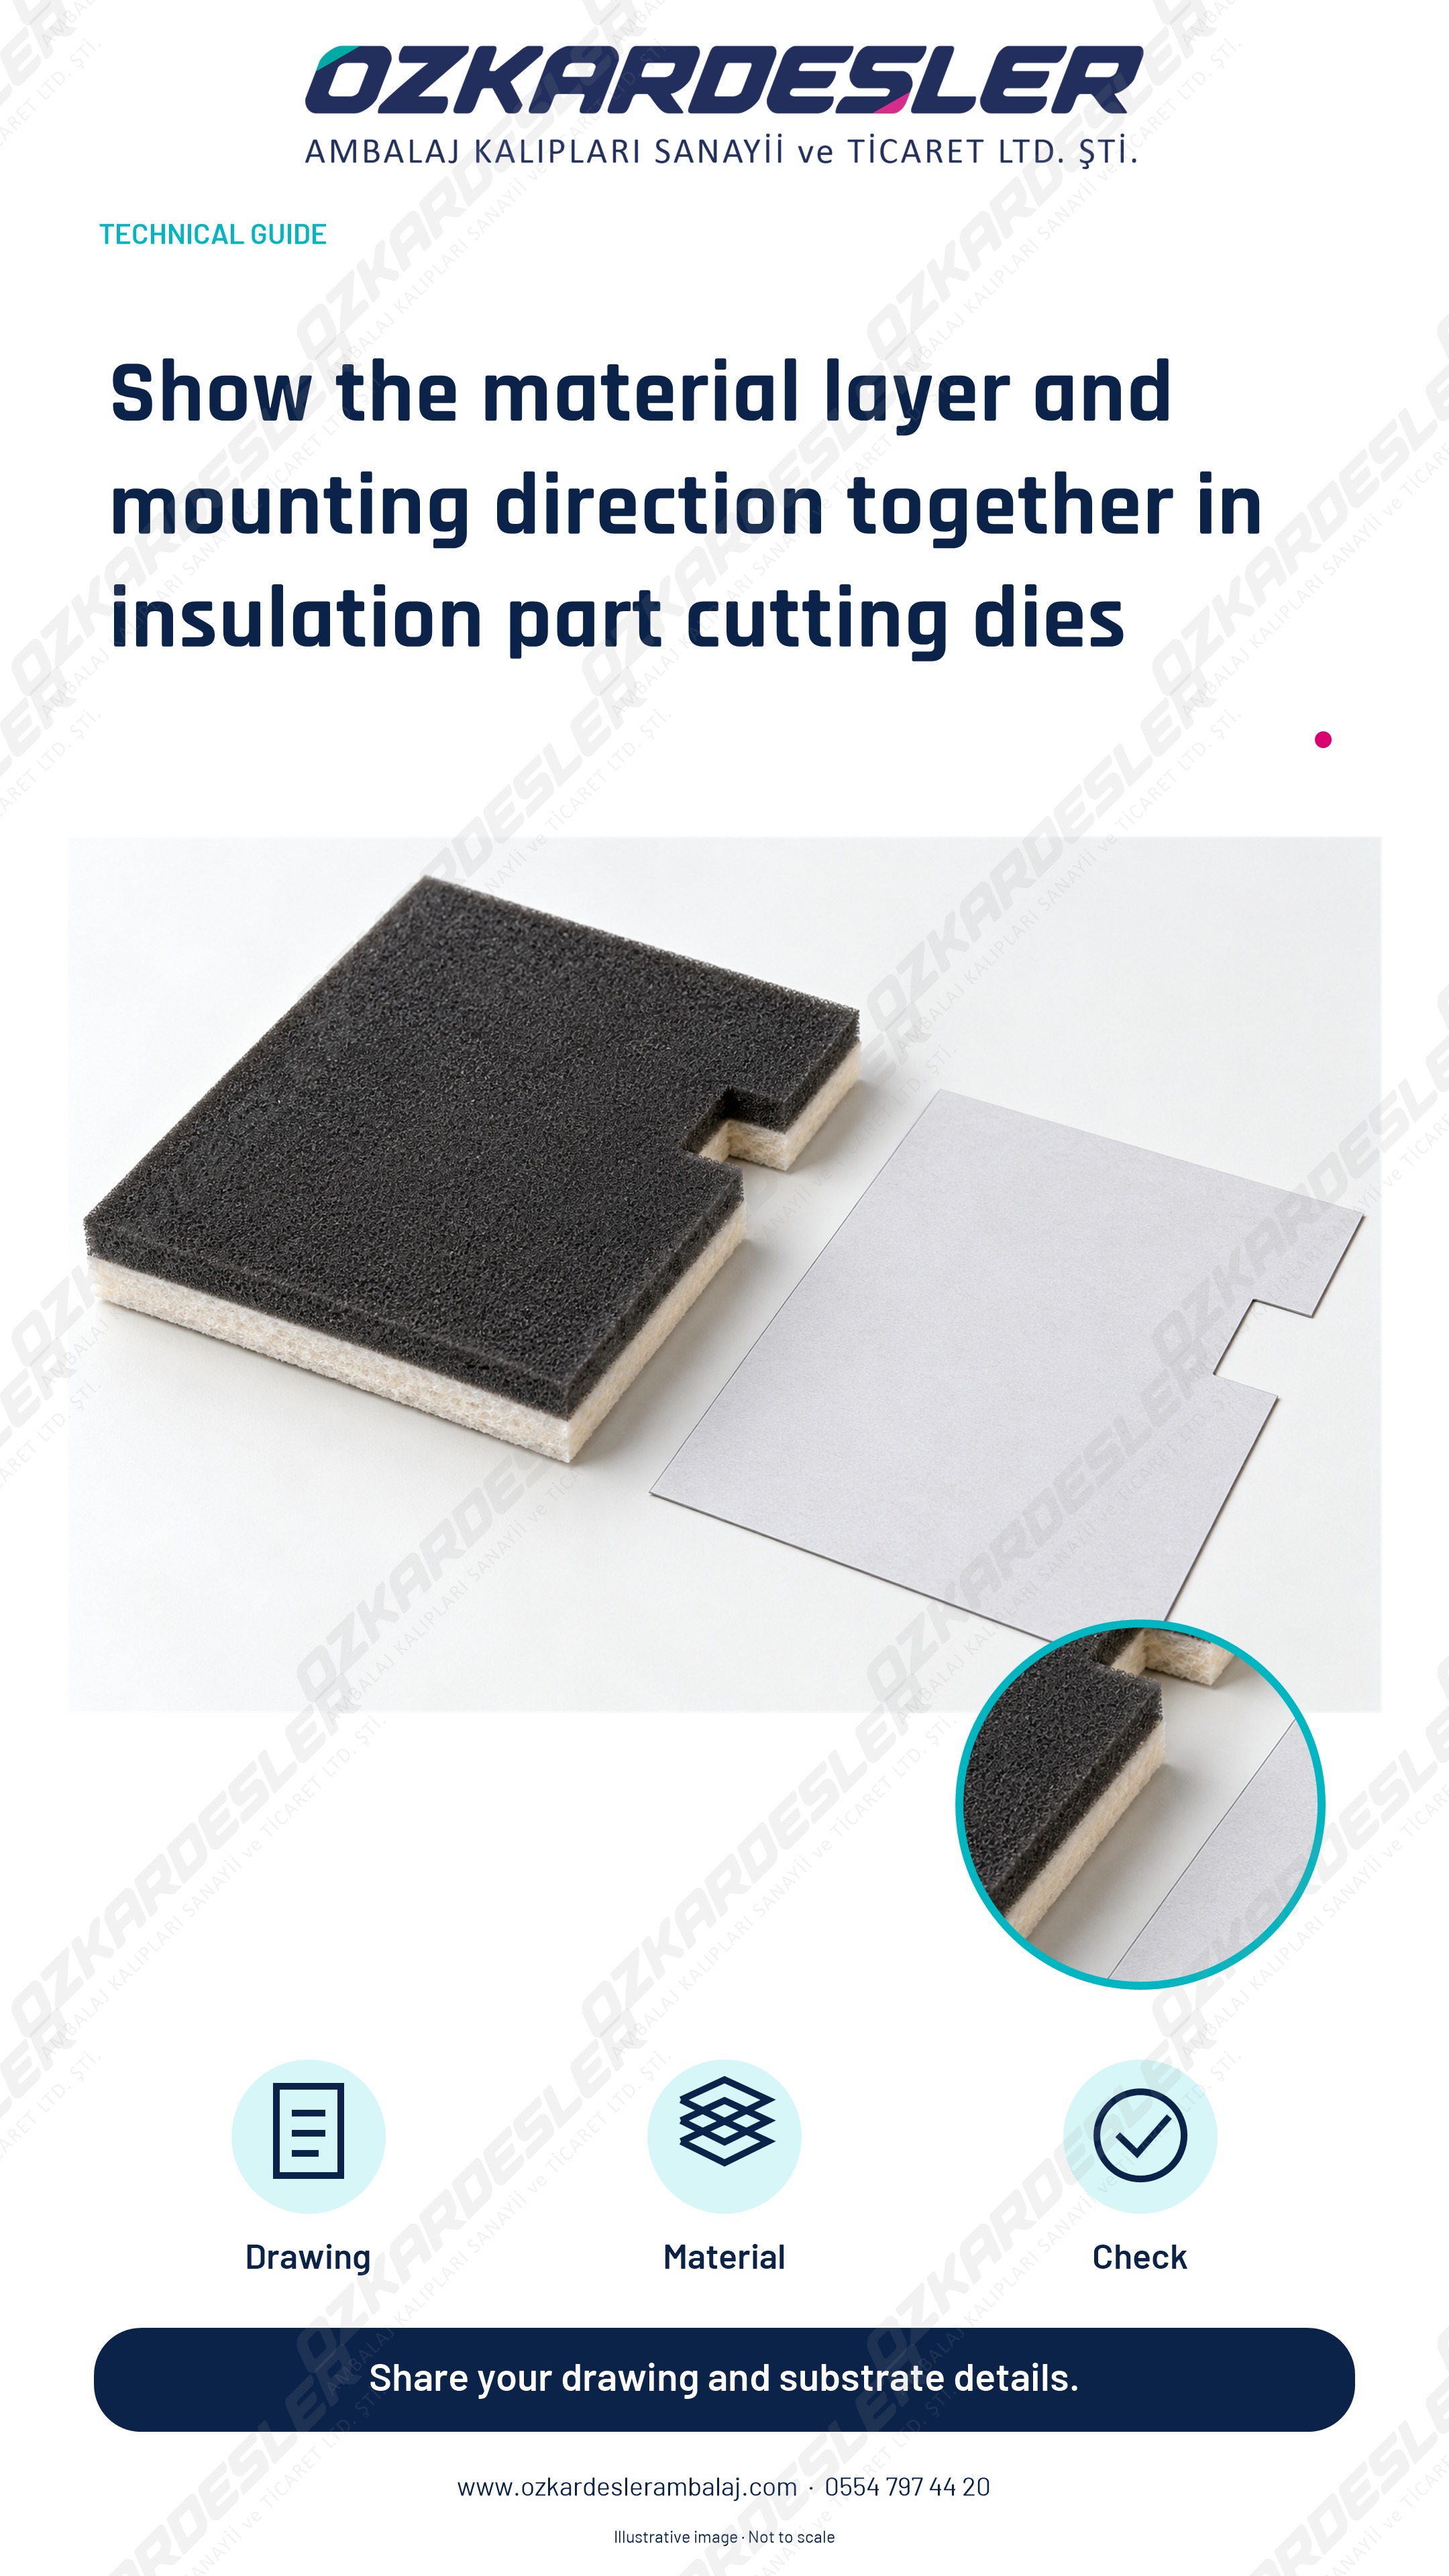
Define the layer structure, adhesive side, holes and mounting direction in insulation parts. Complete die requests with technical drawings and samples.
Read the article →
Clarify the alloy, thickness, edge expectations, holes and press information in metal cutting dies. Determine the quote scope with dimensional drawings.
Read the article →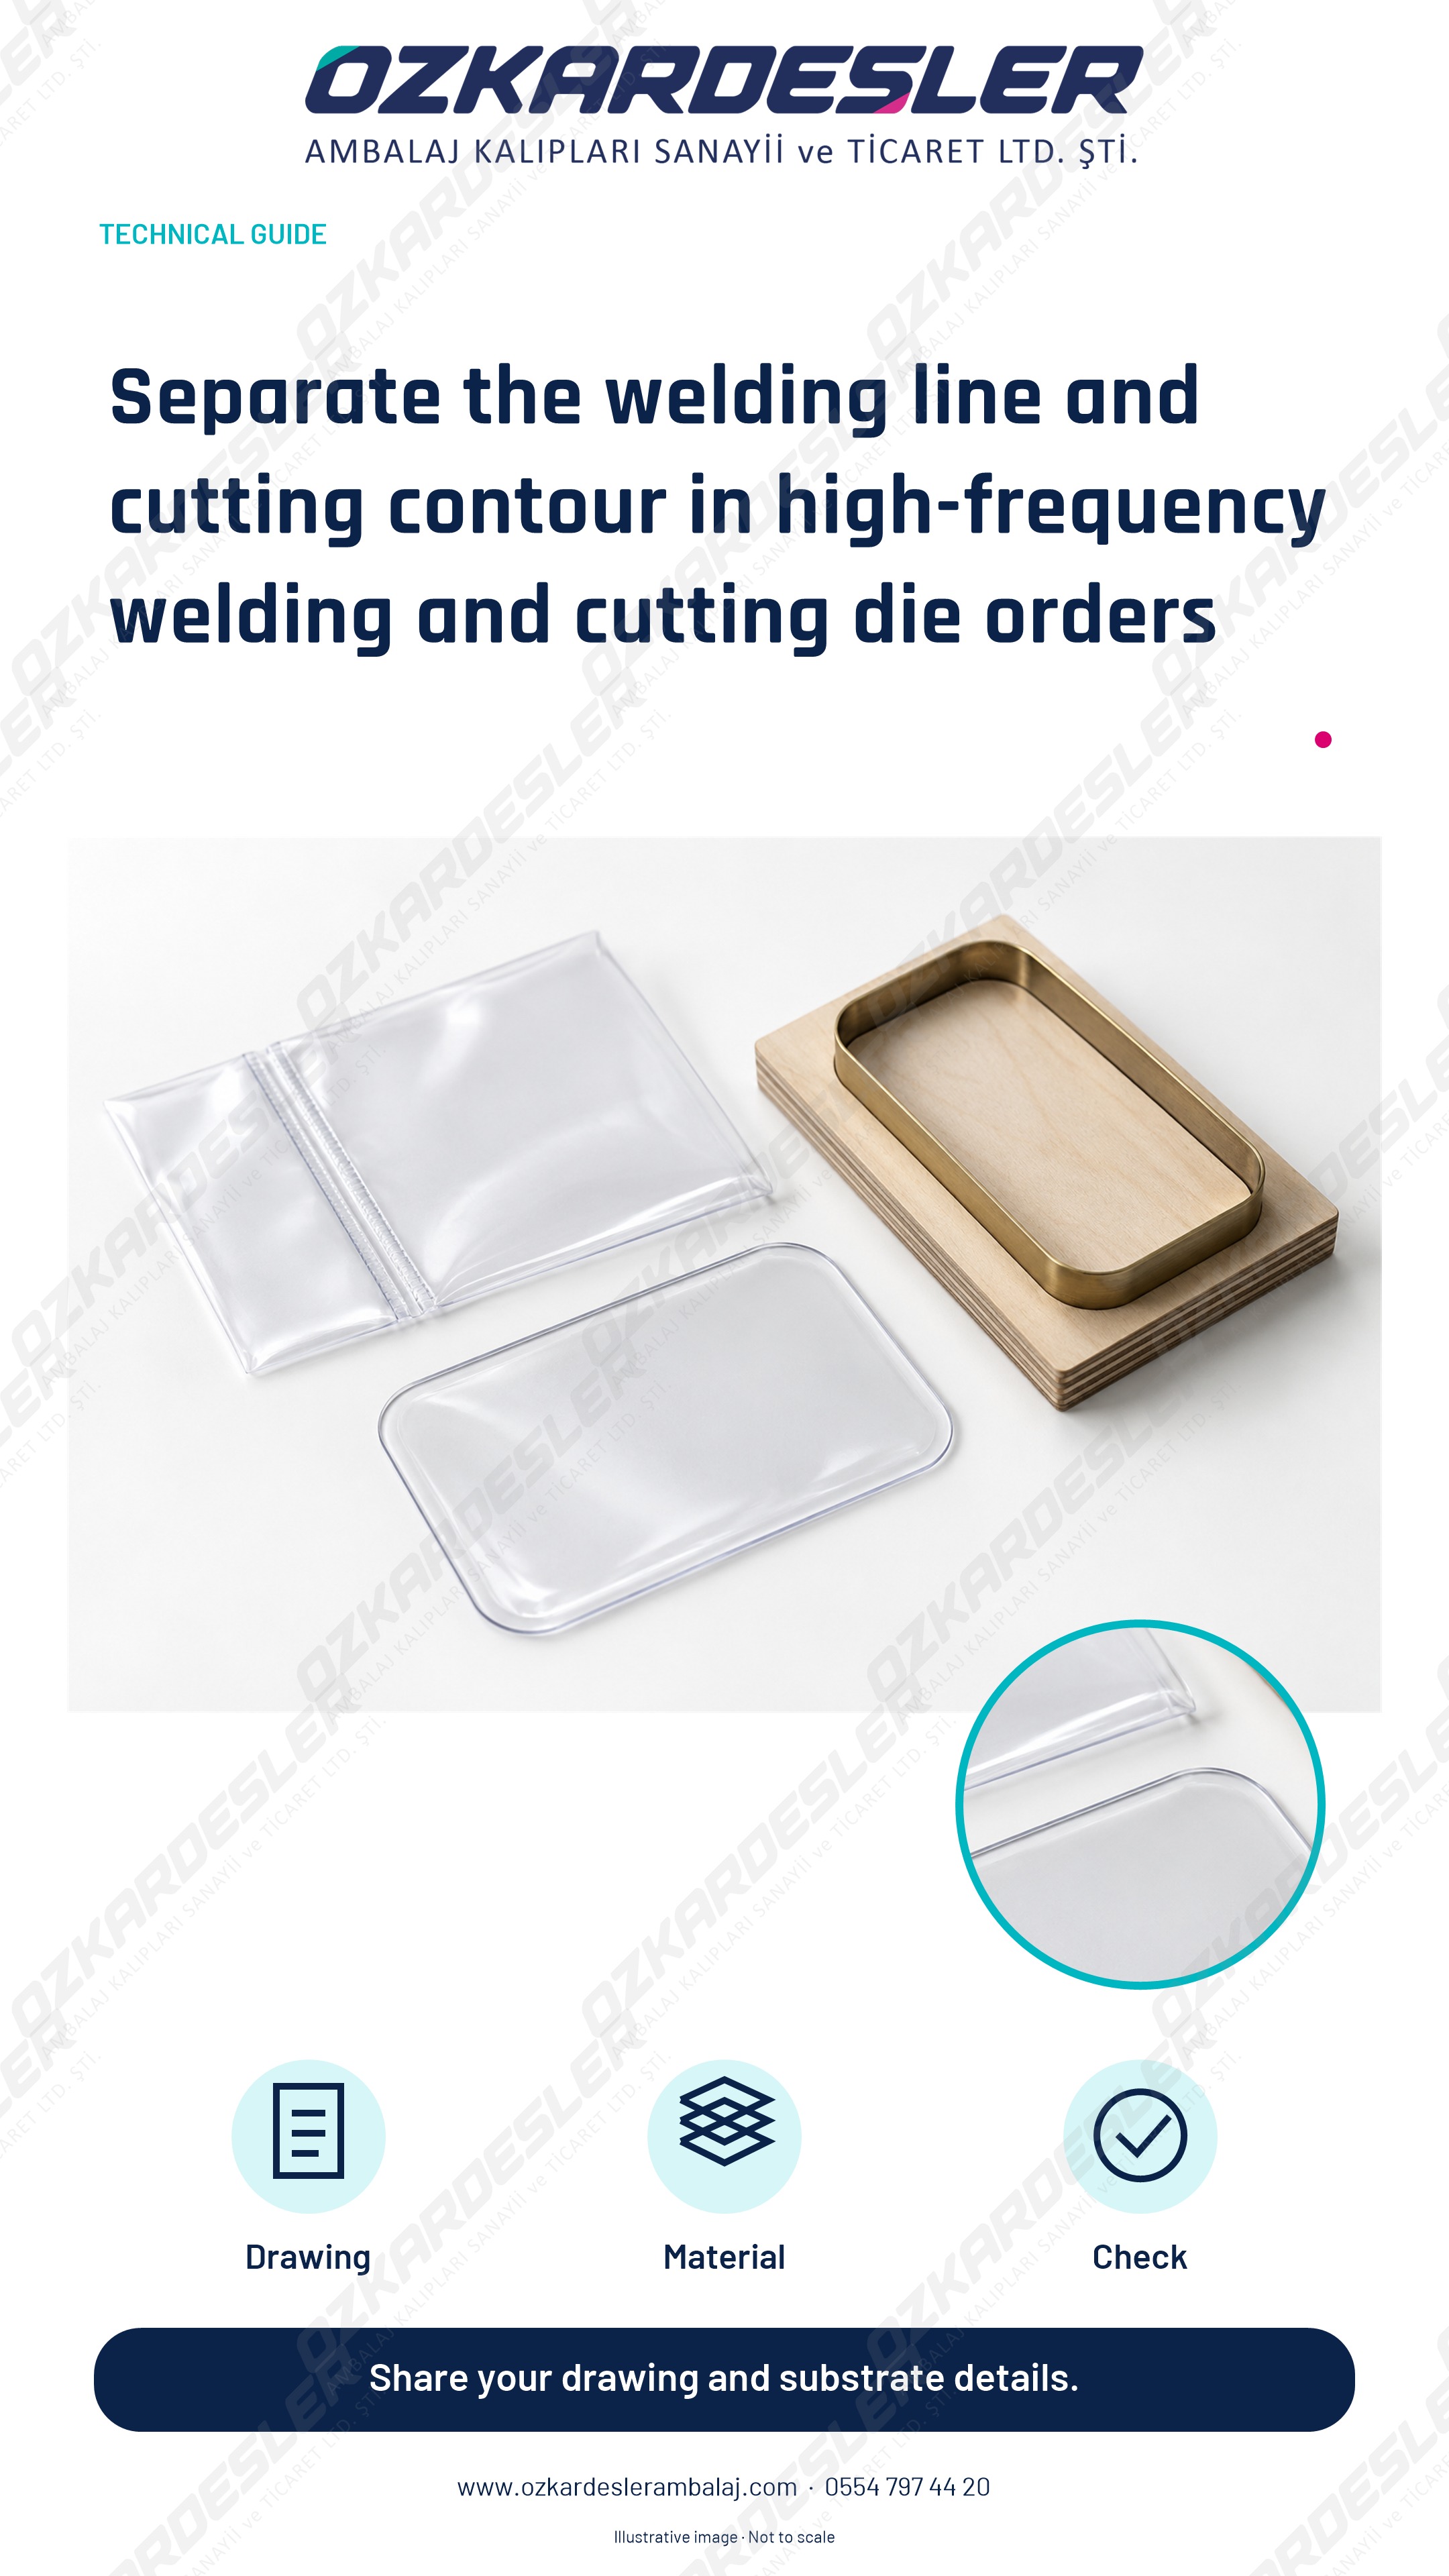
Describe welding, embossing and cutting targets separately for high-frequency welding and cutting dies. Complete quote preparations with material structure, layers and machines.
Read the article →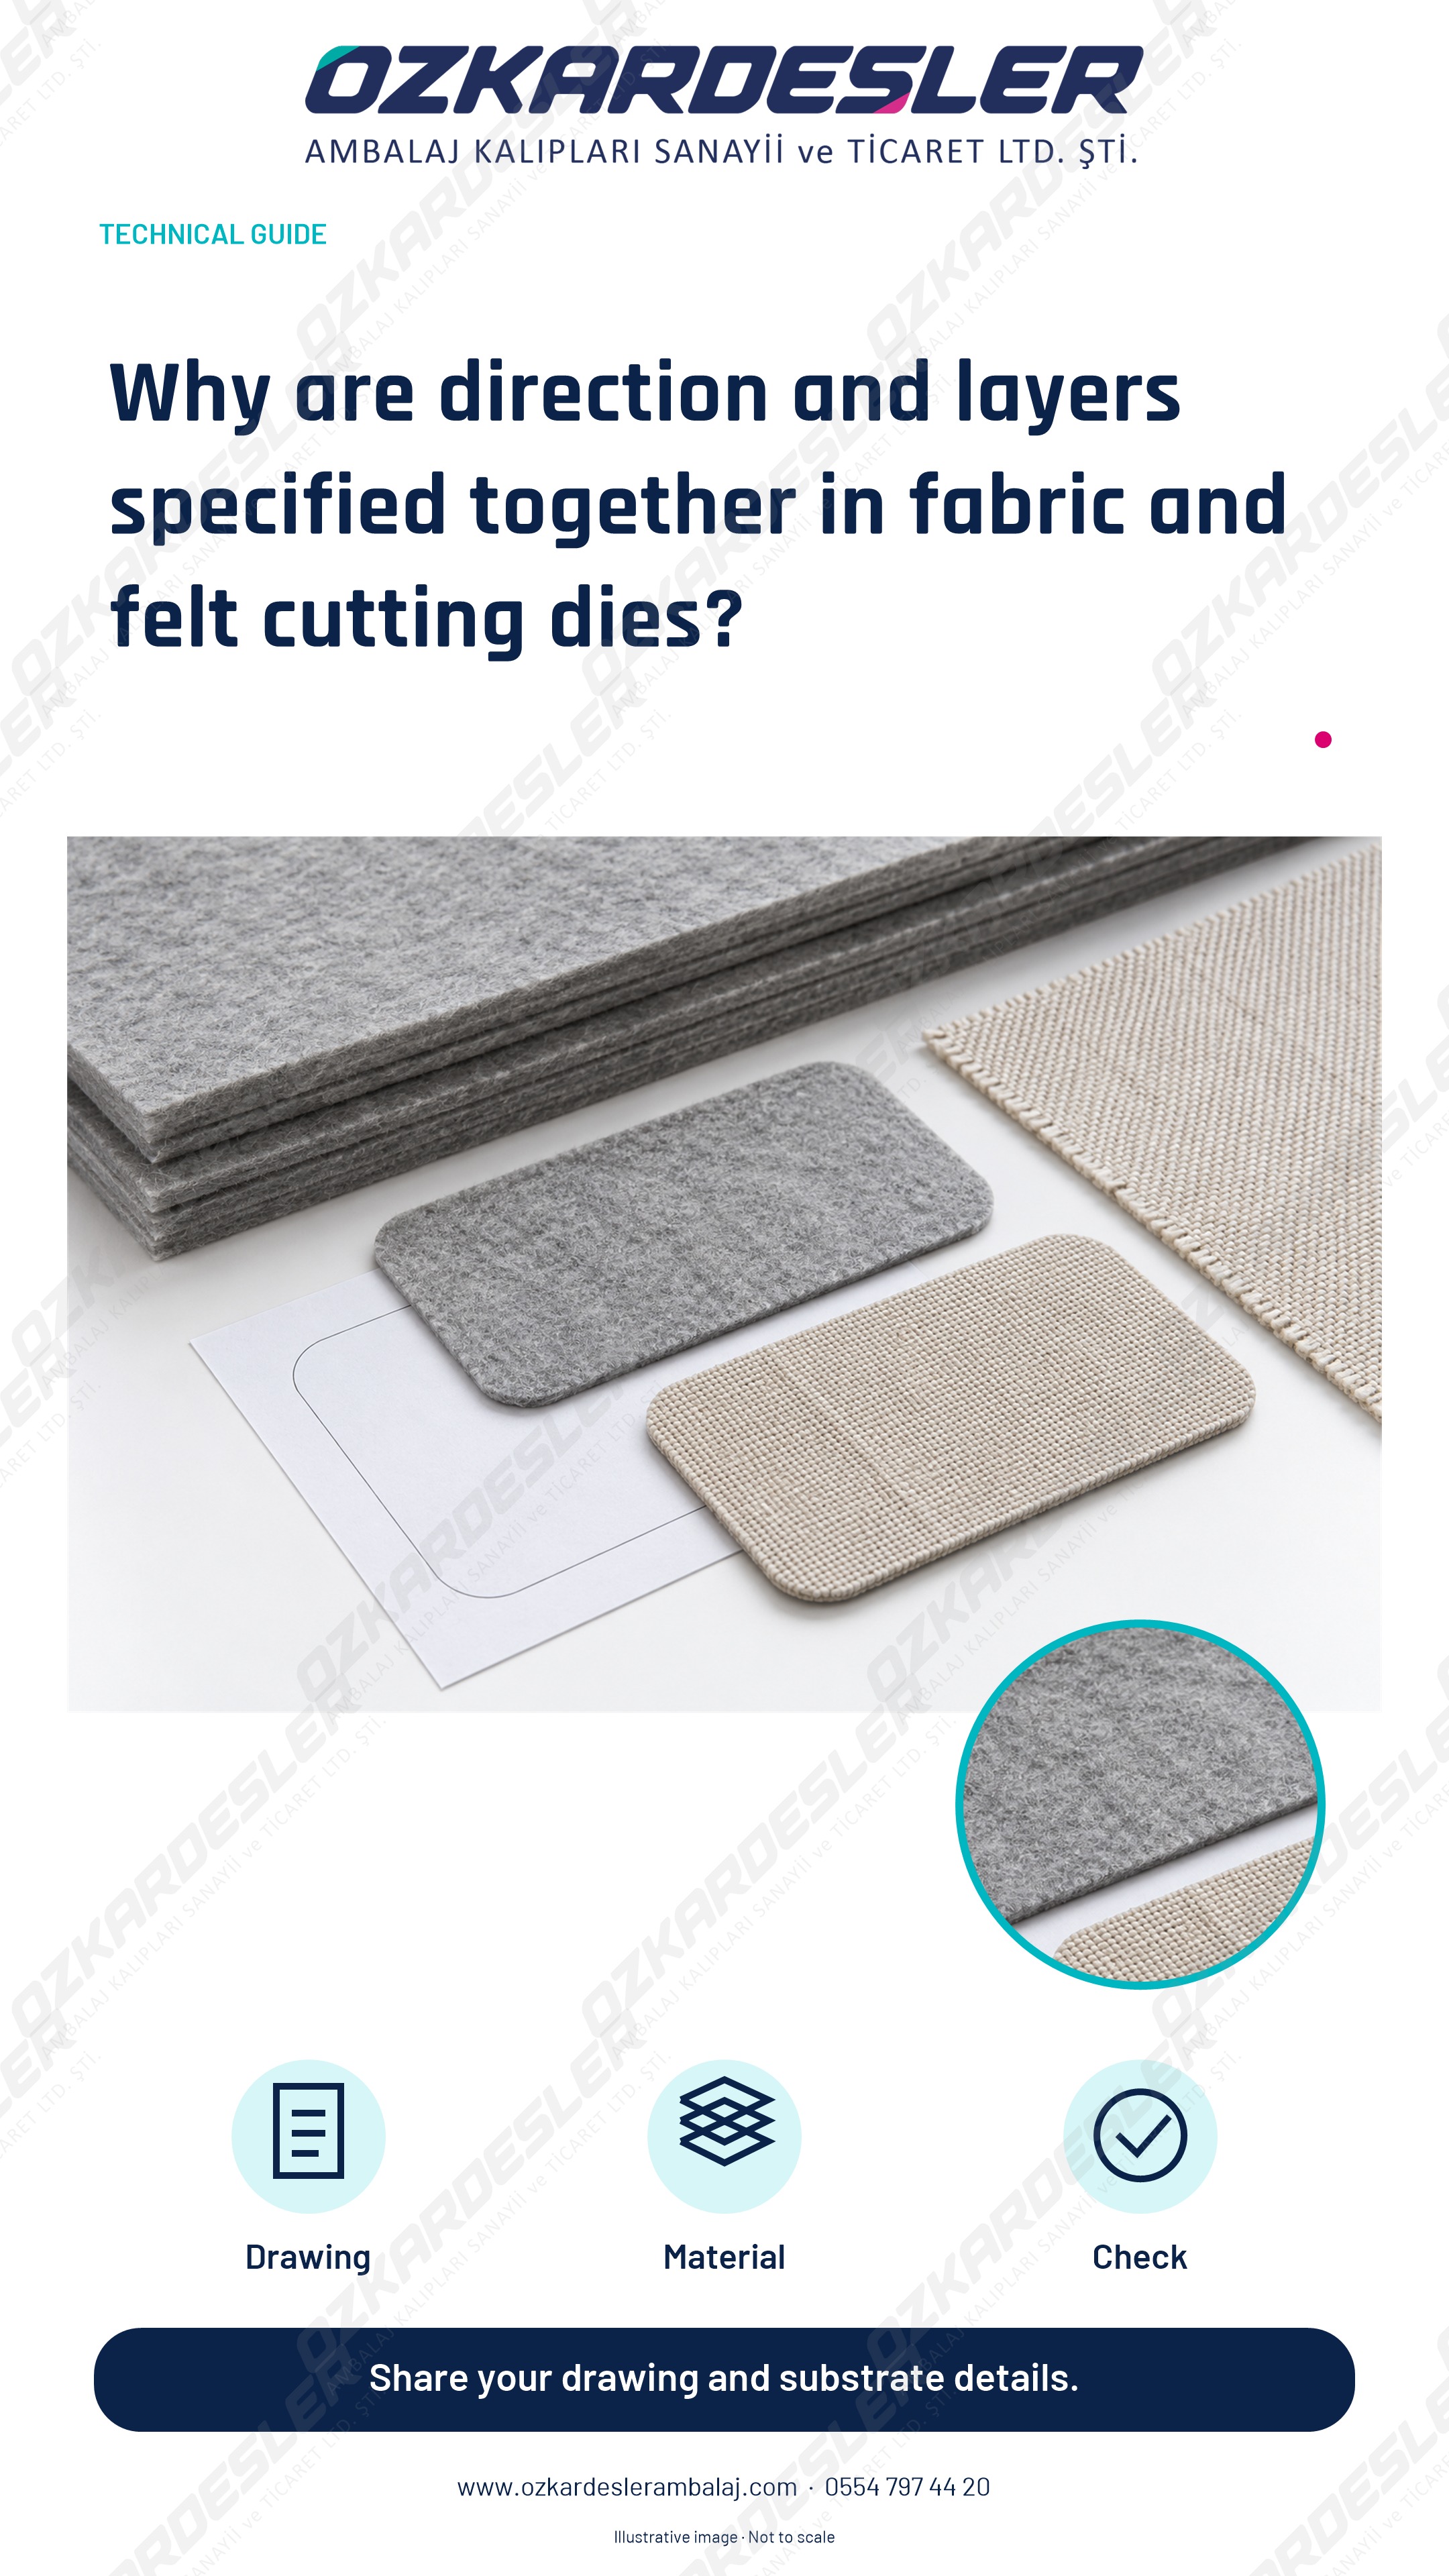
Define direction, layers, left-right matching and edge expectations with drawings in fabric, felt and textile part cutting.
Read the article →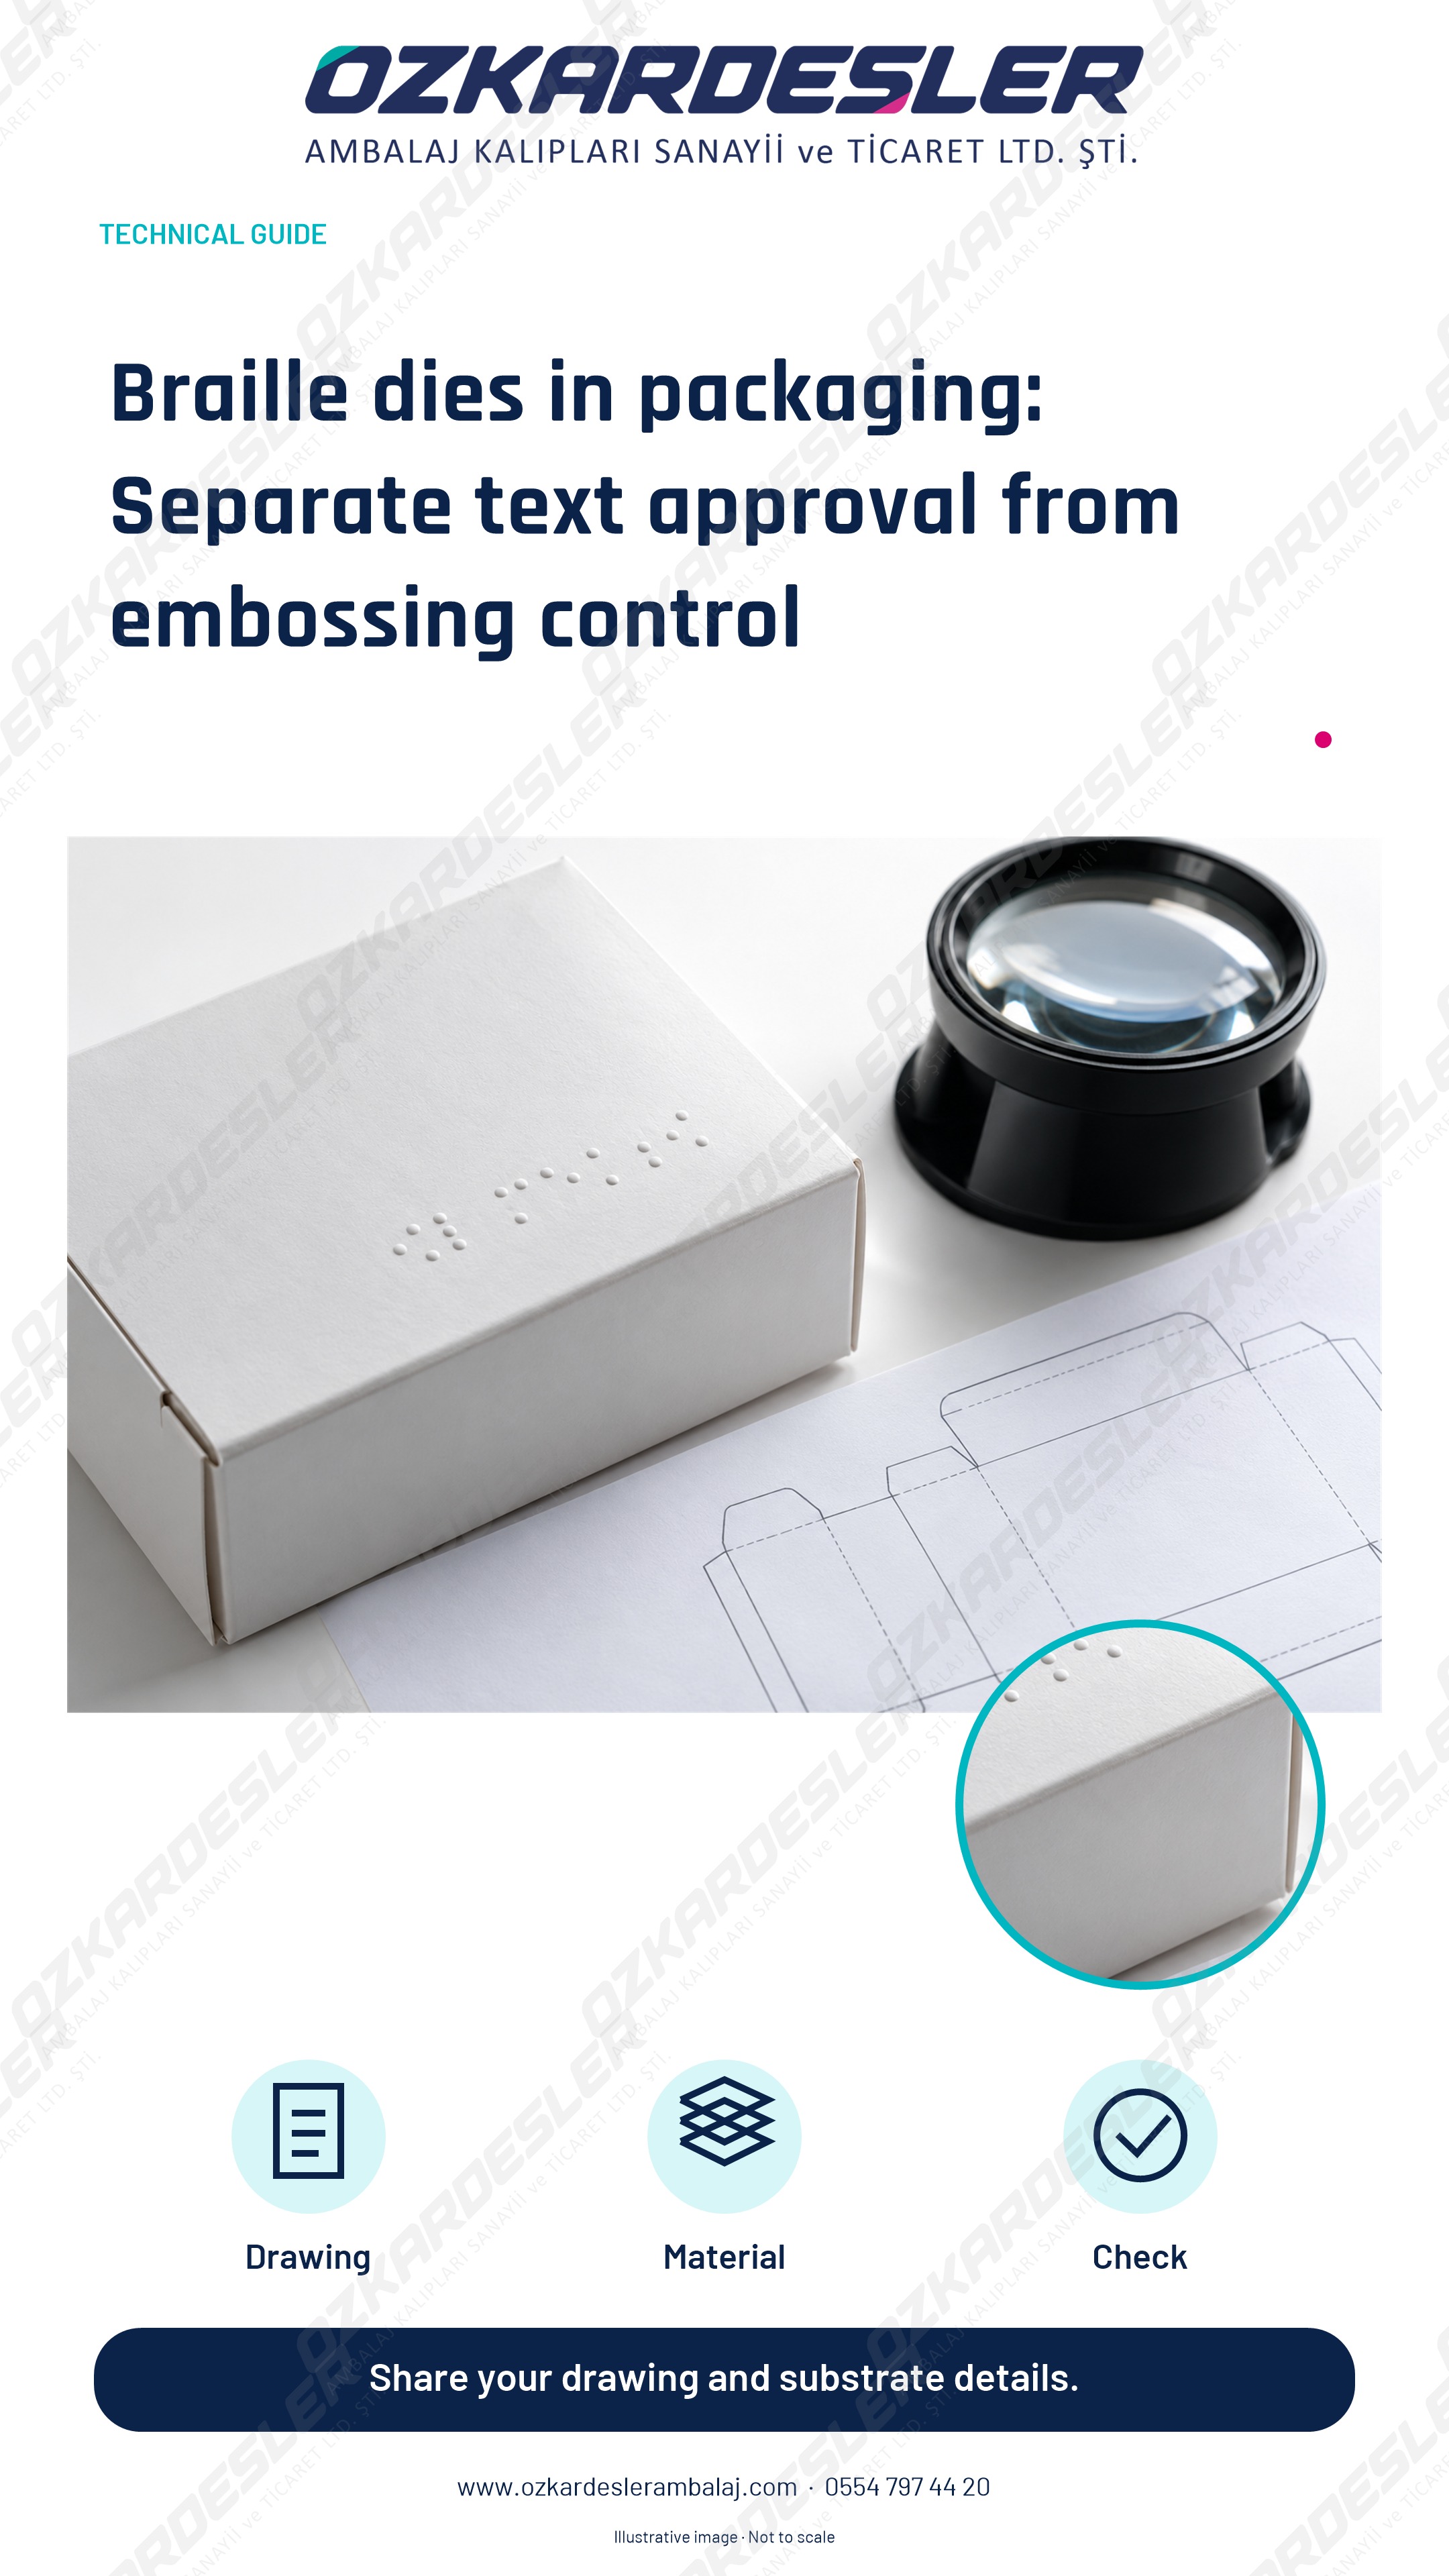
Prepare approved content, position, direction and paperboard samples together for Braille embossing. Evaluate design control and physical embossing separately.
Read the article →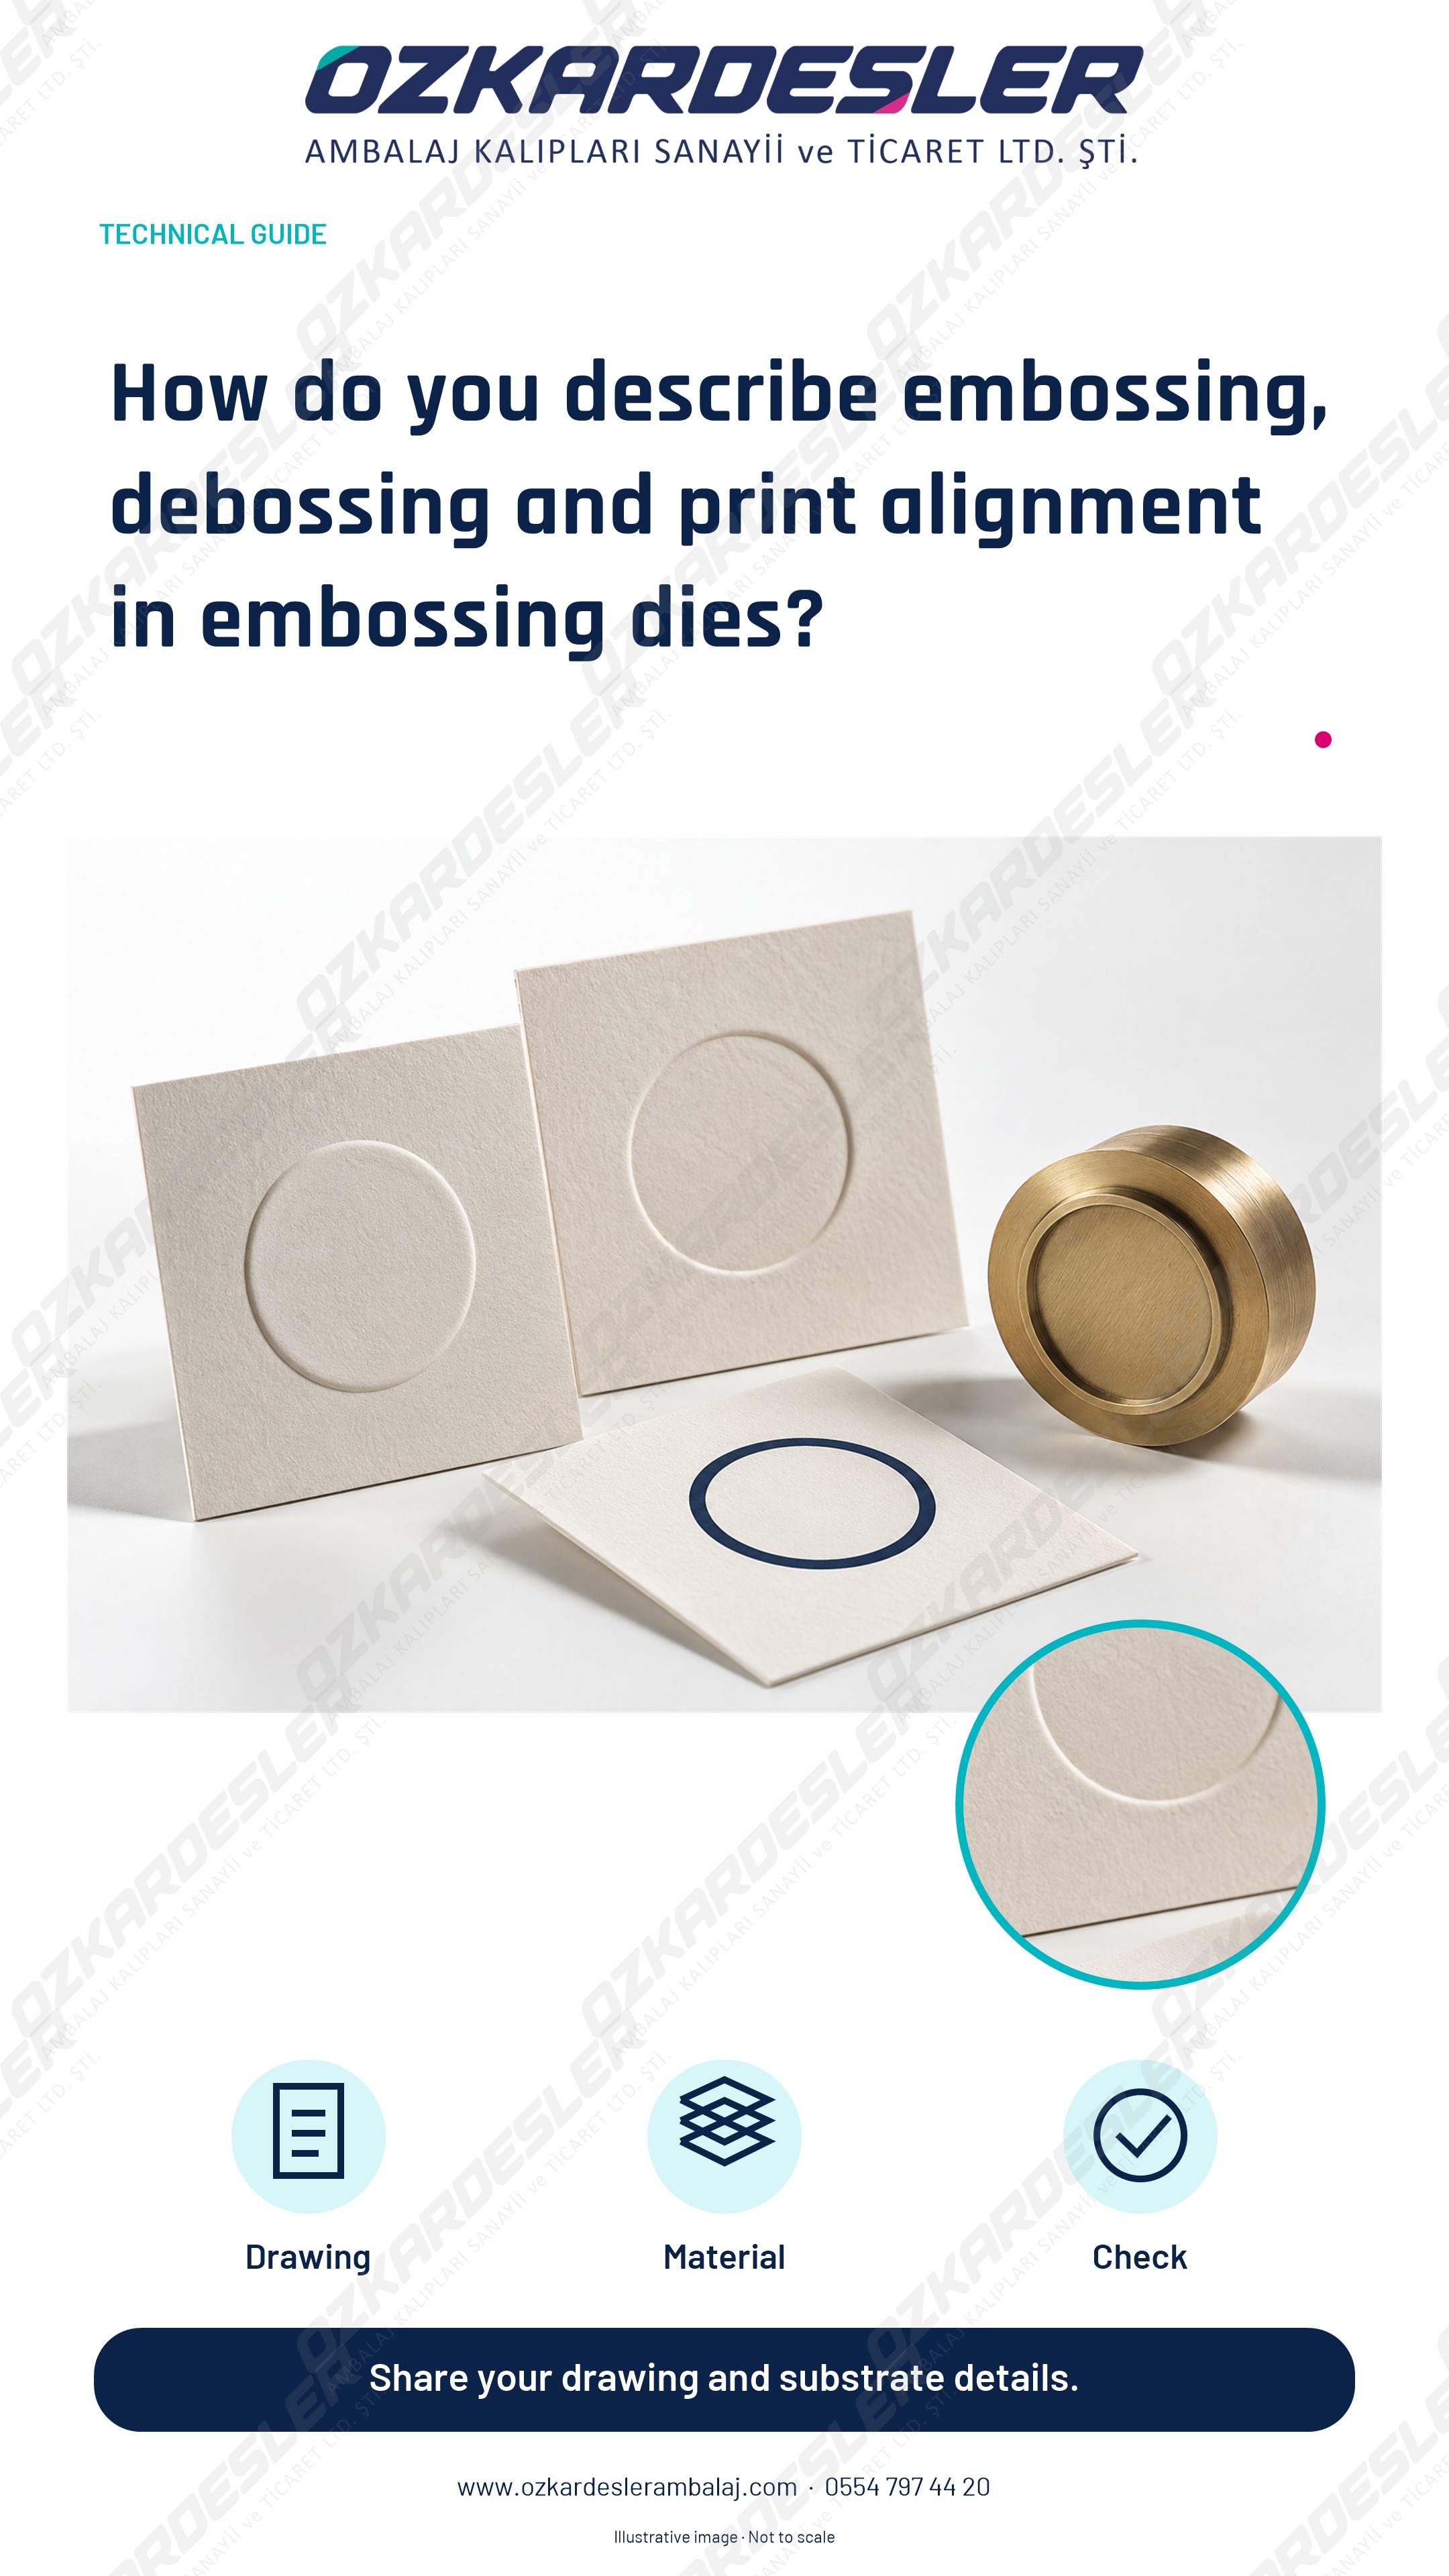
Define embossing direction, print alignment, material and appearance expectations with samples in embossing and cliché requests.
Read the article →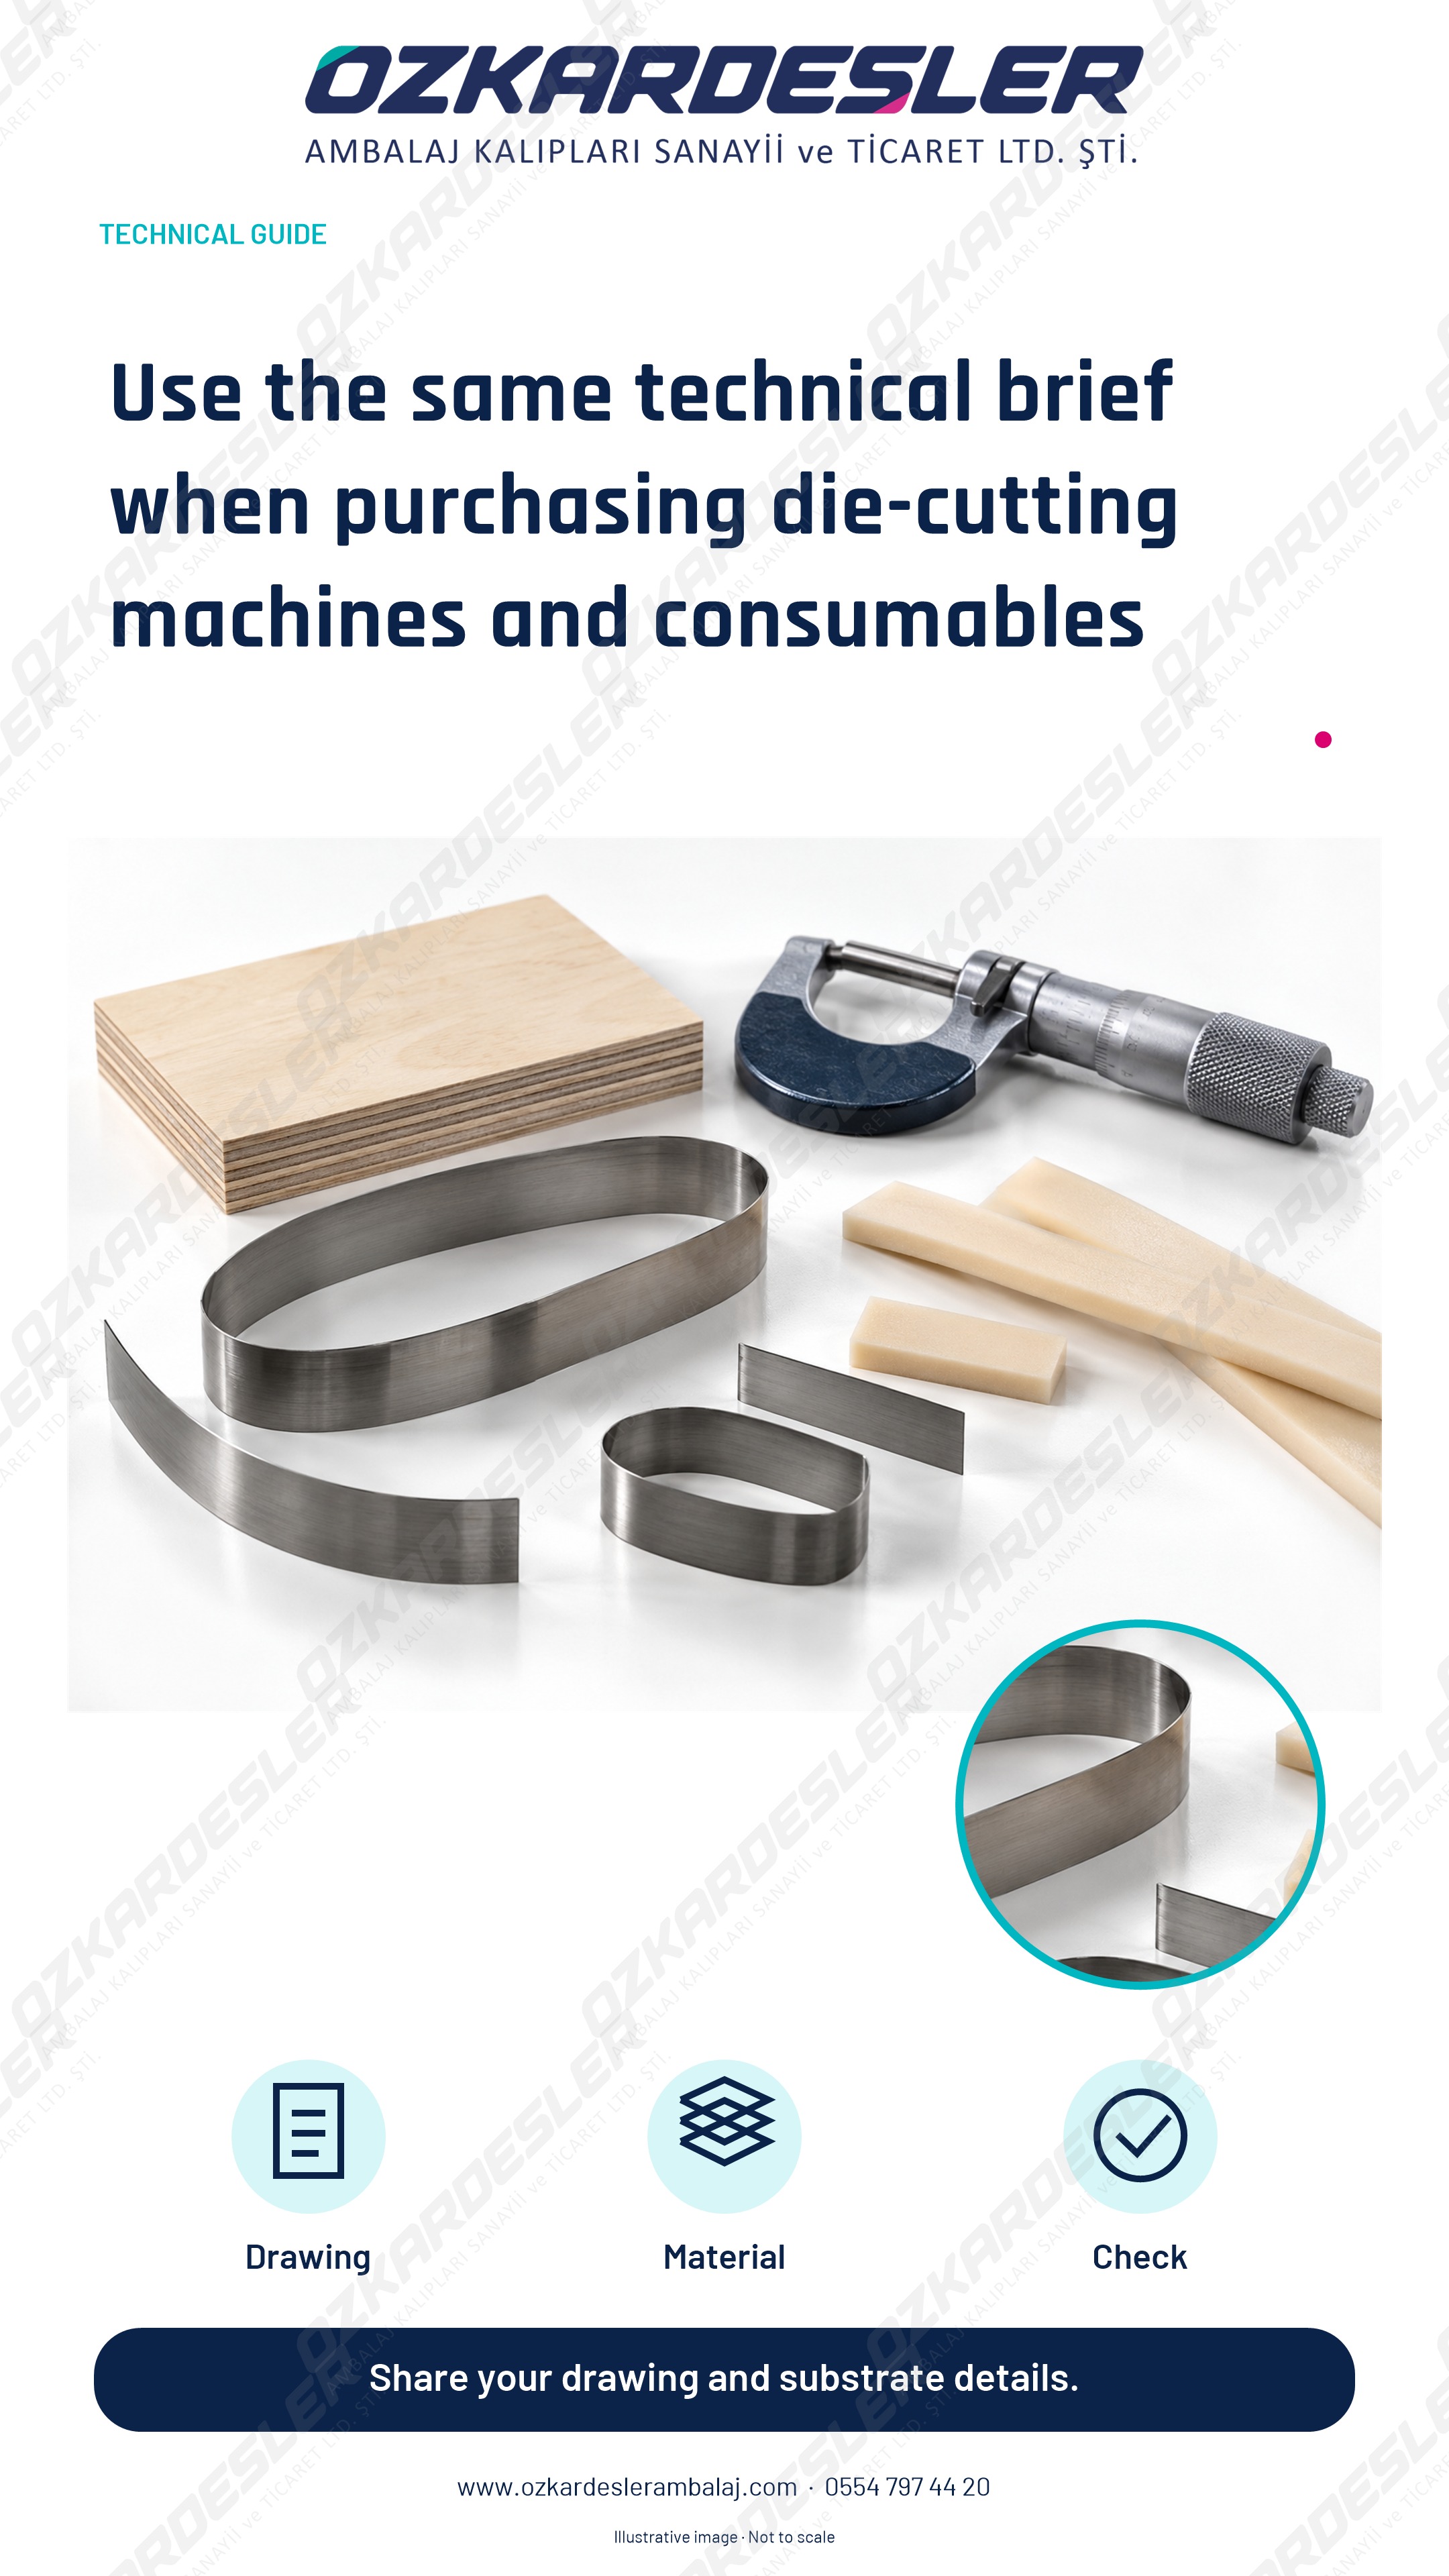
Check function, dimensions and machine compatibility together when requesting bending robots, cutting and bridging equipment or consumables.
Read the article →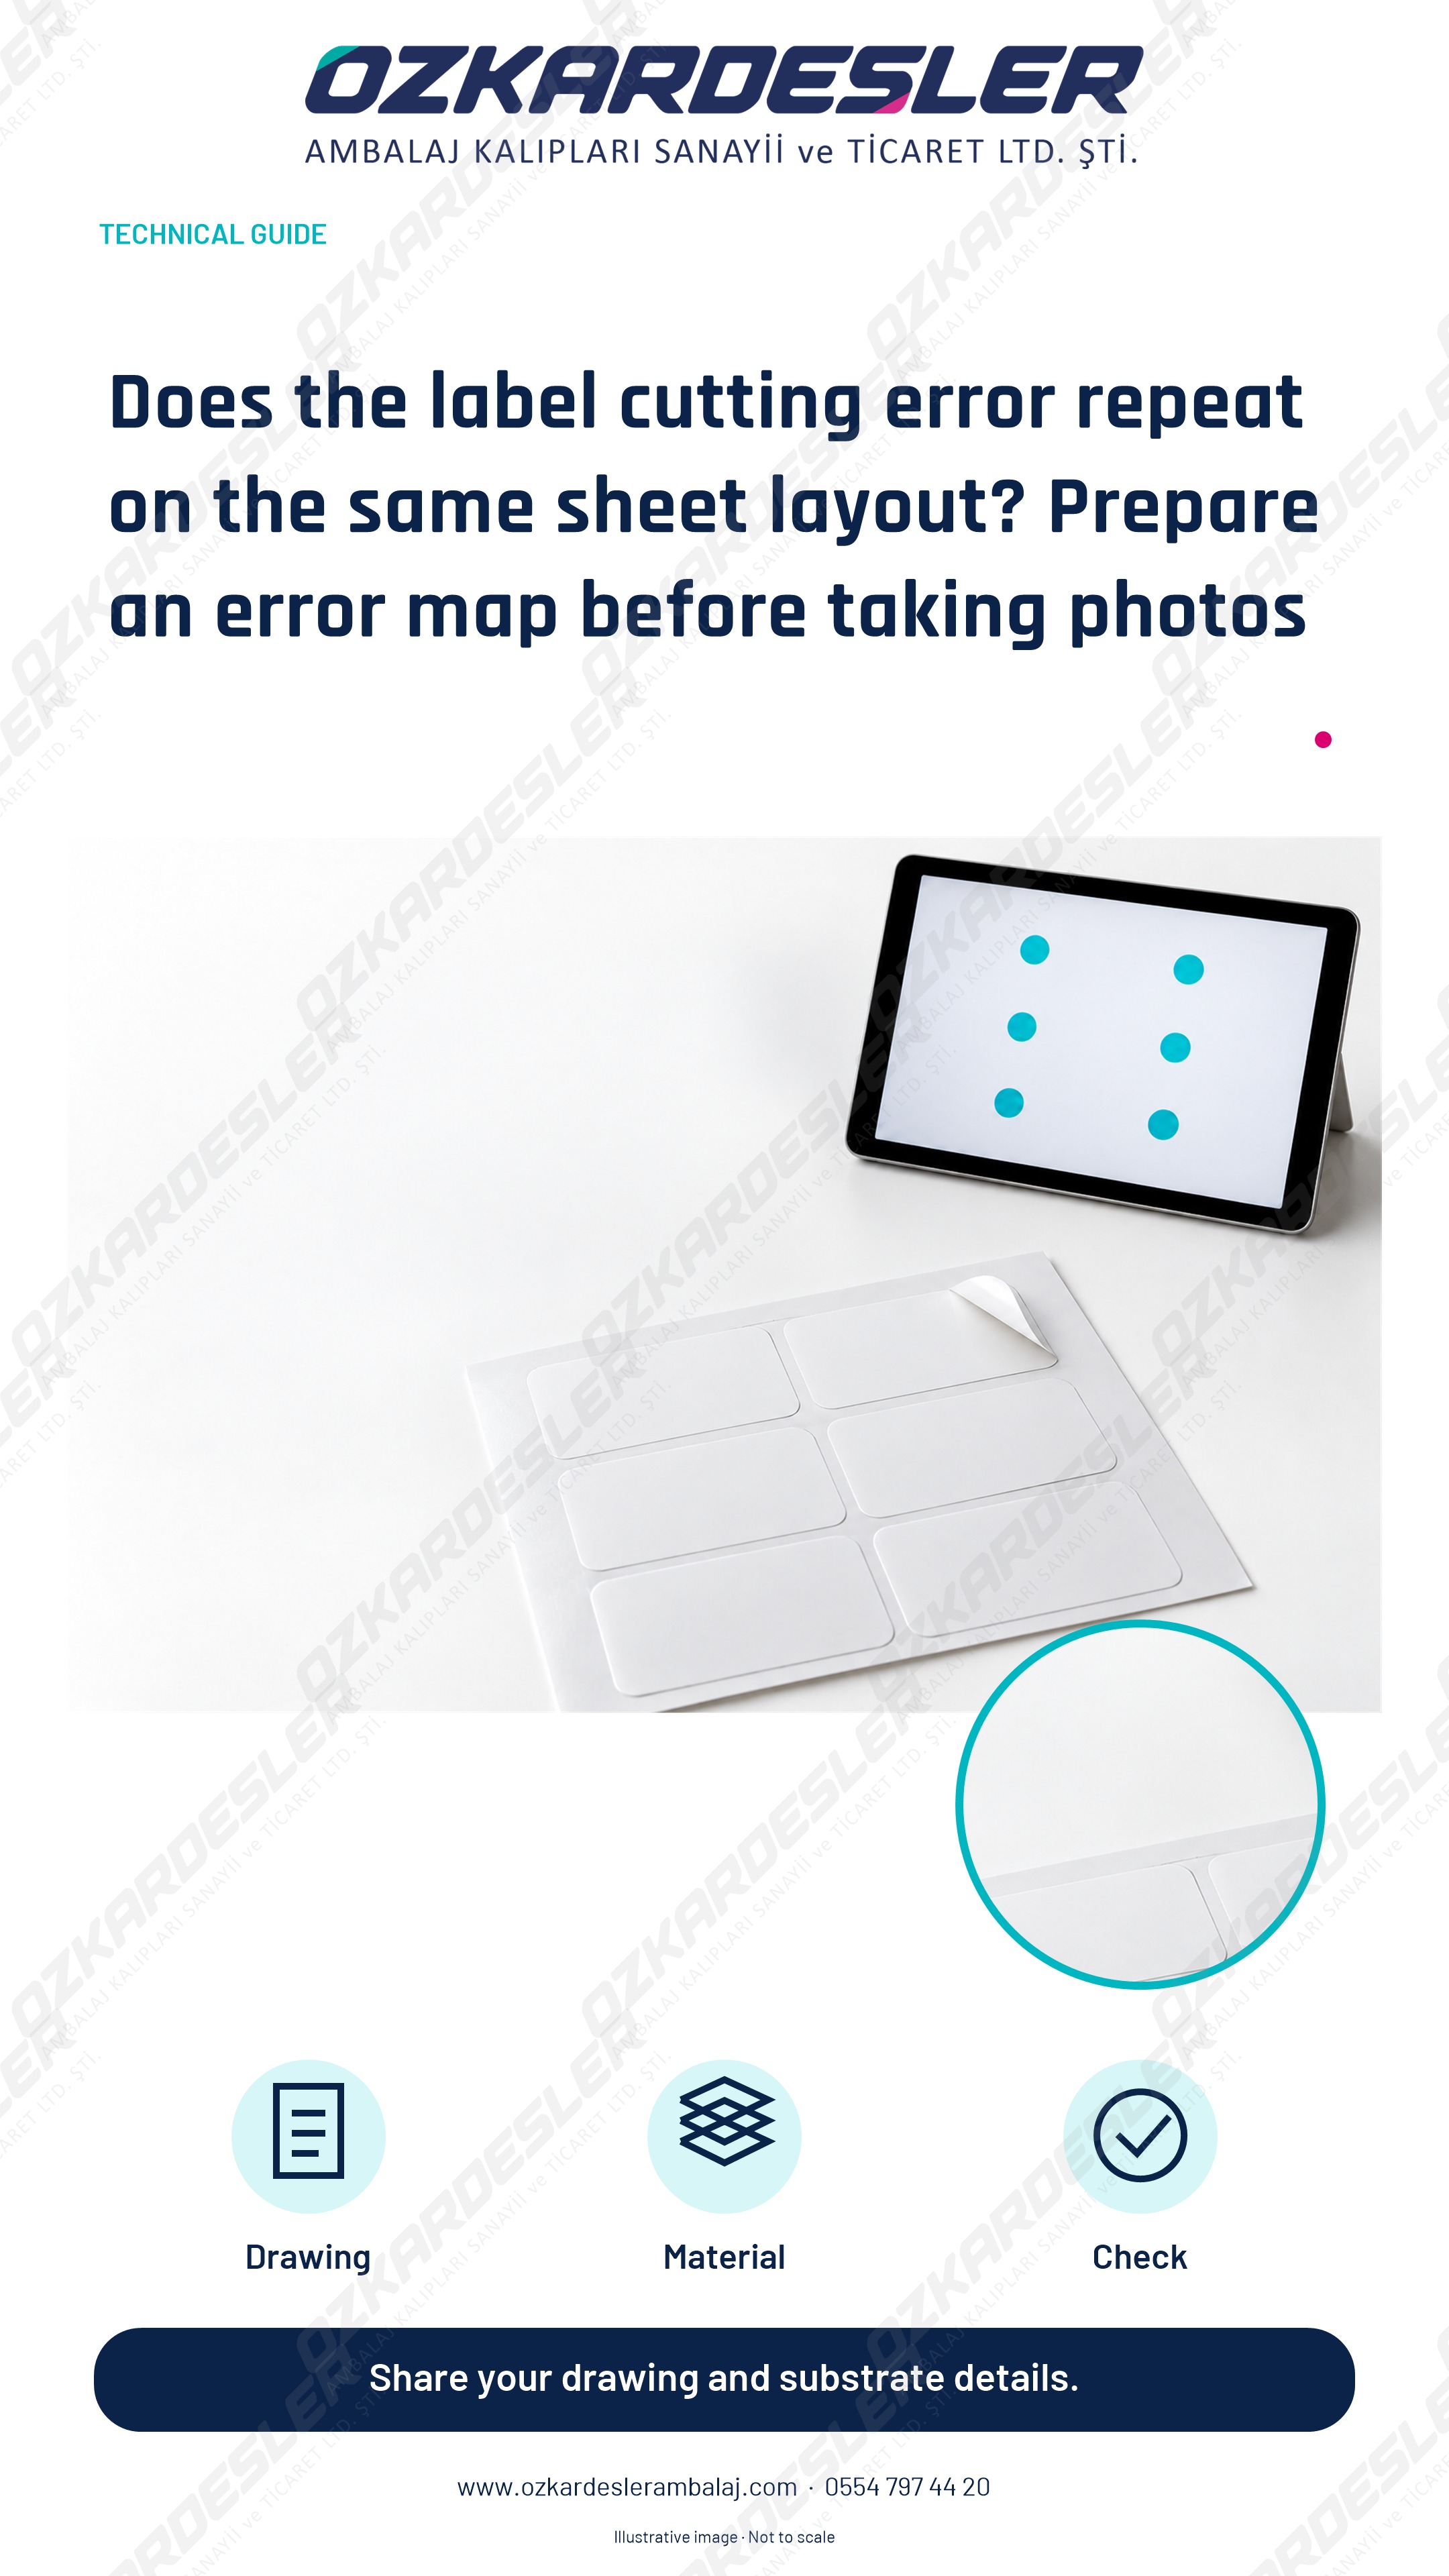
Record uncut corners, difficult stripping and liner damage per sheet layout. Use the direction, sample and photo checklist for label die inspections.
Read the article →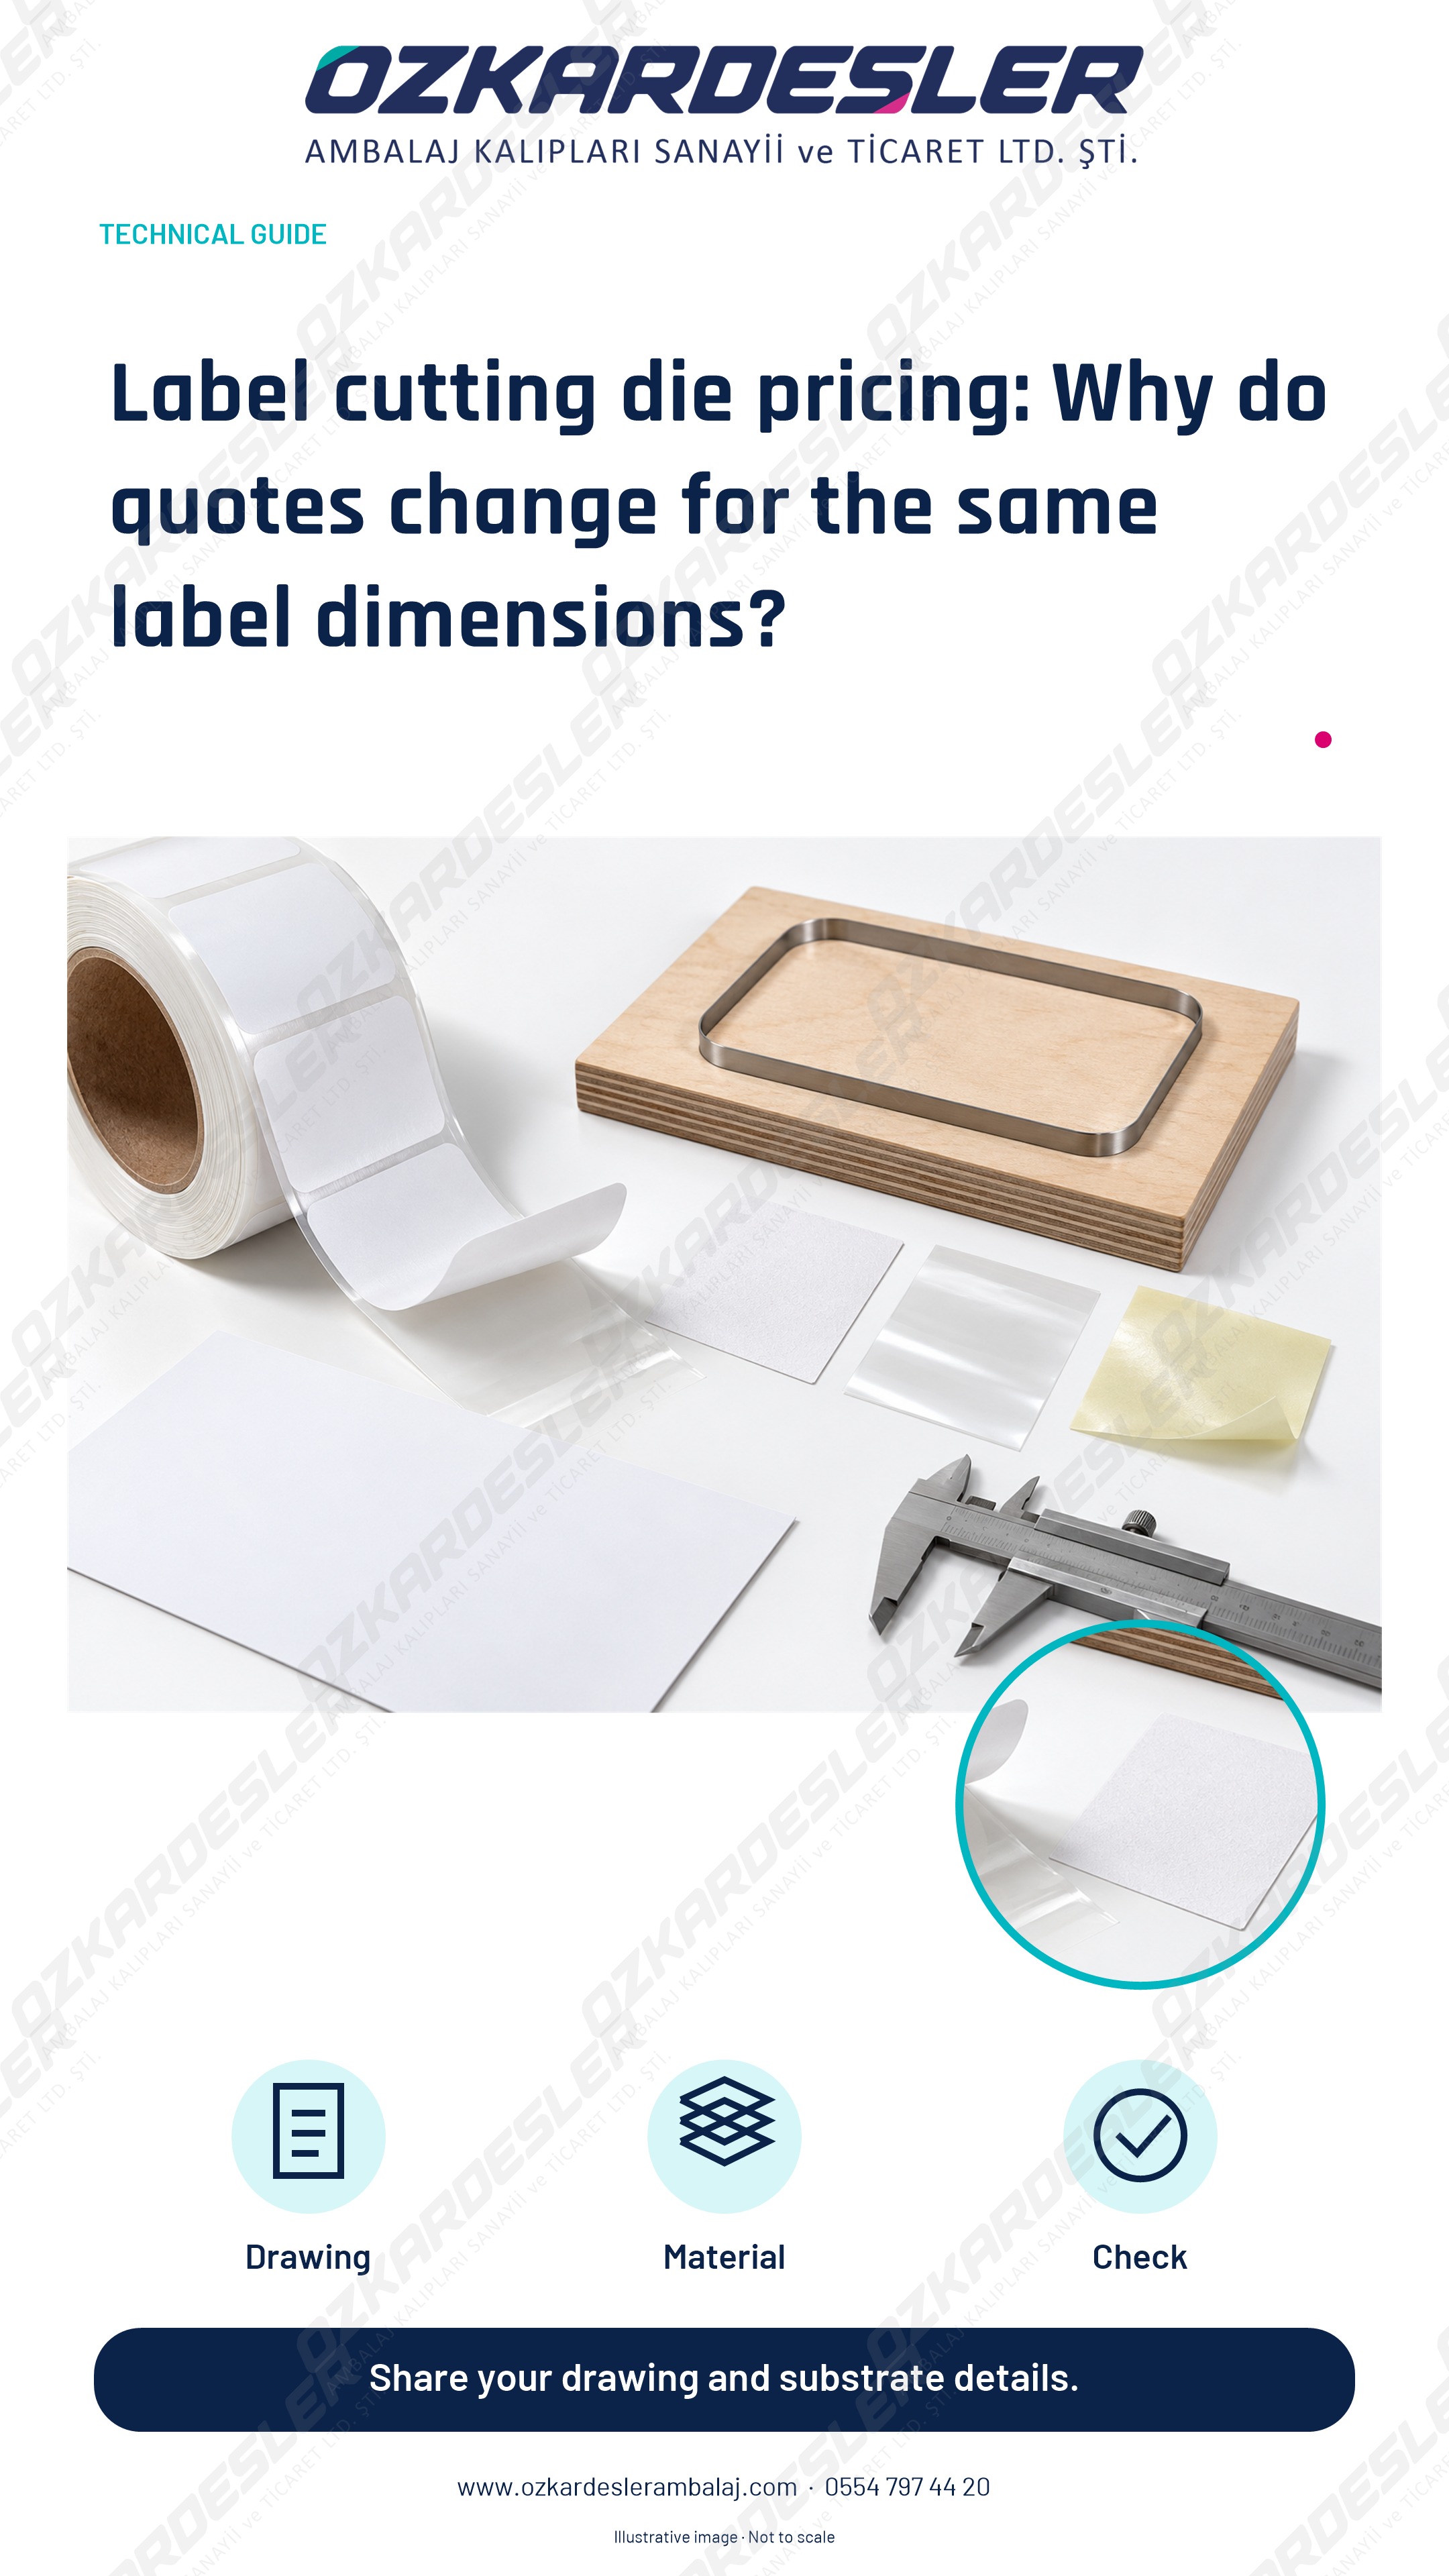
Share the number of sheet layouts, contour, liner and through/kiss-cutting targets together in label die quotes. Compare prices with the same scope.
Read the article →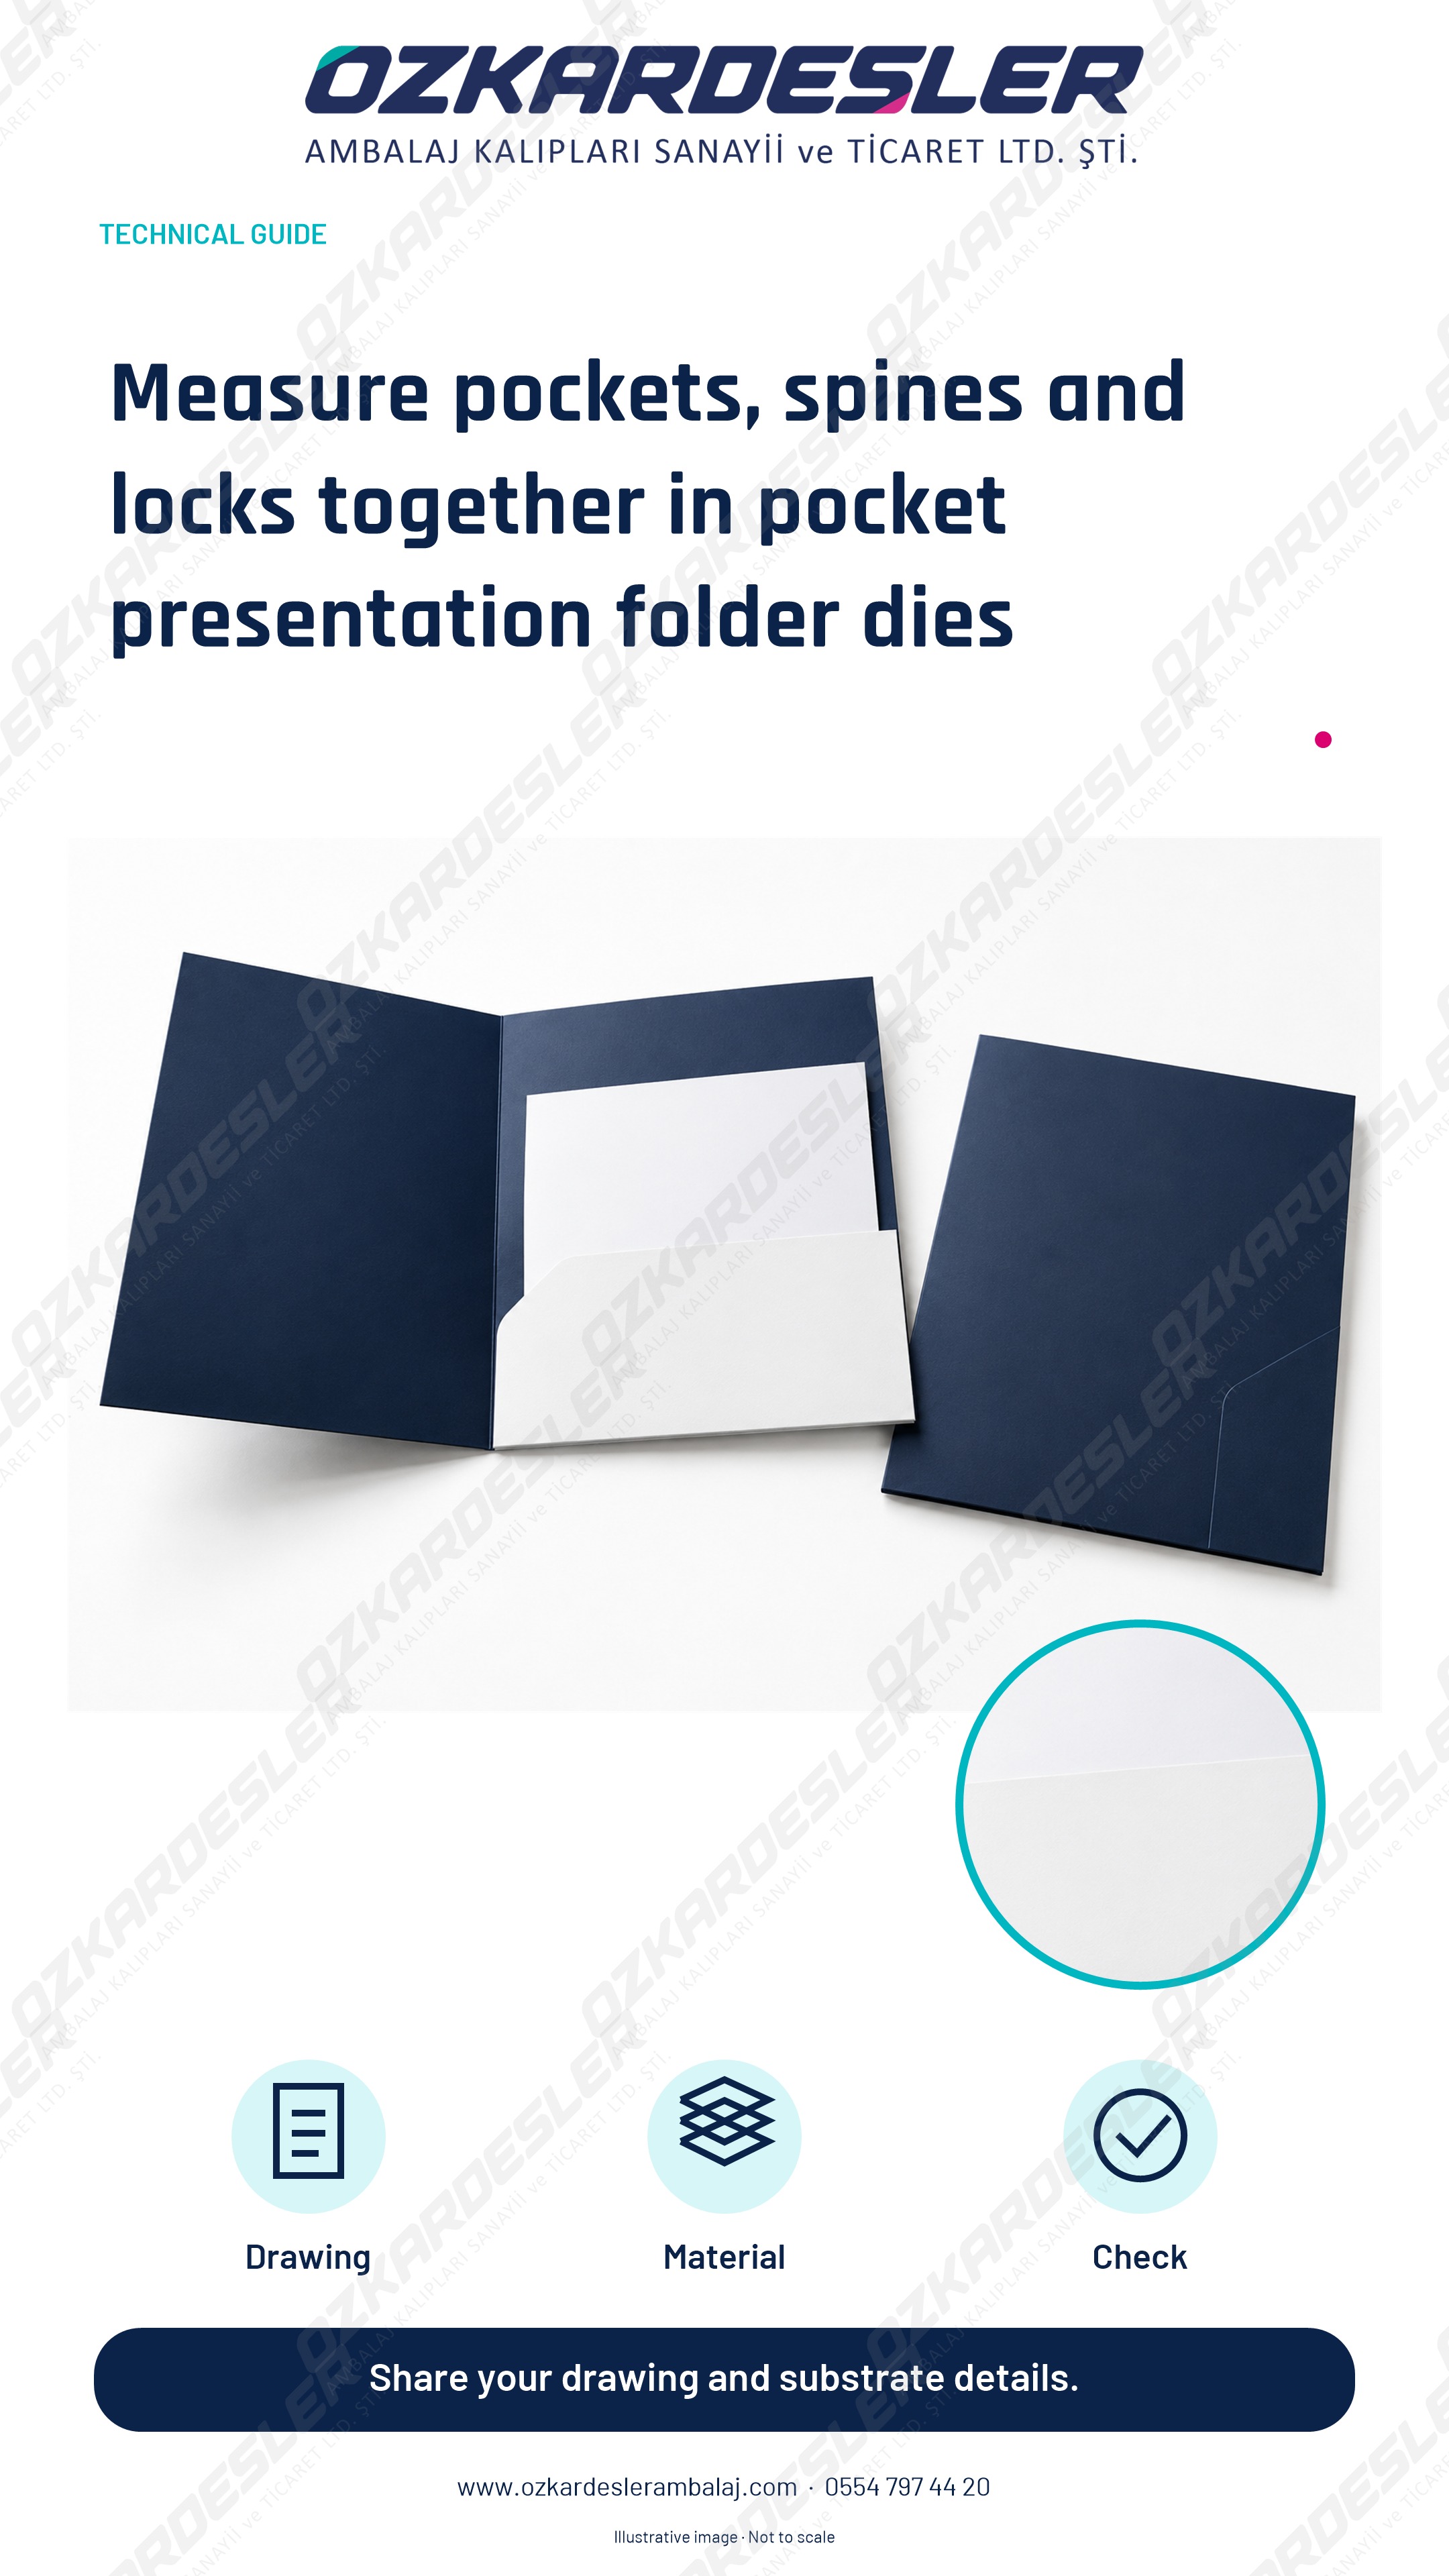
Plan document thickness, pocket geometry and lock relationships in presentation folders. Prepare sample checks and die quotes with actual contents.
Read the article →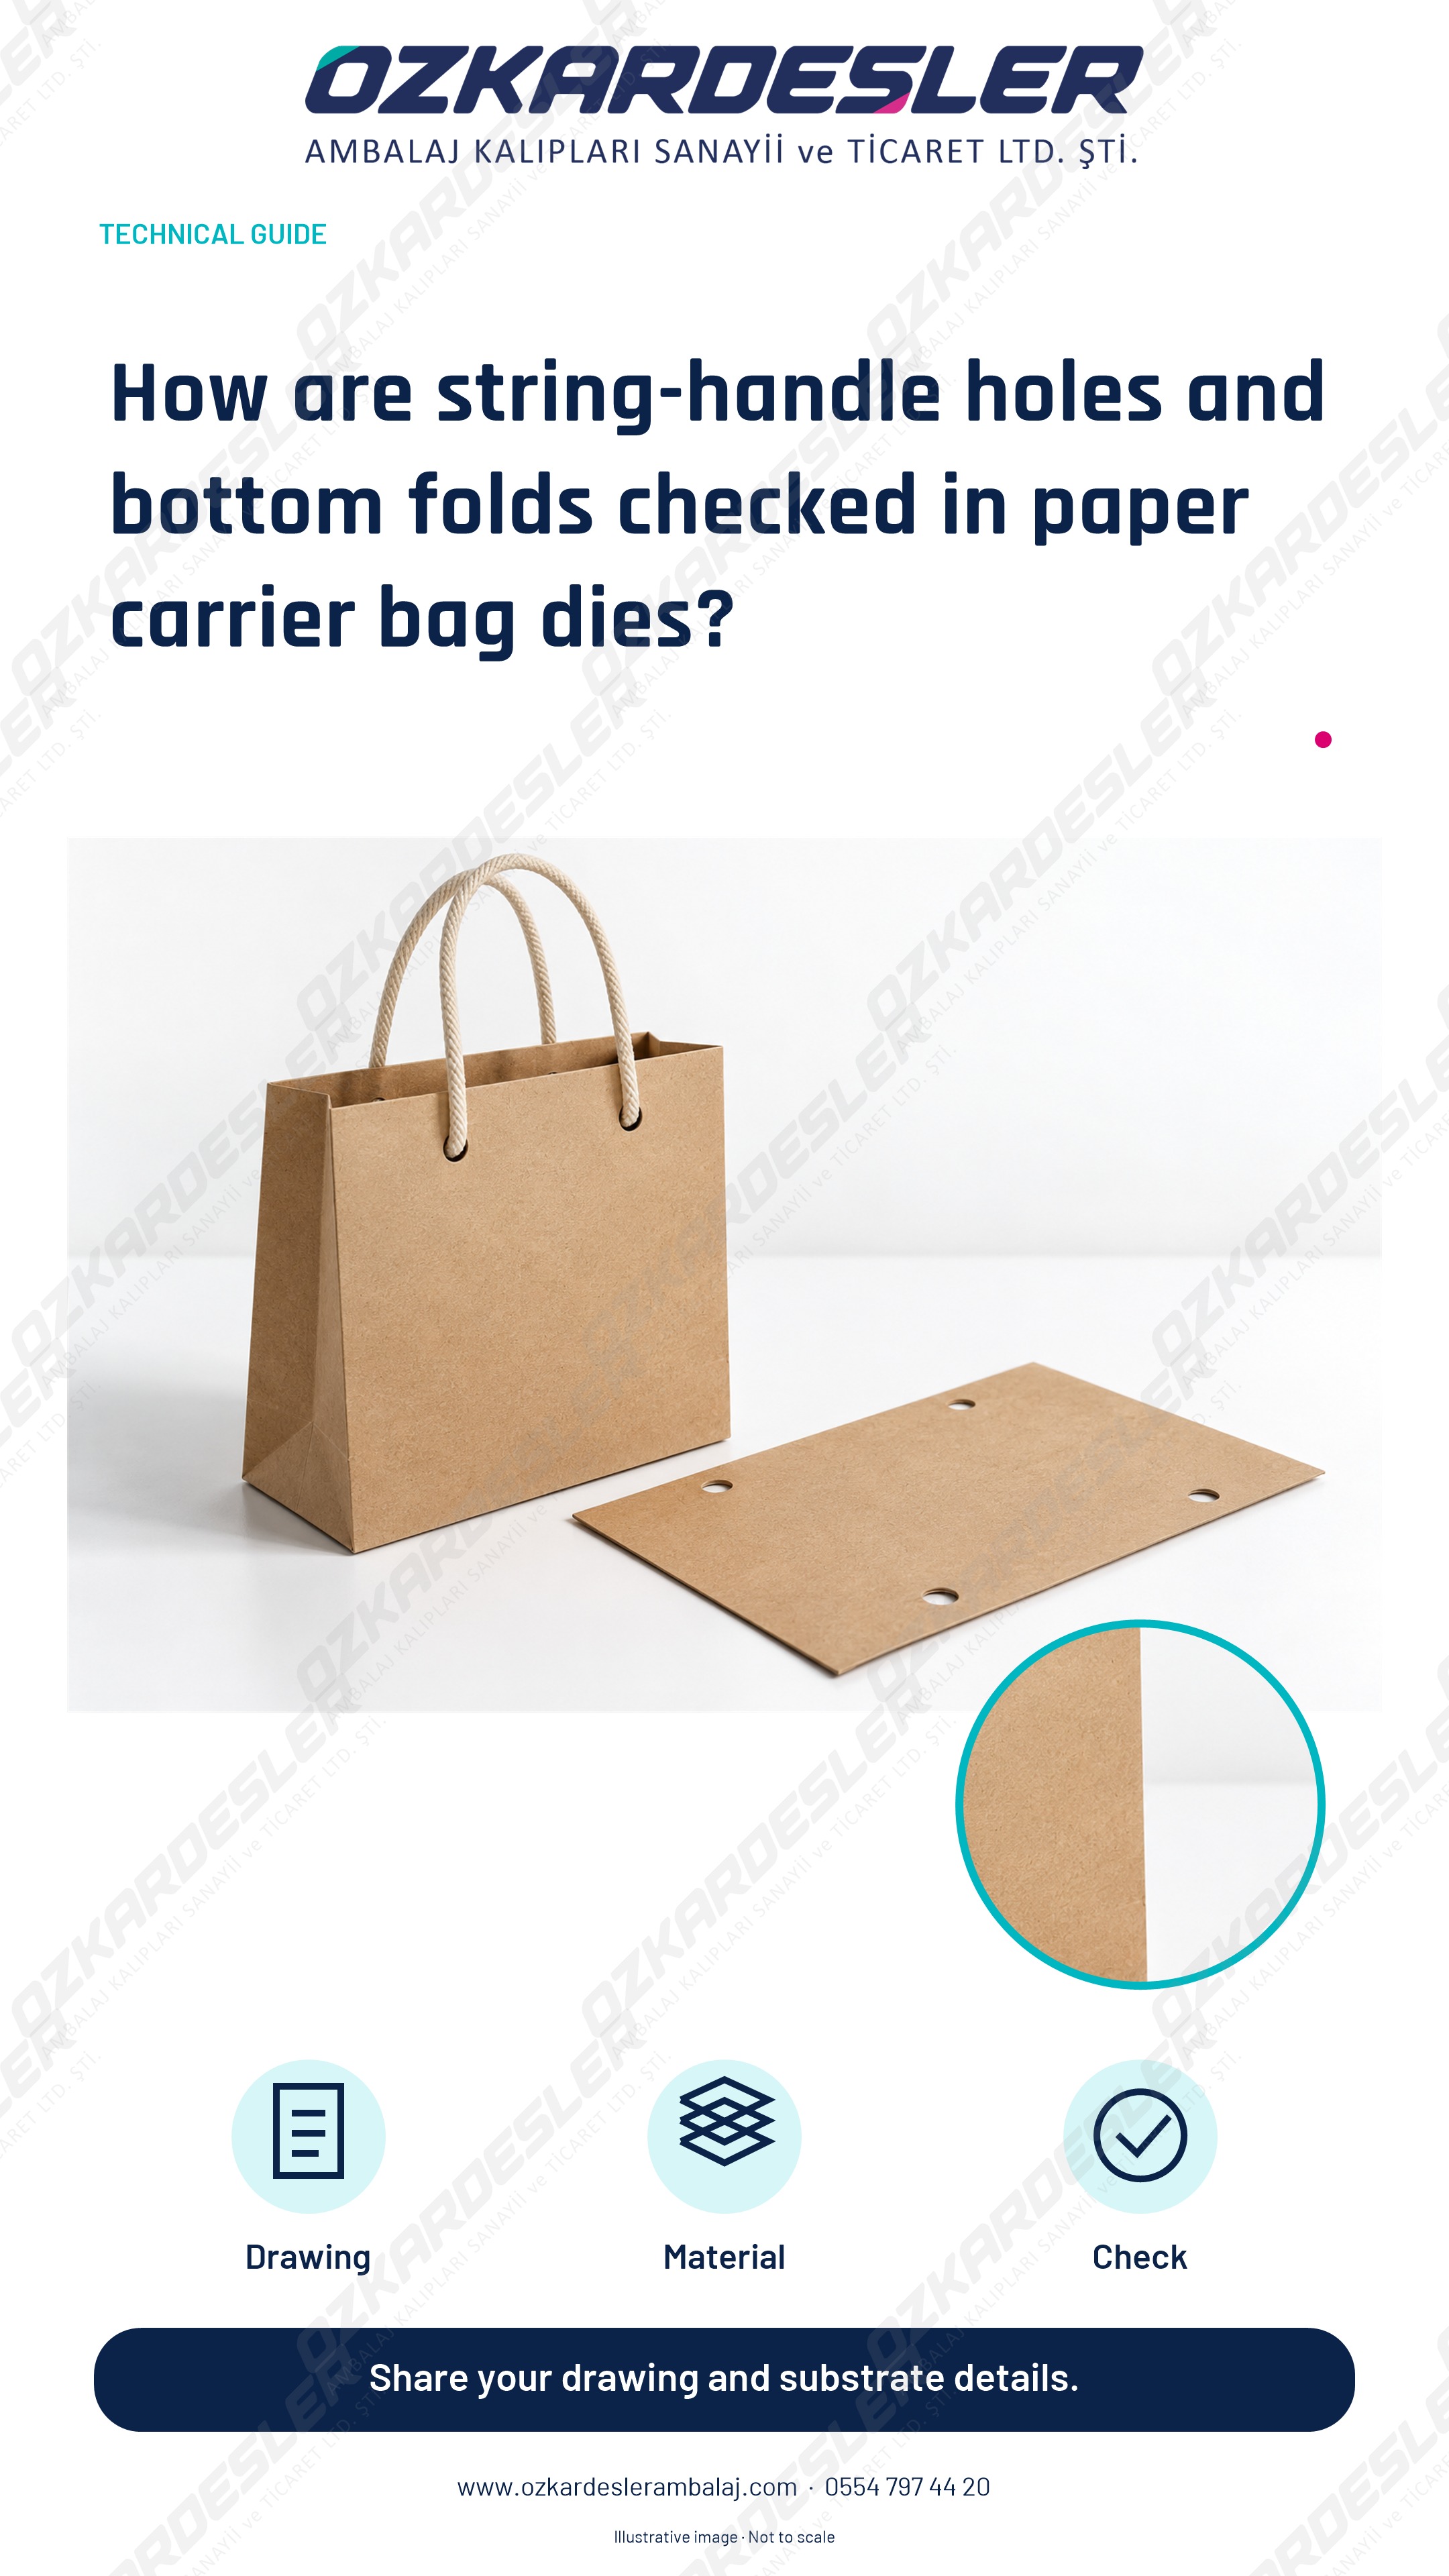
Evaluate handle holes, reinforcement, gussets and bottom relationships with actual products in paper carrier bags. Learn the information required for die preparation.
Read the article →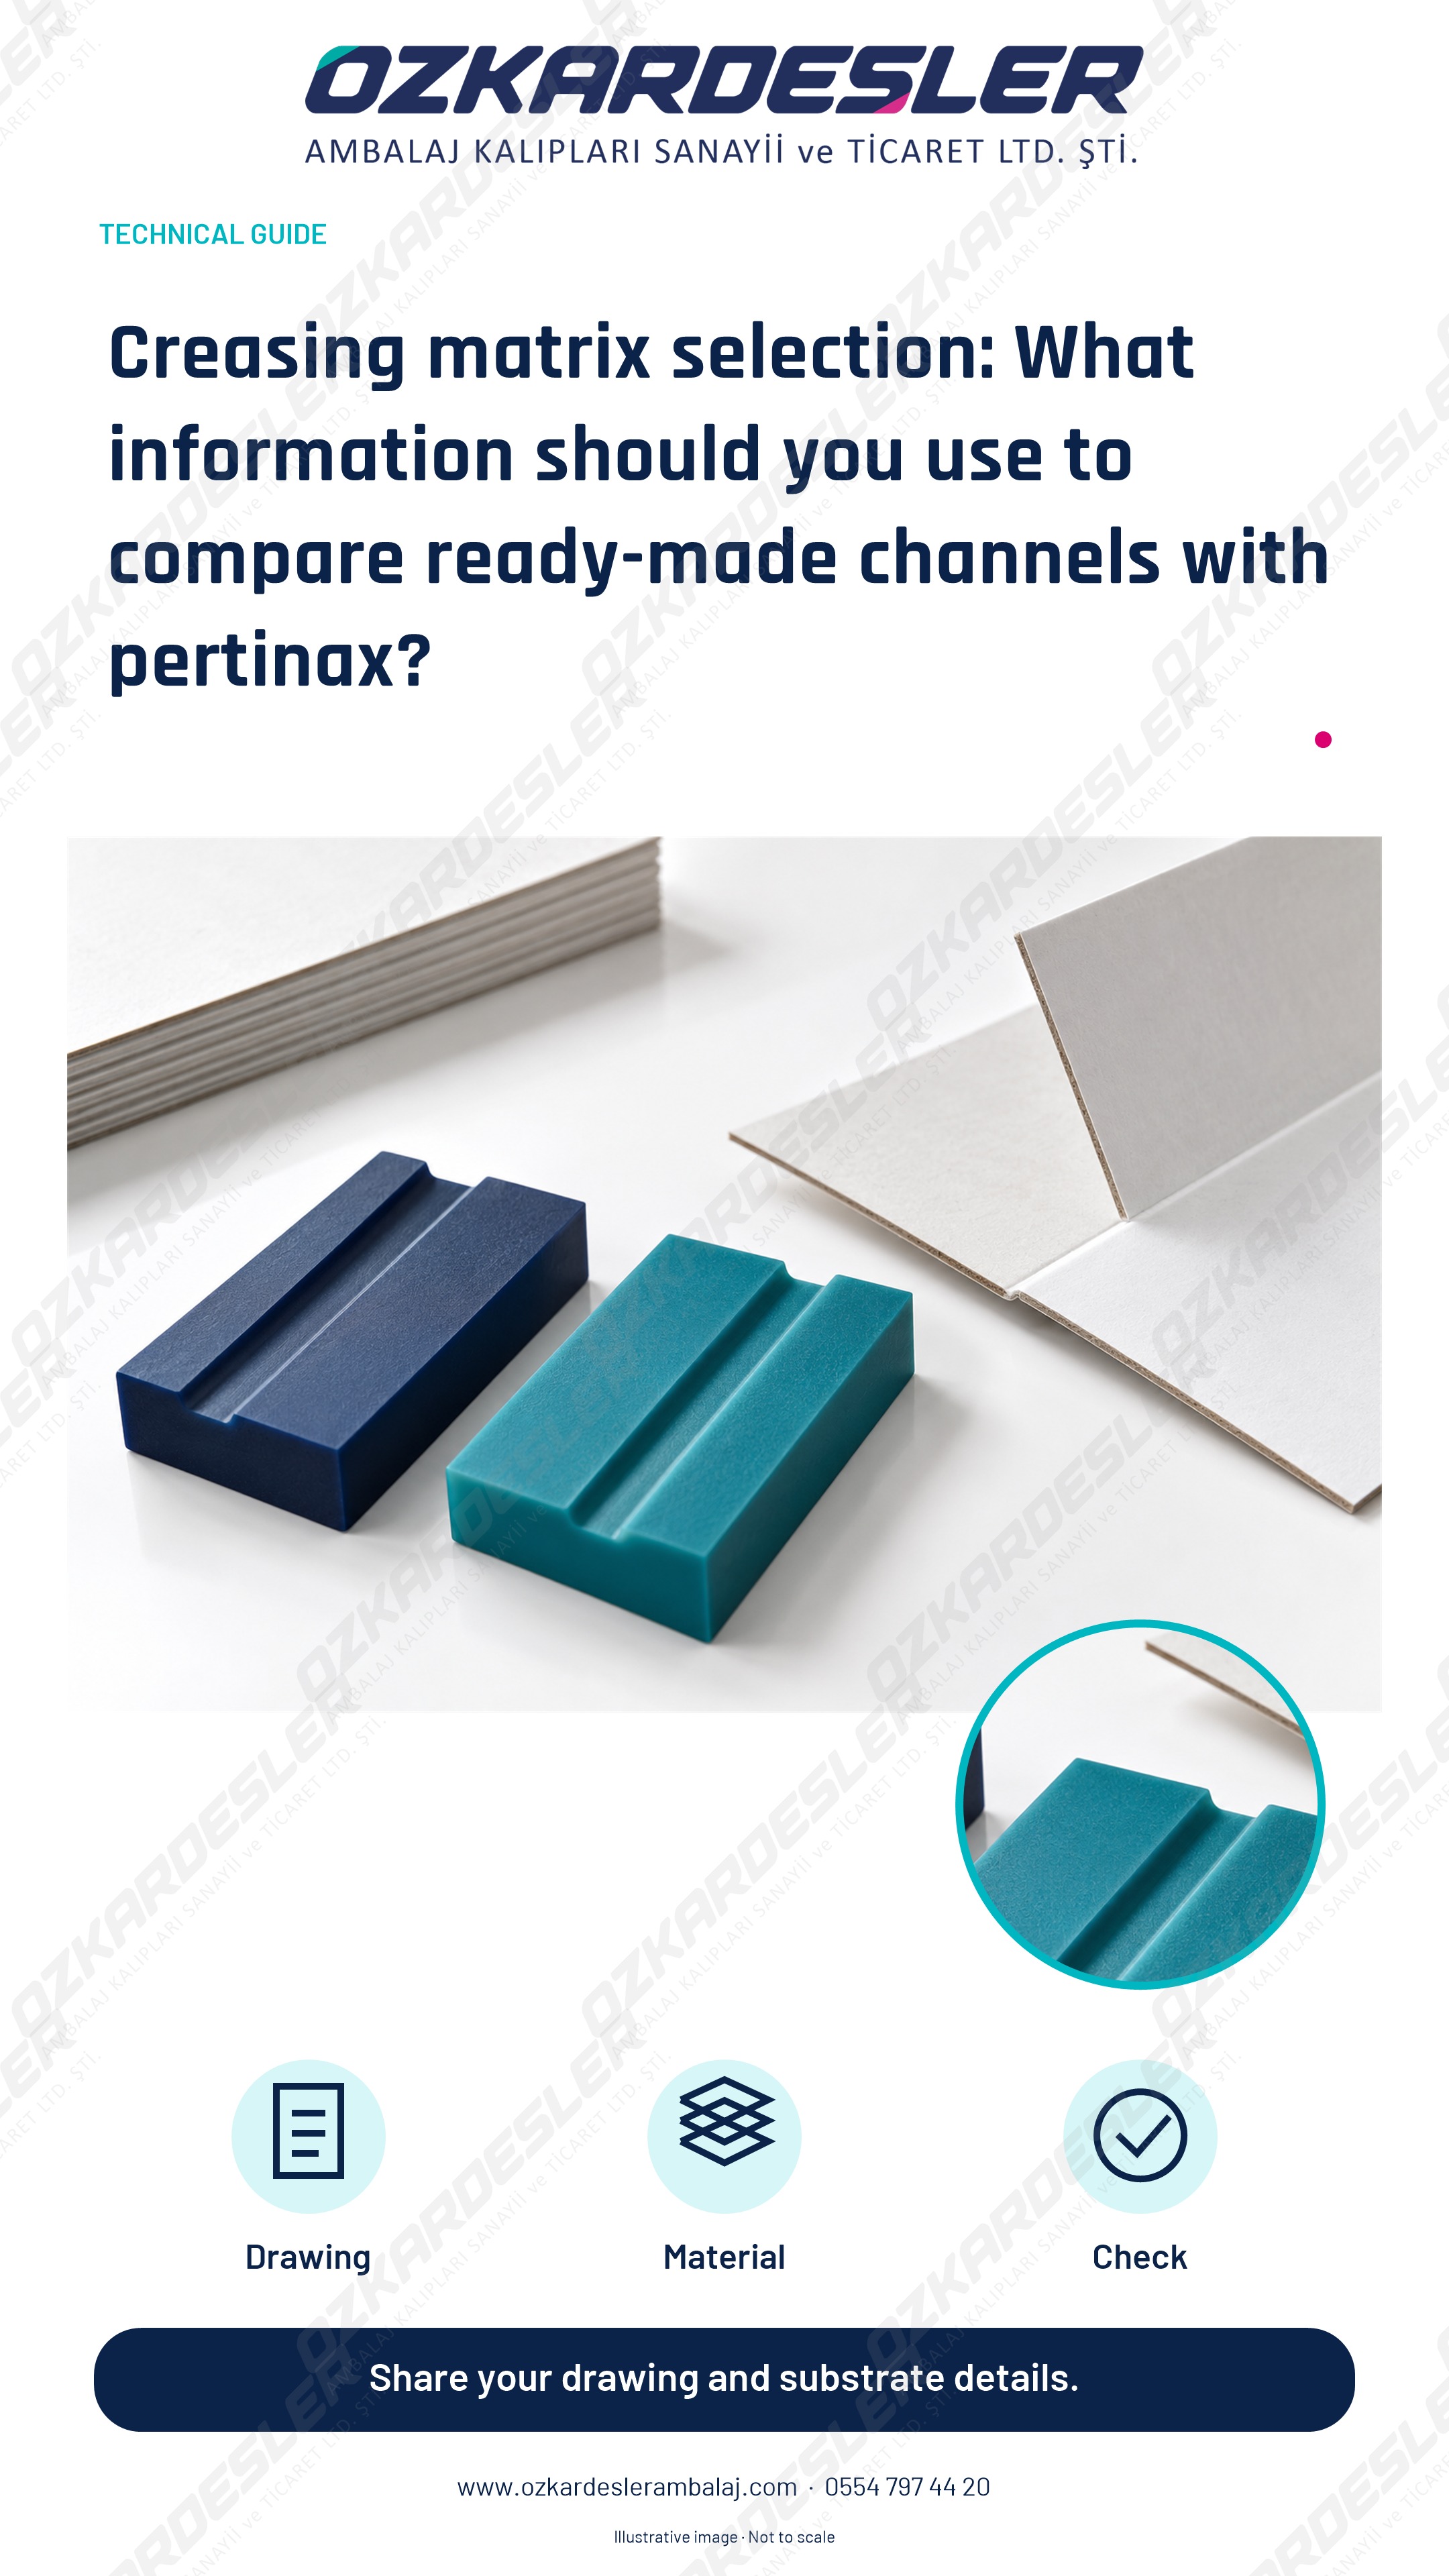
Evaluate the width, depth, material and installation relationships in creasing channels. Prepare technical briefs for ready-made channel and pertinax options.
Read the article →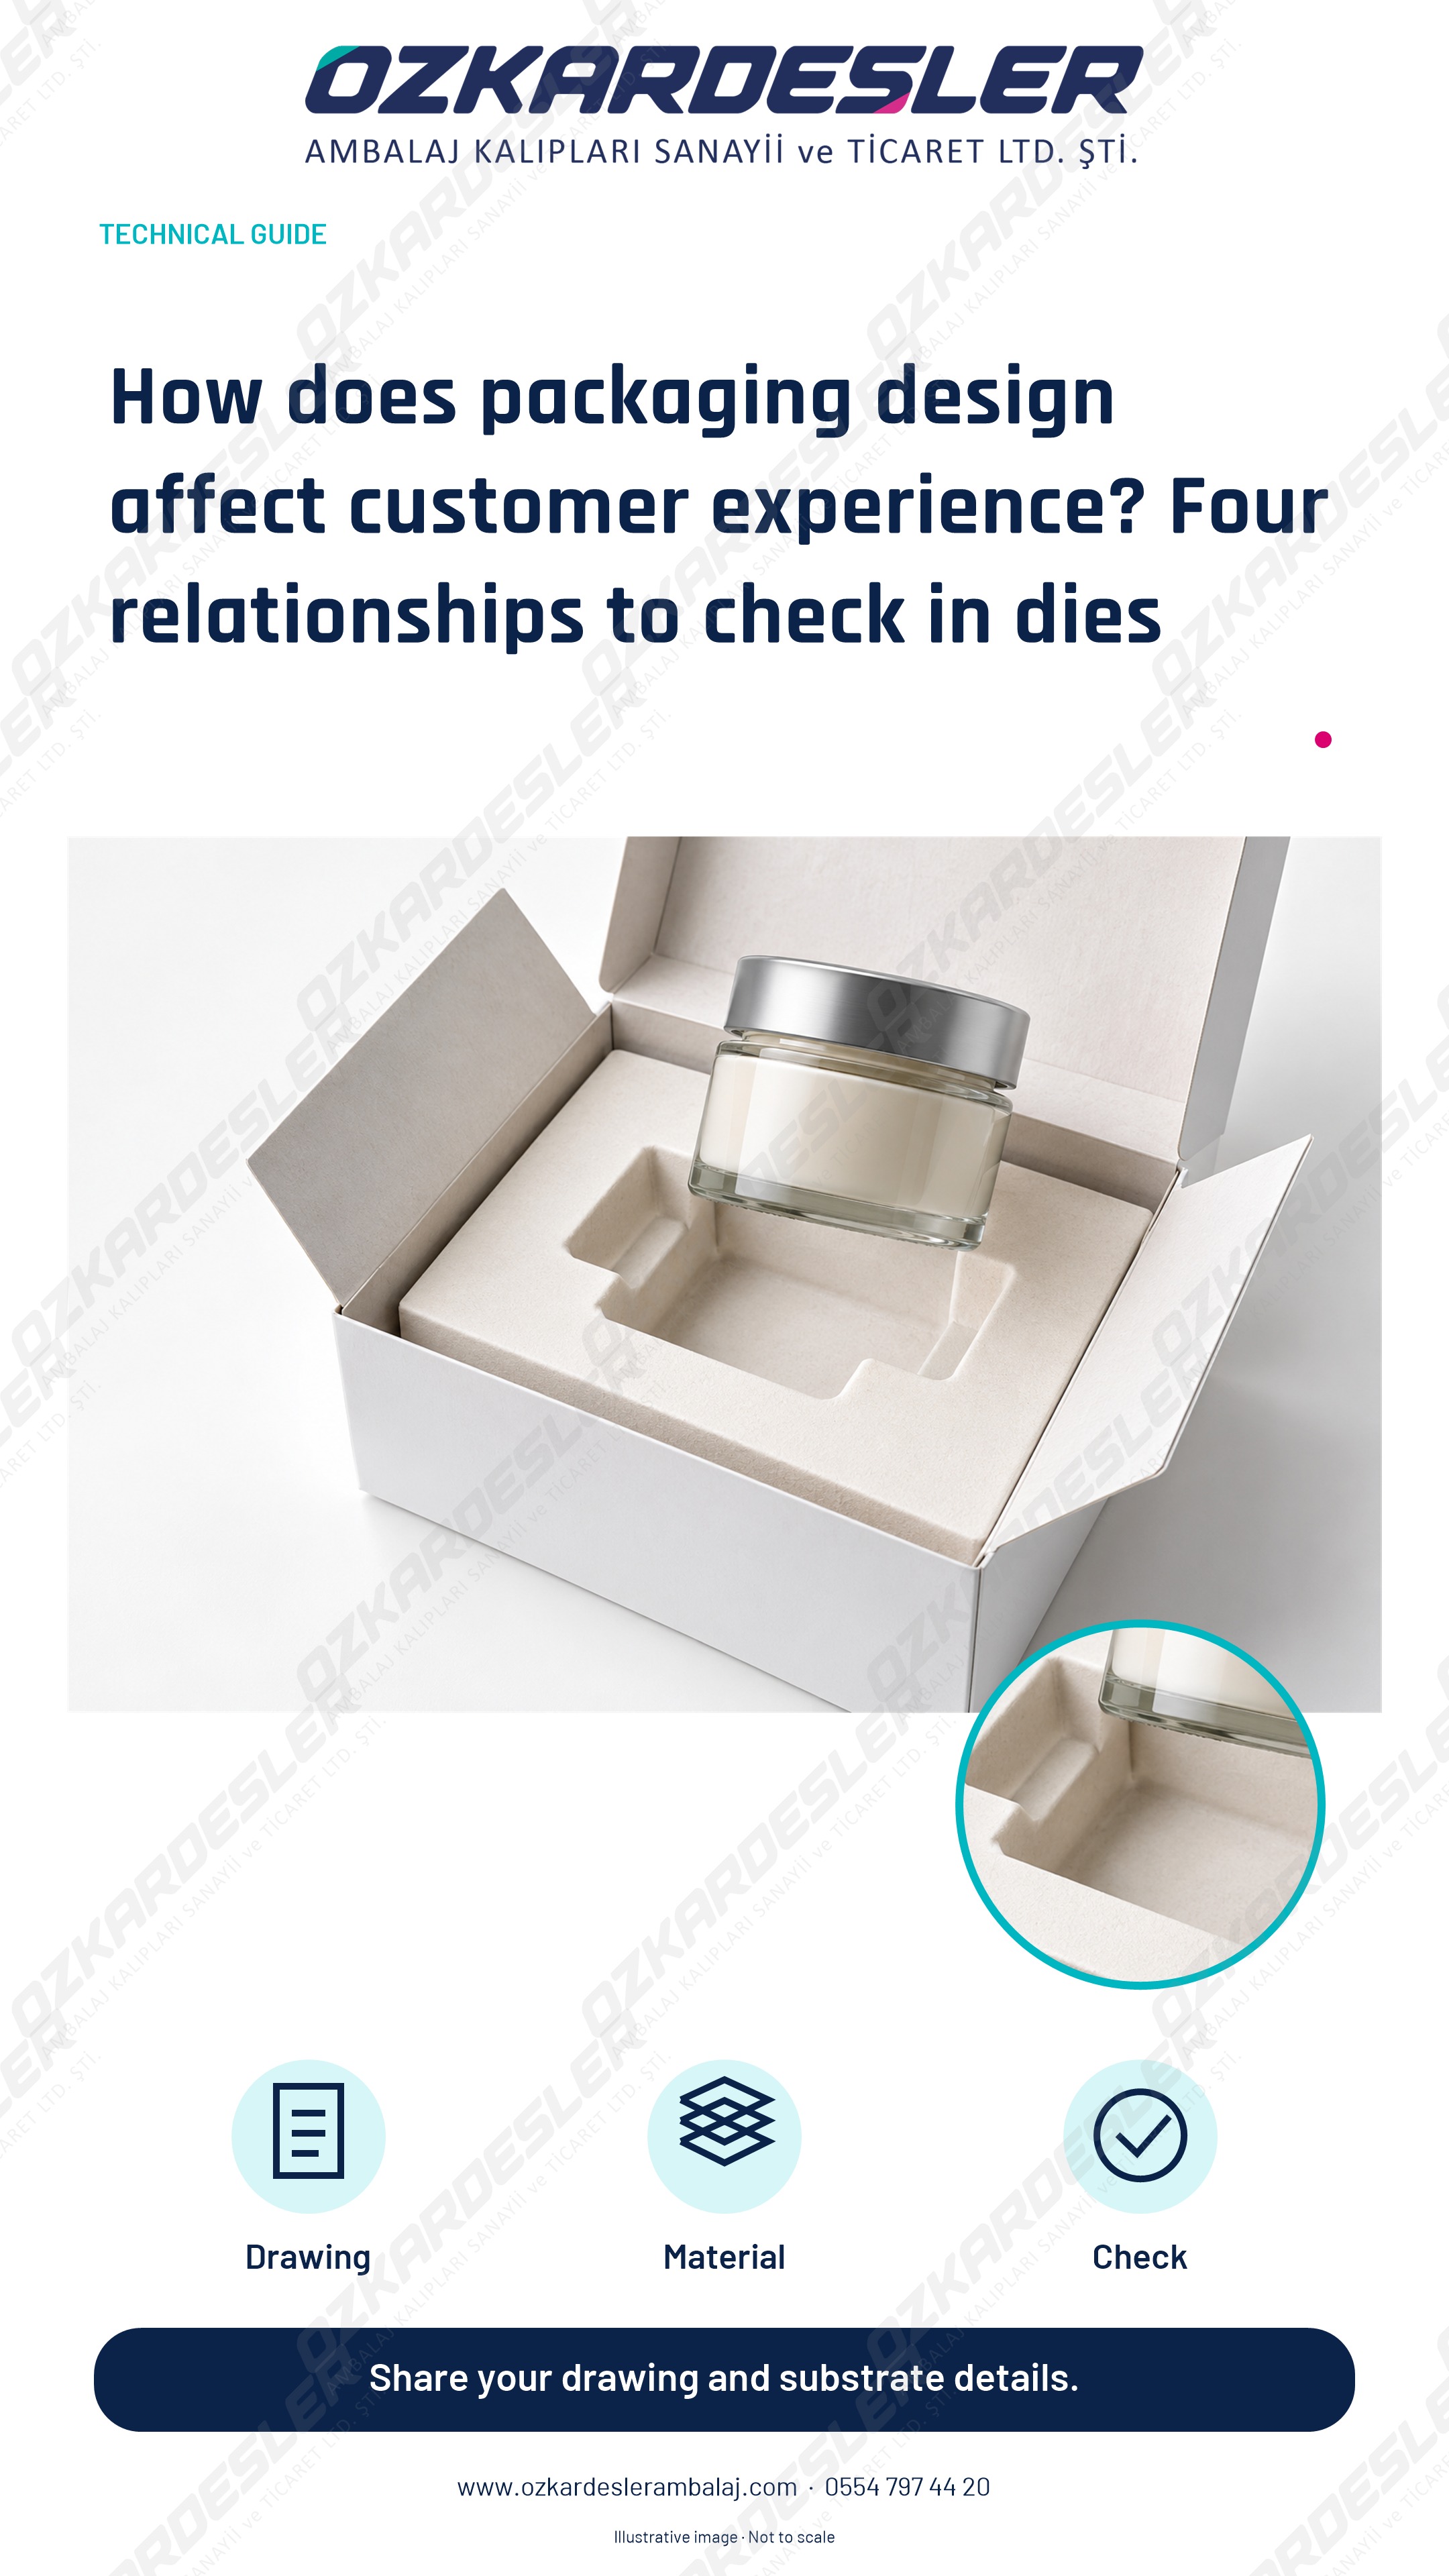
Examine product placement, closure, opening and print-cutting compatibility together in box design. Evaluate usability issues with sample records.
Read the article →
Plan drawings, samples, revisions and production approvals for launch or limited-series packaging. Tie die quotes to actual schedules.
Read the article →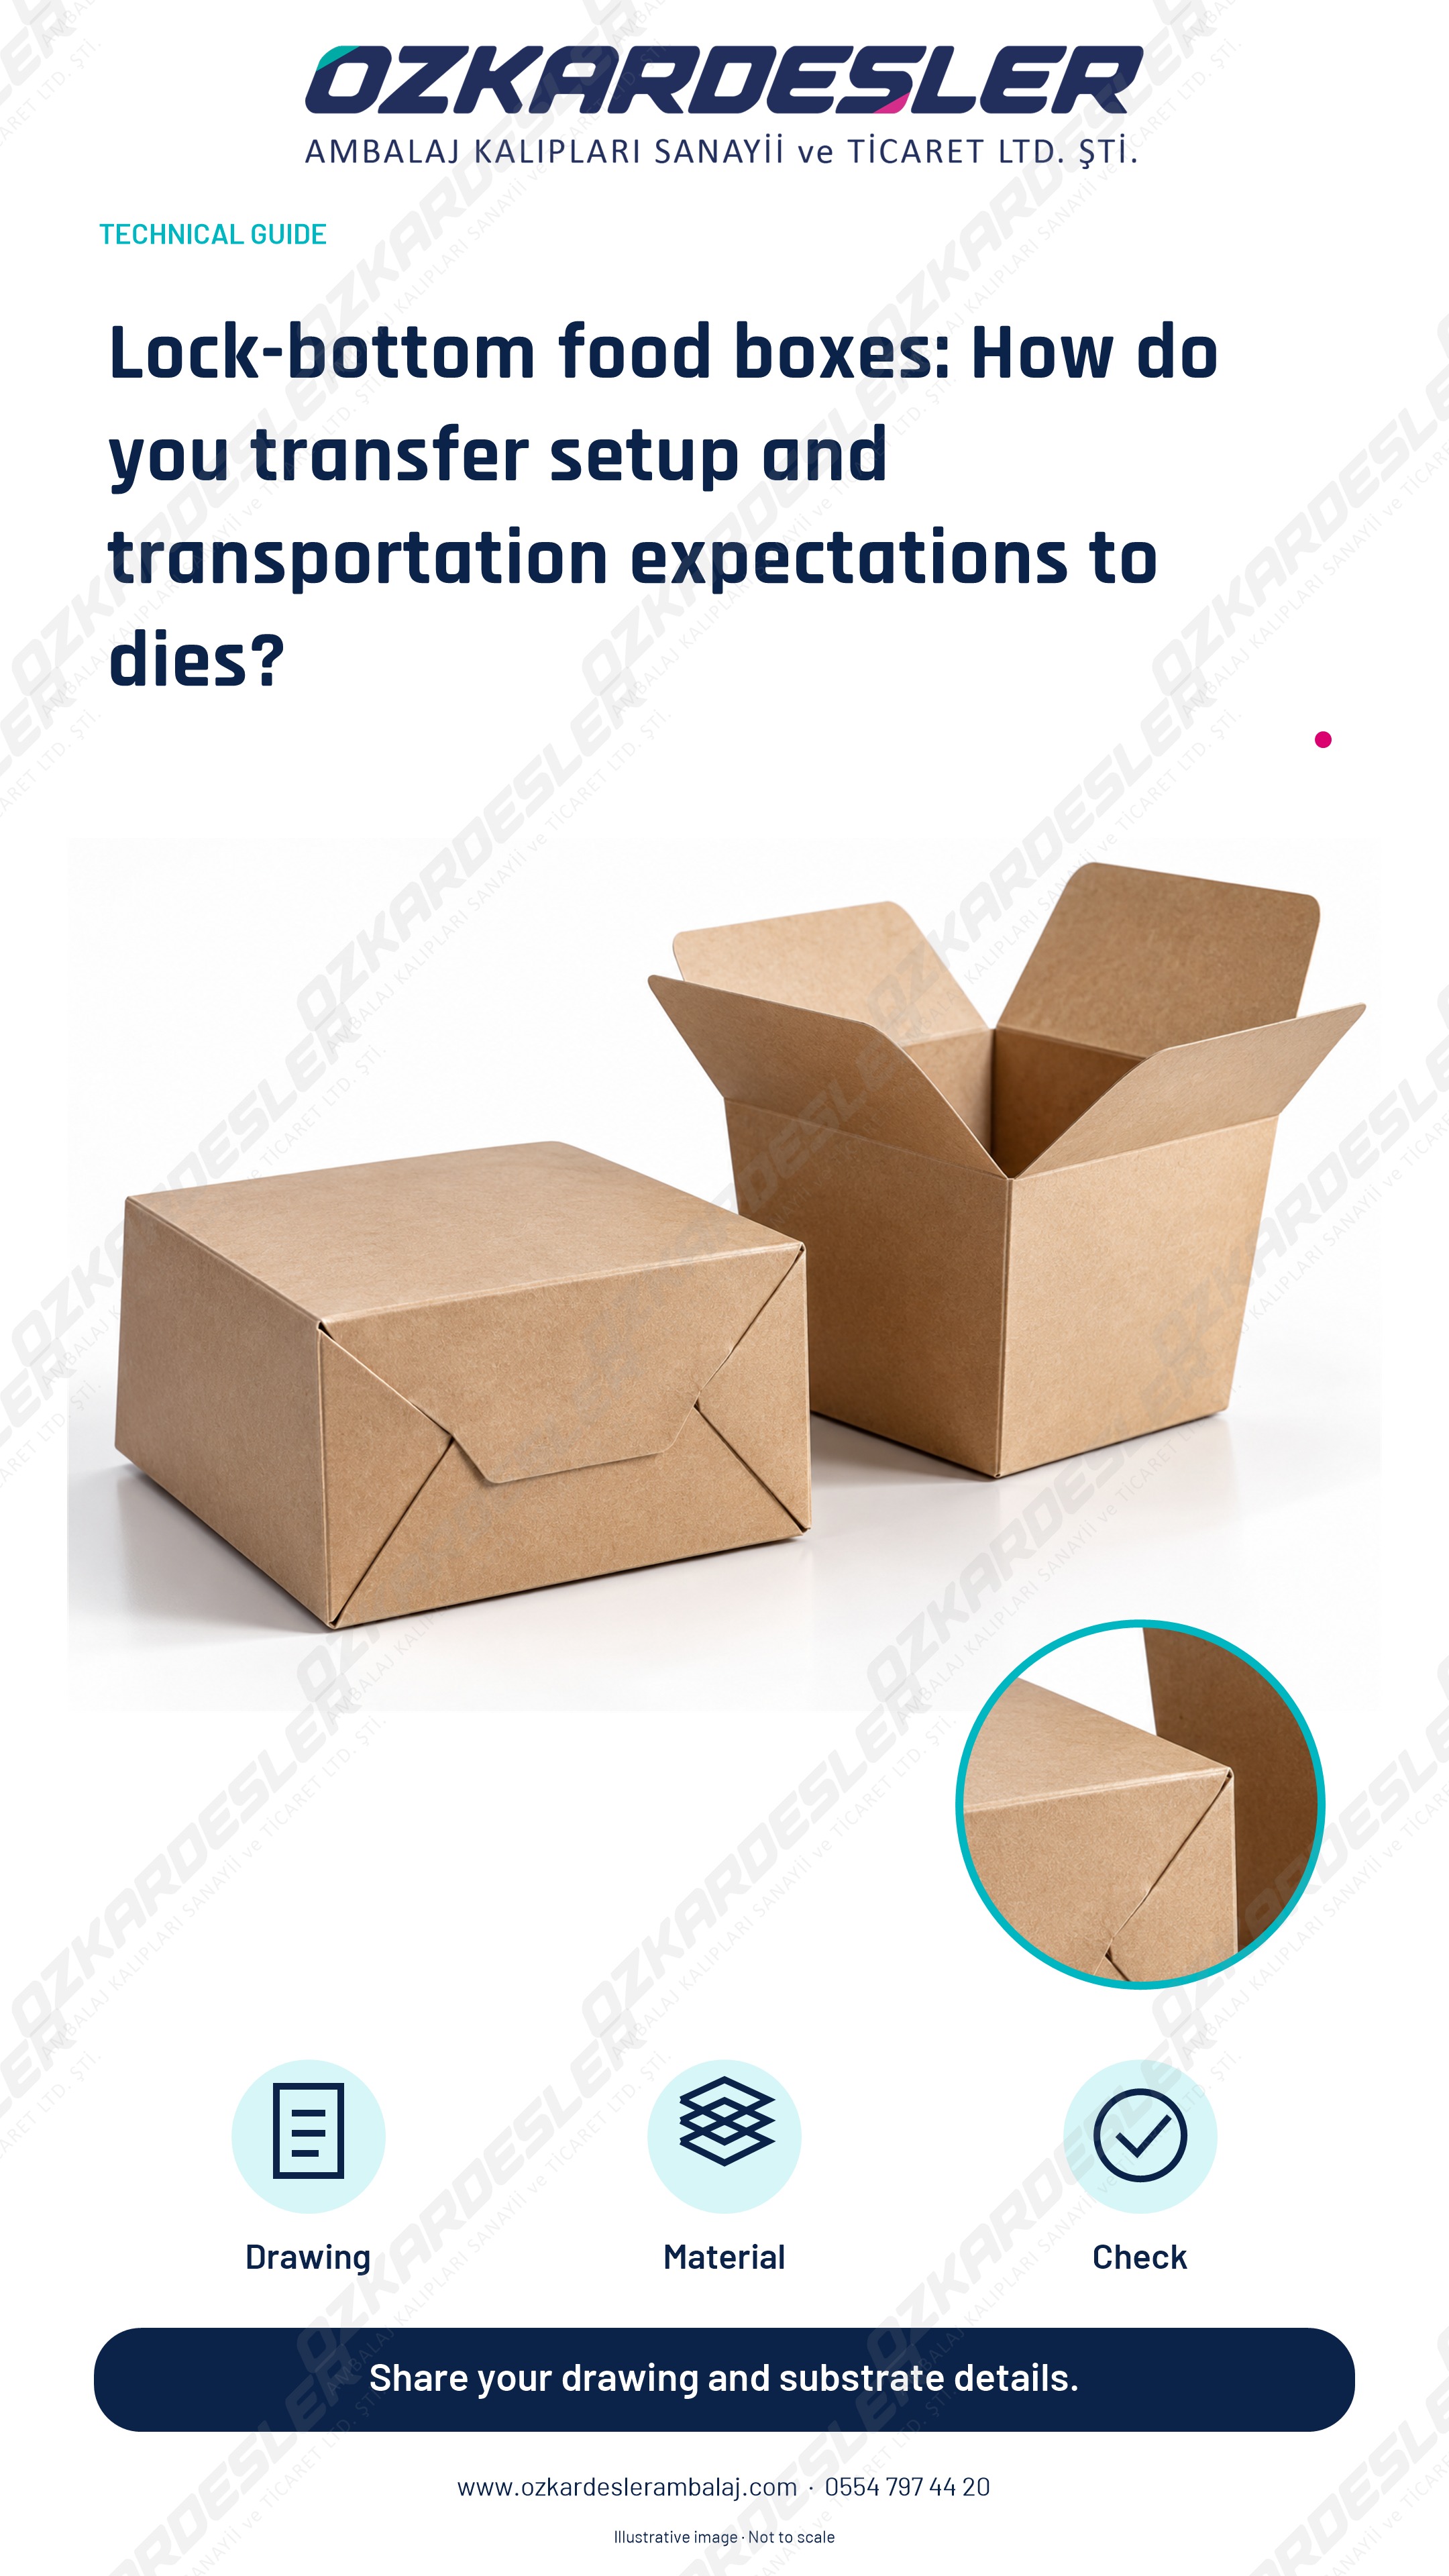
Plan bottom locks, folding, materials and product placement together in food box dielines. Prepare samples and die quotes.
Read the article →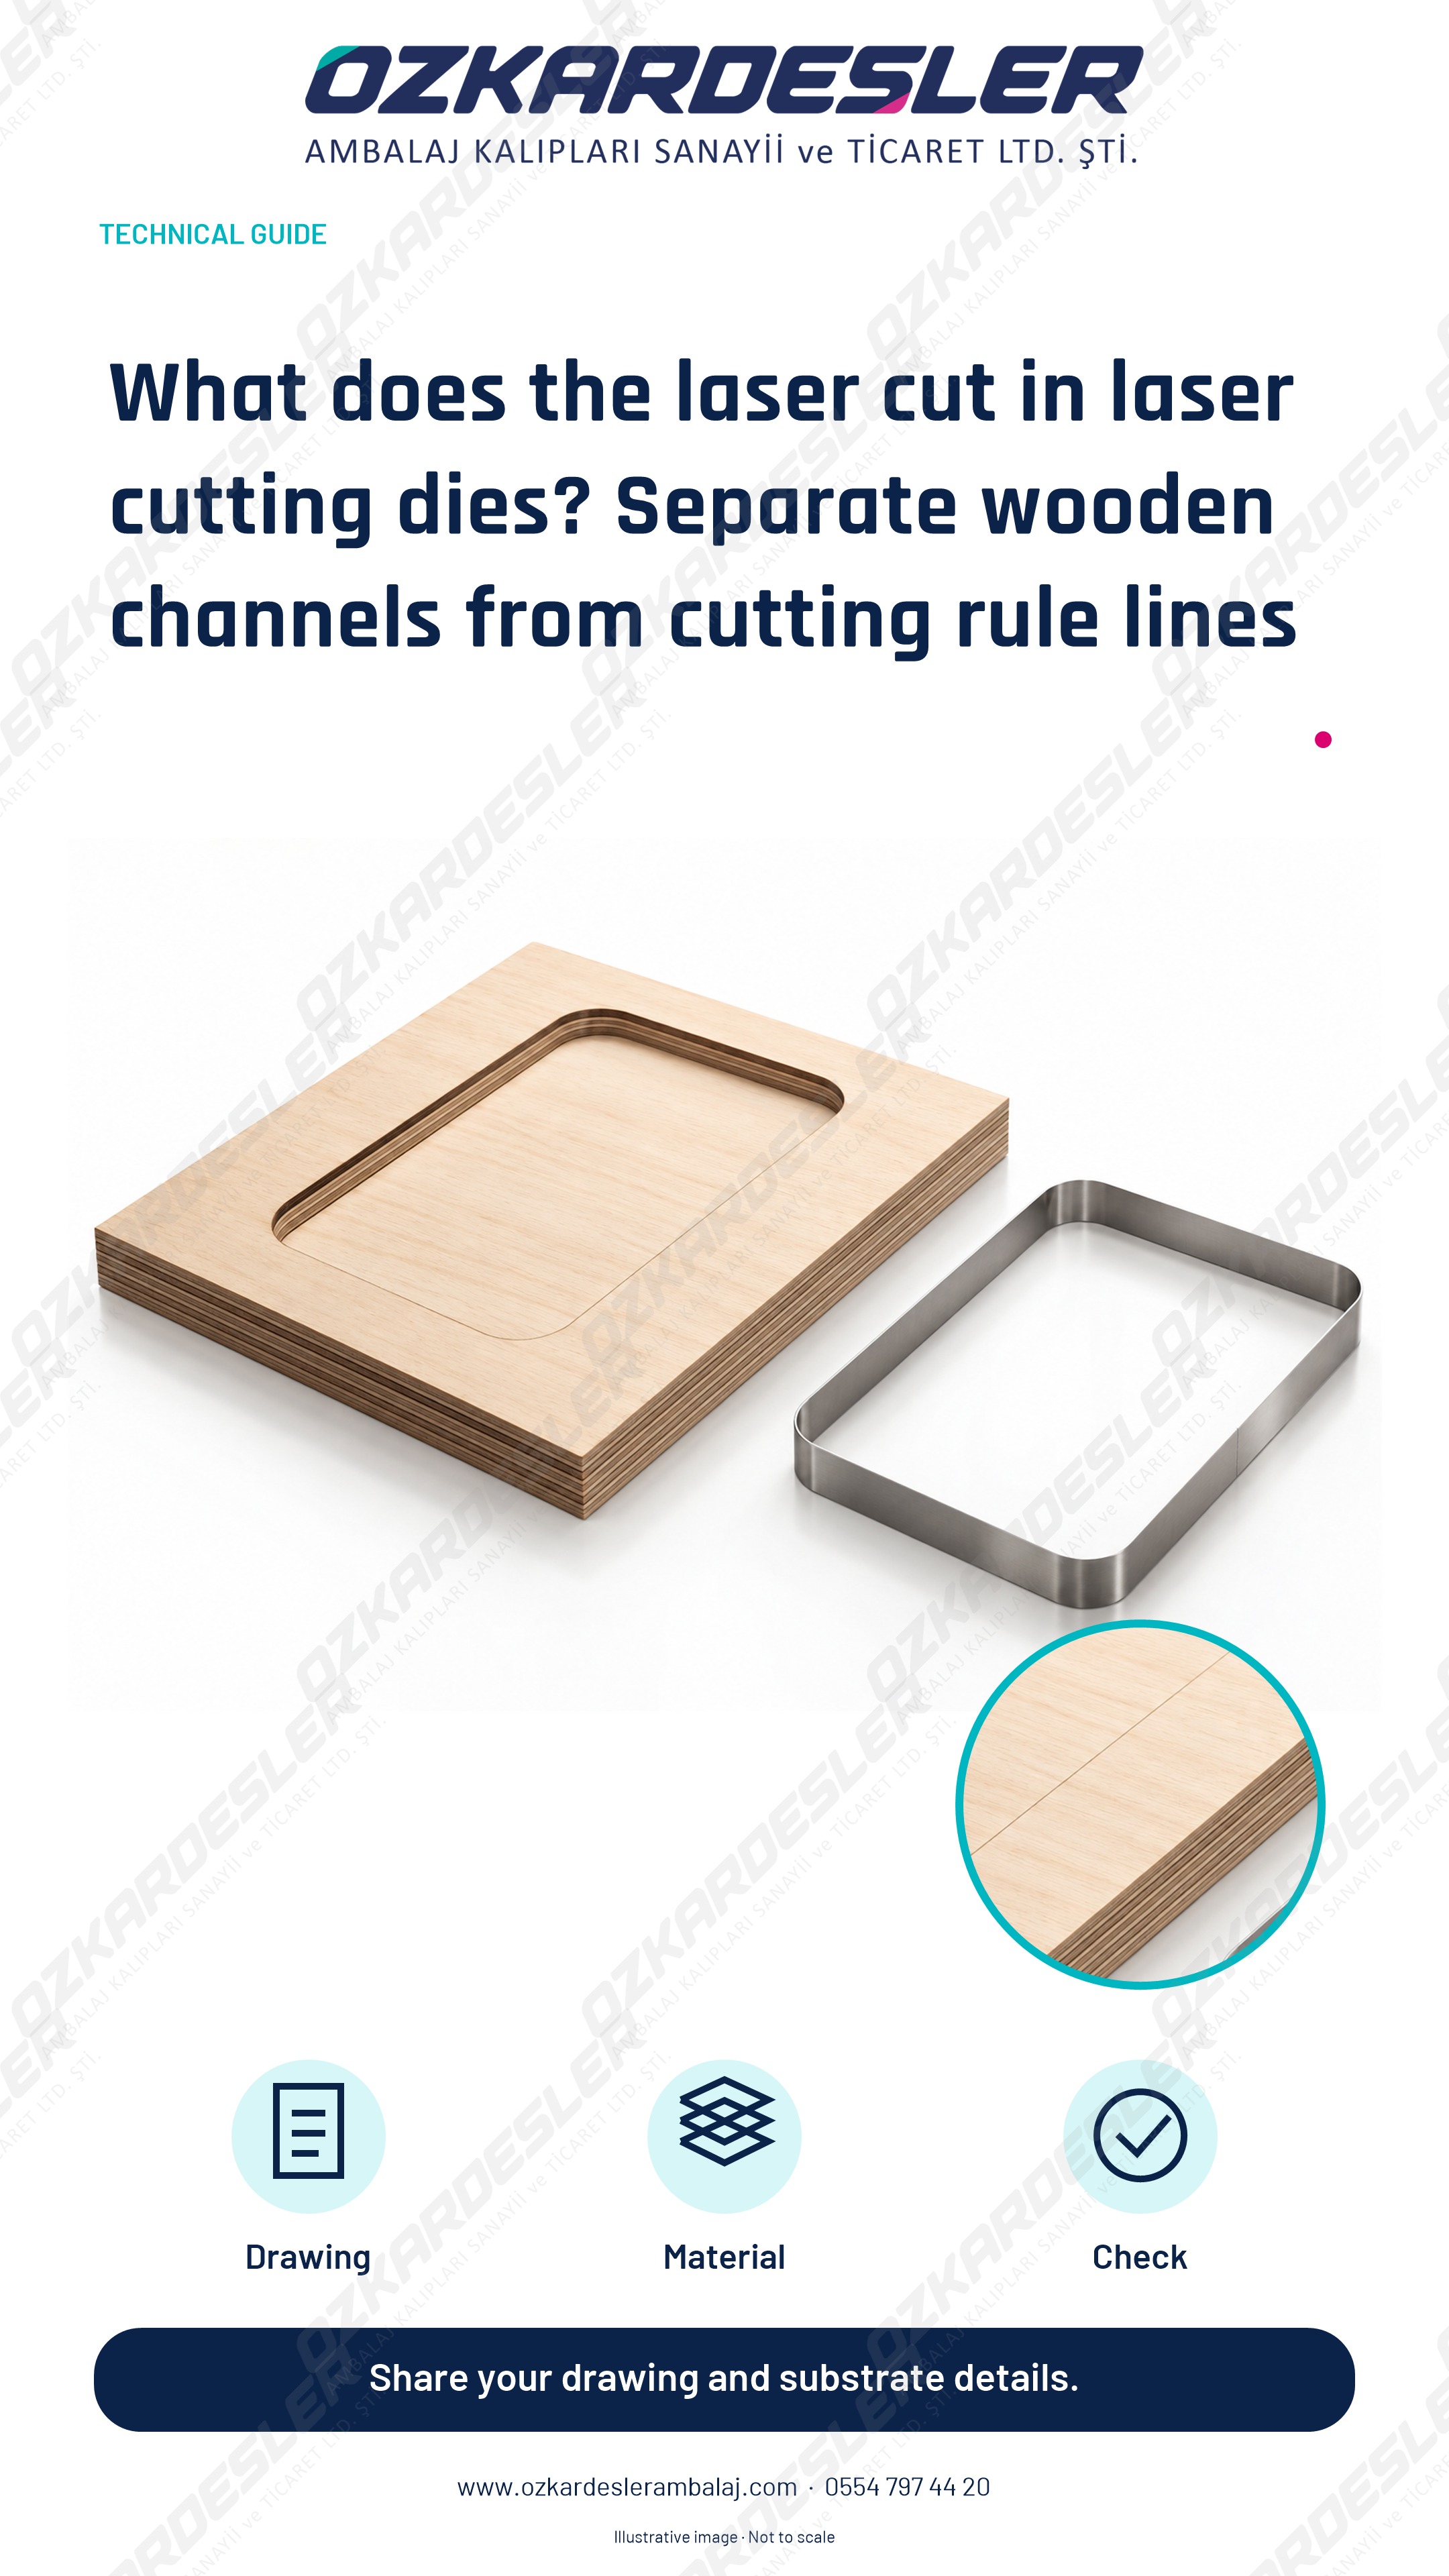
Learn the relationship between laser-prepared die boards, steel-rule cutting blades and assembly. Request quotes with die drawings and material information.
Read the article →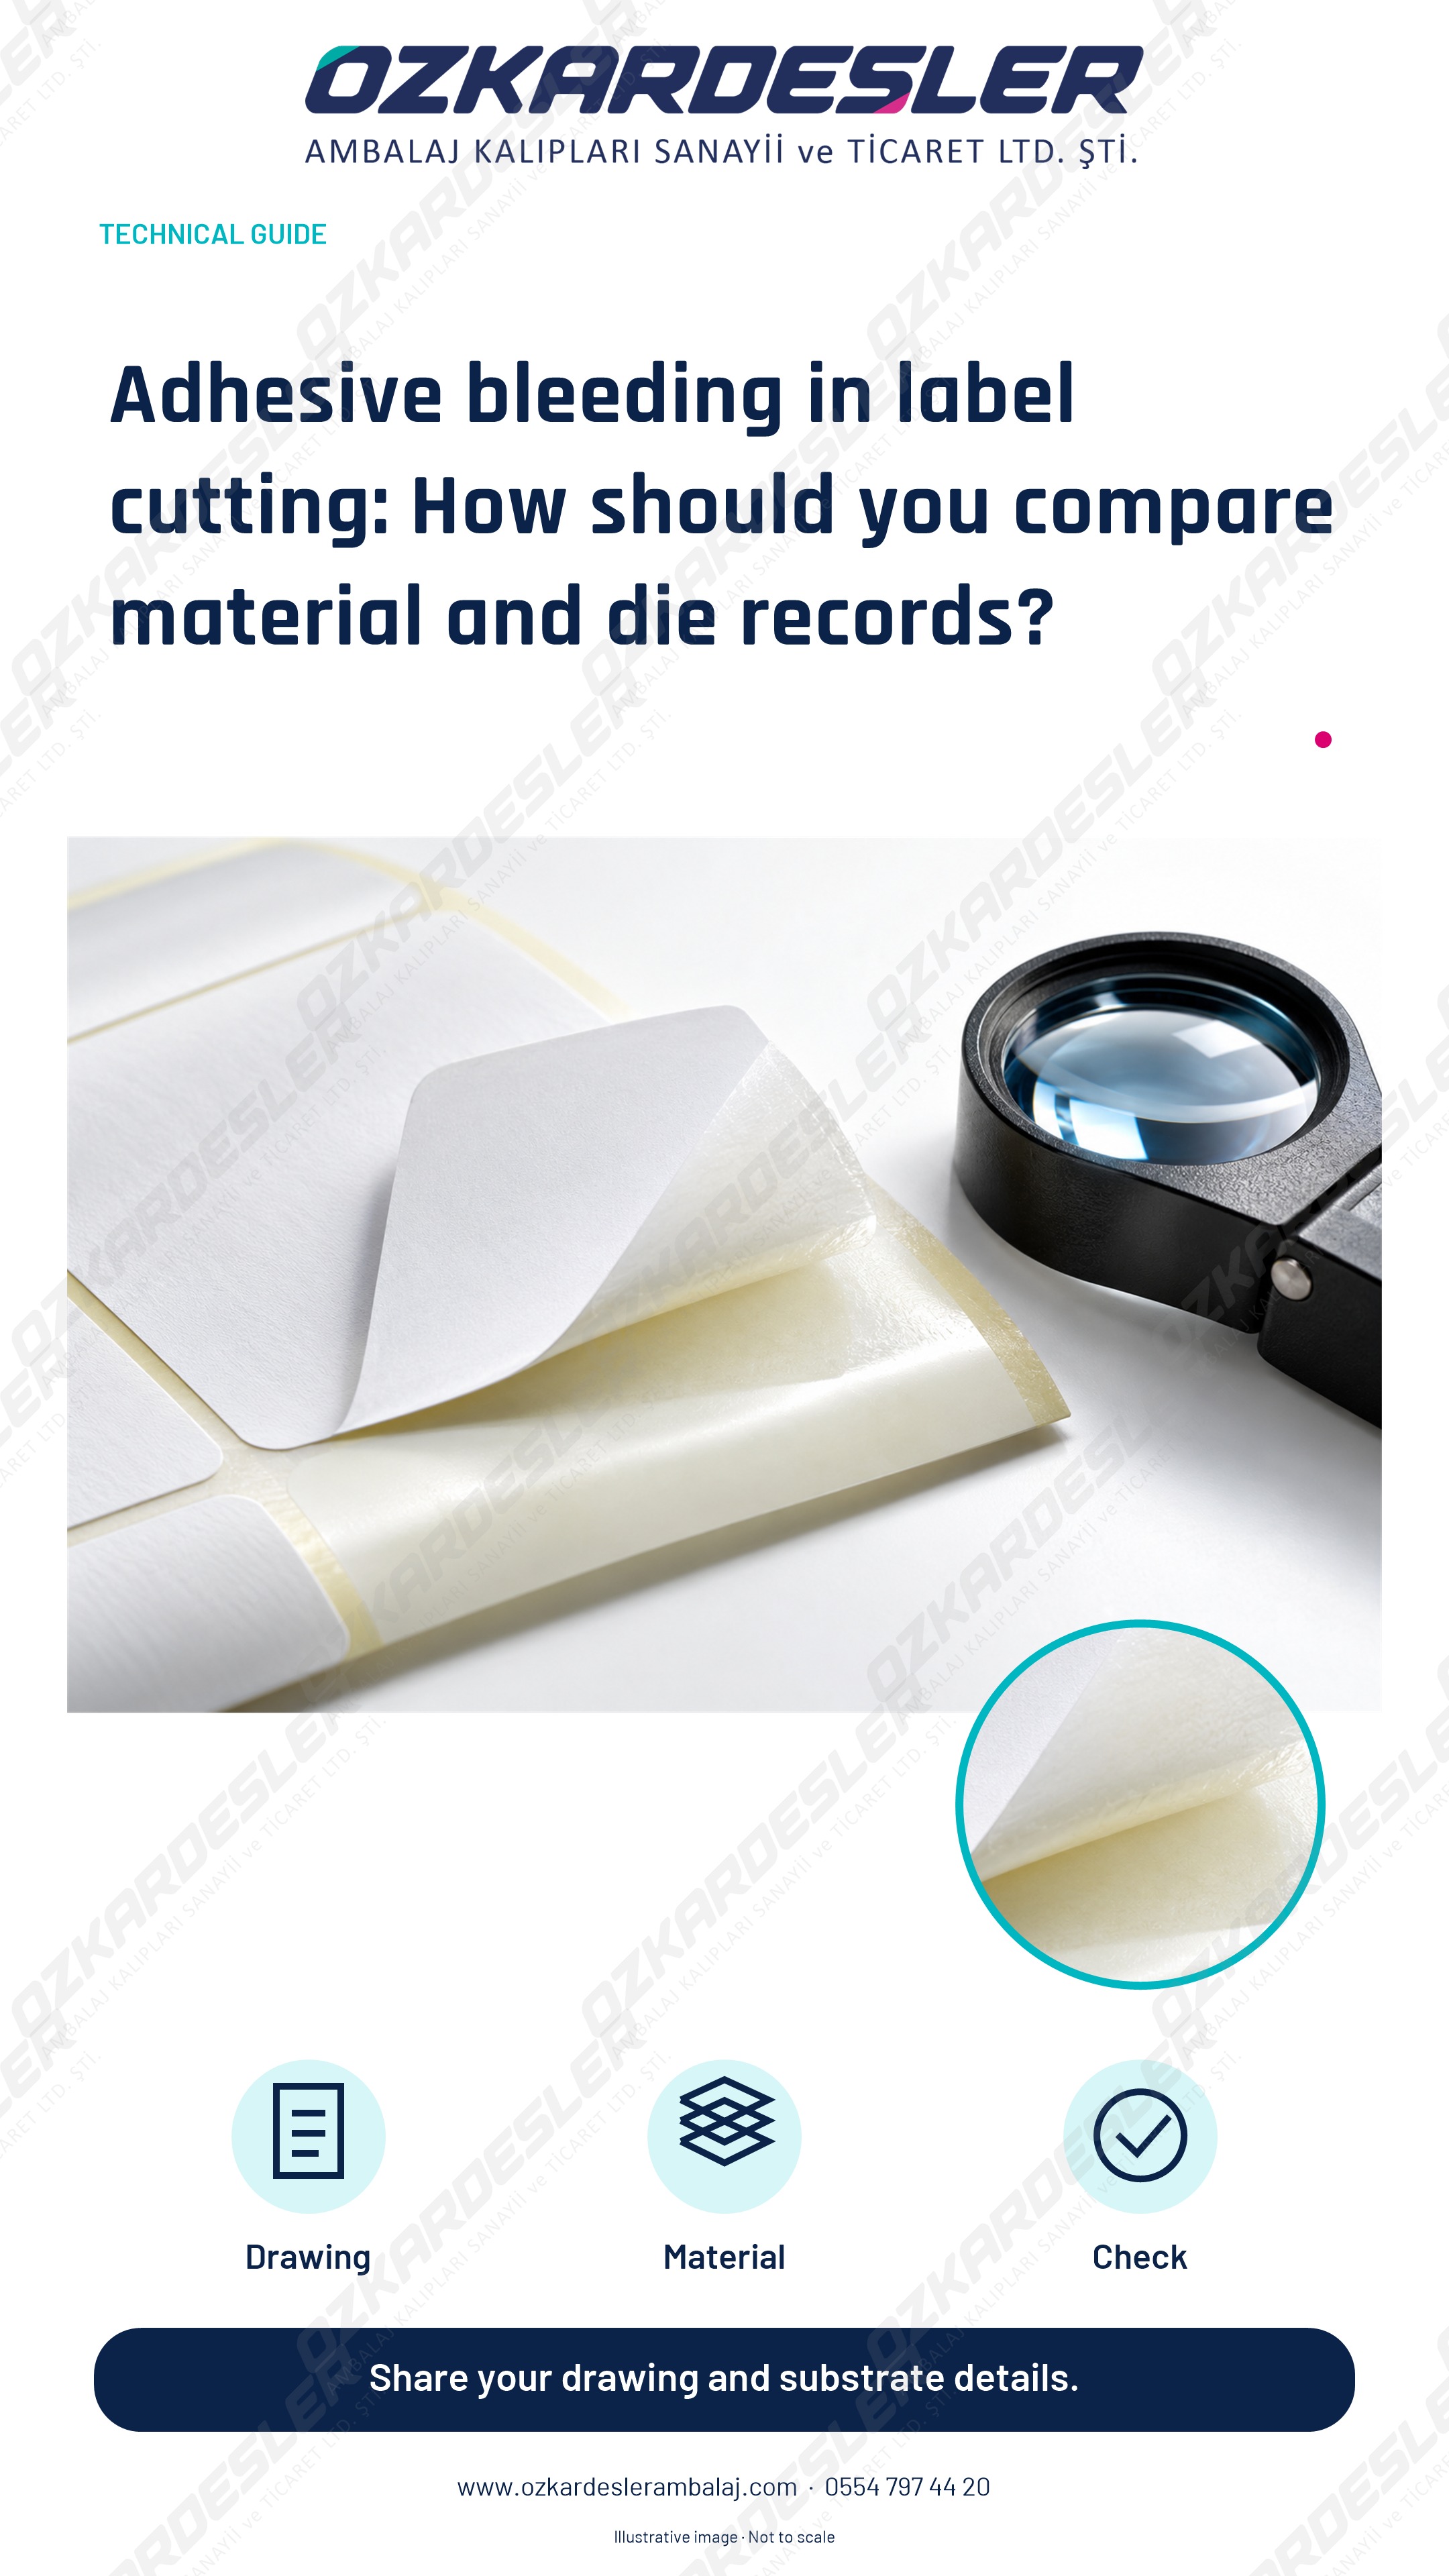
Record adhesive accumulation and peeling issues at label edges. Start technical inspections with material batches, liners and die information.
Read the article →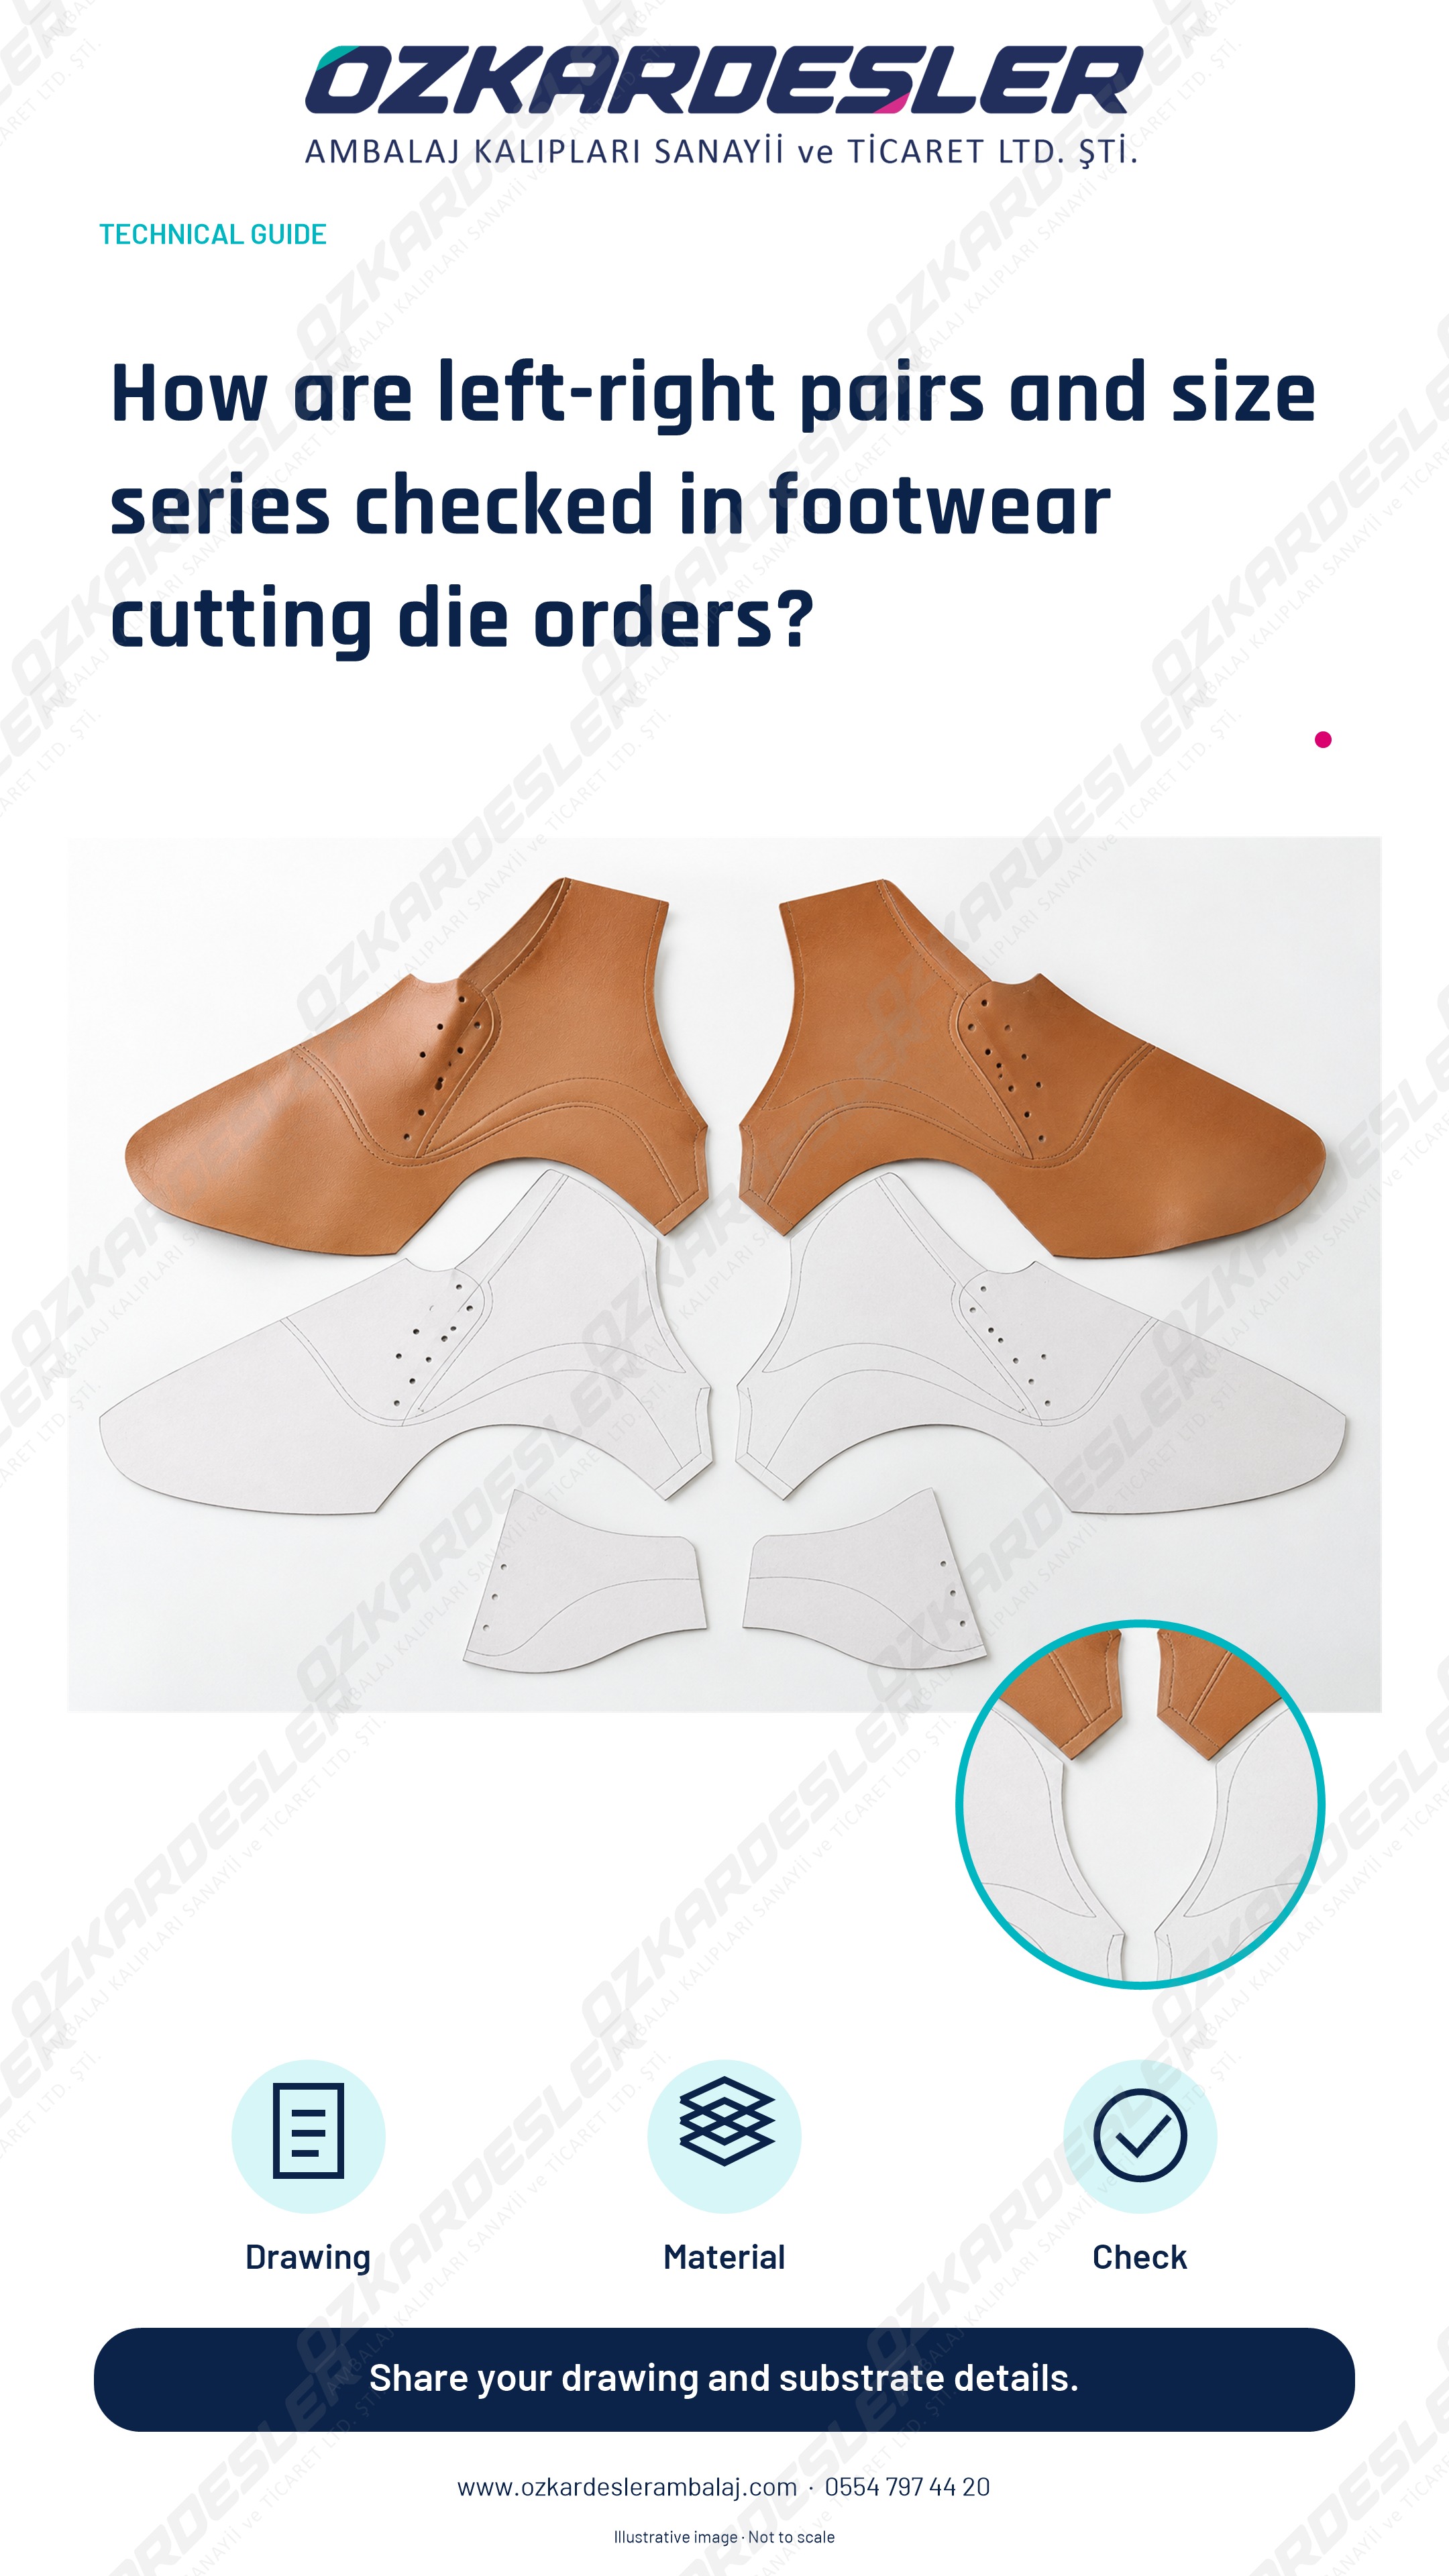
Organize left-right parts, size series, directions and revision information in shoe upper cutting die orders. Request quotes with samples.
Read the article →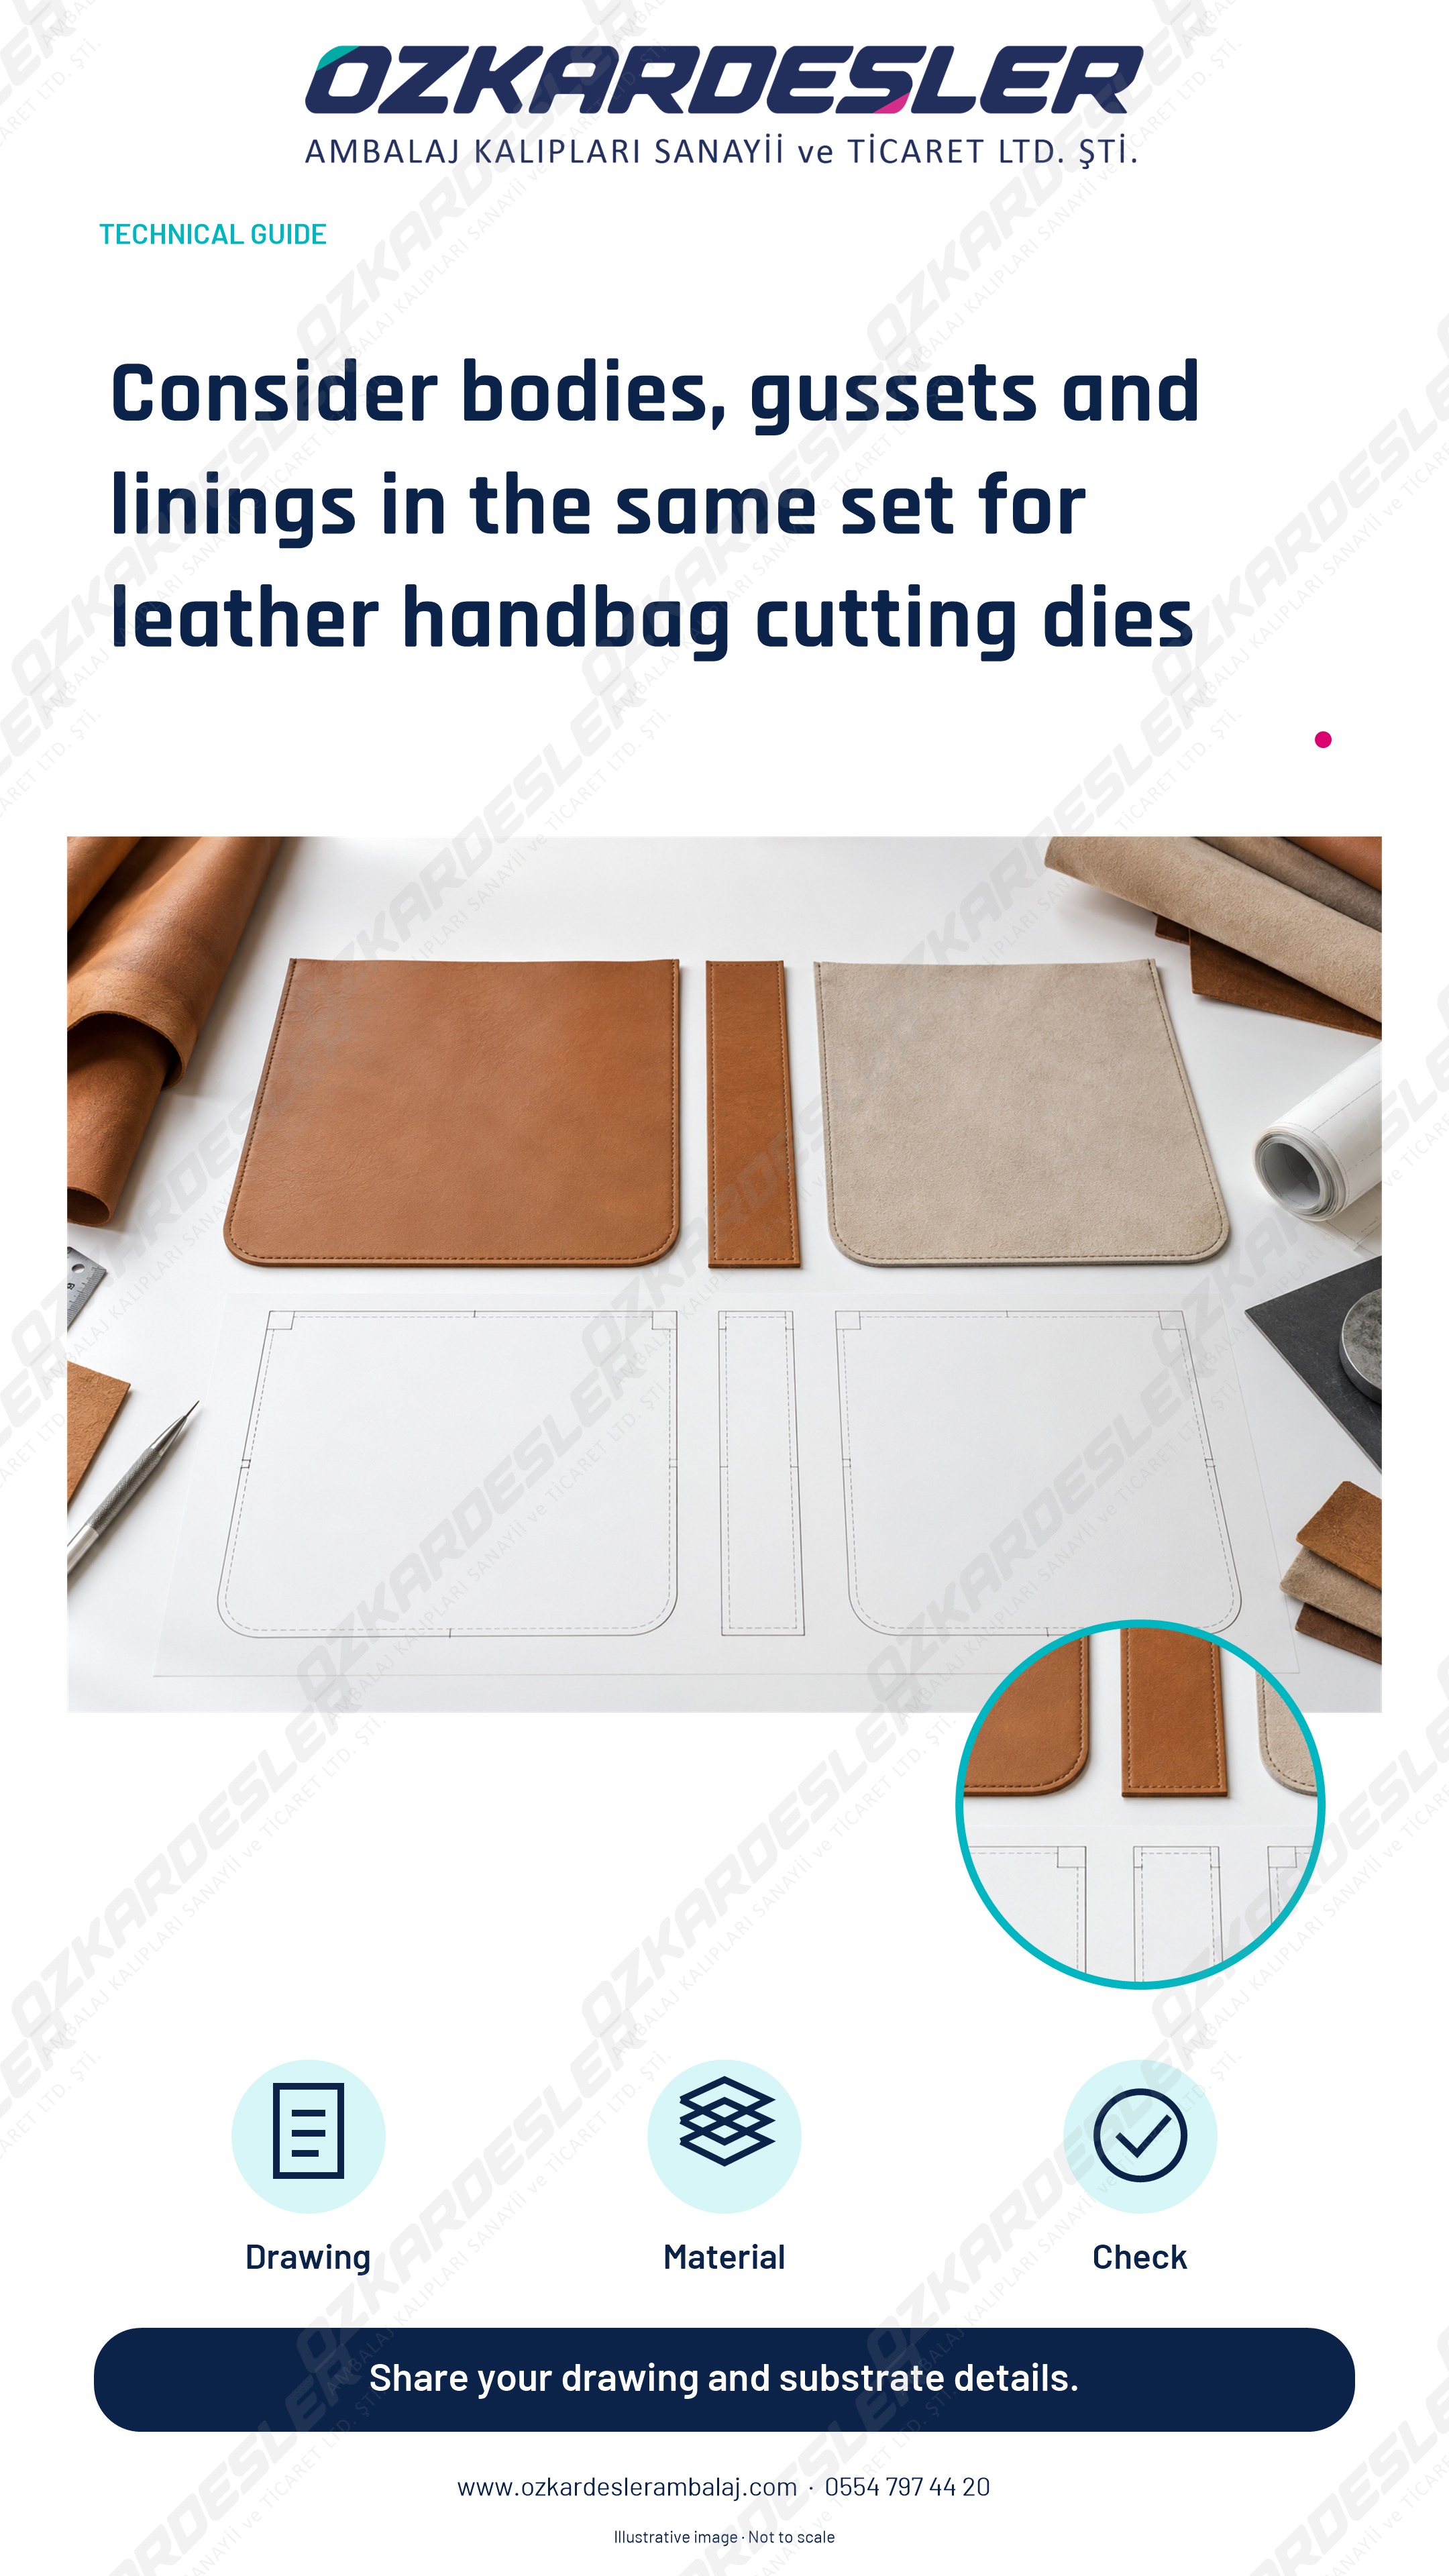
Match bodies, gussets, linings and support parts in leather bag dies. Prepare accurate quotes with assembly references and revisions.
Read the article →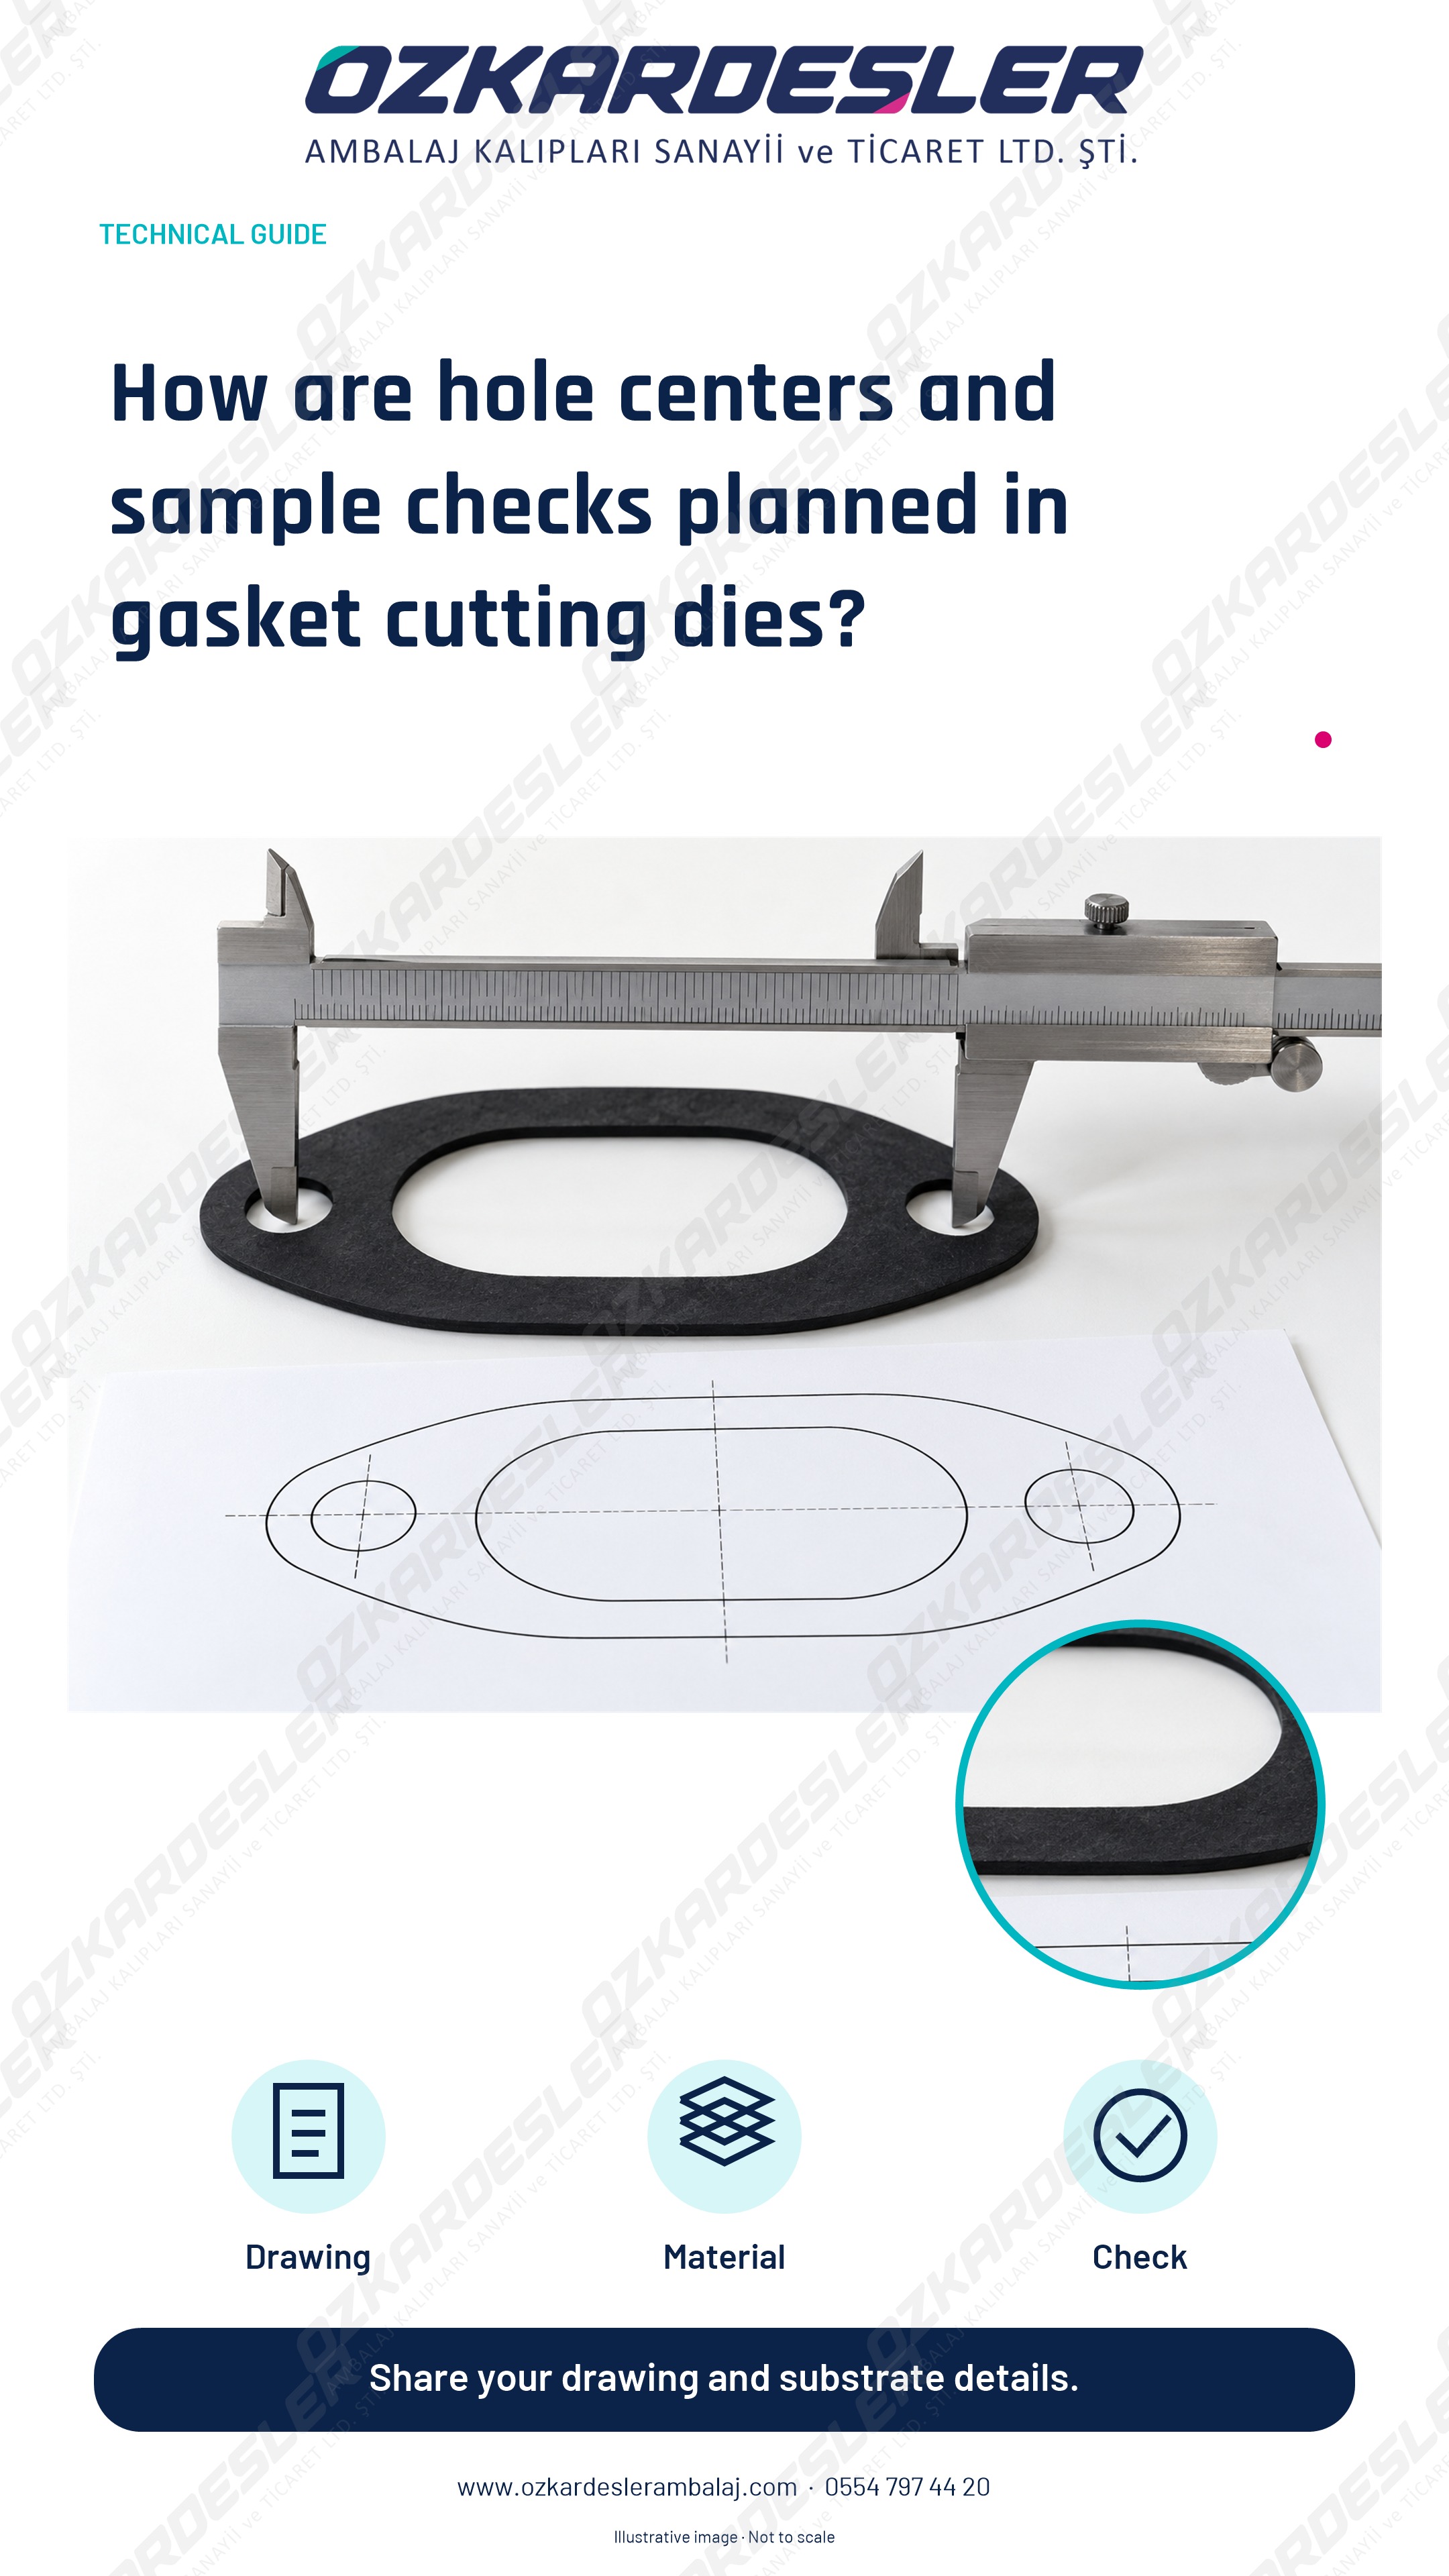
Prepare materials, hole centers, outer contours, tolerances and sample information for gasket die requests. Determine technical scope together.
Read the article →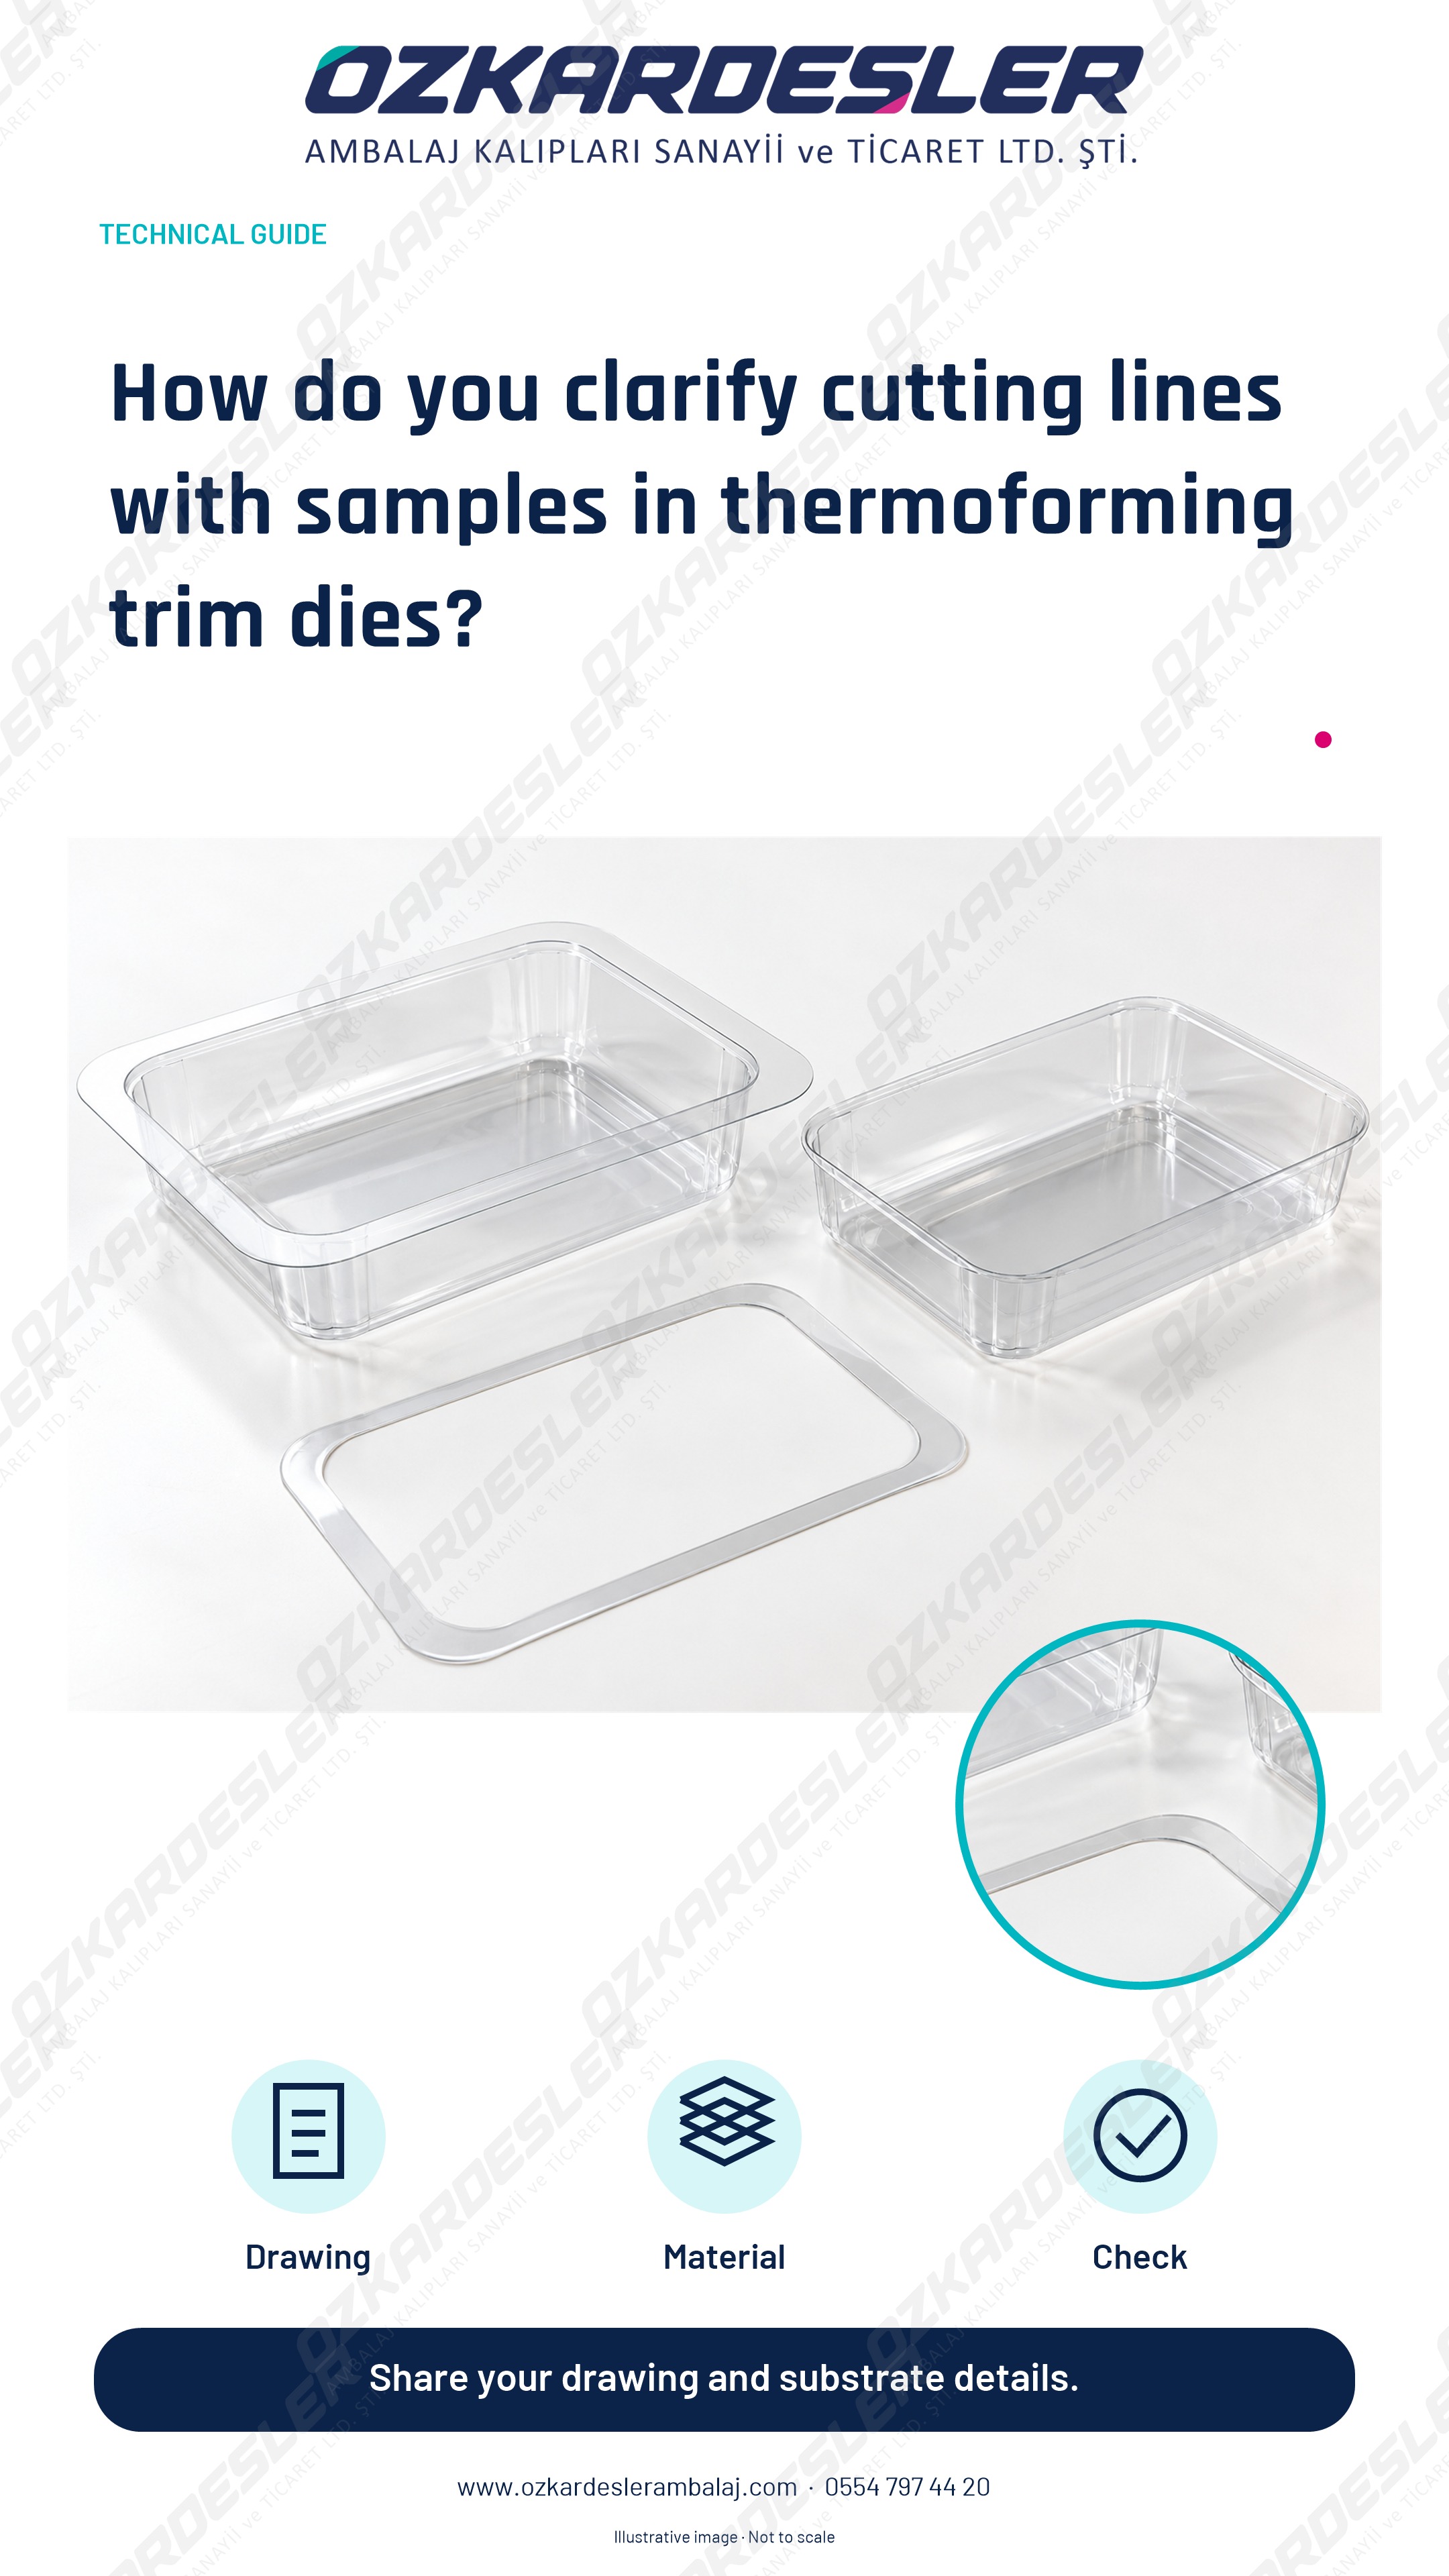
Prepare samples, references, cutting planes and machine information for perimeter cutting in thermoforming and blister parts. Discuss die scope.
Read the article →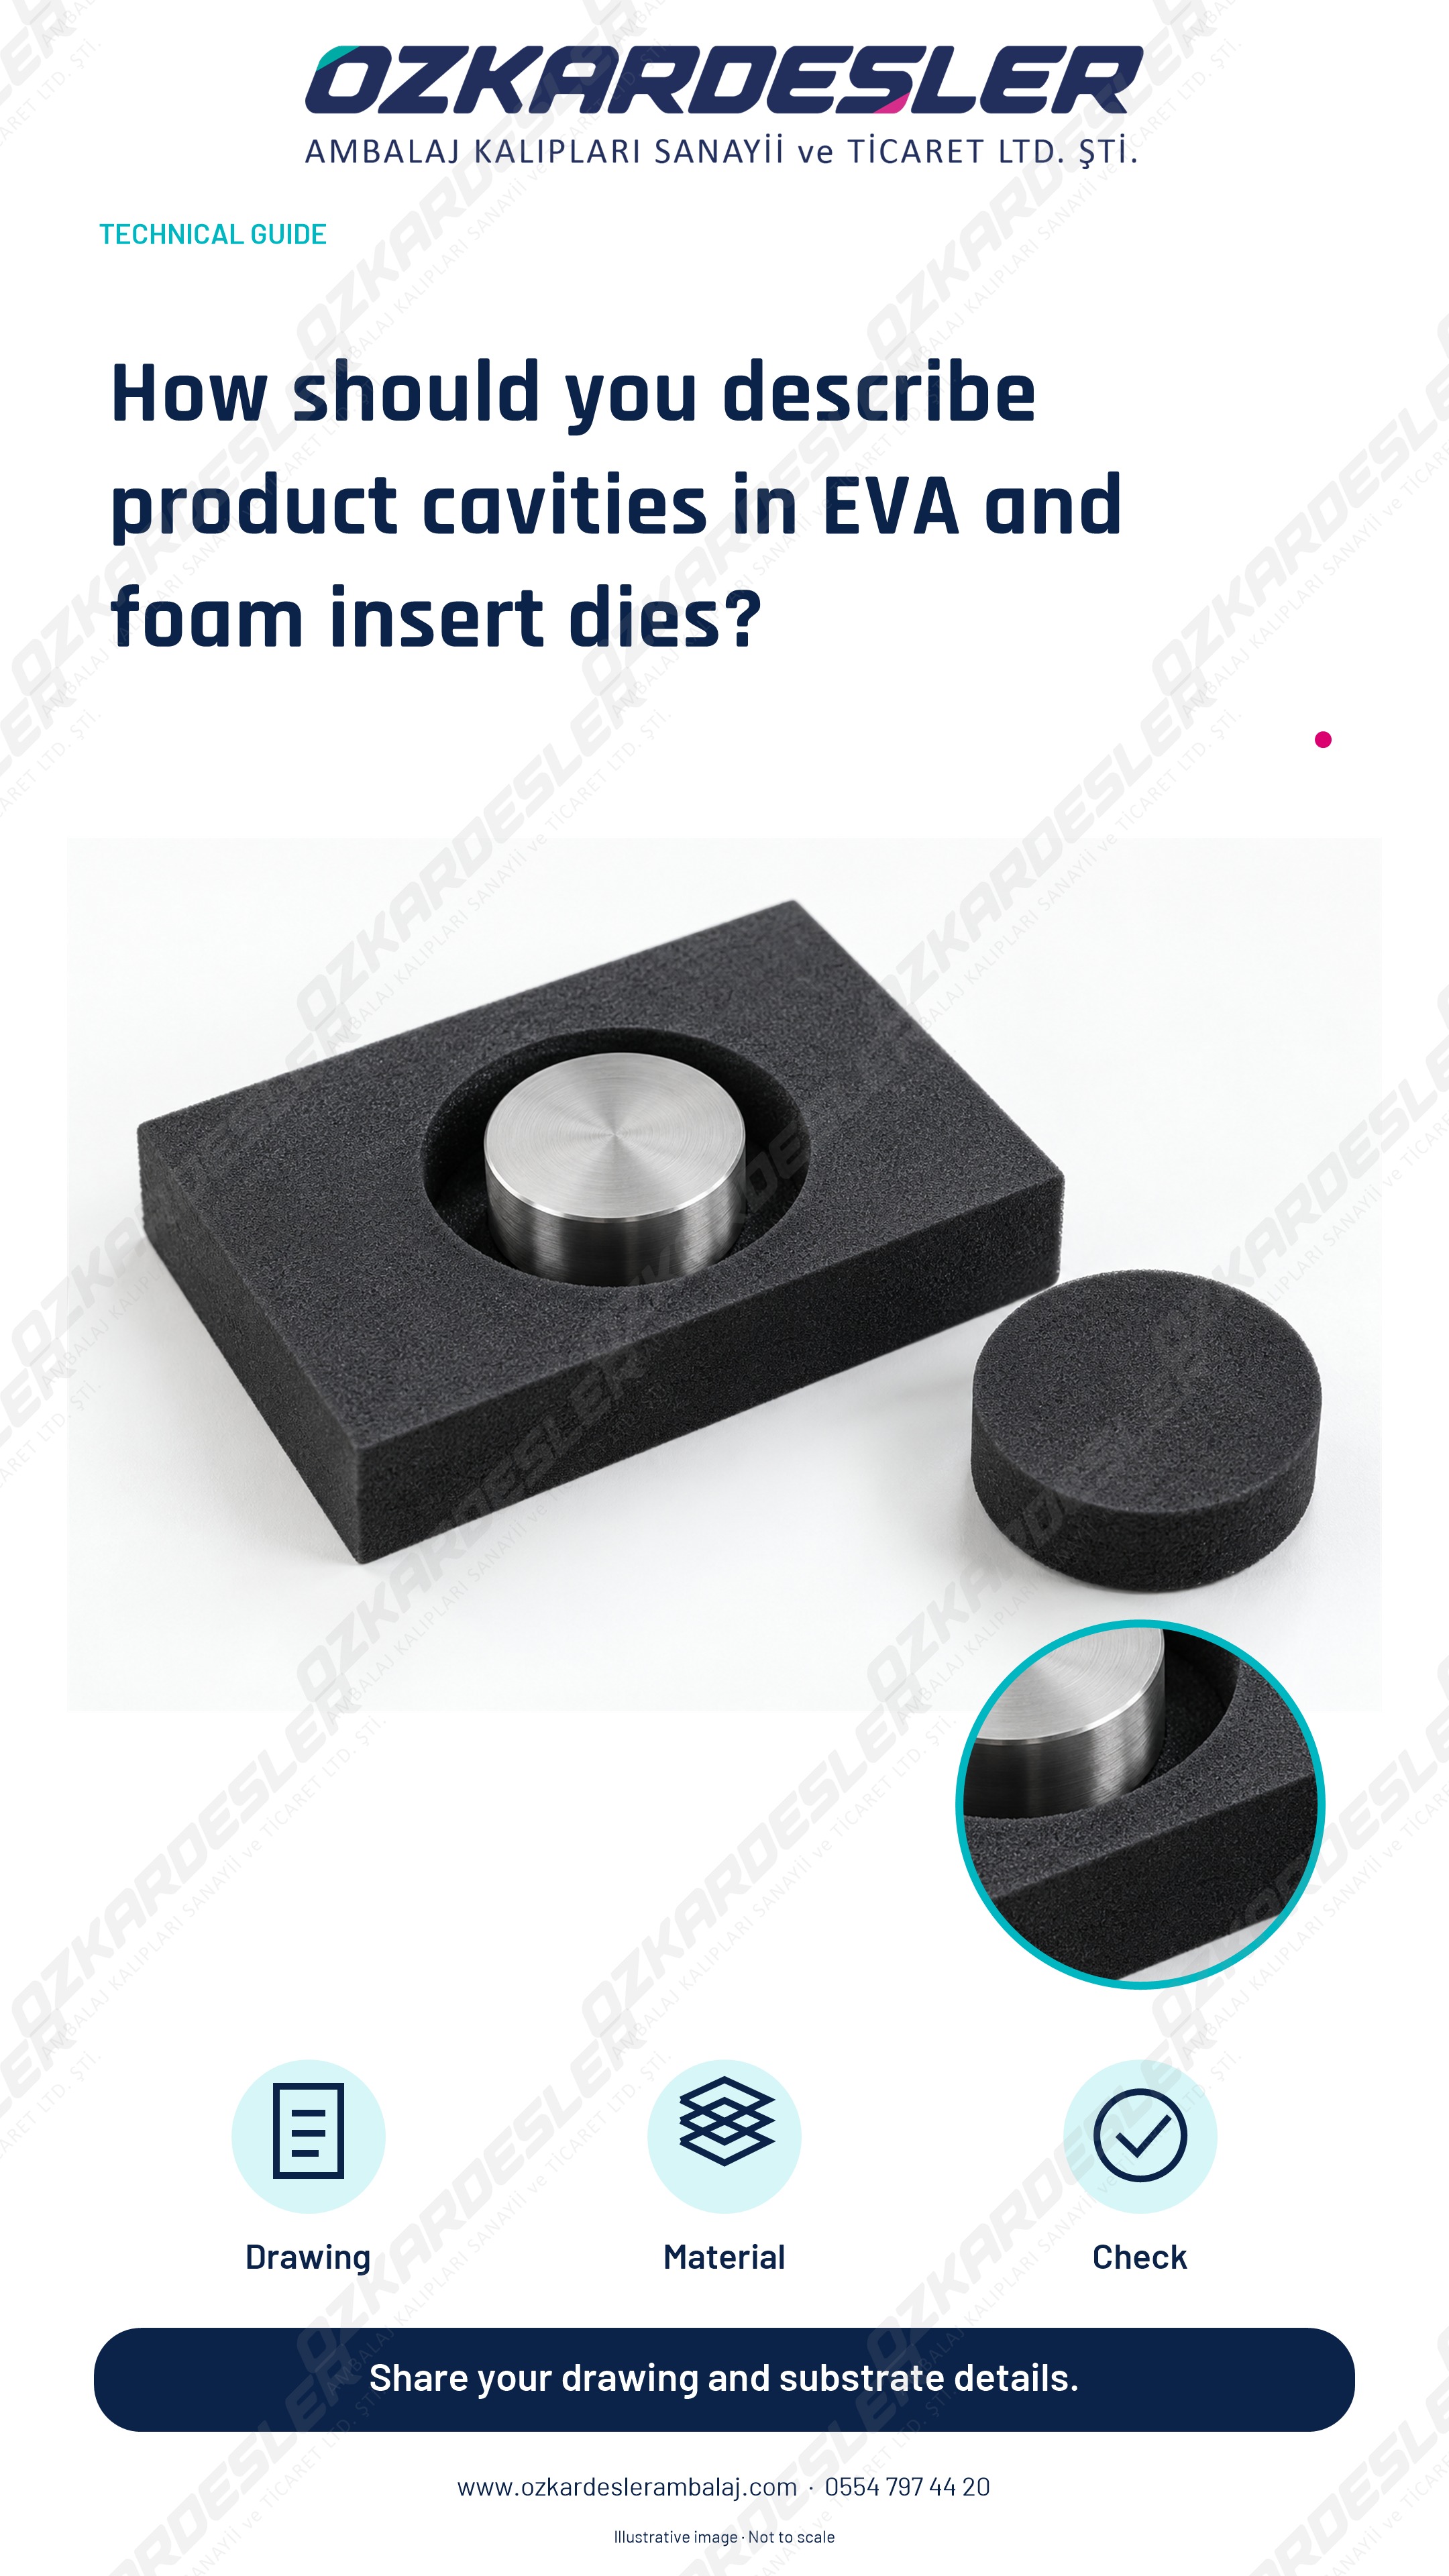
Plan product cavities, layers, materials and sample checks together in EVA and foam inner packaging. Request die quotes with your drawings.
Read the article →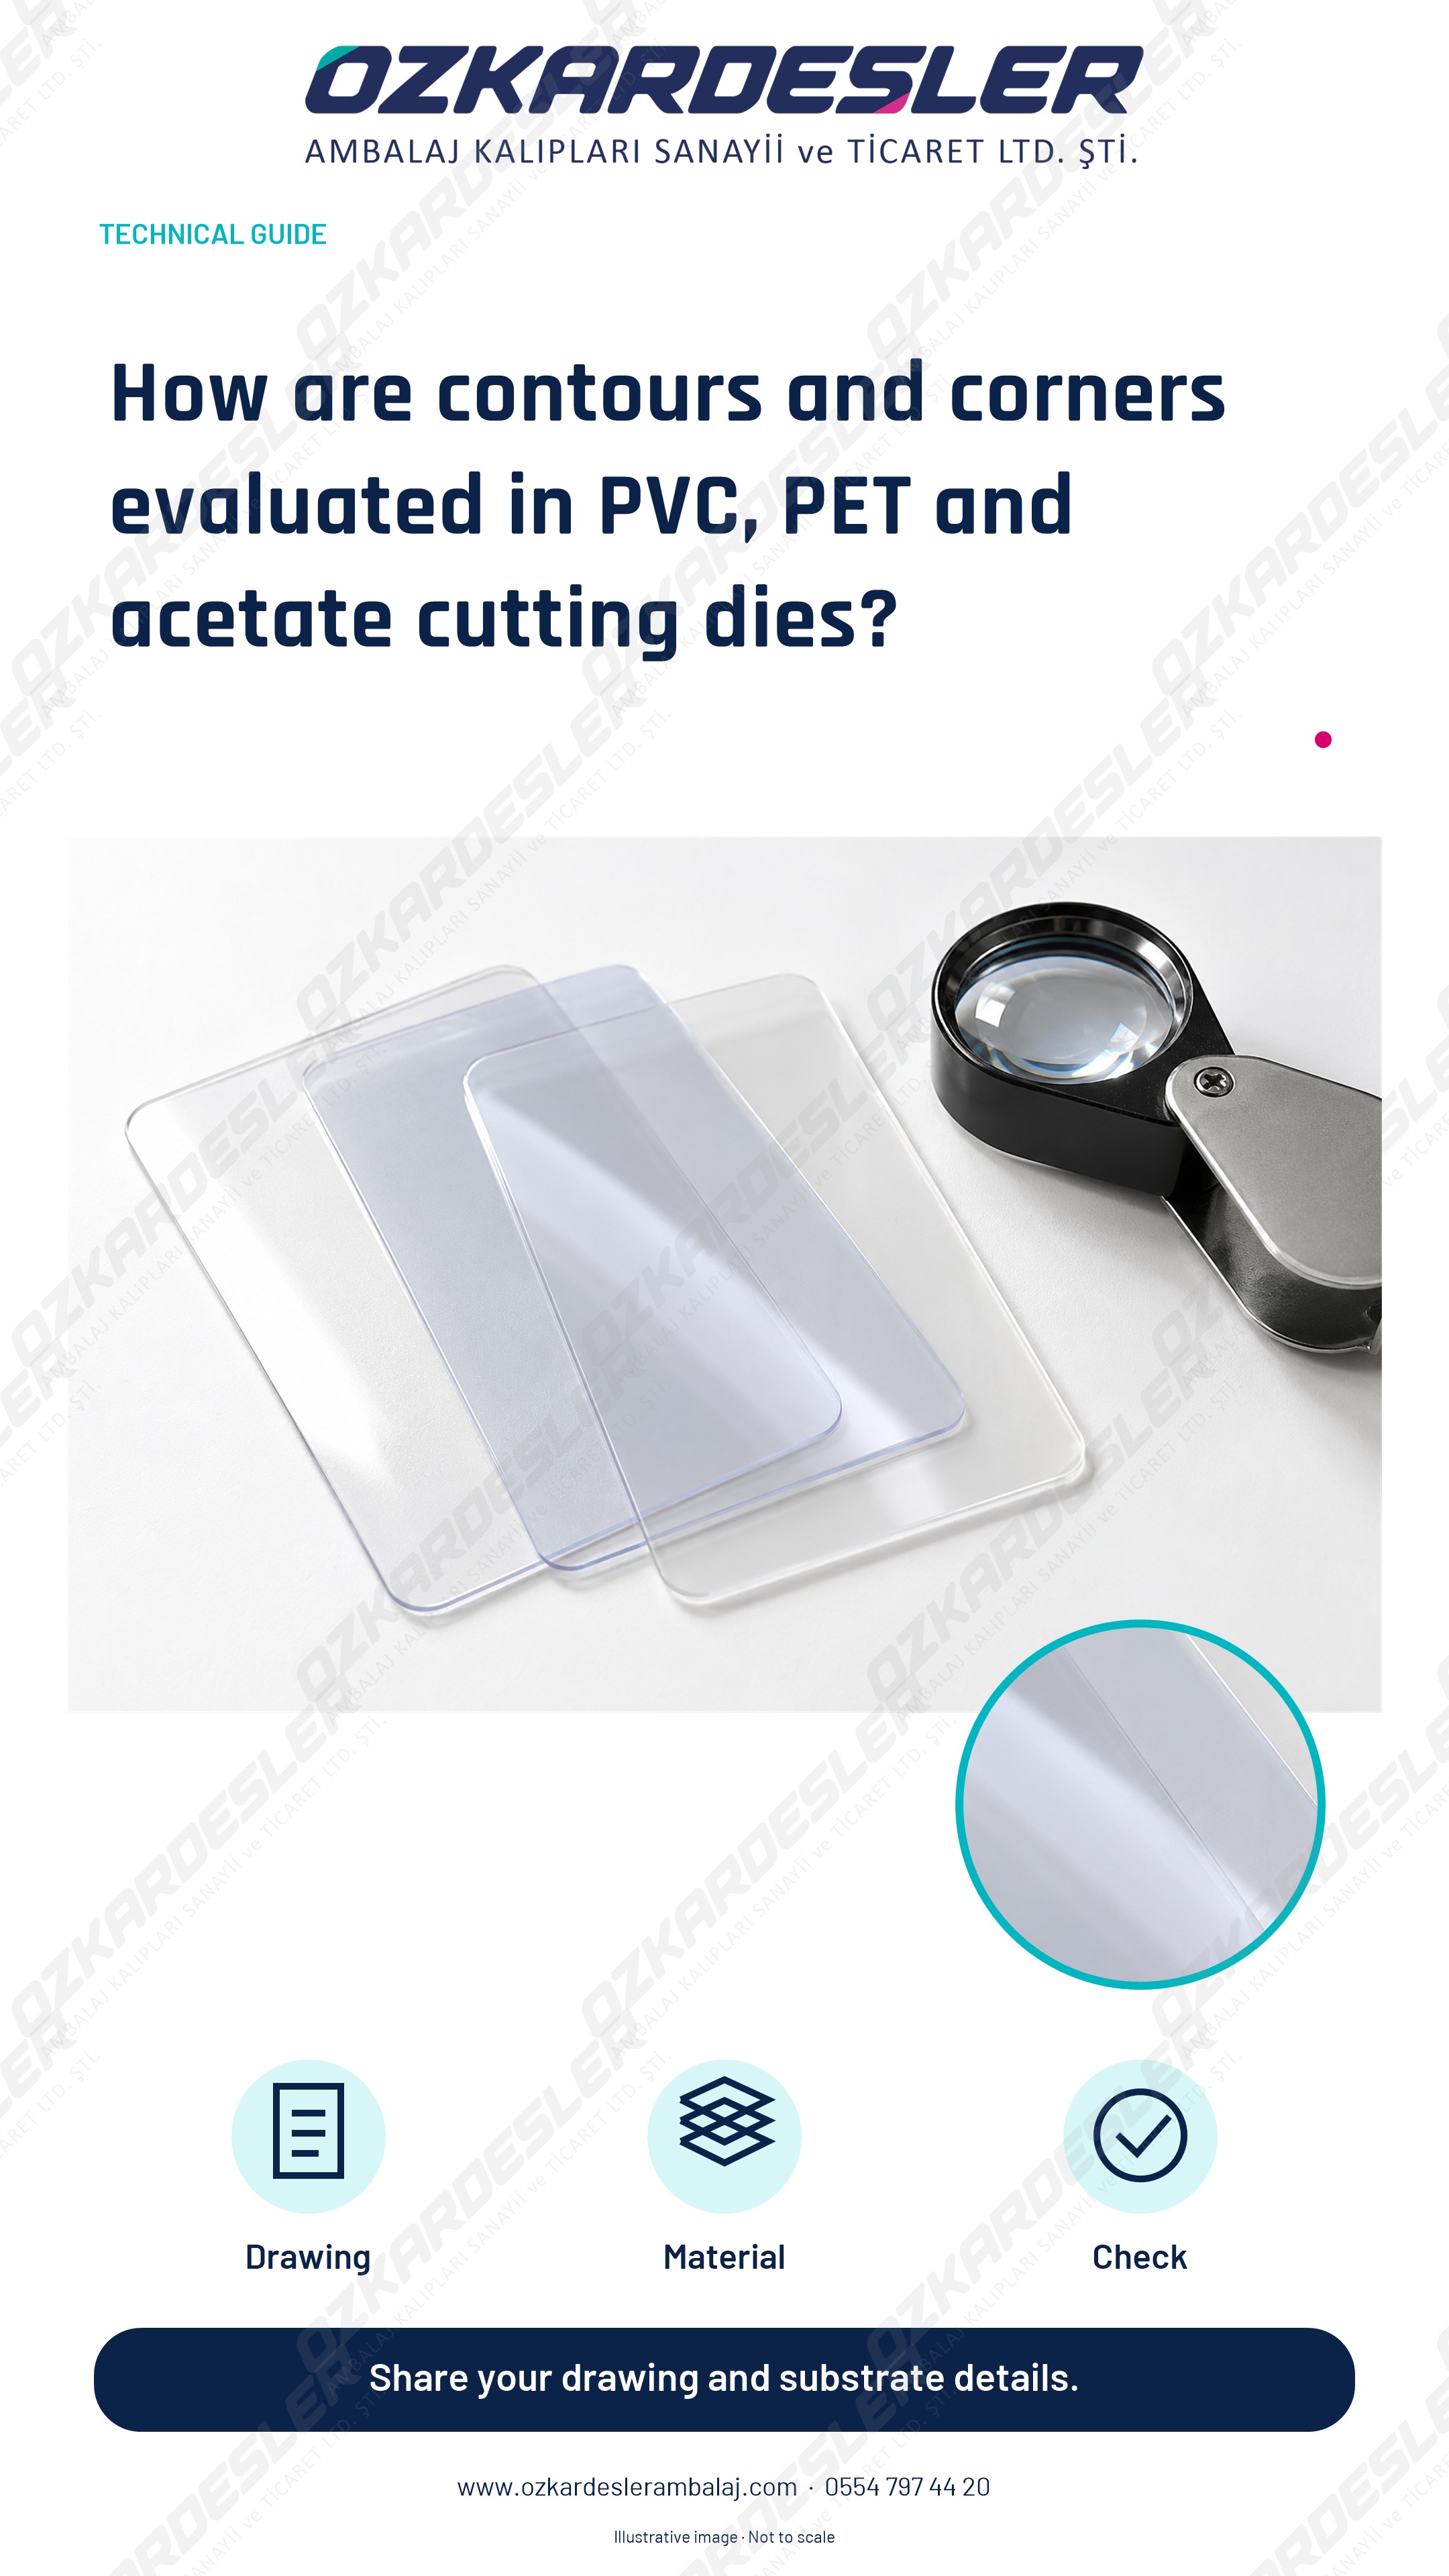
Clarify material definitions, thicknesses, corner geometries and cutting edge expectations in plastic sheet dies. Request quotes with samples.
Read the article →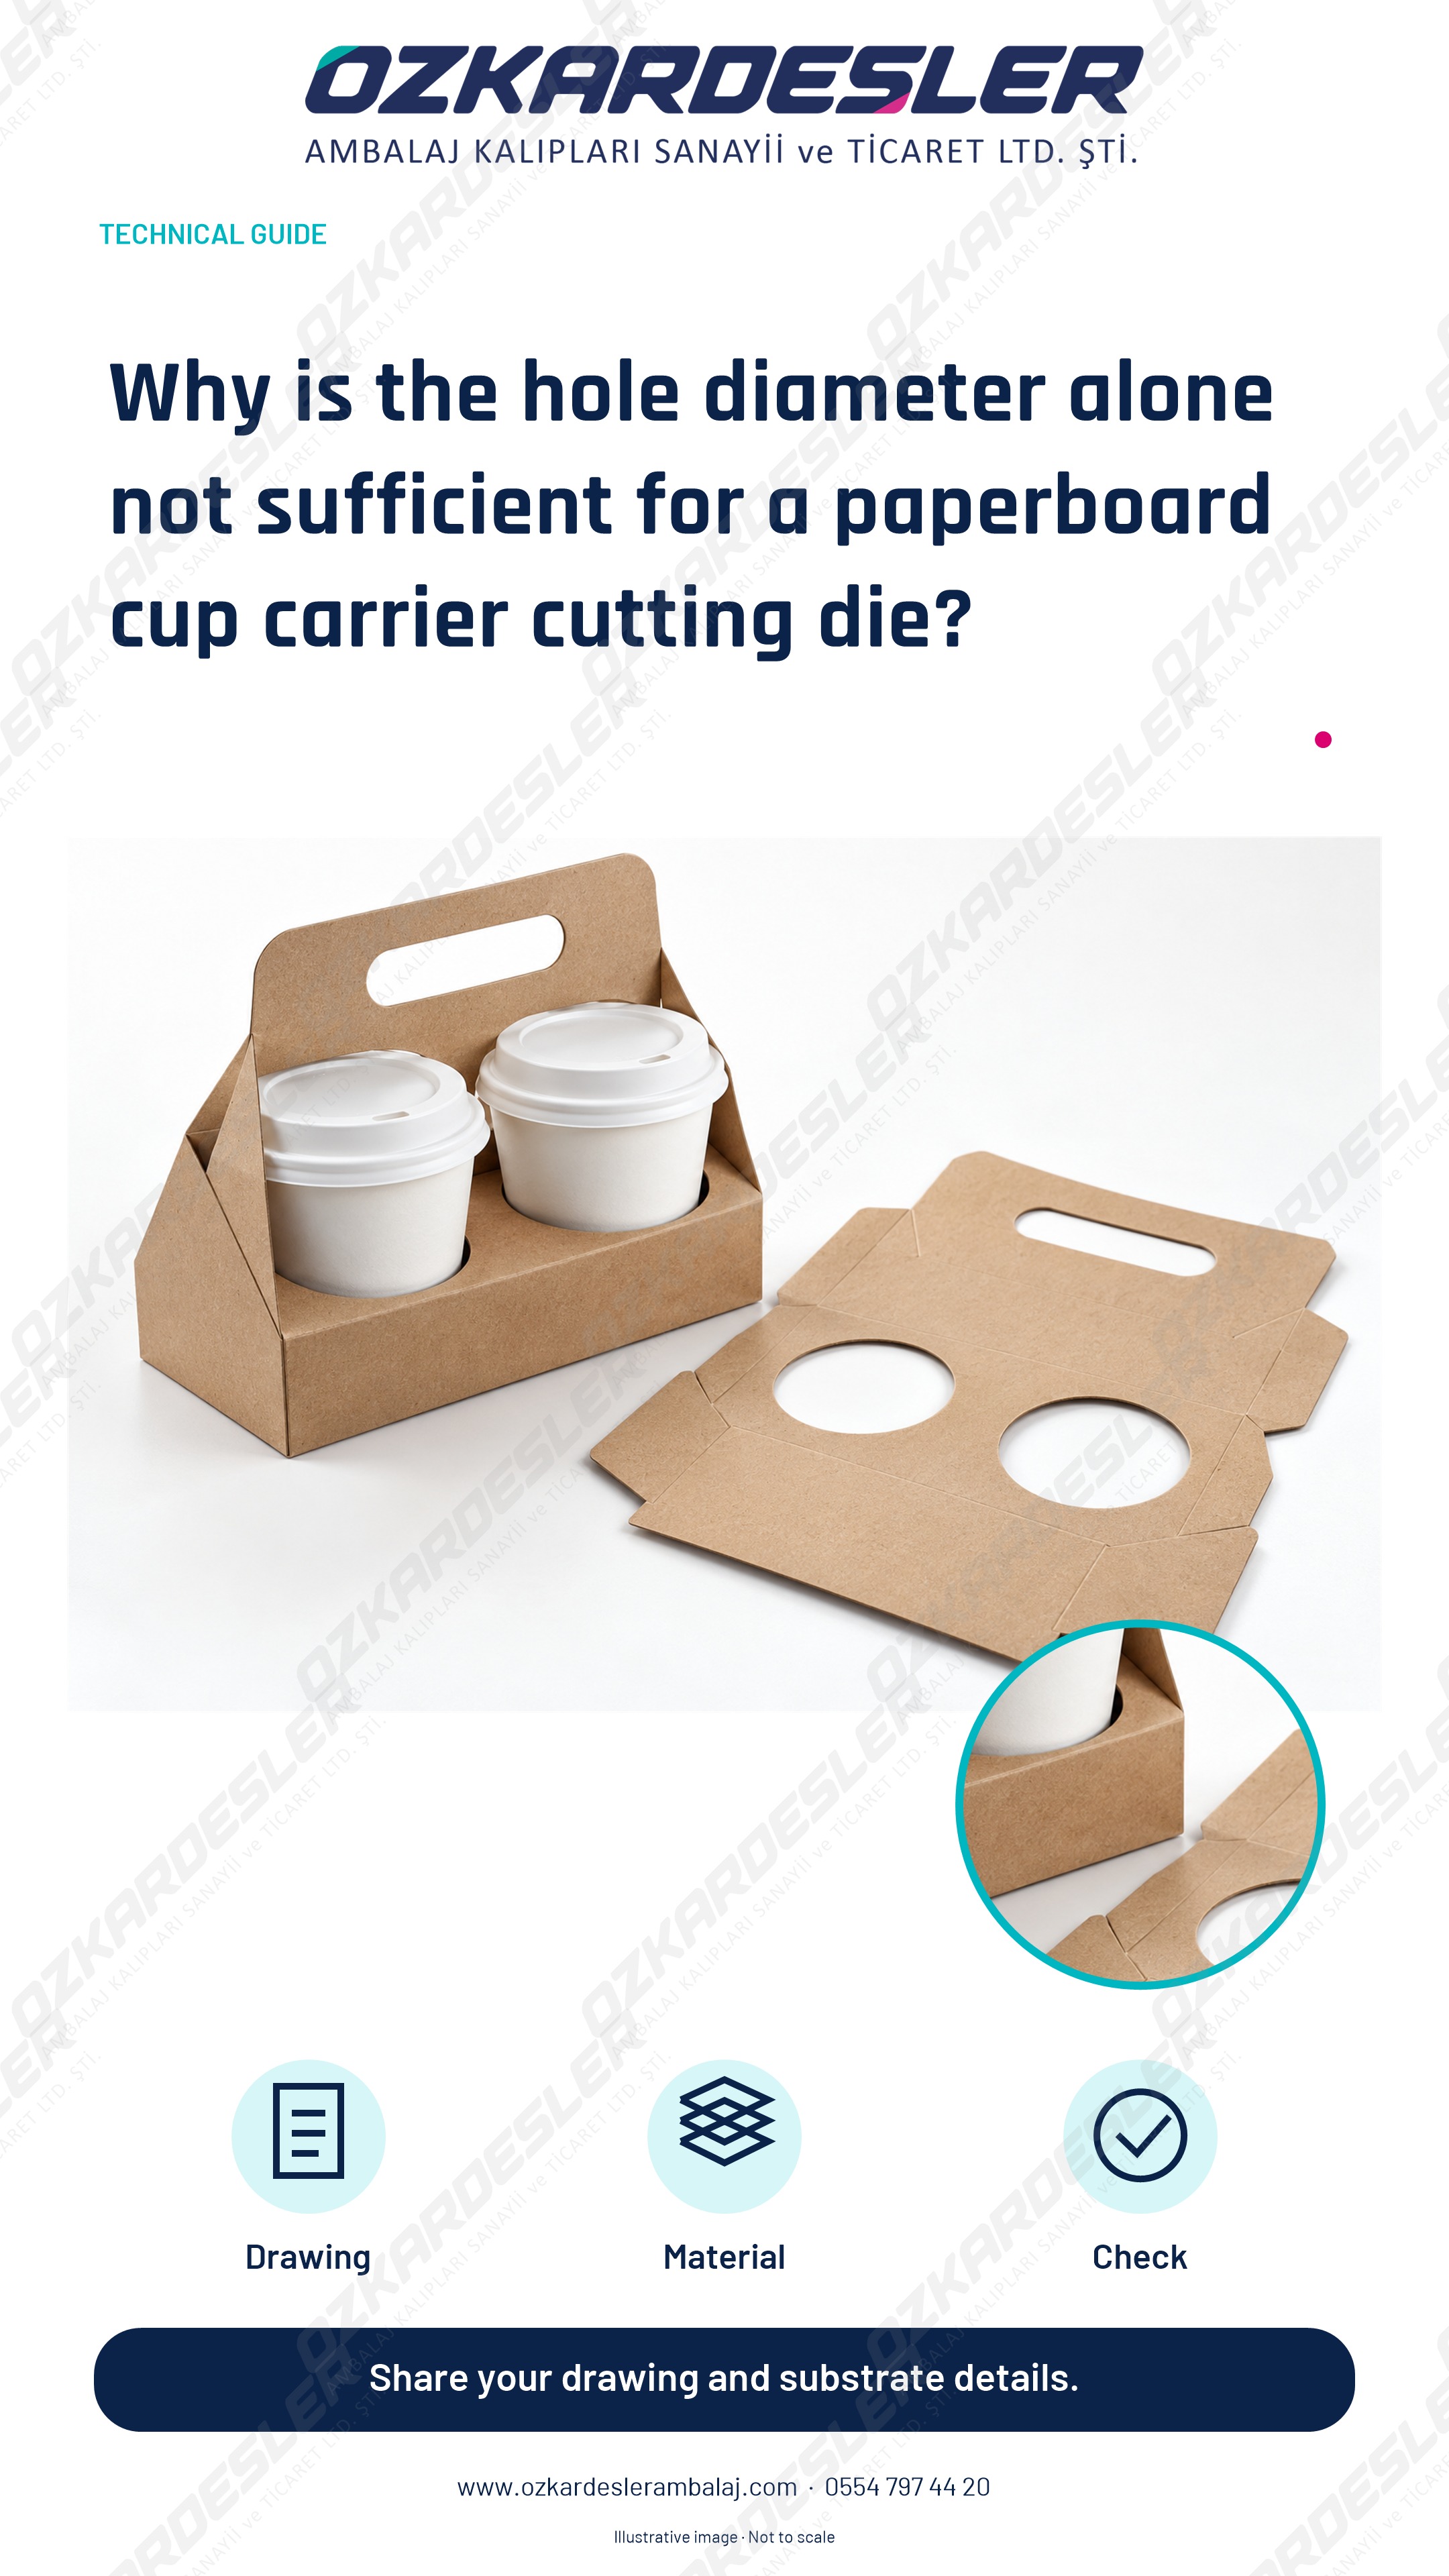
Evaluate the cup geometry, locks, paperboard grain direction, and actual usage sample together in cup carrier design.
Read the article →
Evaluate the window, lid, creasing, and print alignment together in cosmetic packaging. Prepare the cutting die quote with the product, paperboard, and sample.
Read the article →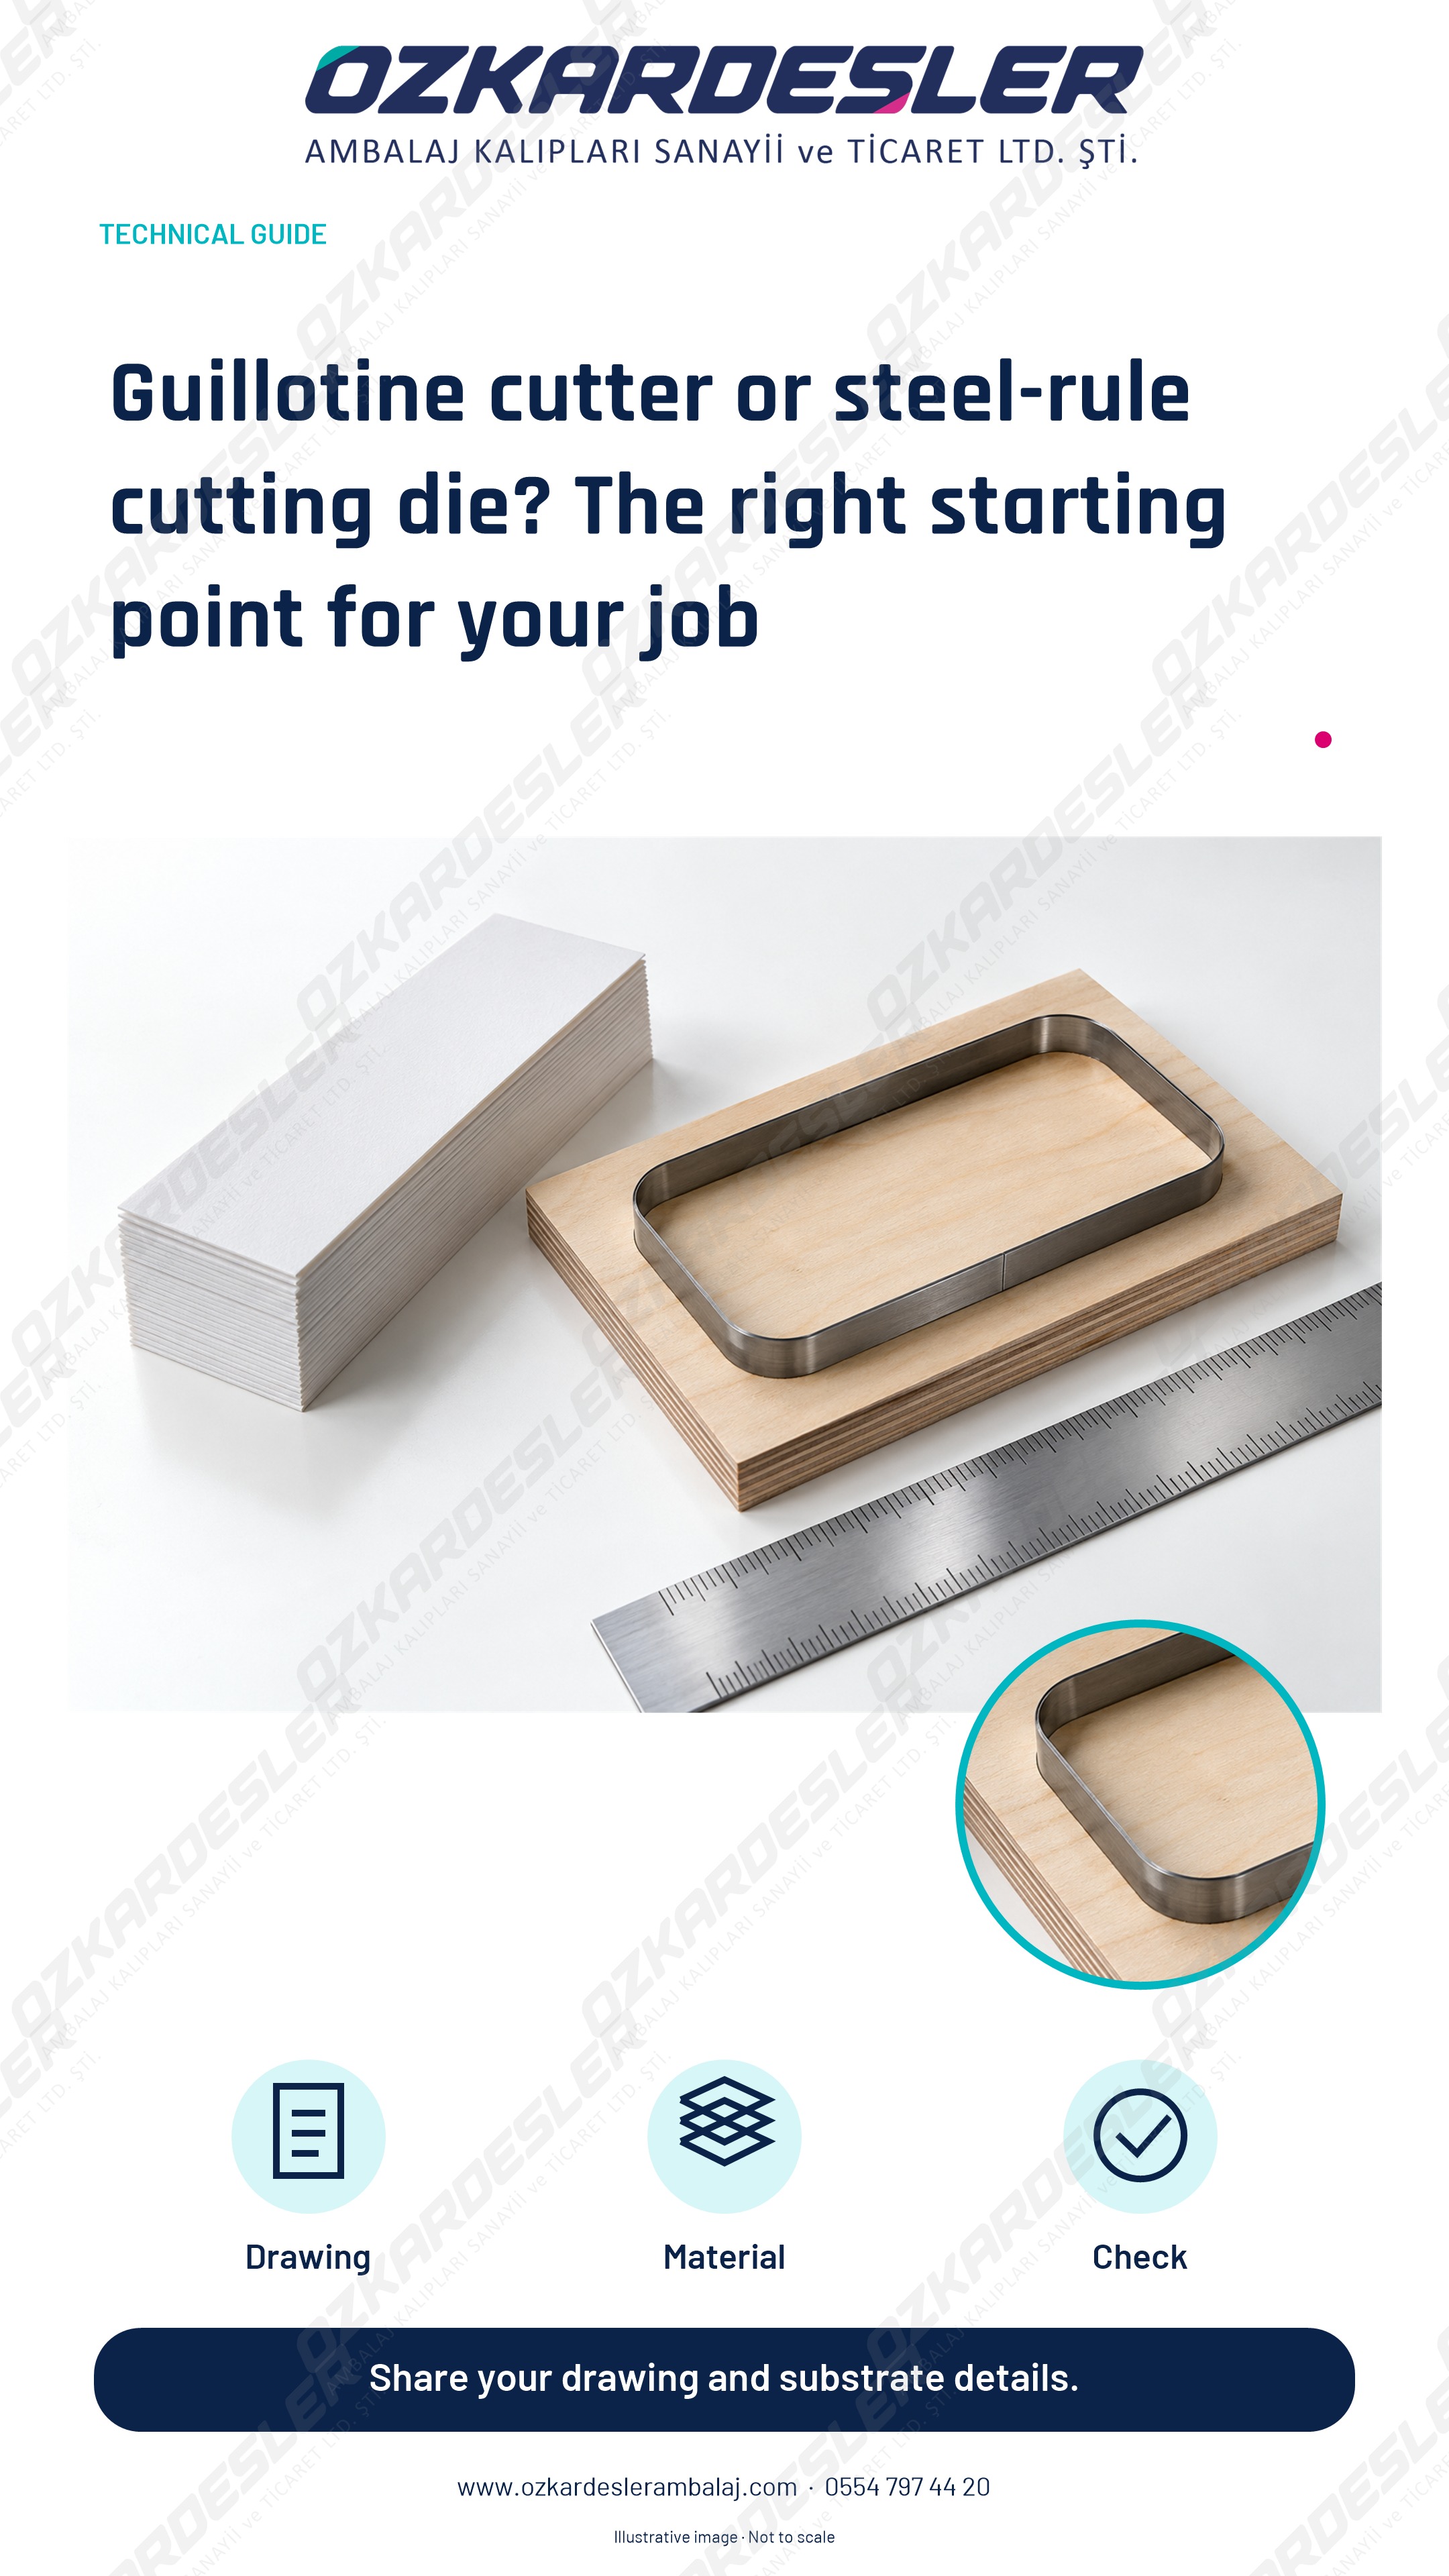
Separate straight sizing from shaped cutting. Learn the details that determine cutting die requirements for your box, hang tag, and special contour jobs.
Read the article →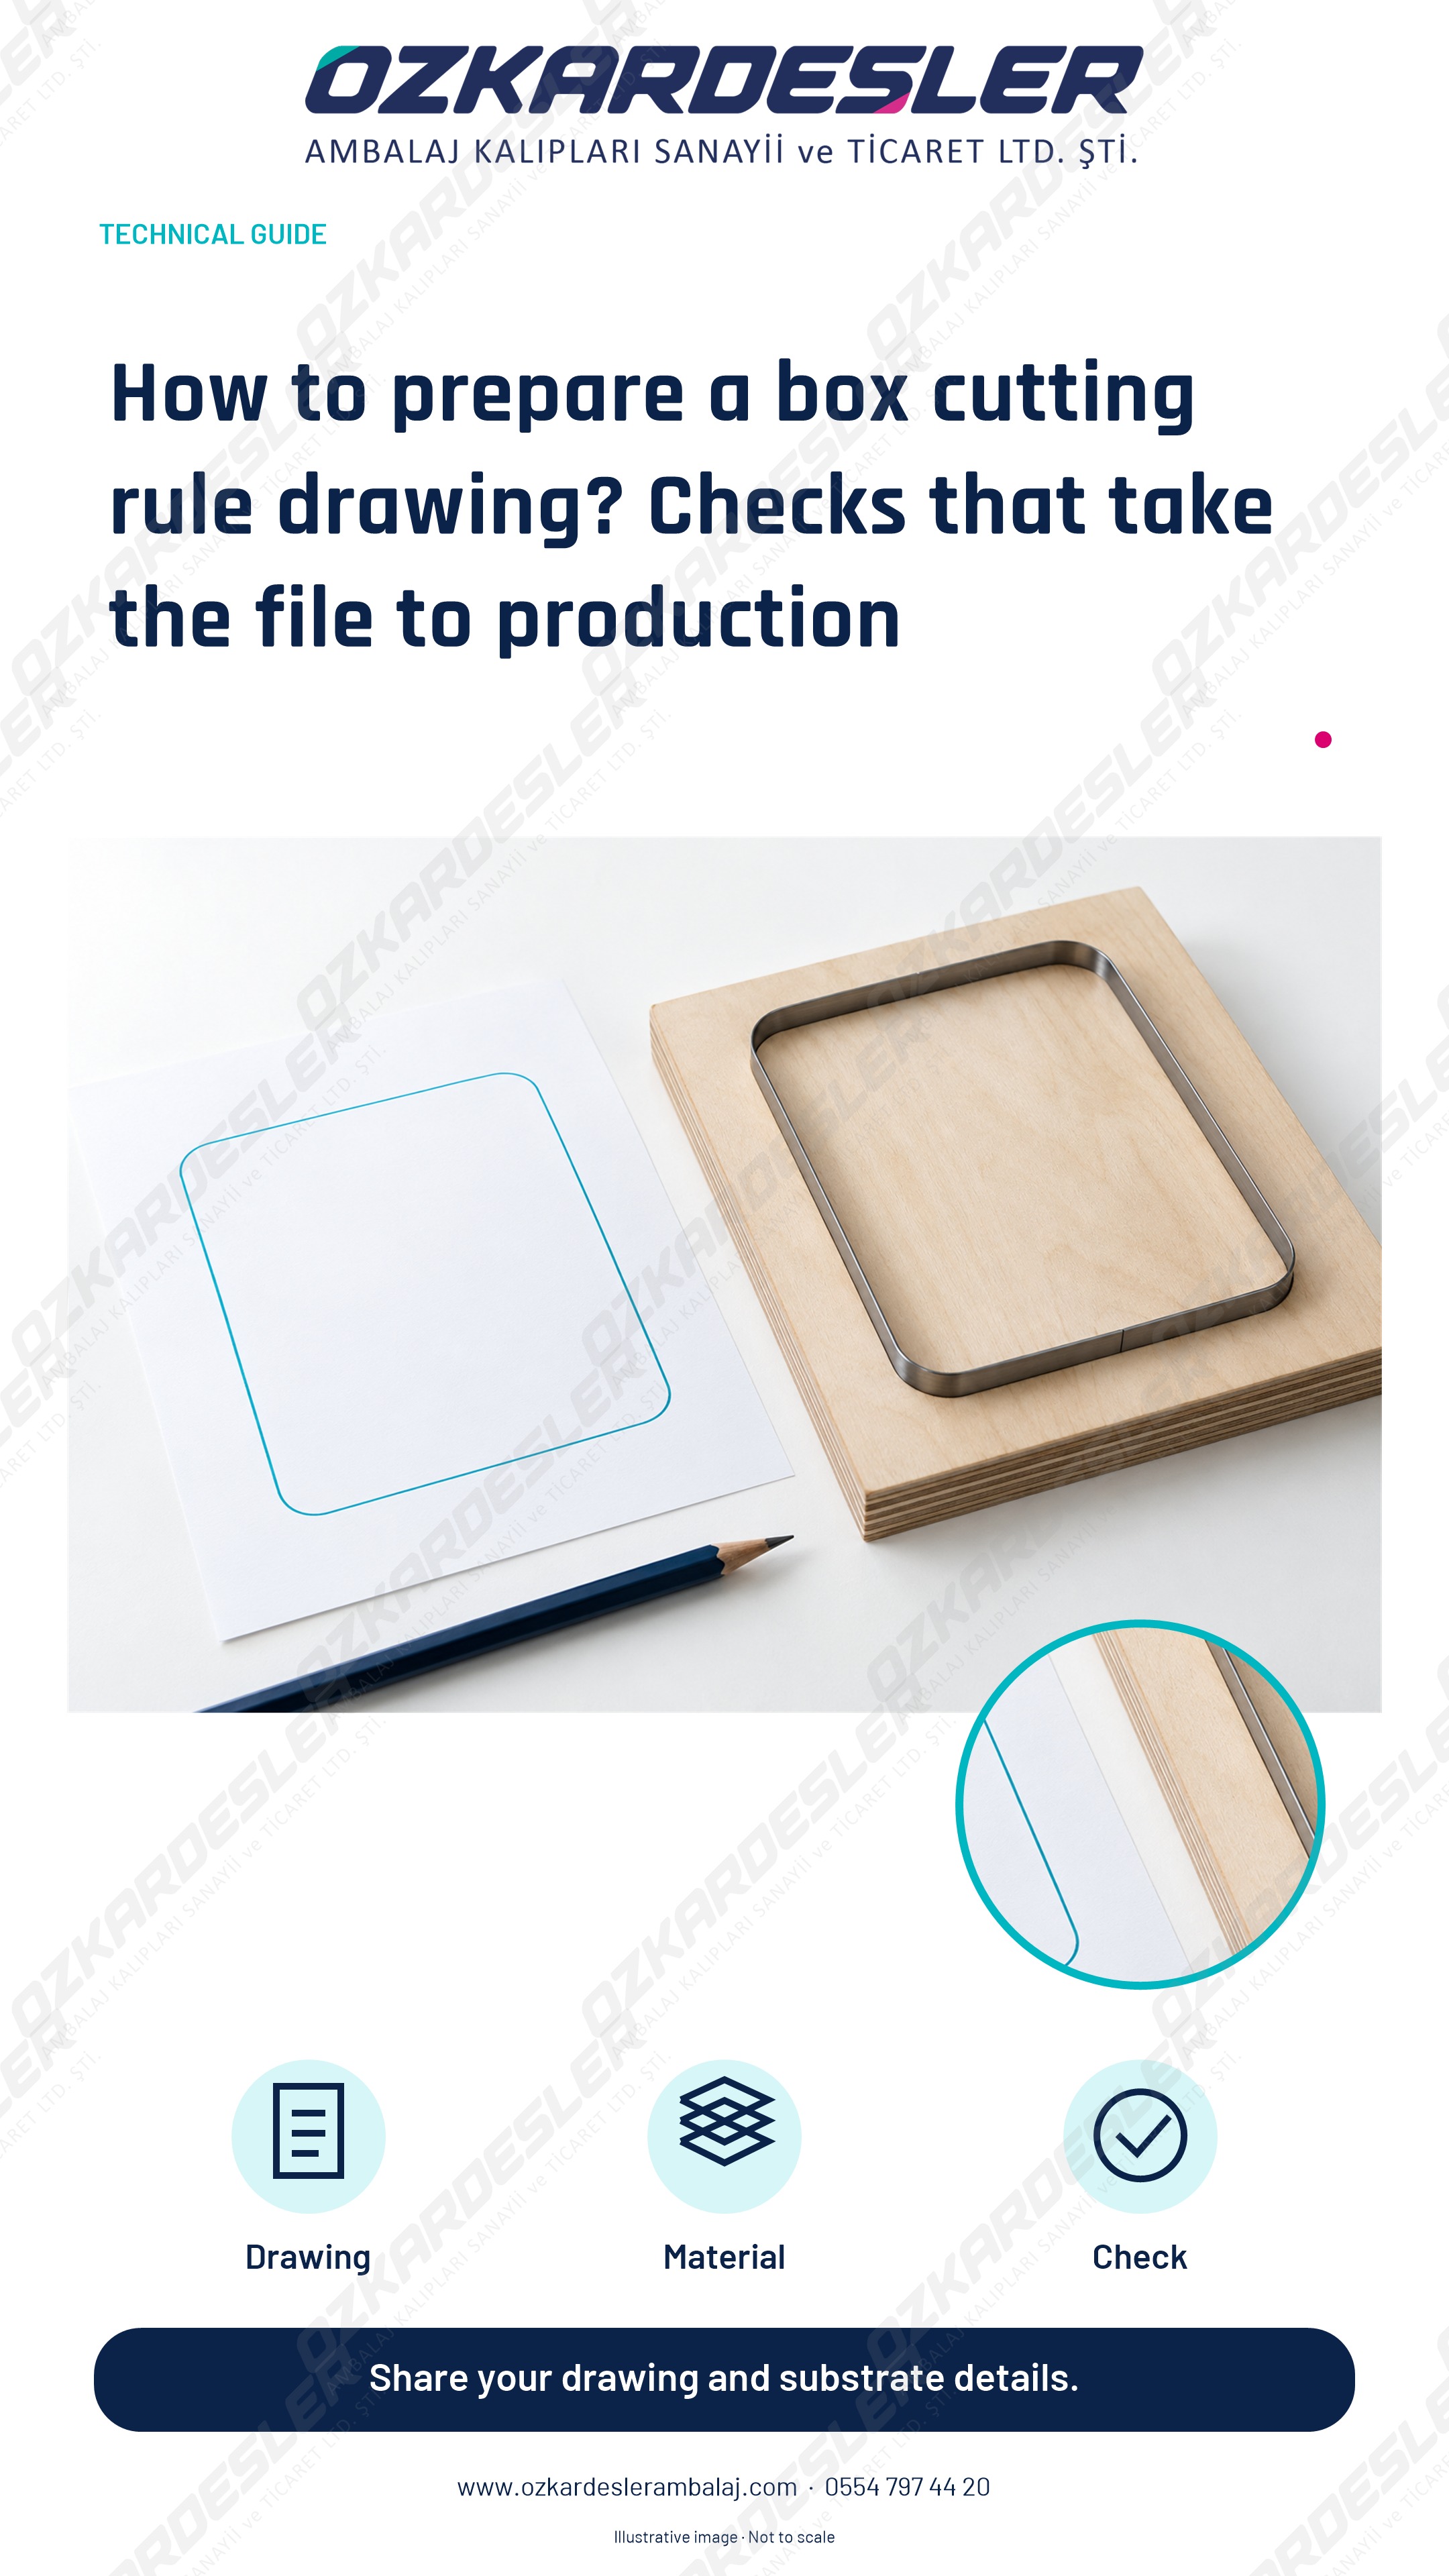
Check scale, cutting, creasing, perforation, and print references in the box dieline. Prepare the drawing file suitable for the cutting die quote.
Read the article →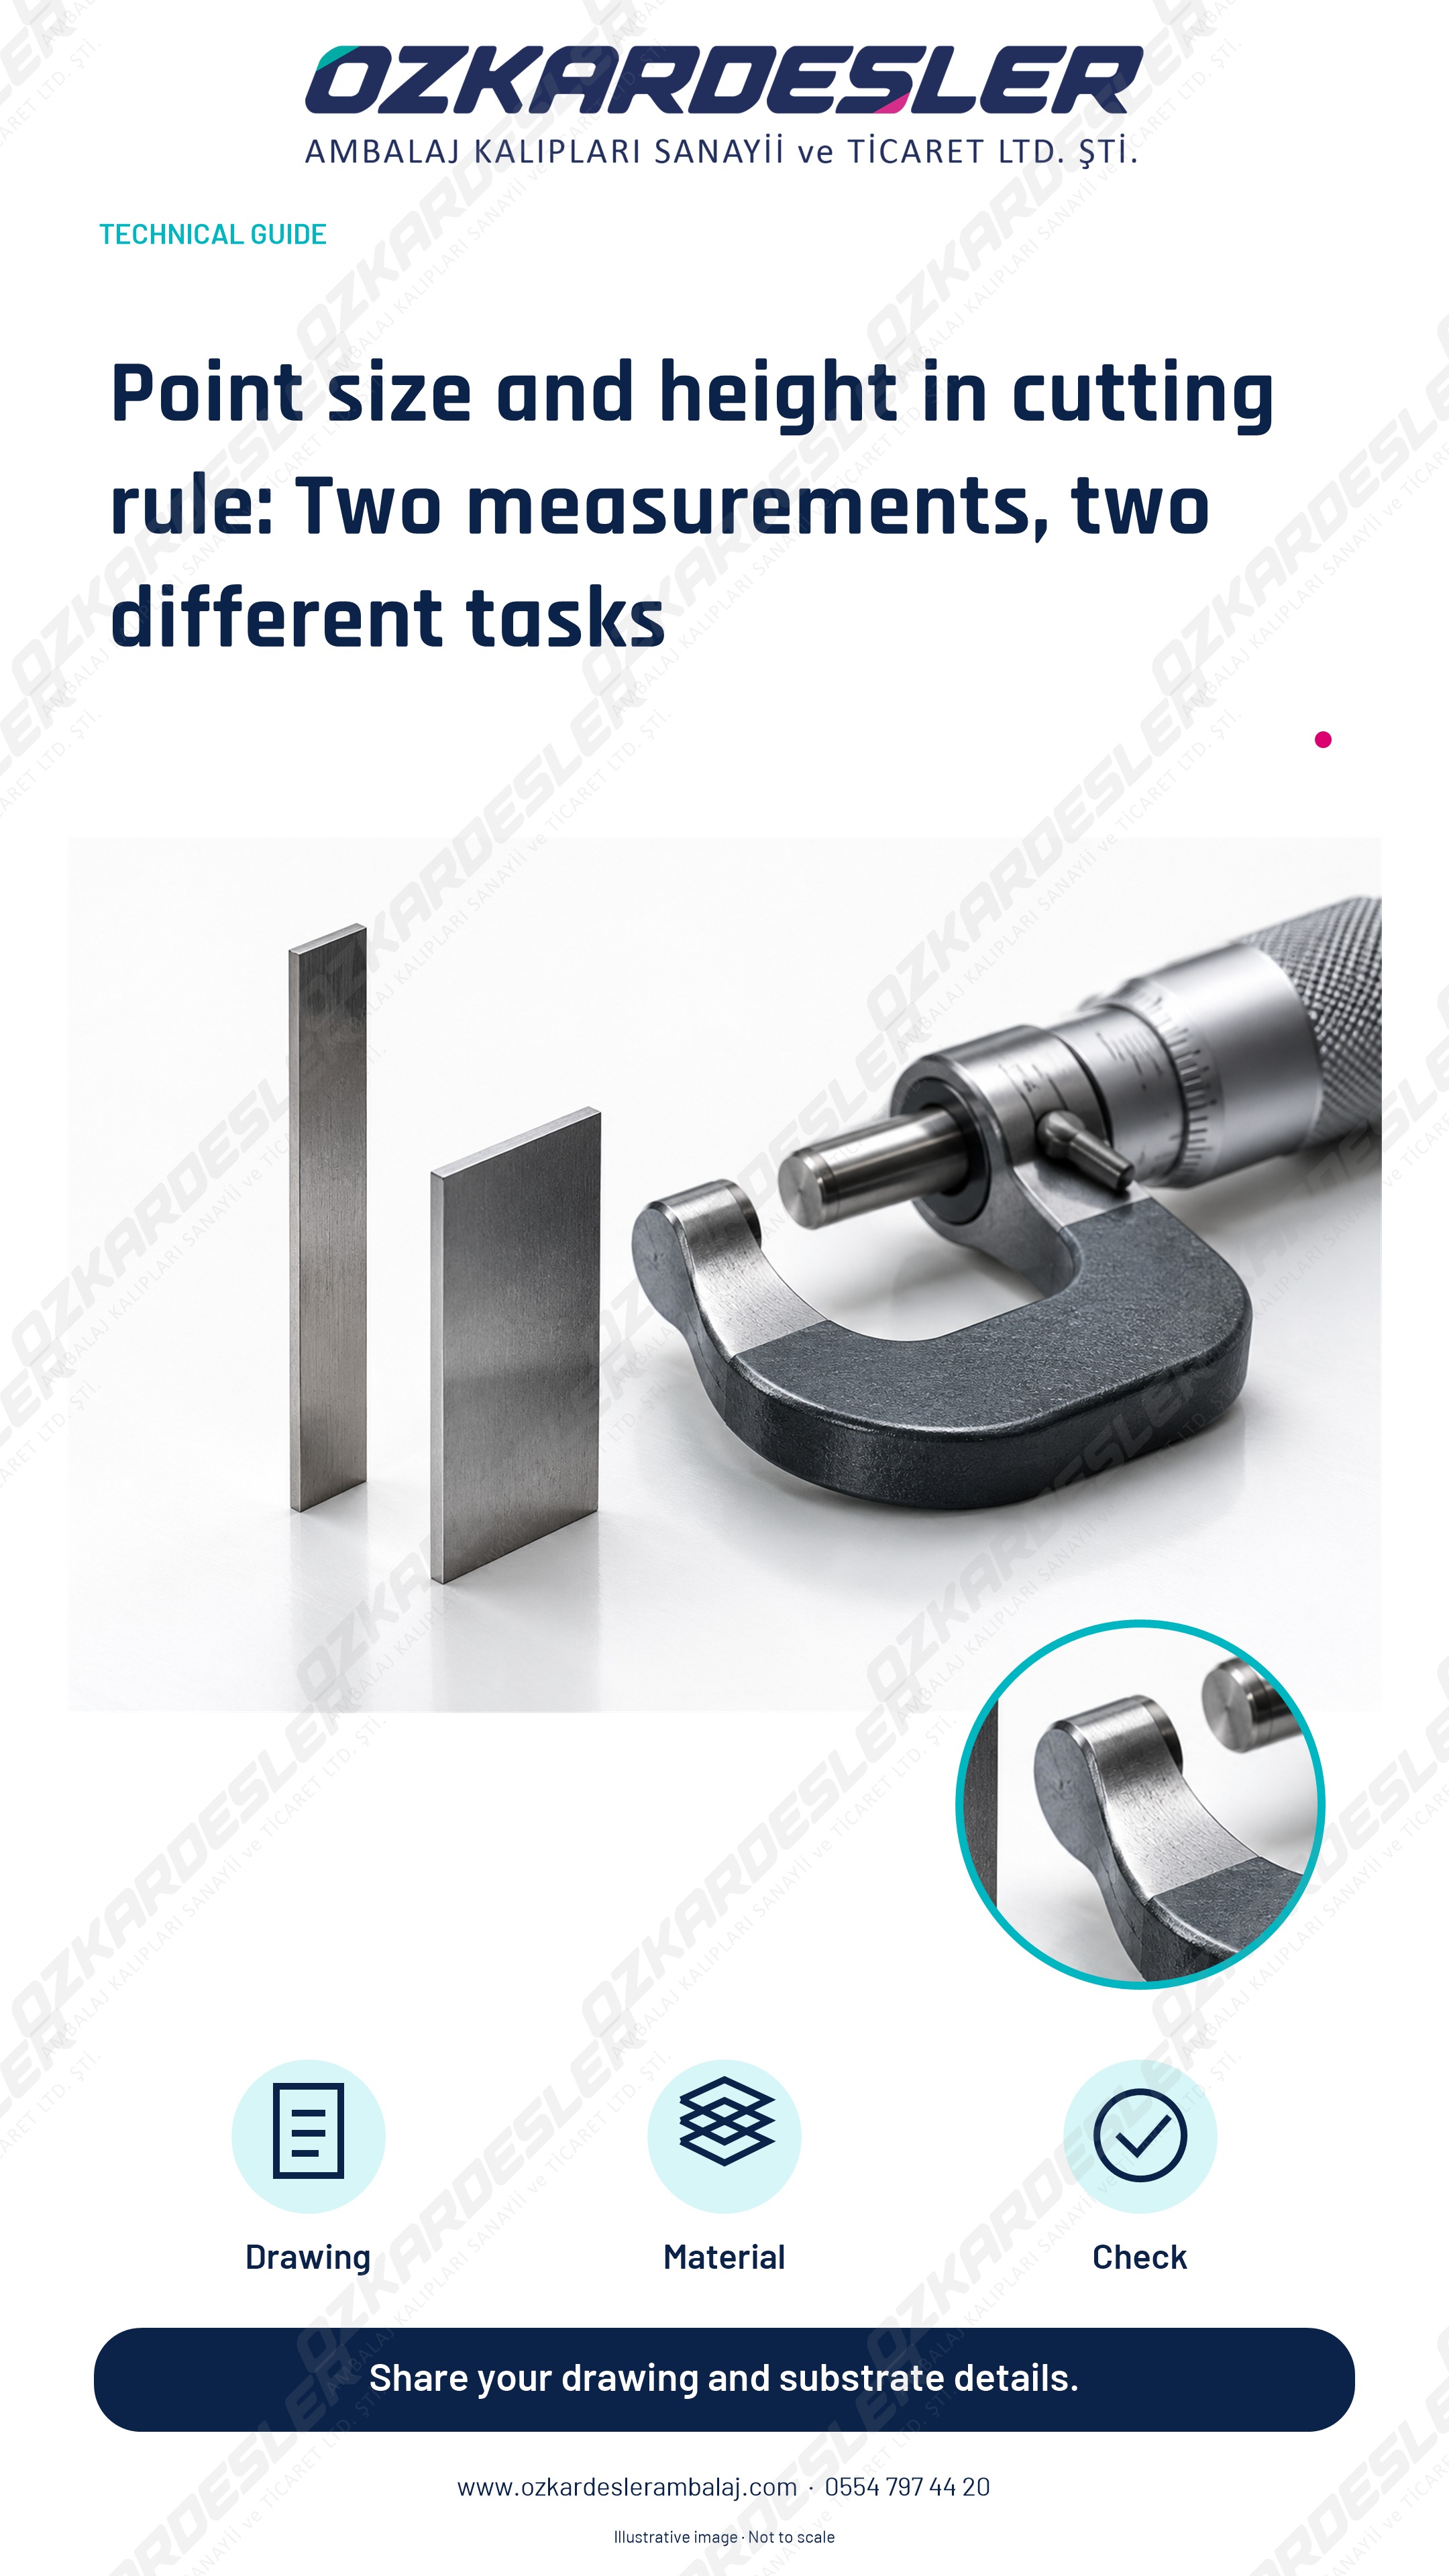
Learn the difference between cutting-rule height, point thickness, and bevel form. Prevent missing measurements and incorrect matching when ordering cutting dies.
Read the article →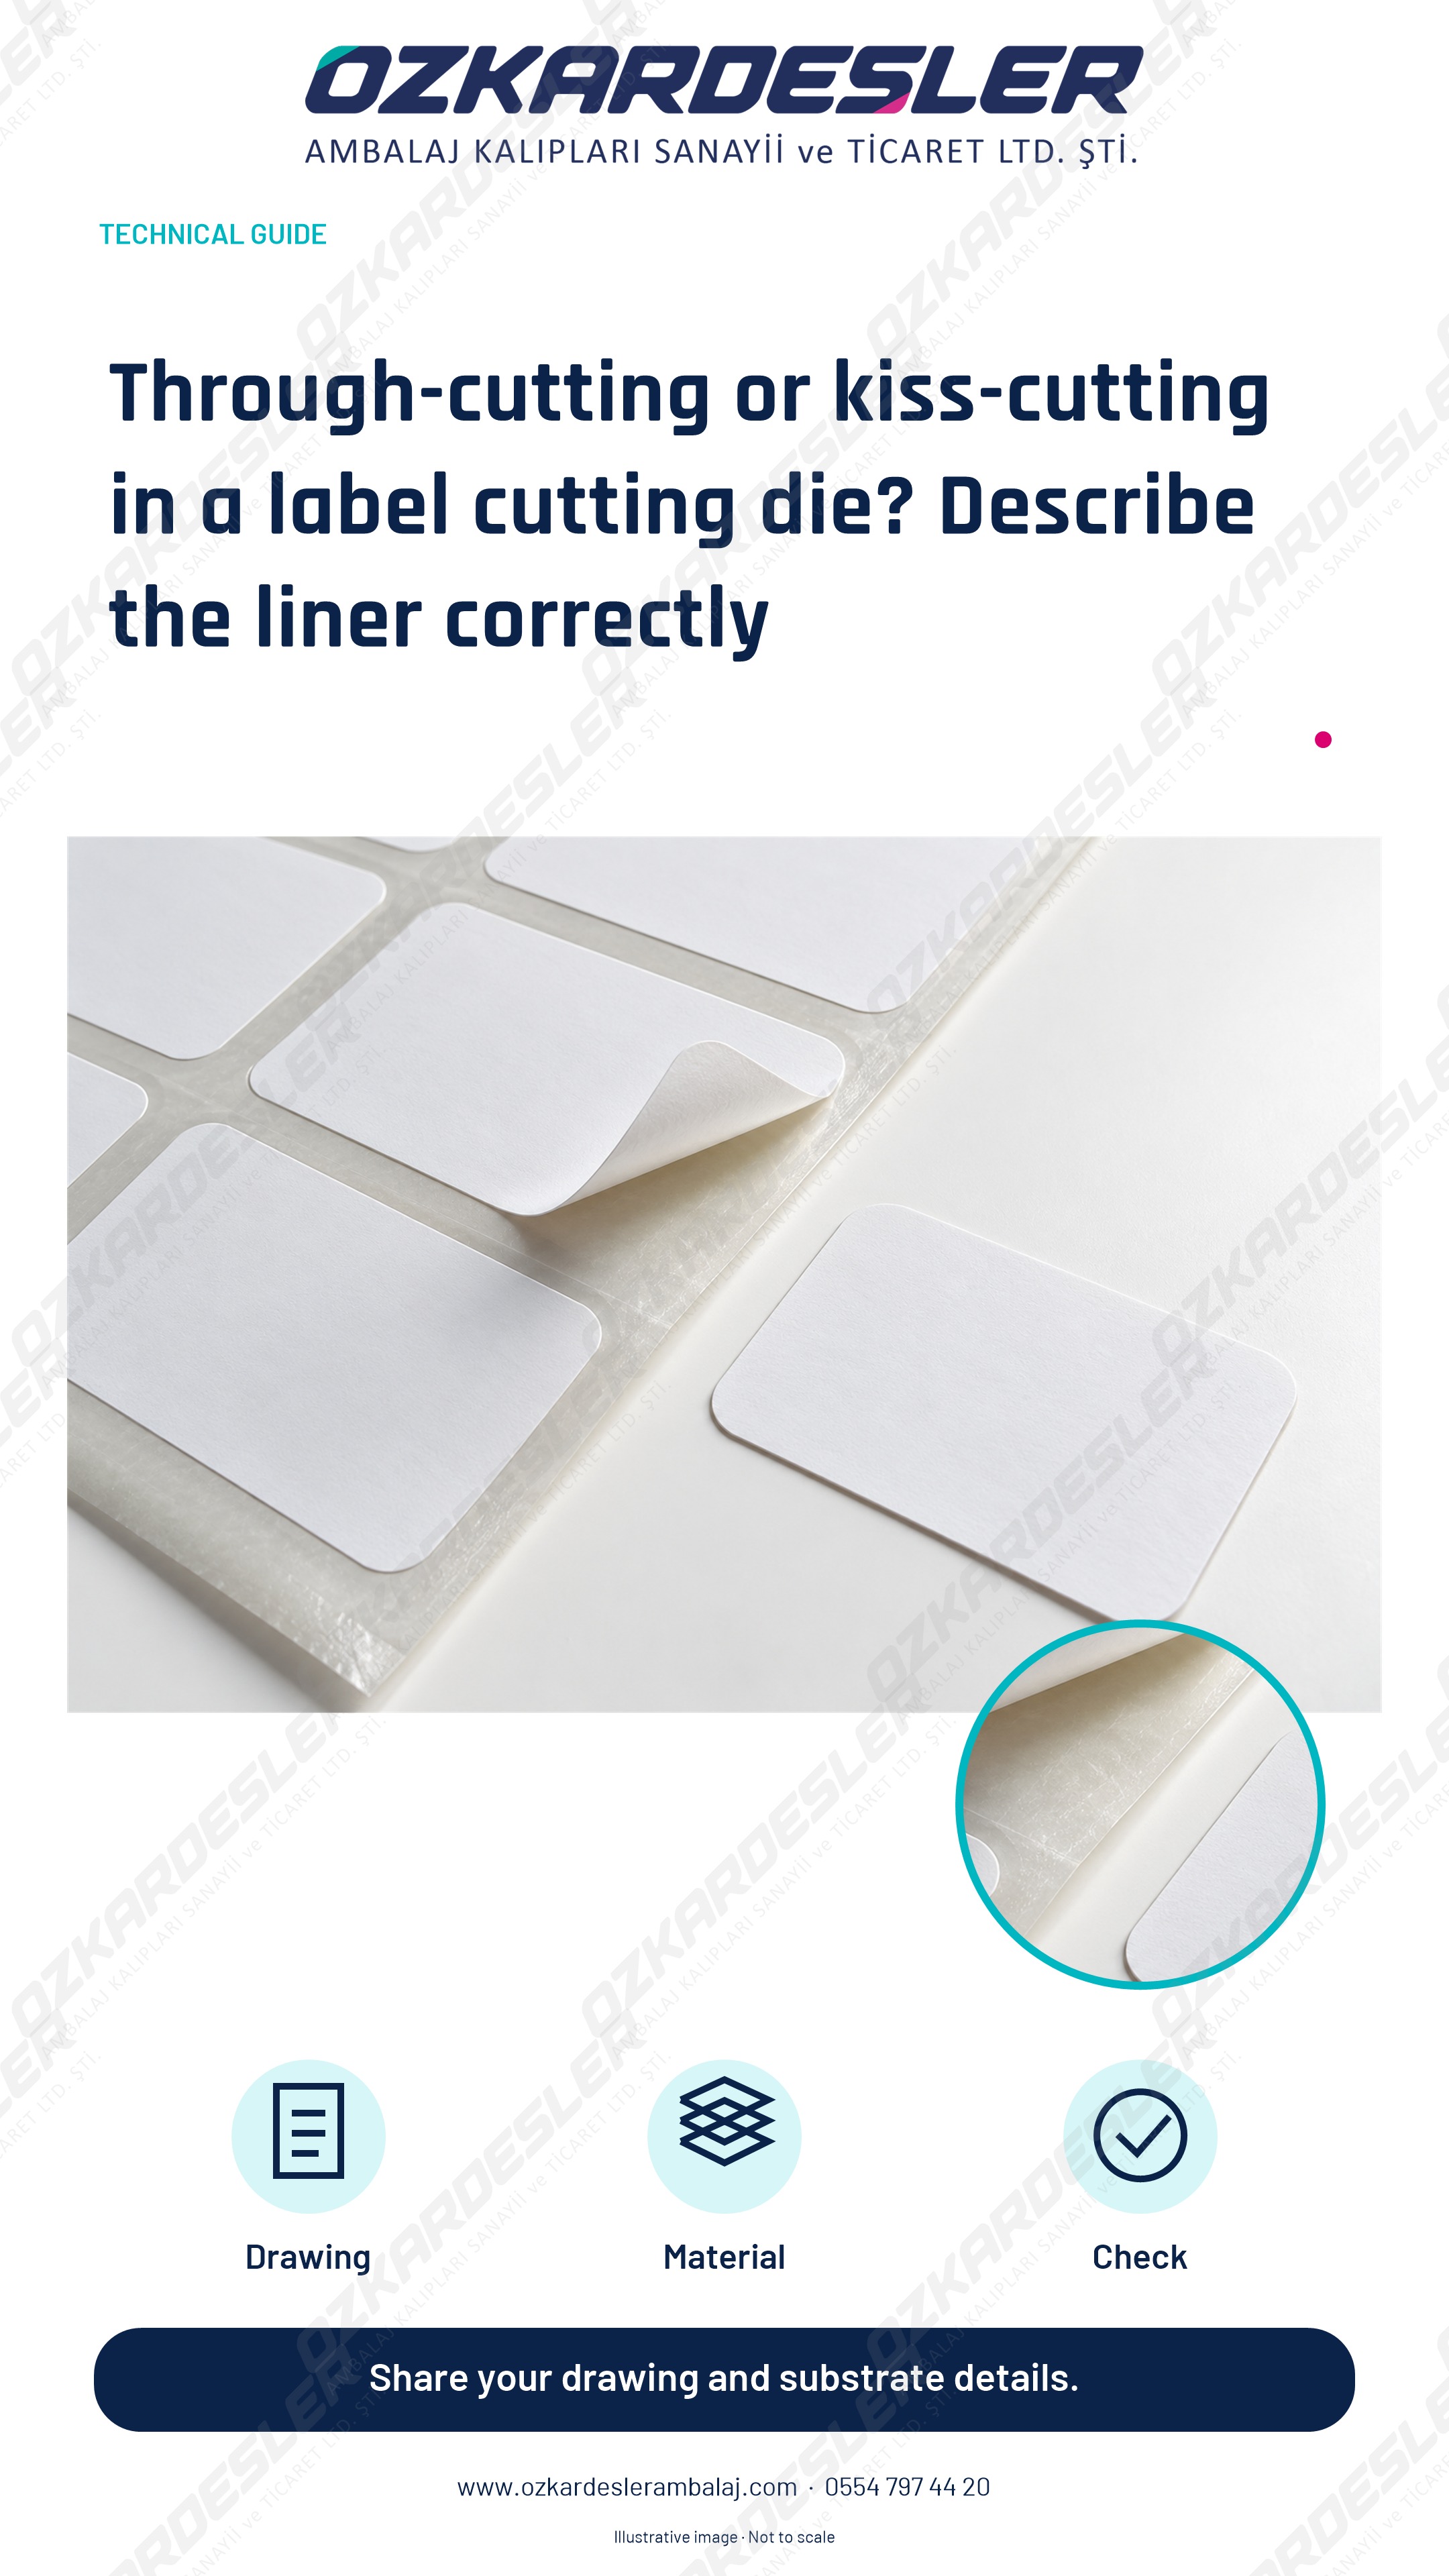
Learn the difference between kiss-cutting and through-cutting, liner control, and the details you need to share when requesting a sheet label cutting die.
Read the article →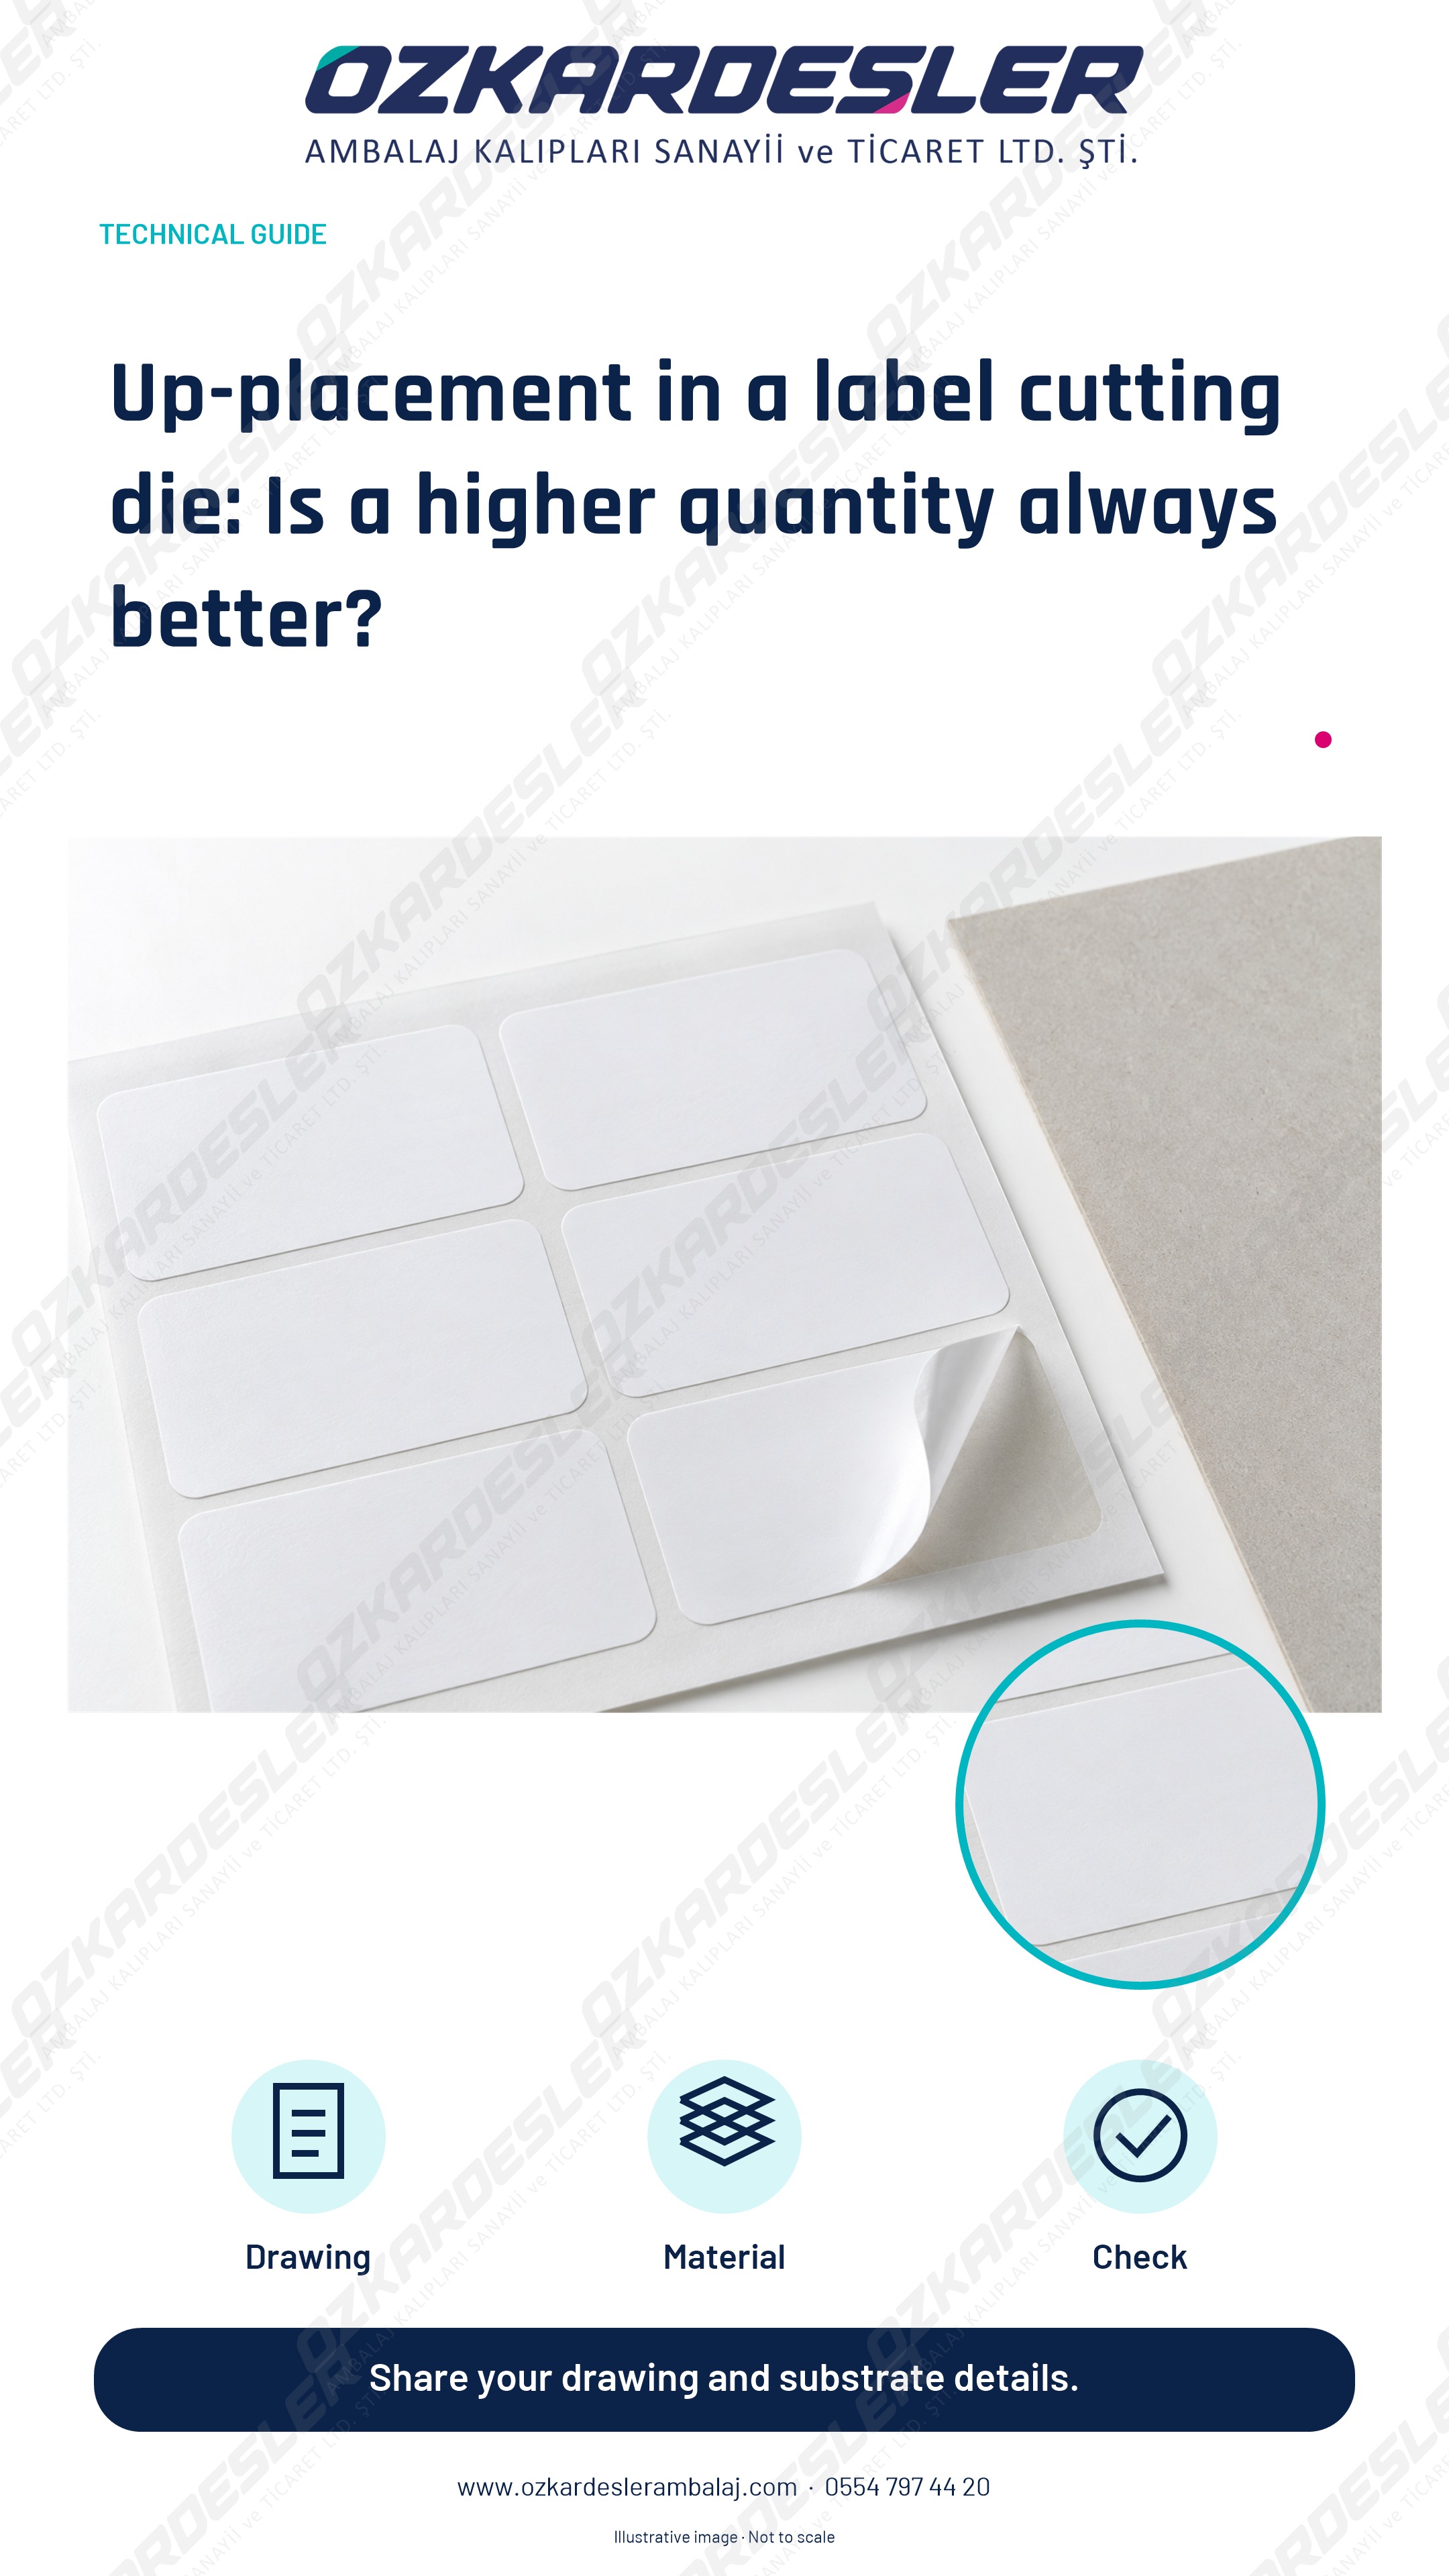
Evaluate the number of ups, printing direction, machine area, and waste stripping requirement together in label placement. Prepare a sheet layout suitable for the quote.
Read the article →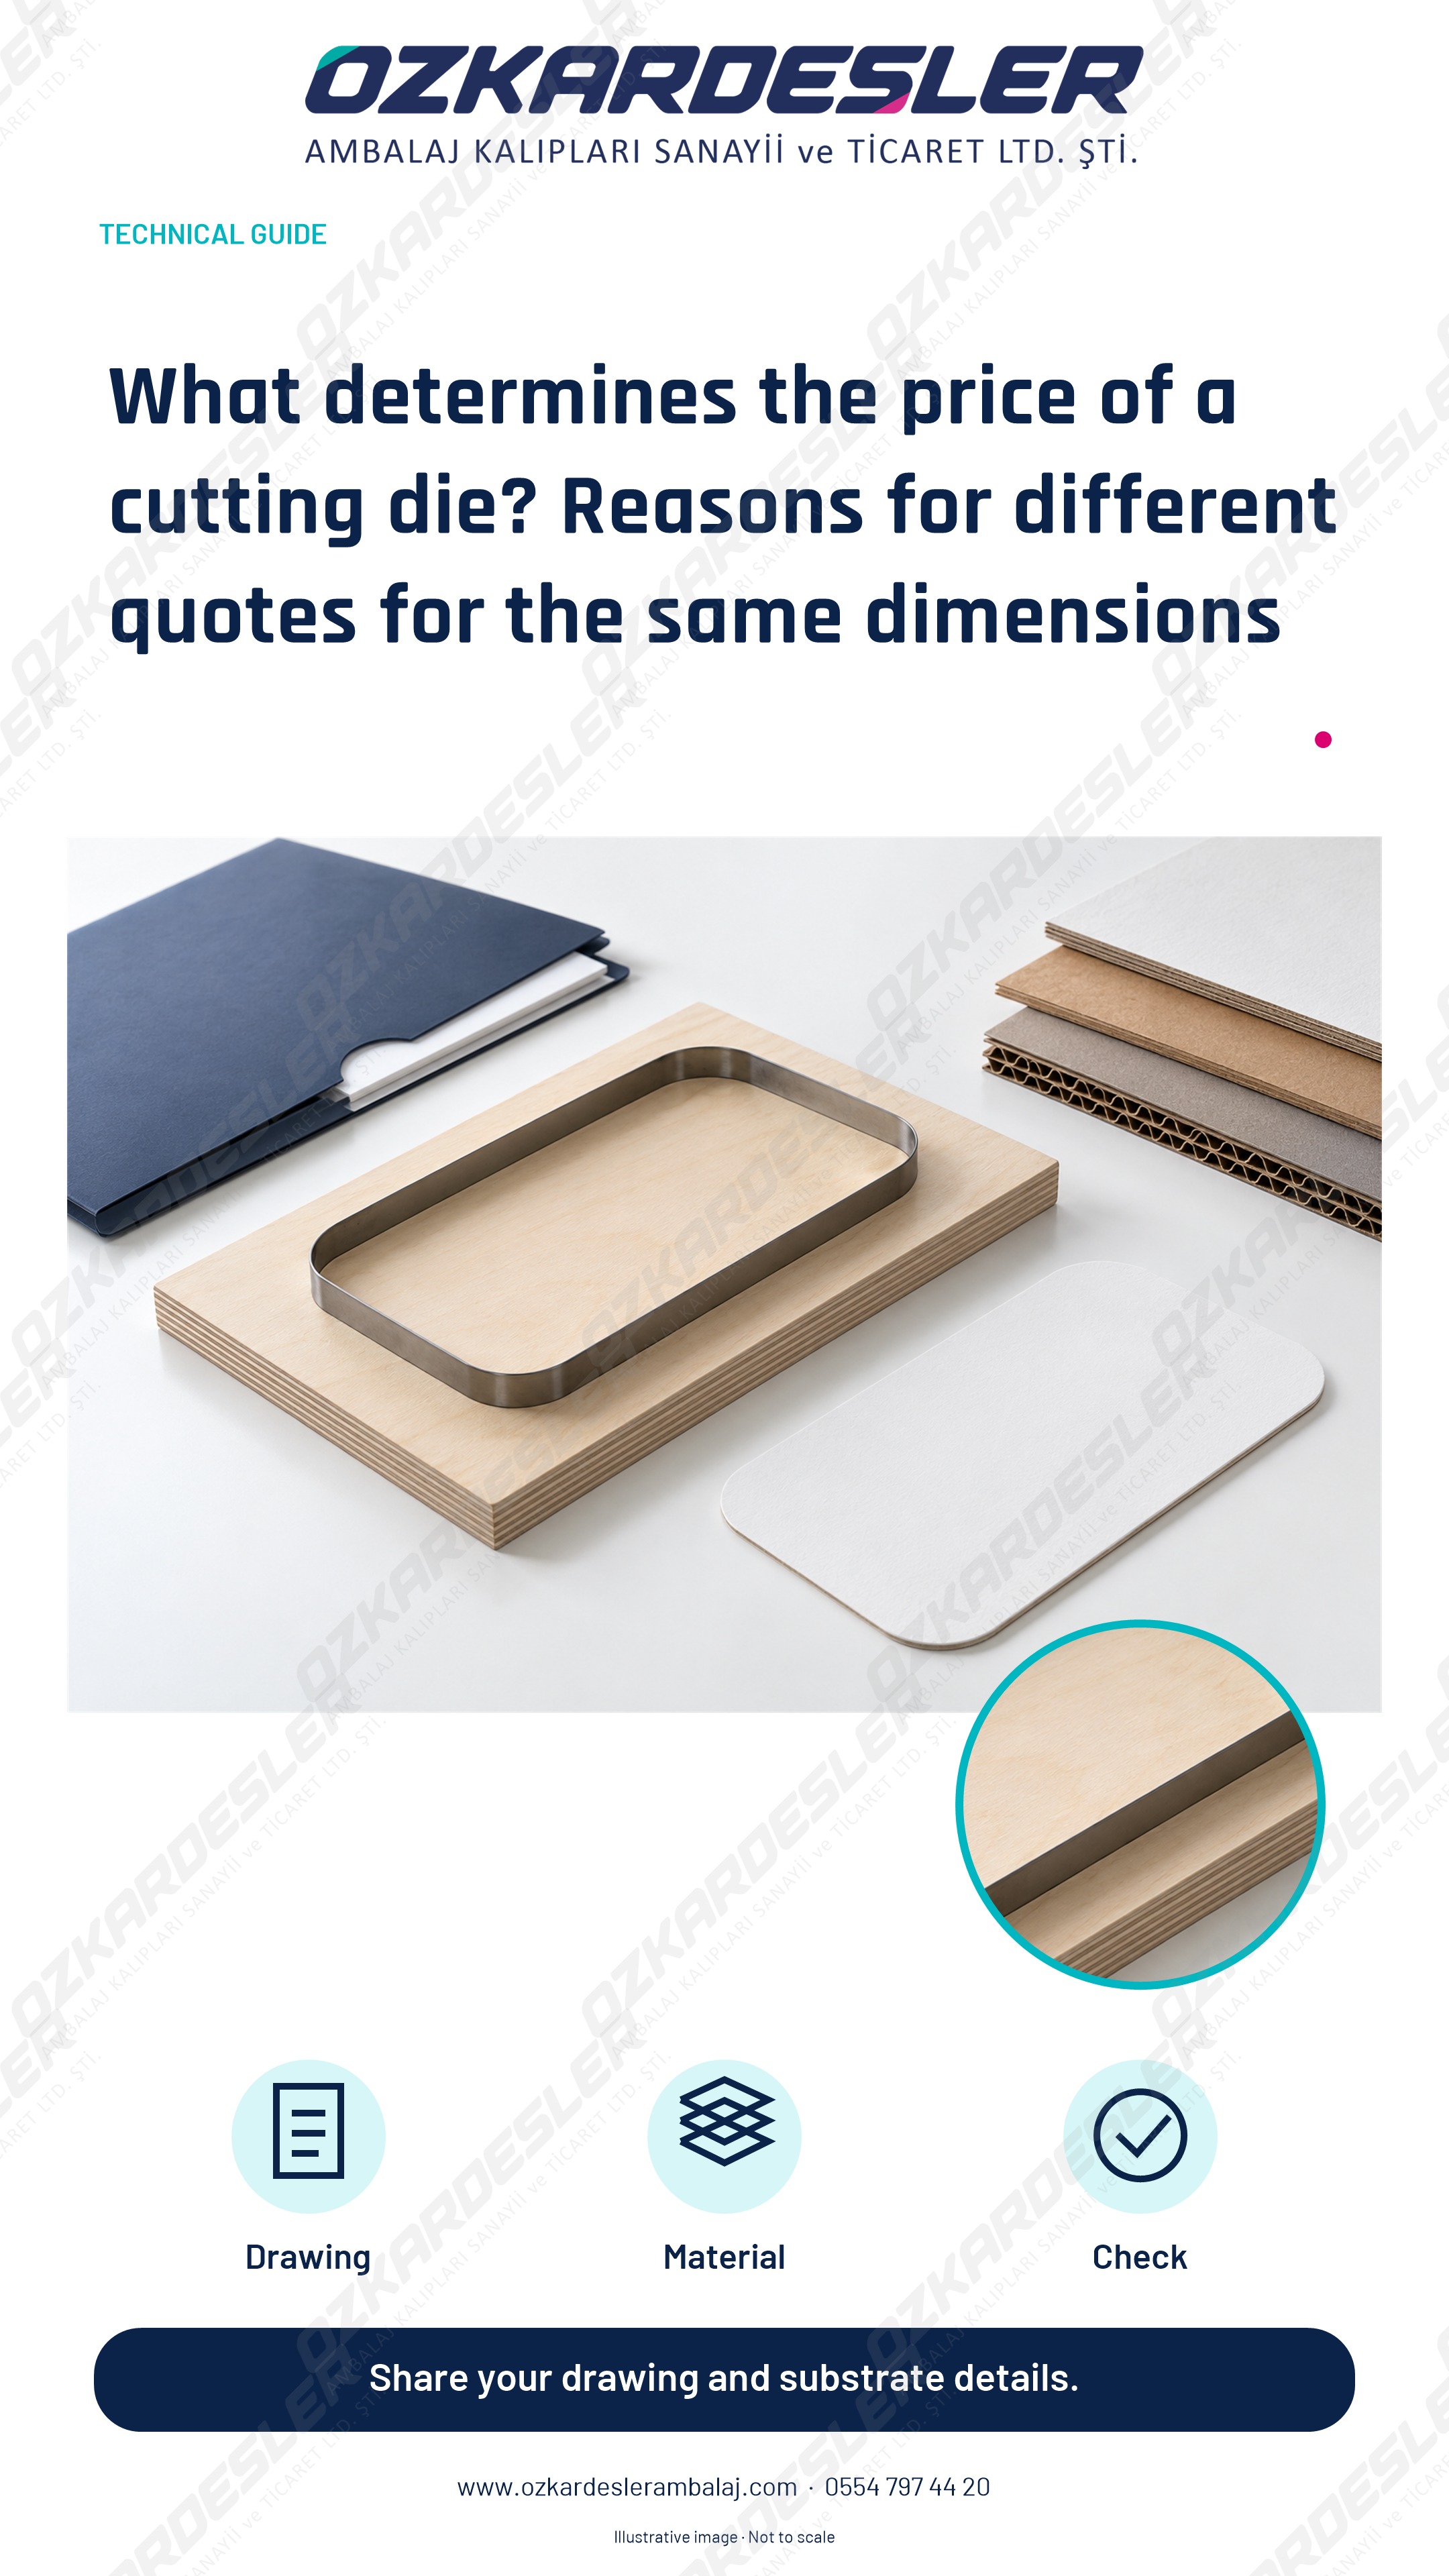
How do die size, rule layout, creasing, rubbering, waste stripping tooling, and revision scope affect the price? Compare quotes with the same information.
Read the article →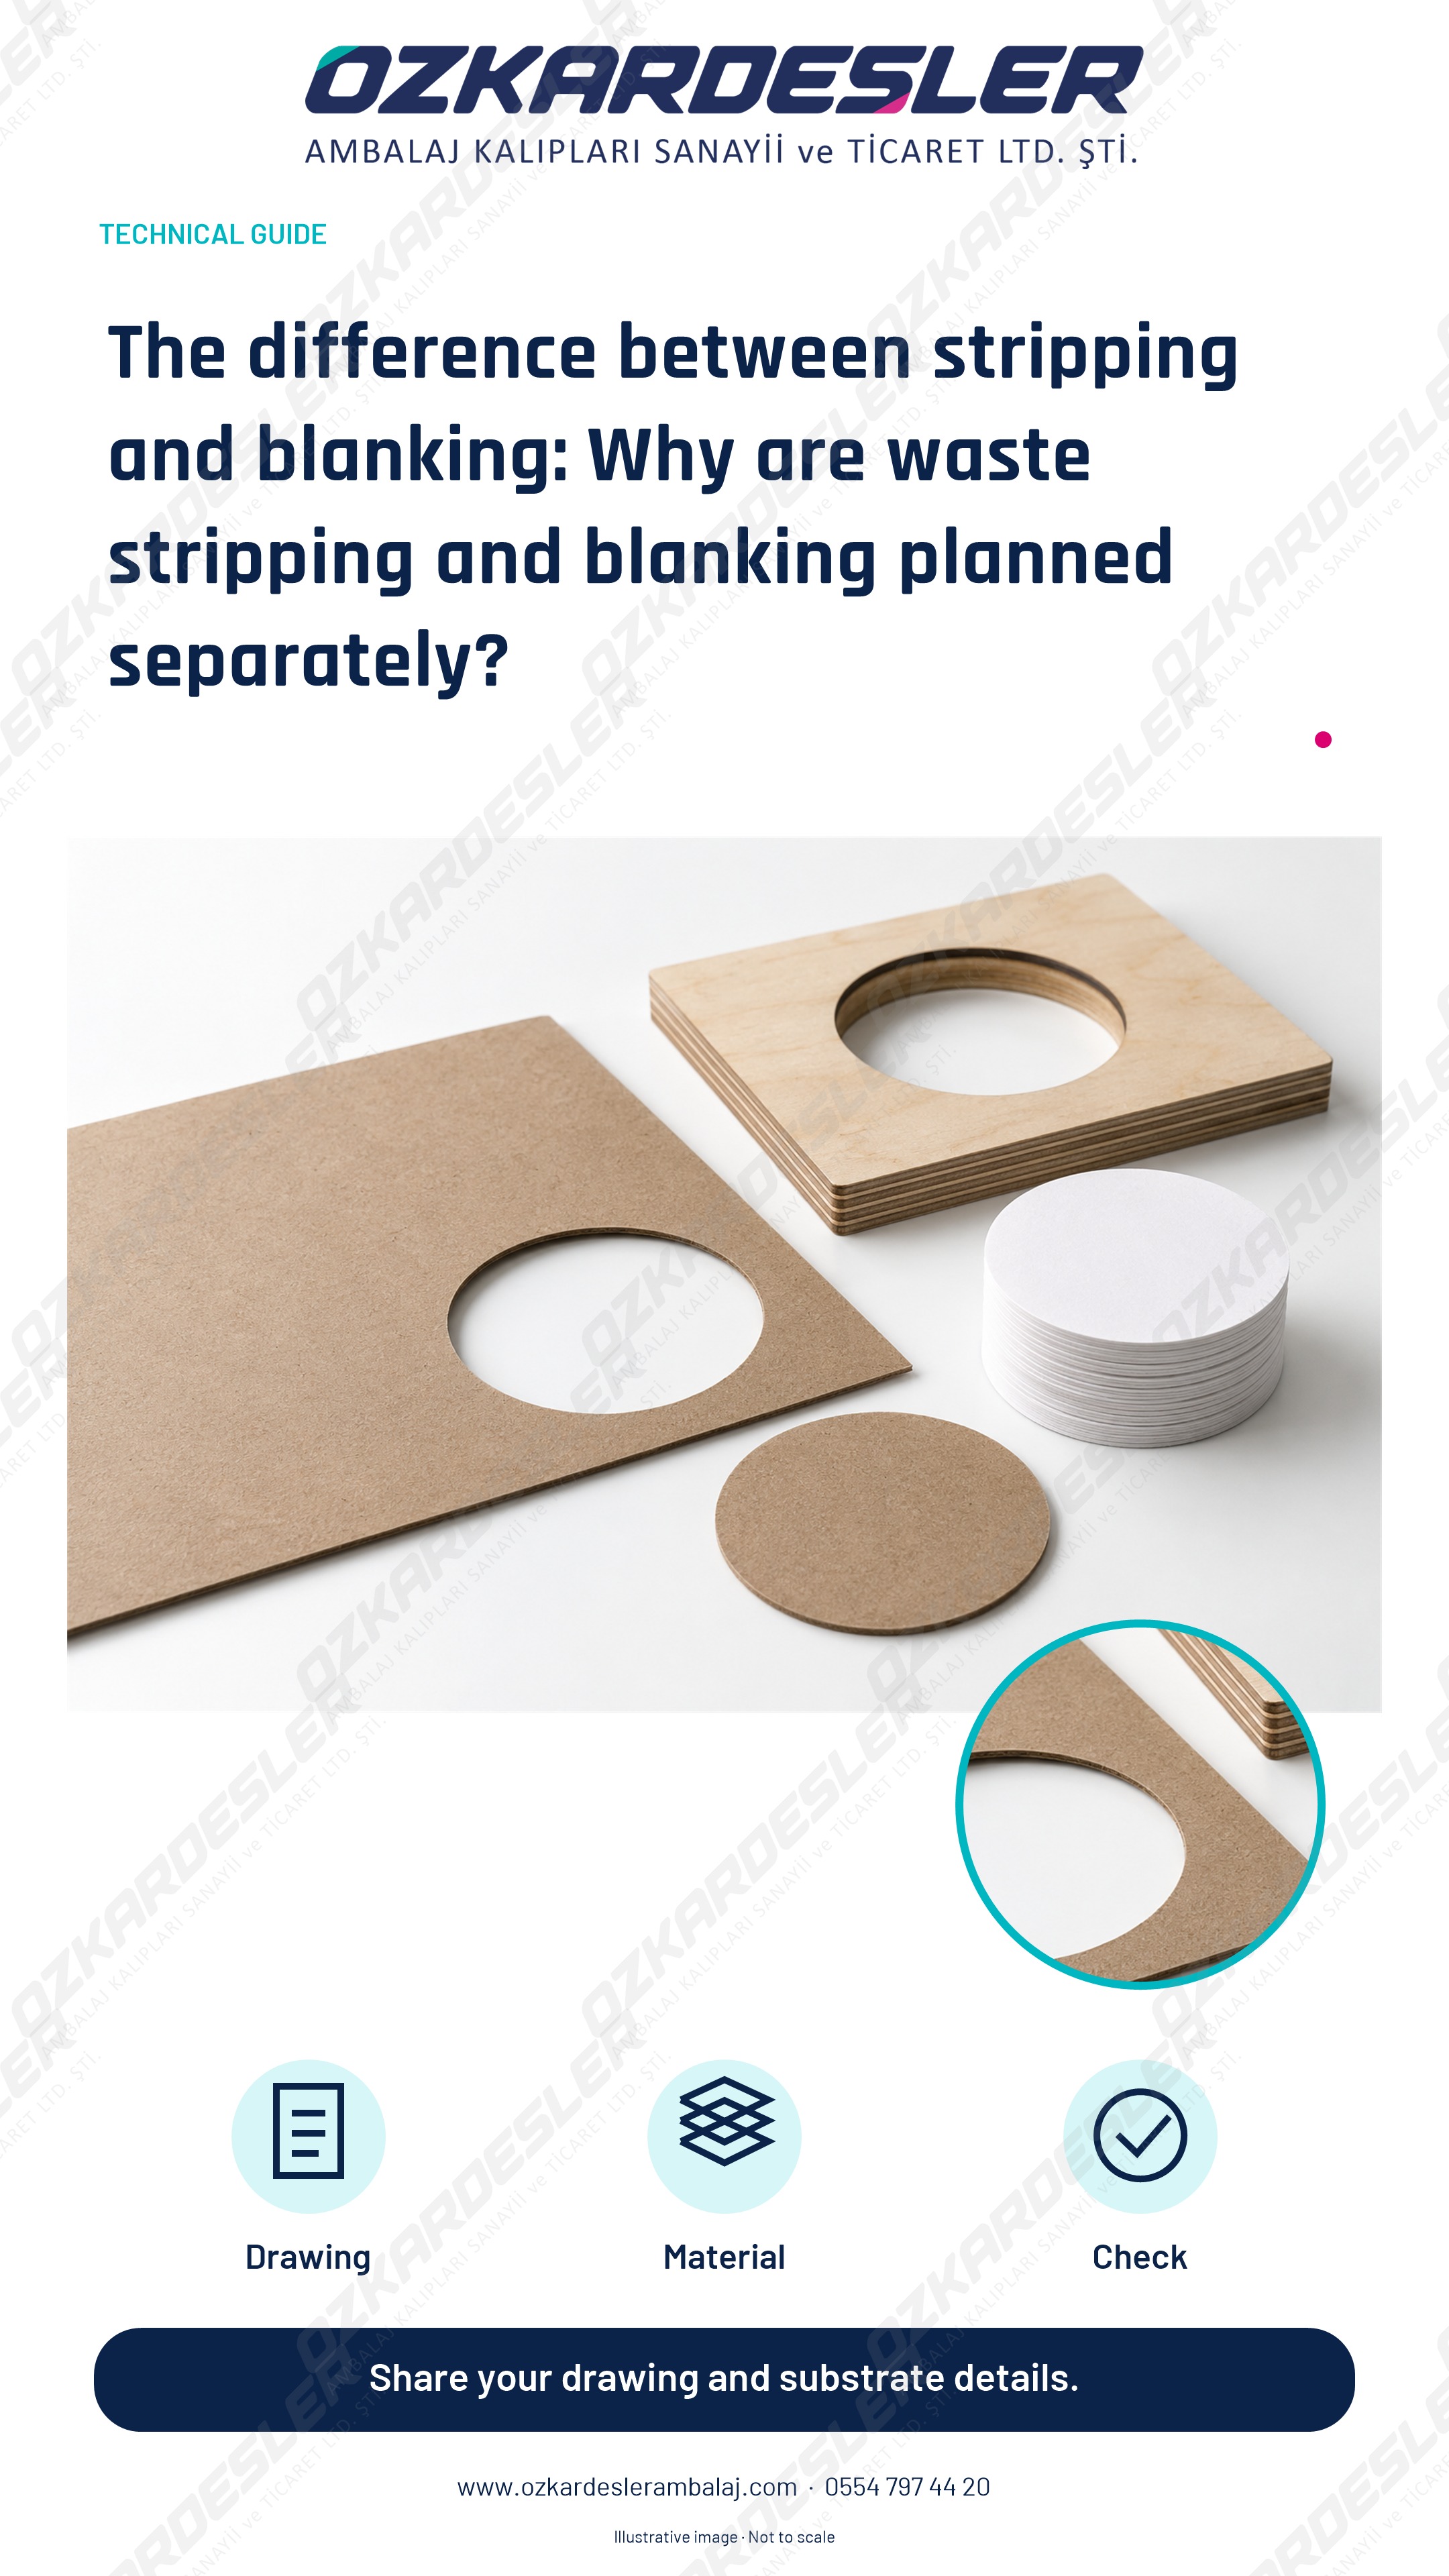
Learn the relationship between waste stripping, sheet transport, and blanking in BOBST cutting die operations. Describe the auxiliary tooling scope correctly.
Read the article →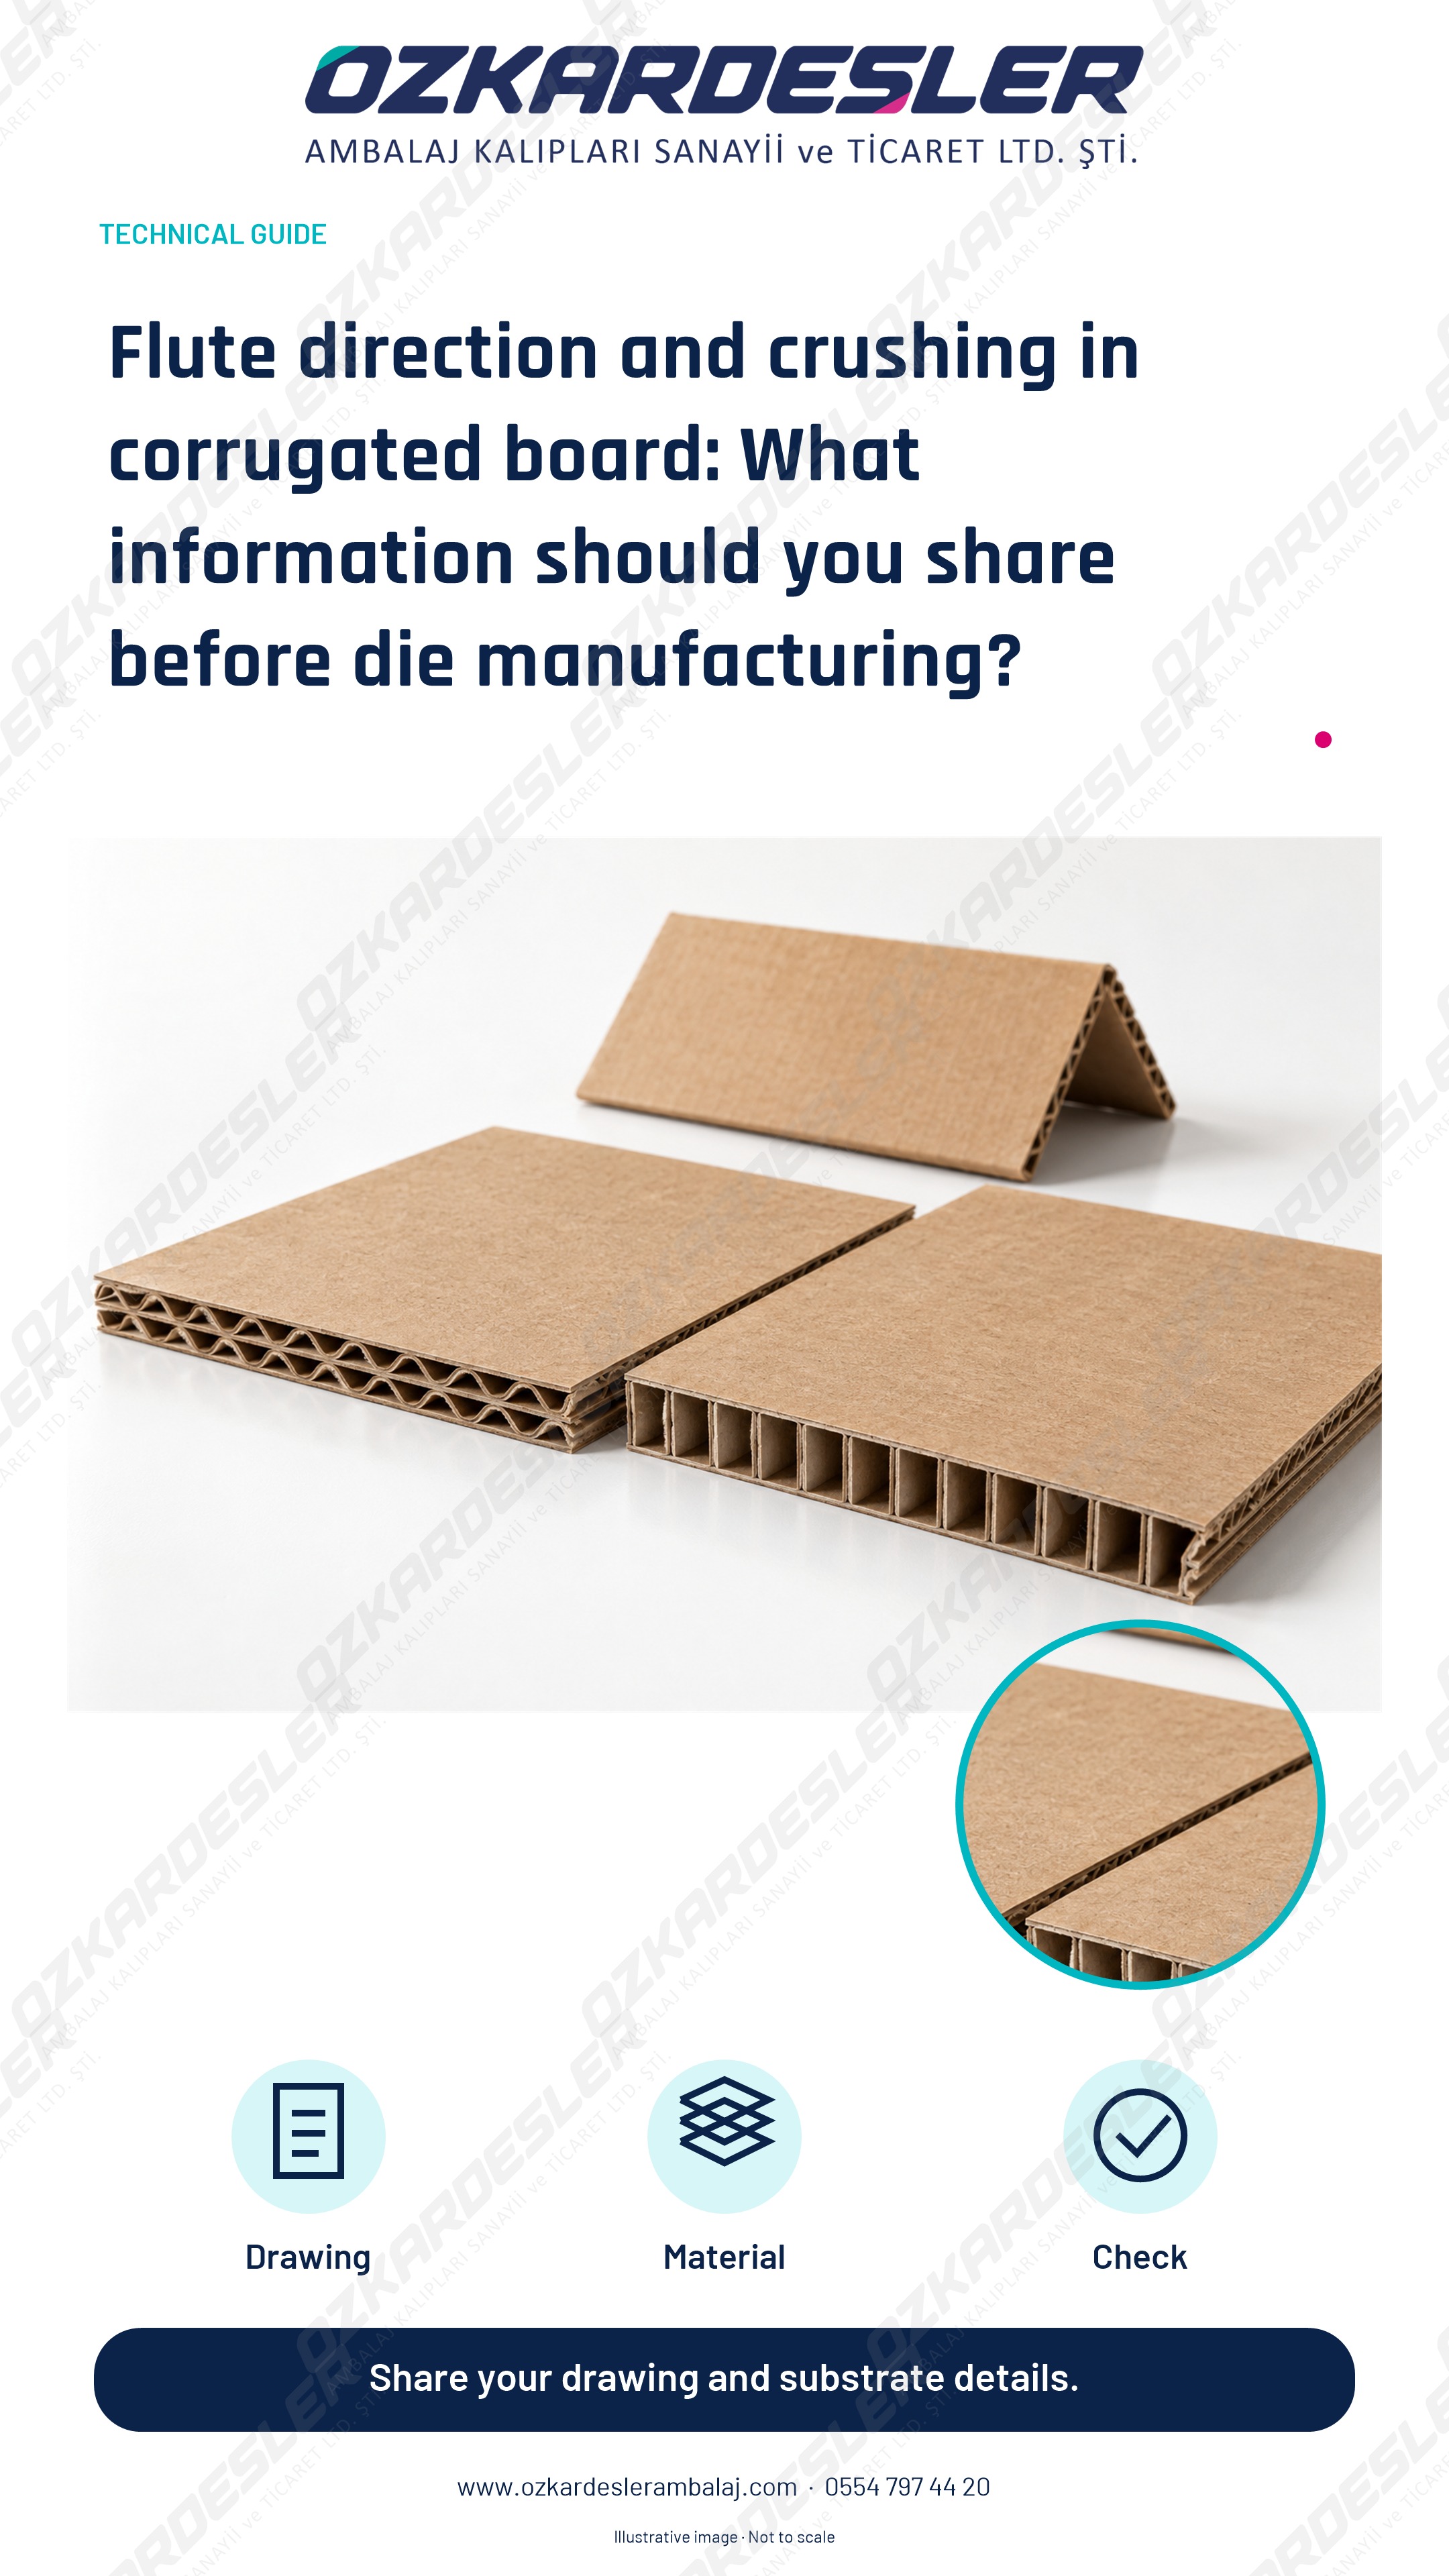
Examine the relationship between flute direction, actual thickness, creasing, and rubbering in a corrugated box cutting die. Use the checklist to describe the issue.
Read the article →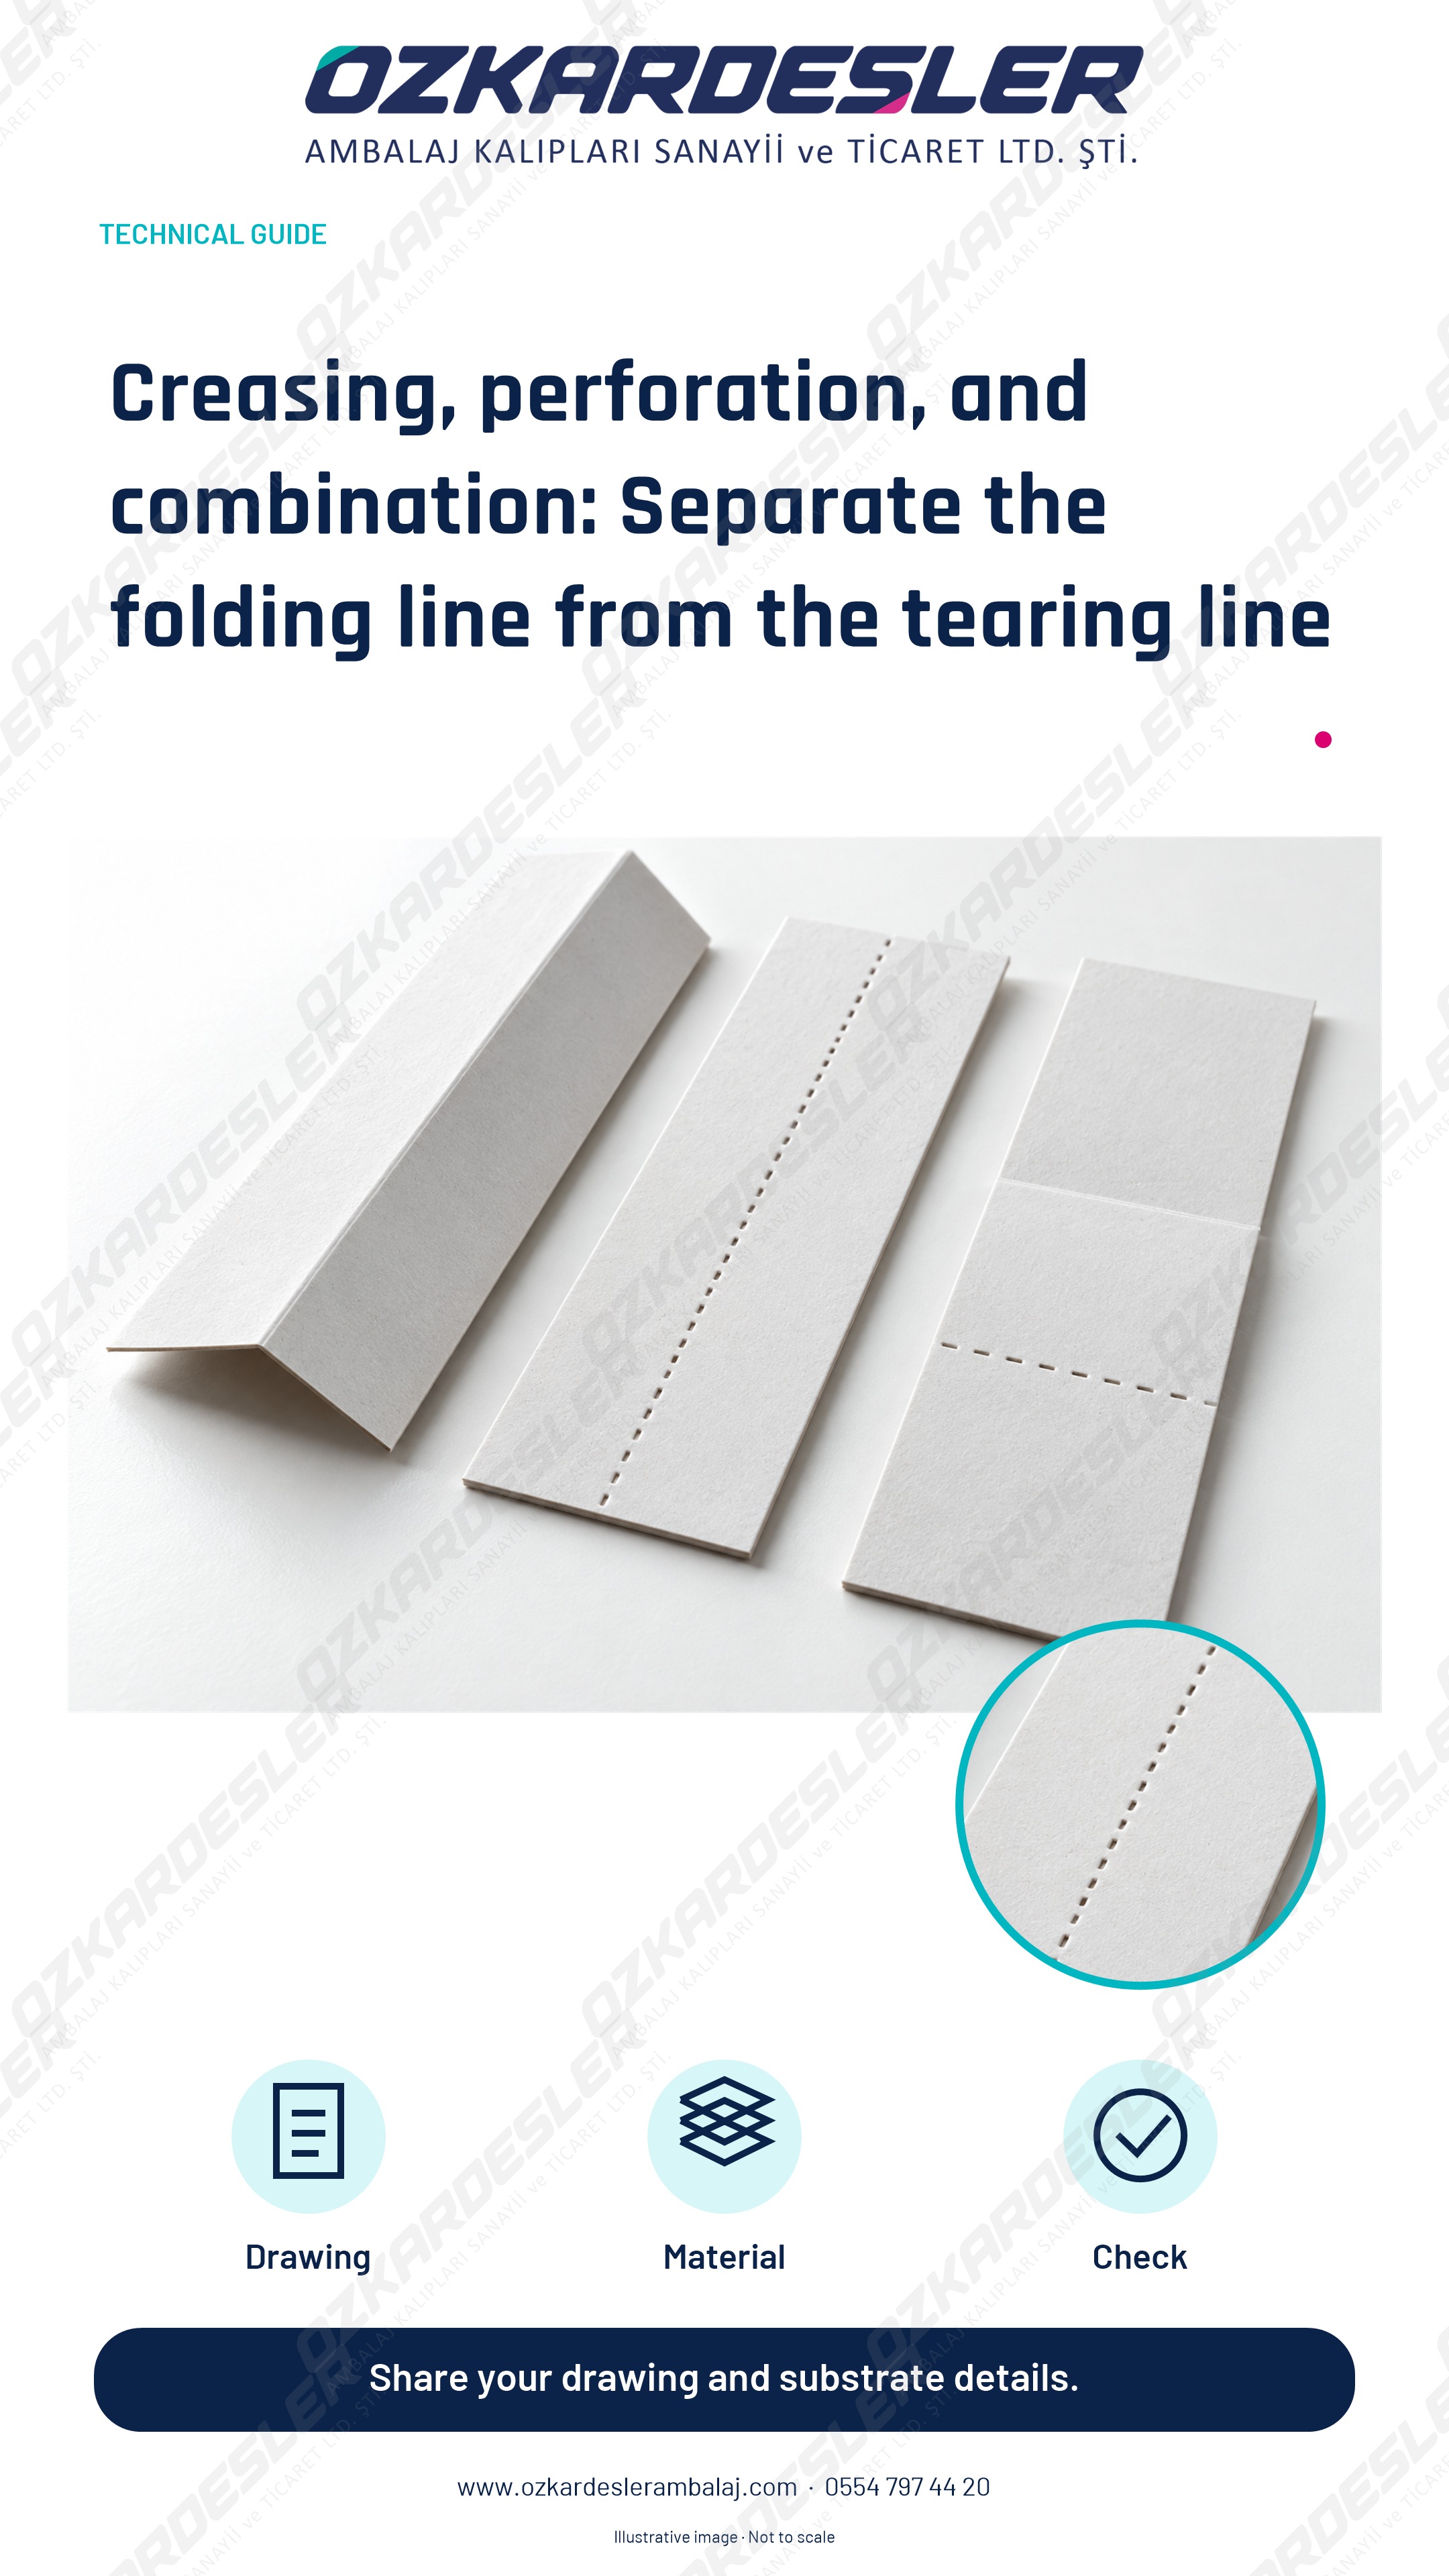
Separate folding, tearing, and combined line tasks in a box cutting die. Why should you not select the perforation layout based solely on the cut-to-space ratio?
Read the article →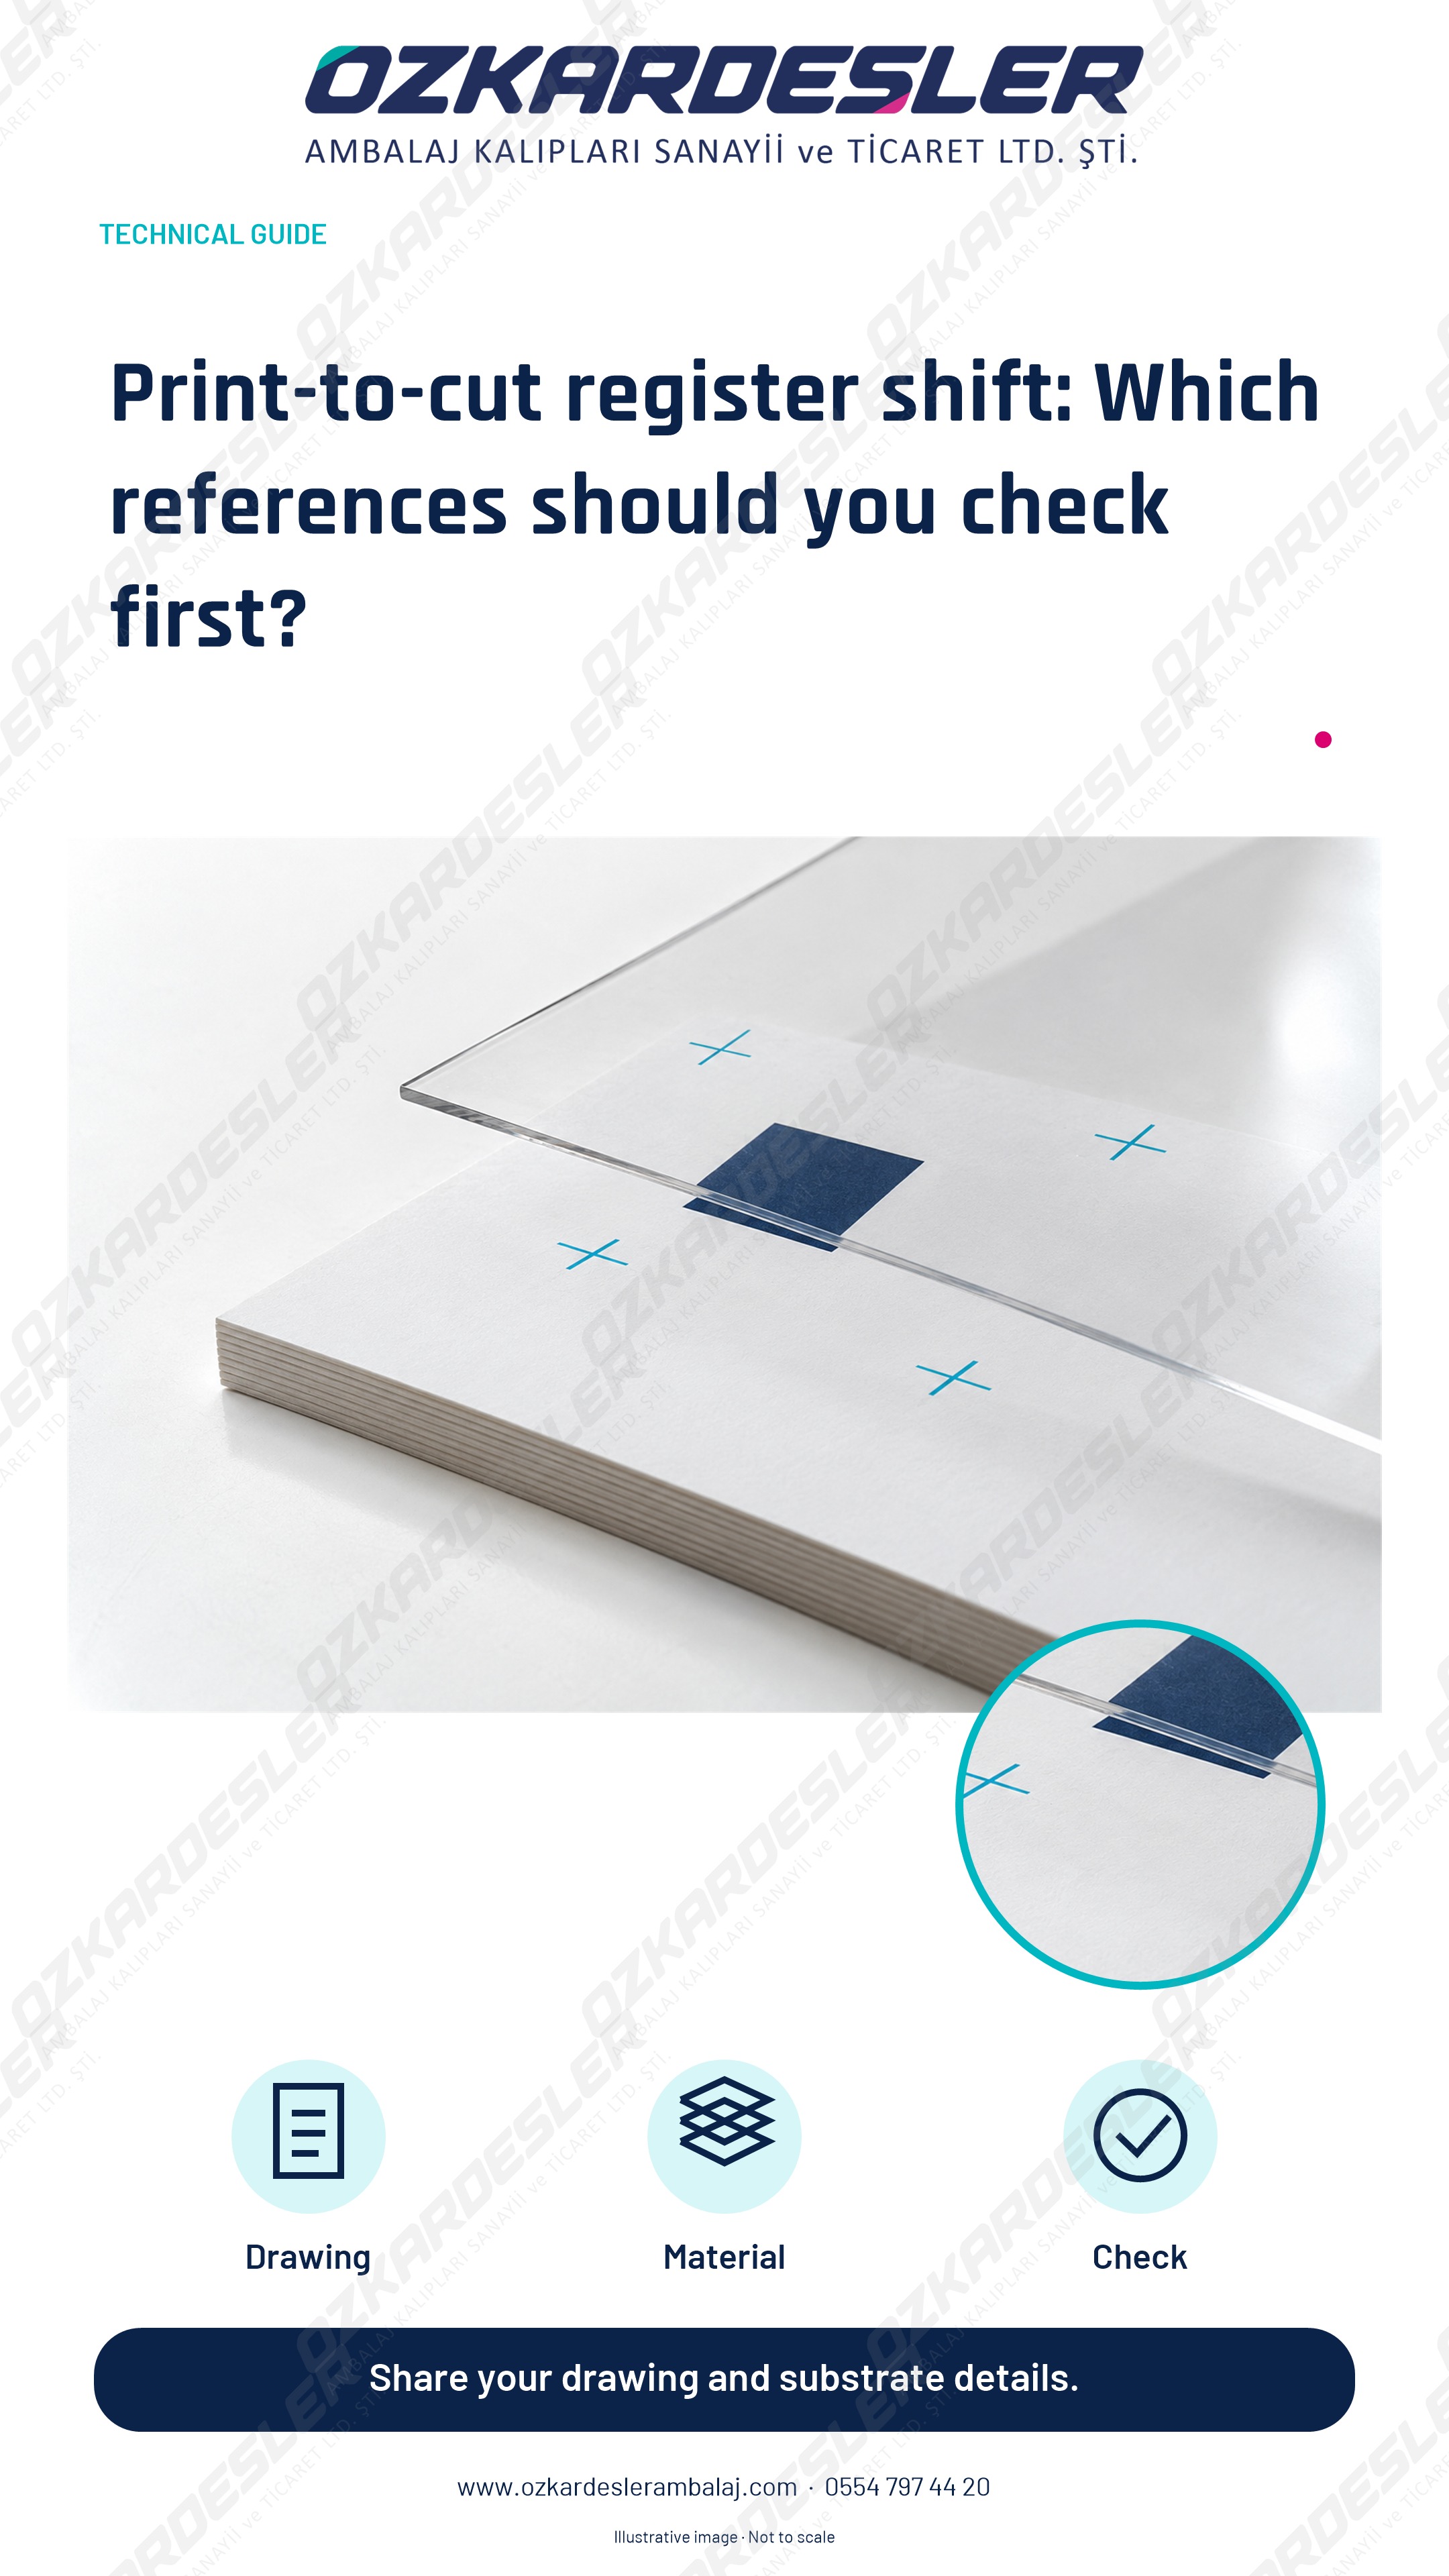
A practical guide to comparing file revisions, up-placement, feeding direction, and machine references when print and cutting contours do not match.
Read the article →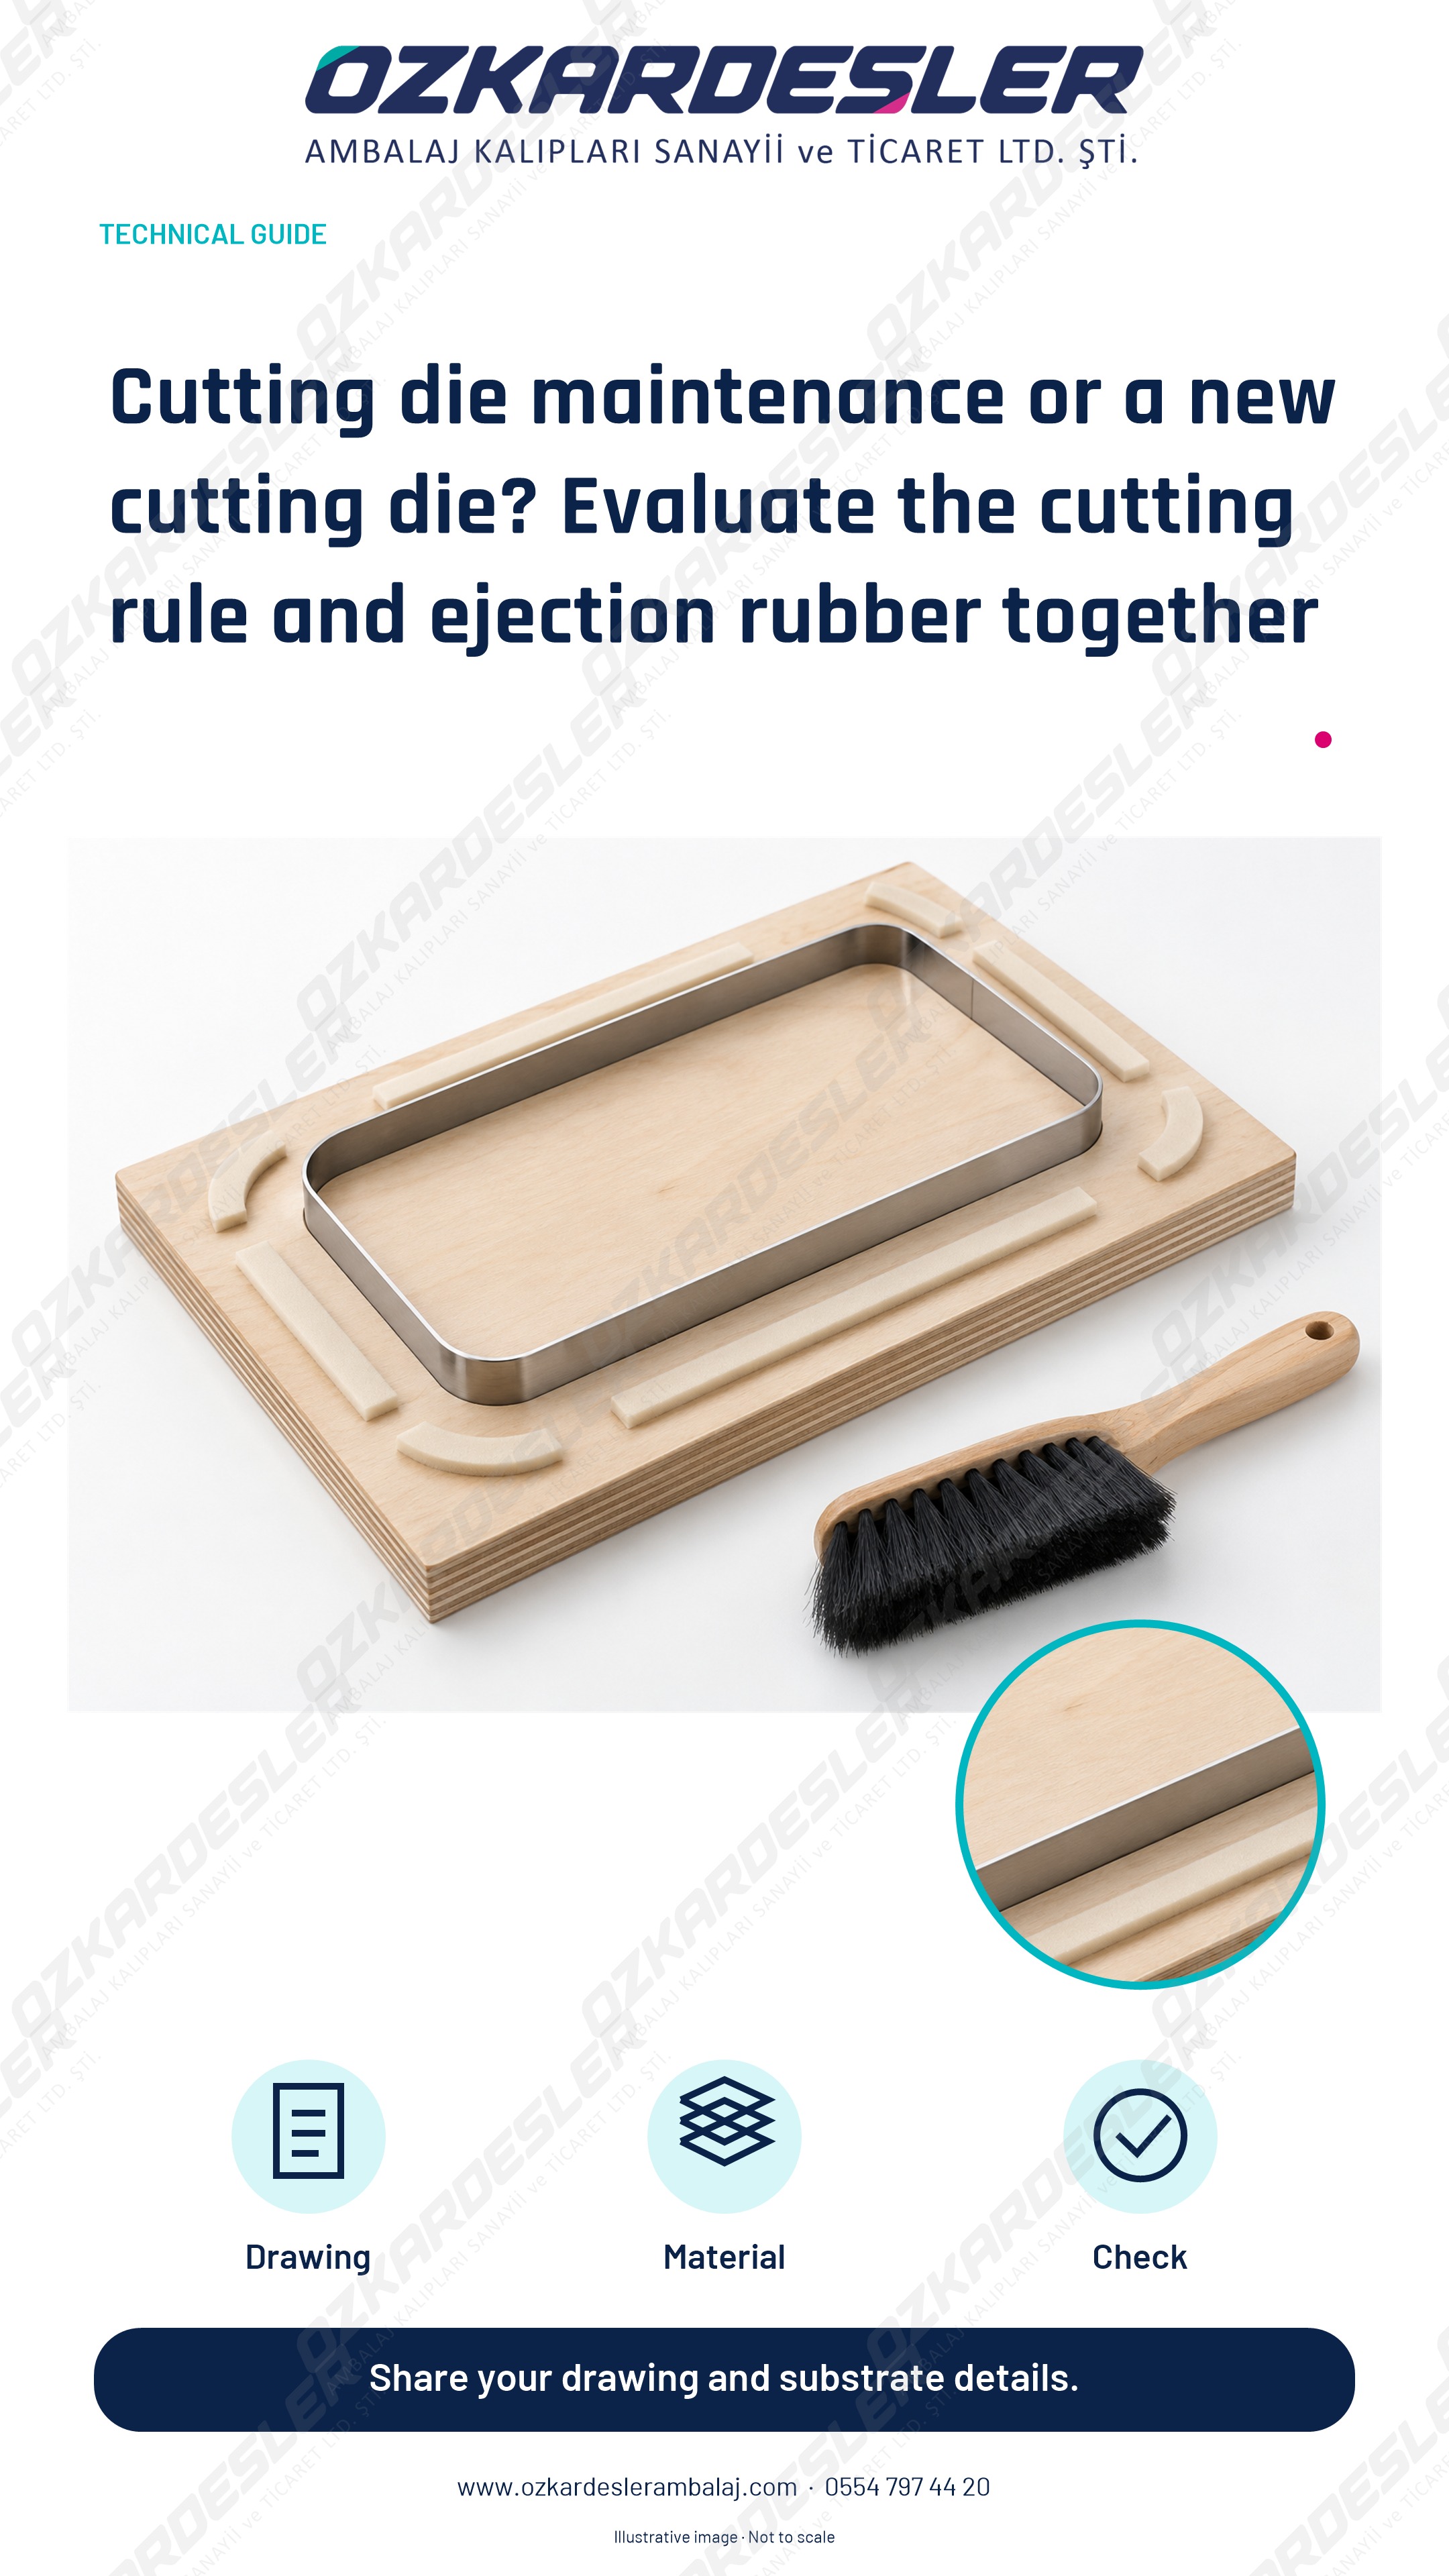
Consider cutting die maintenance for cutting, sheet evacuation, and waste stripping issues. Make a decision through rule, rubber, base, and revision checks.
Read the article →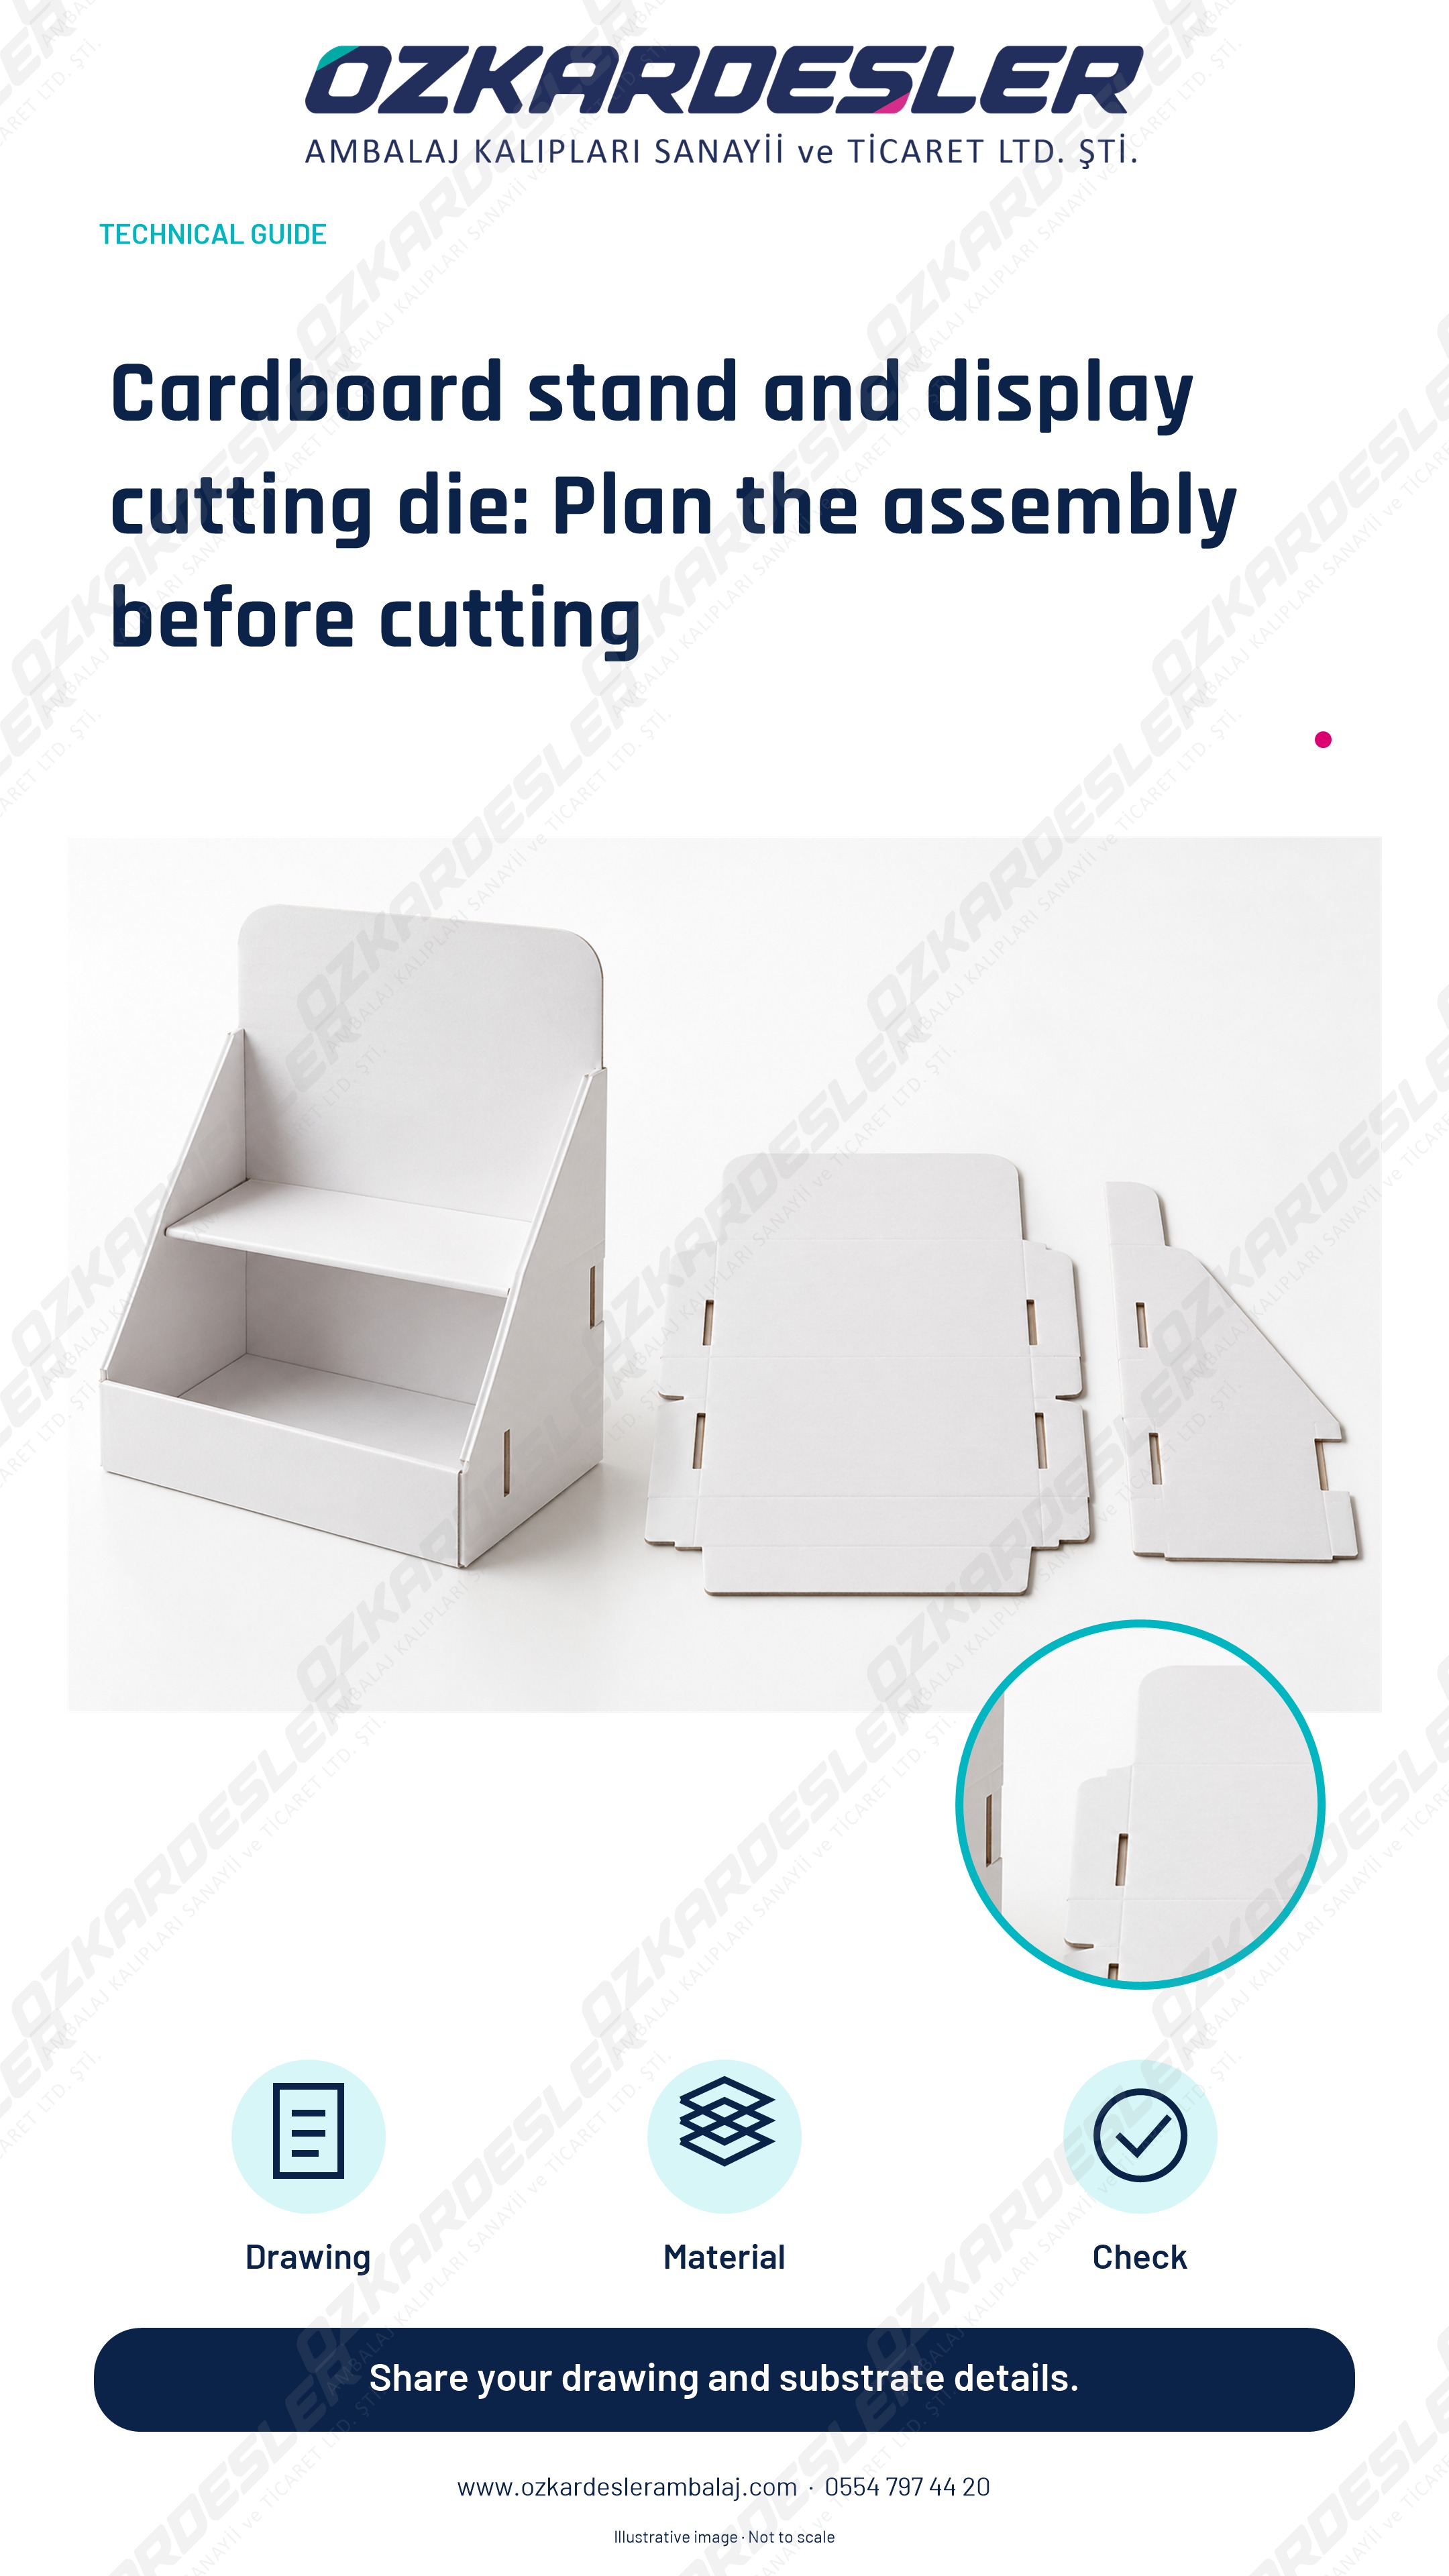
A cutting die preparation guide that evaluates part codes, flute directions, interlocks, assembly, and product load together in multi-part cardboard stands.
Read the article →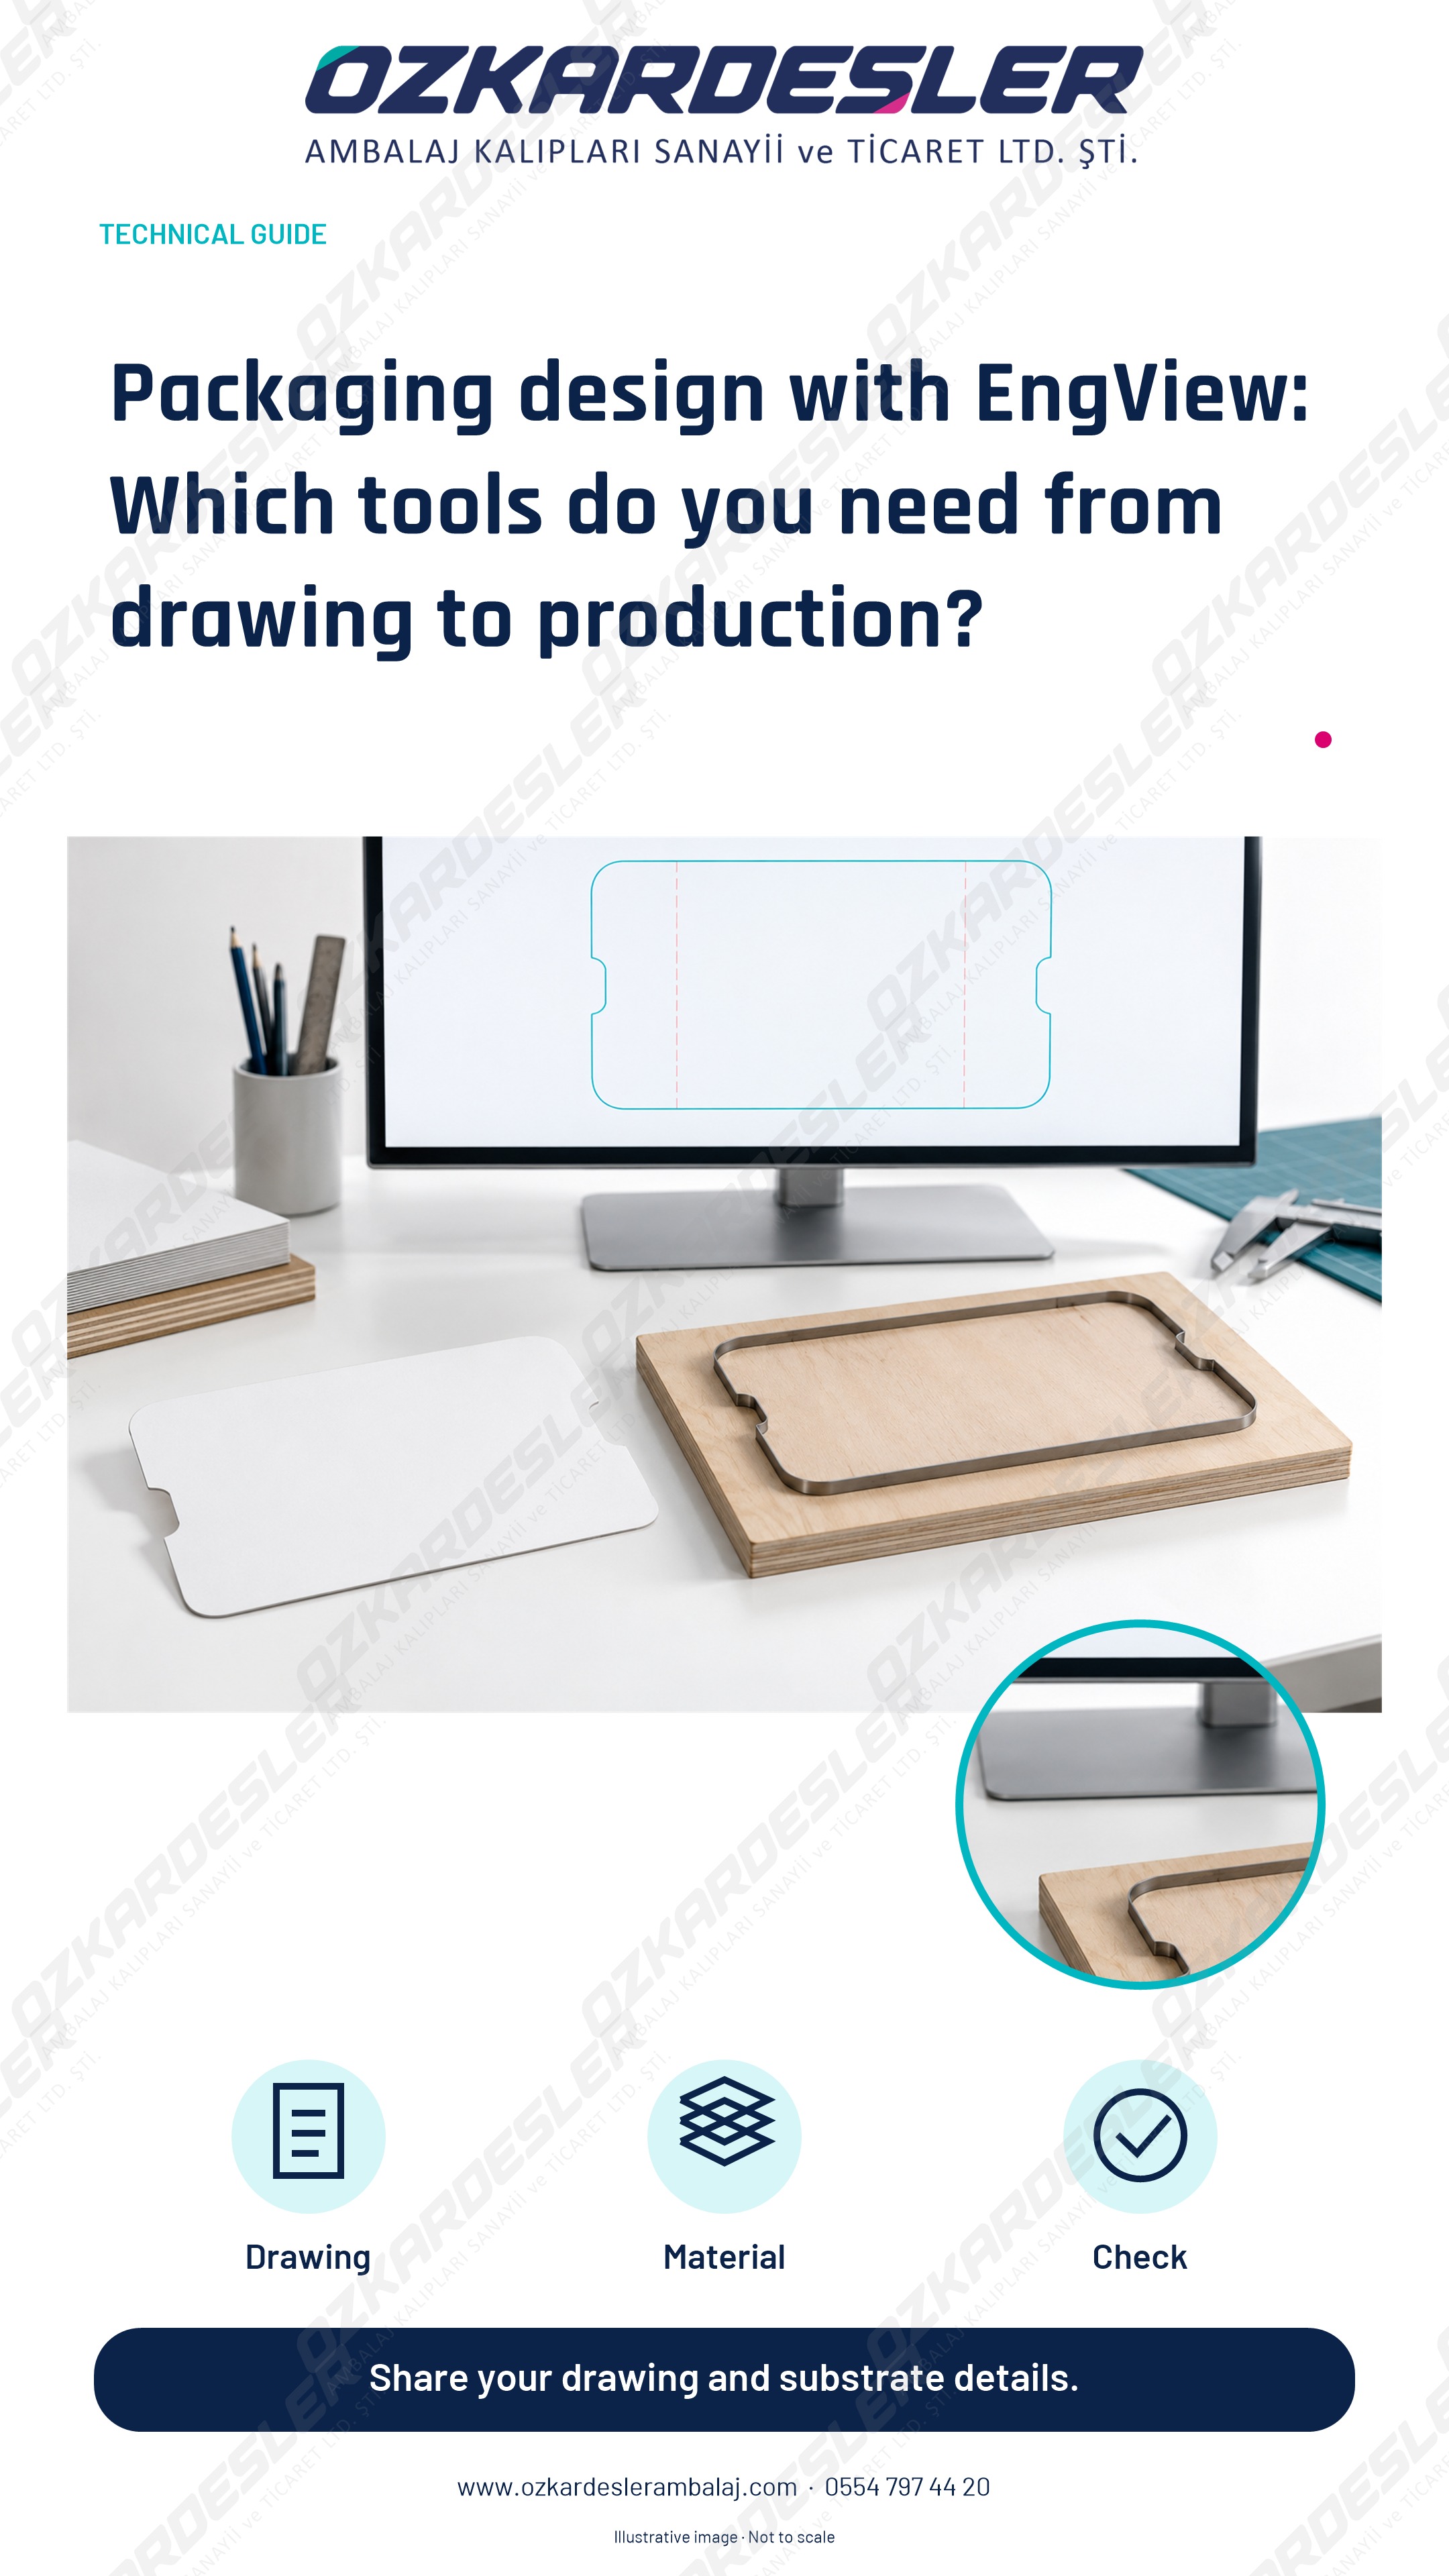
Determine box and display design, 3D presentation, and cutting die preparation needs while choosing EngView. Consult Özkardeşler, the distributor in Turkey.
Read the article →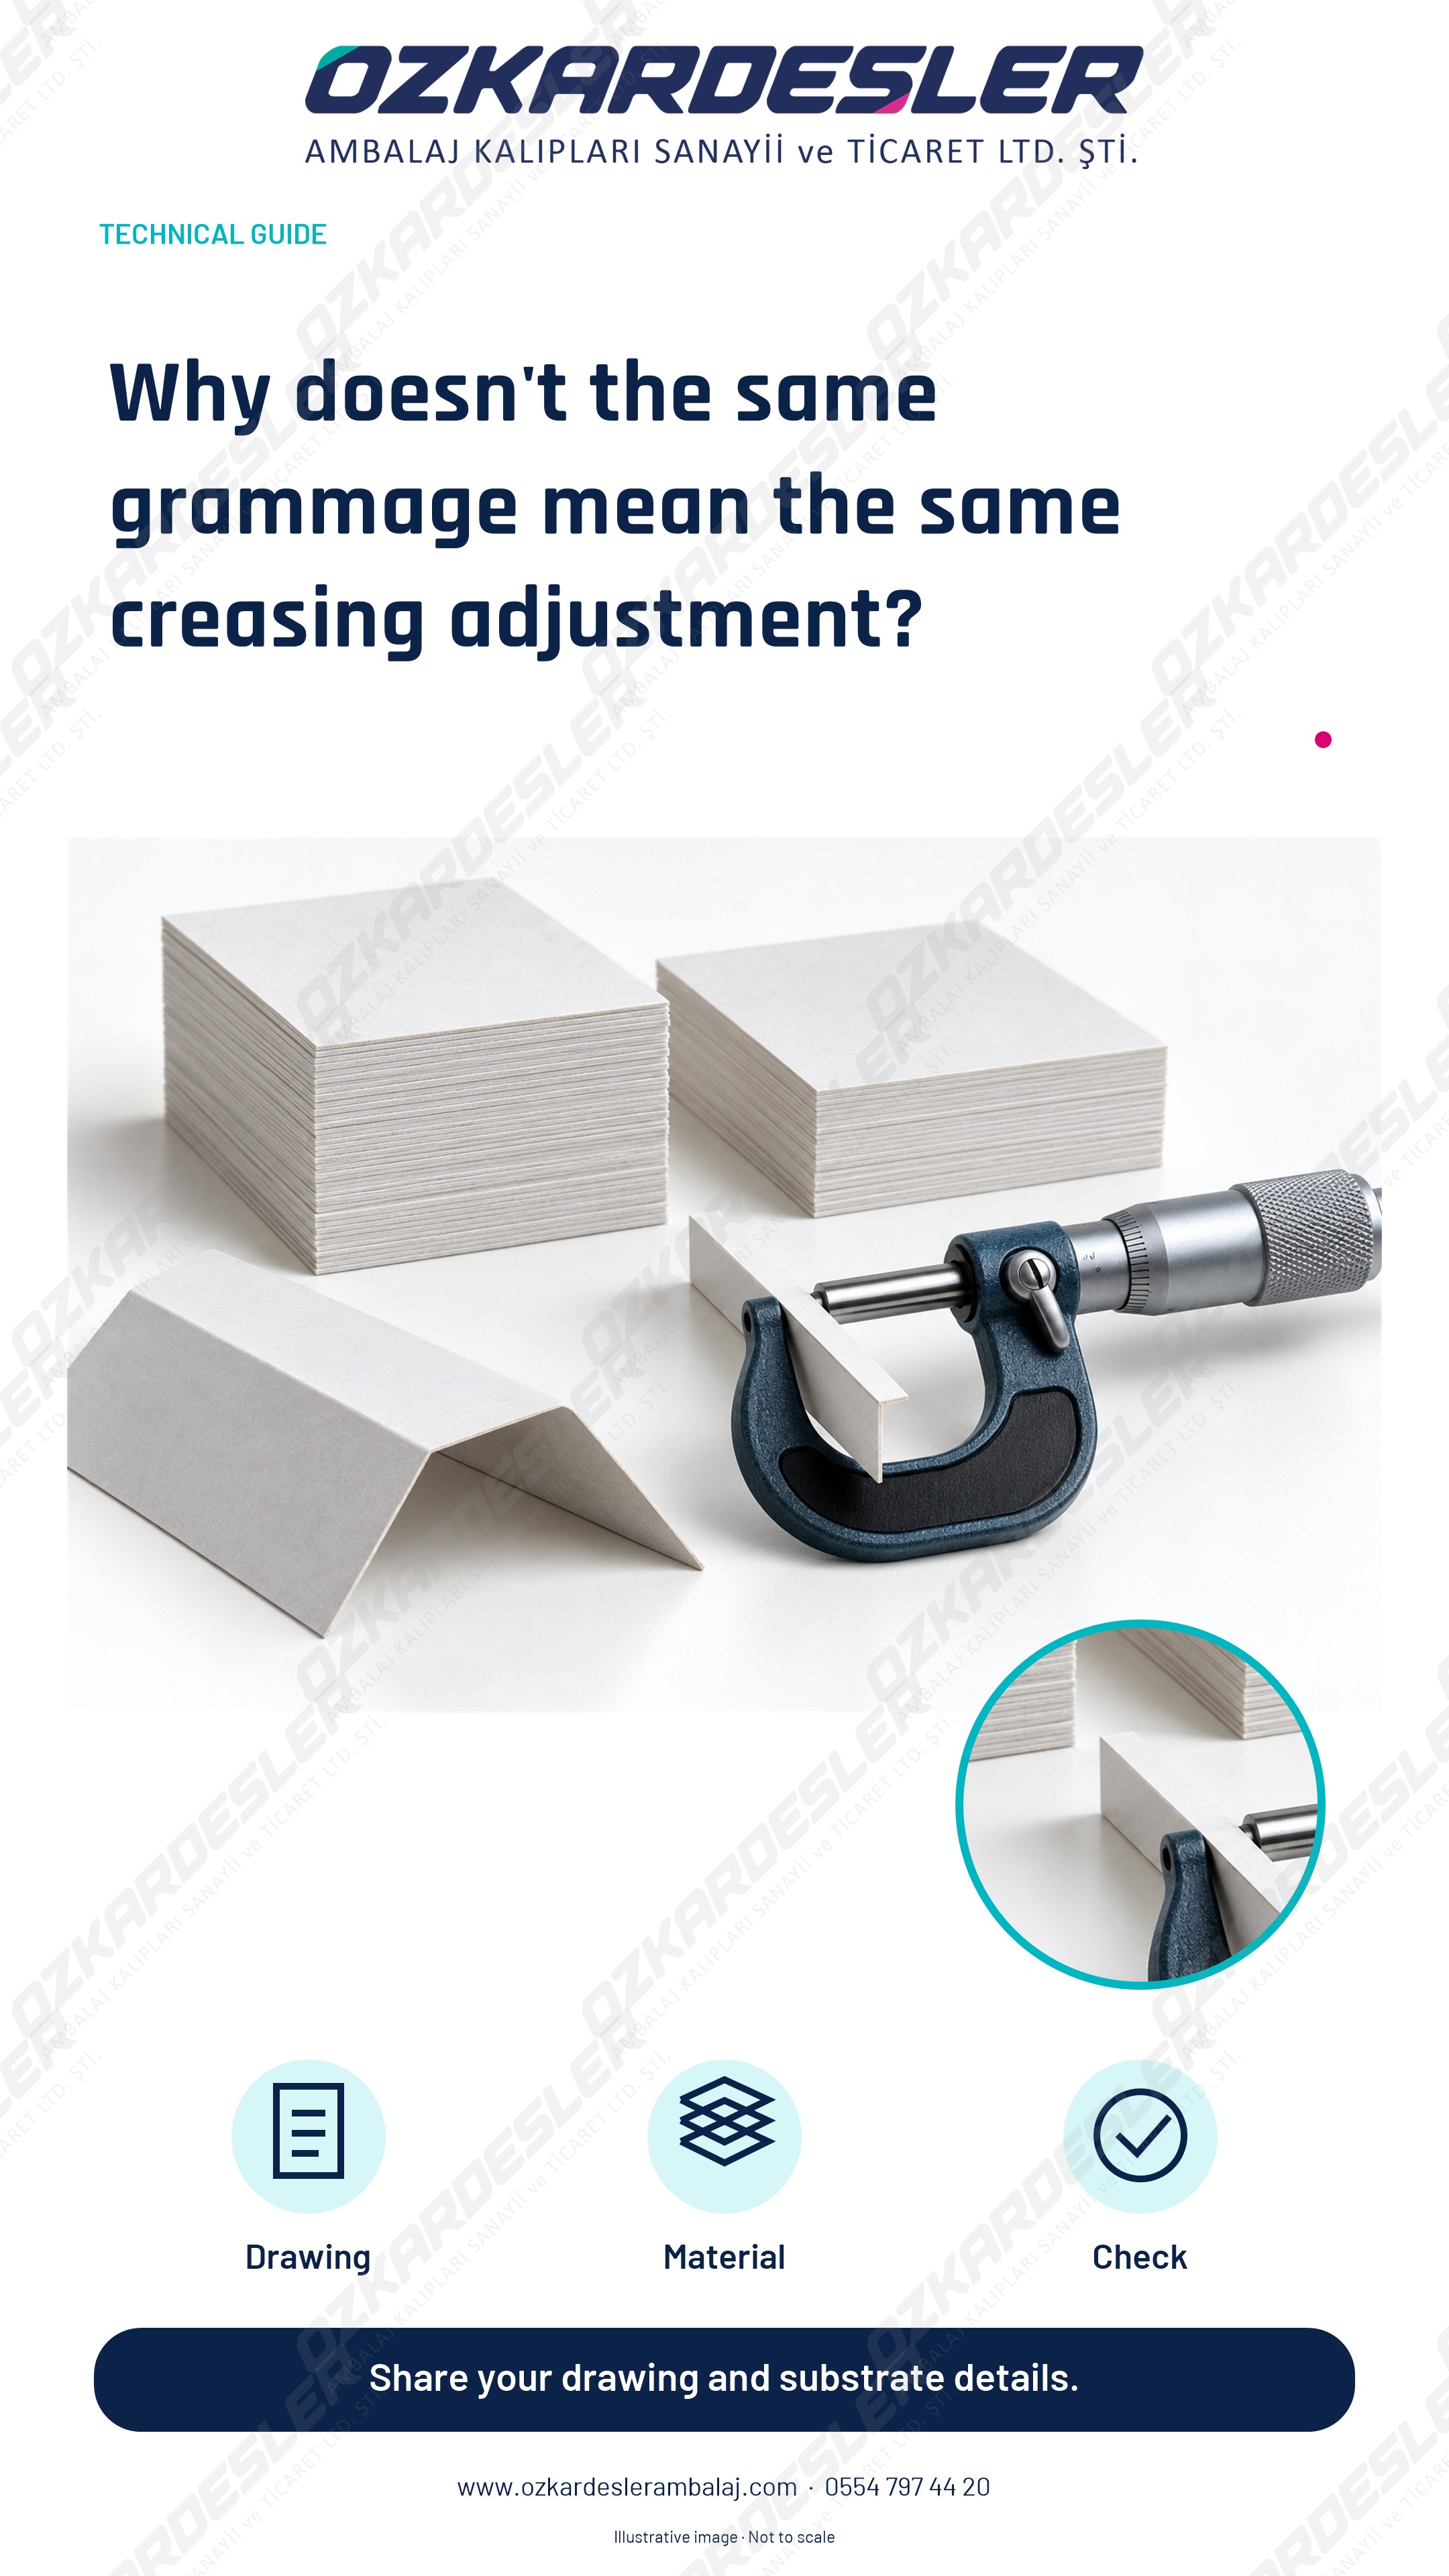
Why are paperboard grammage and actual thickness evaluated together? A technical preparation guide for creasing-rule, channel, and material compatibility.
Read the article →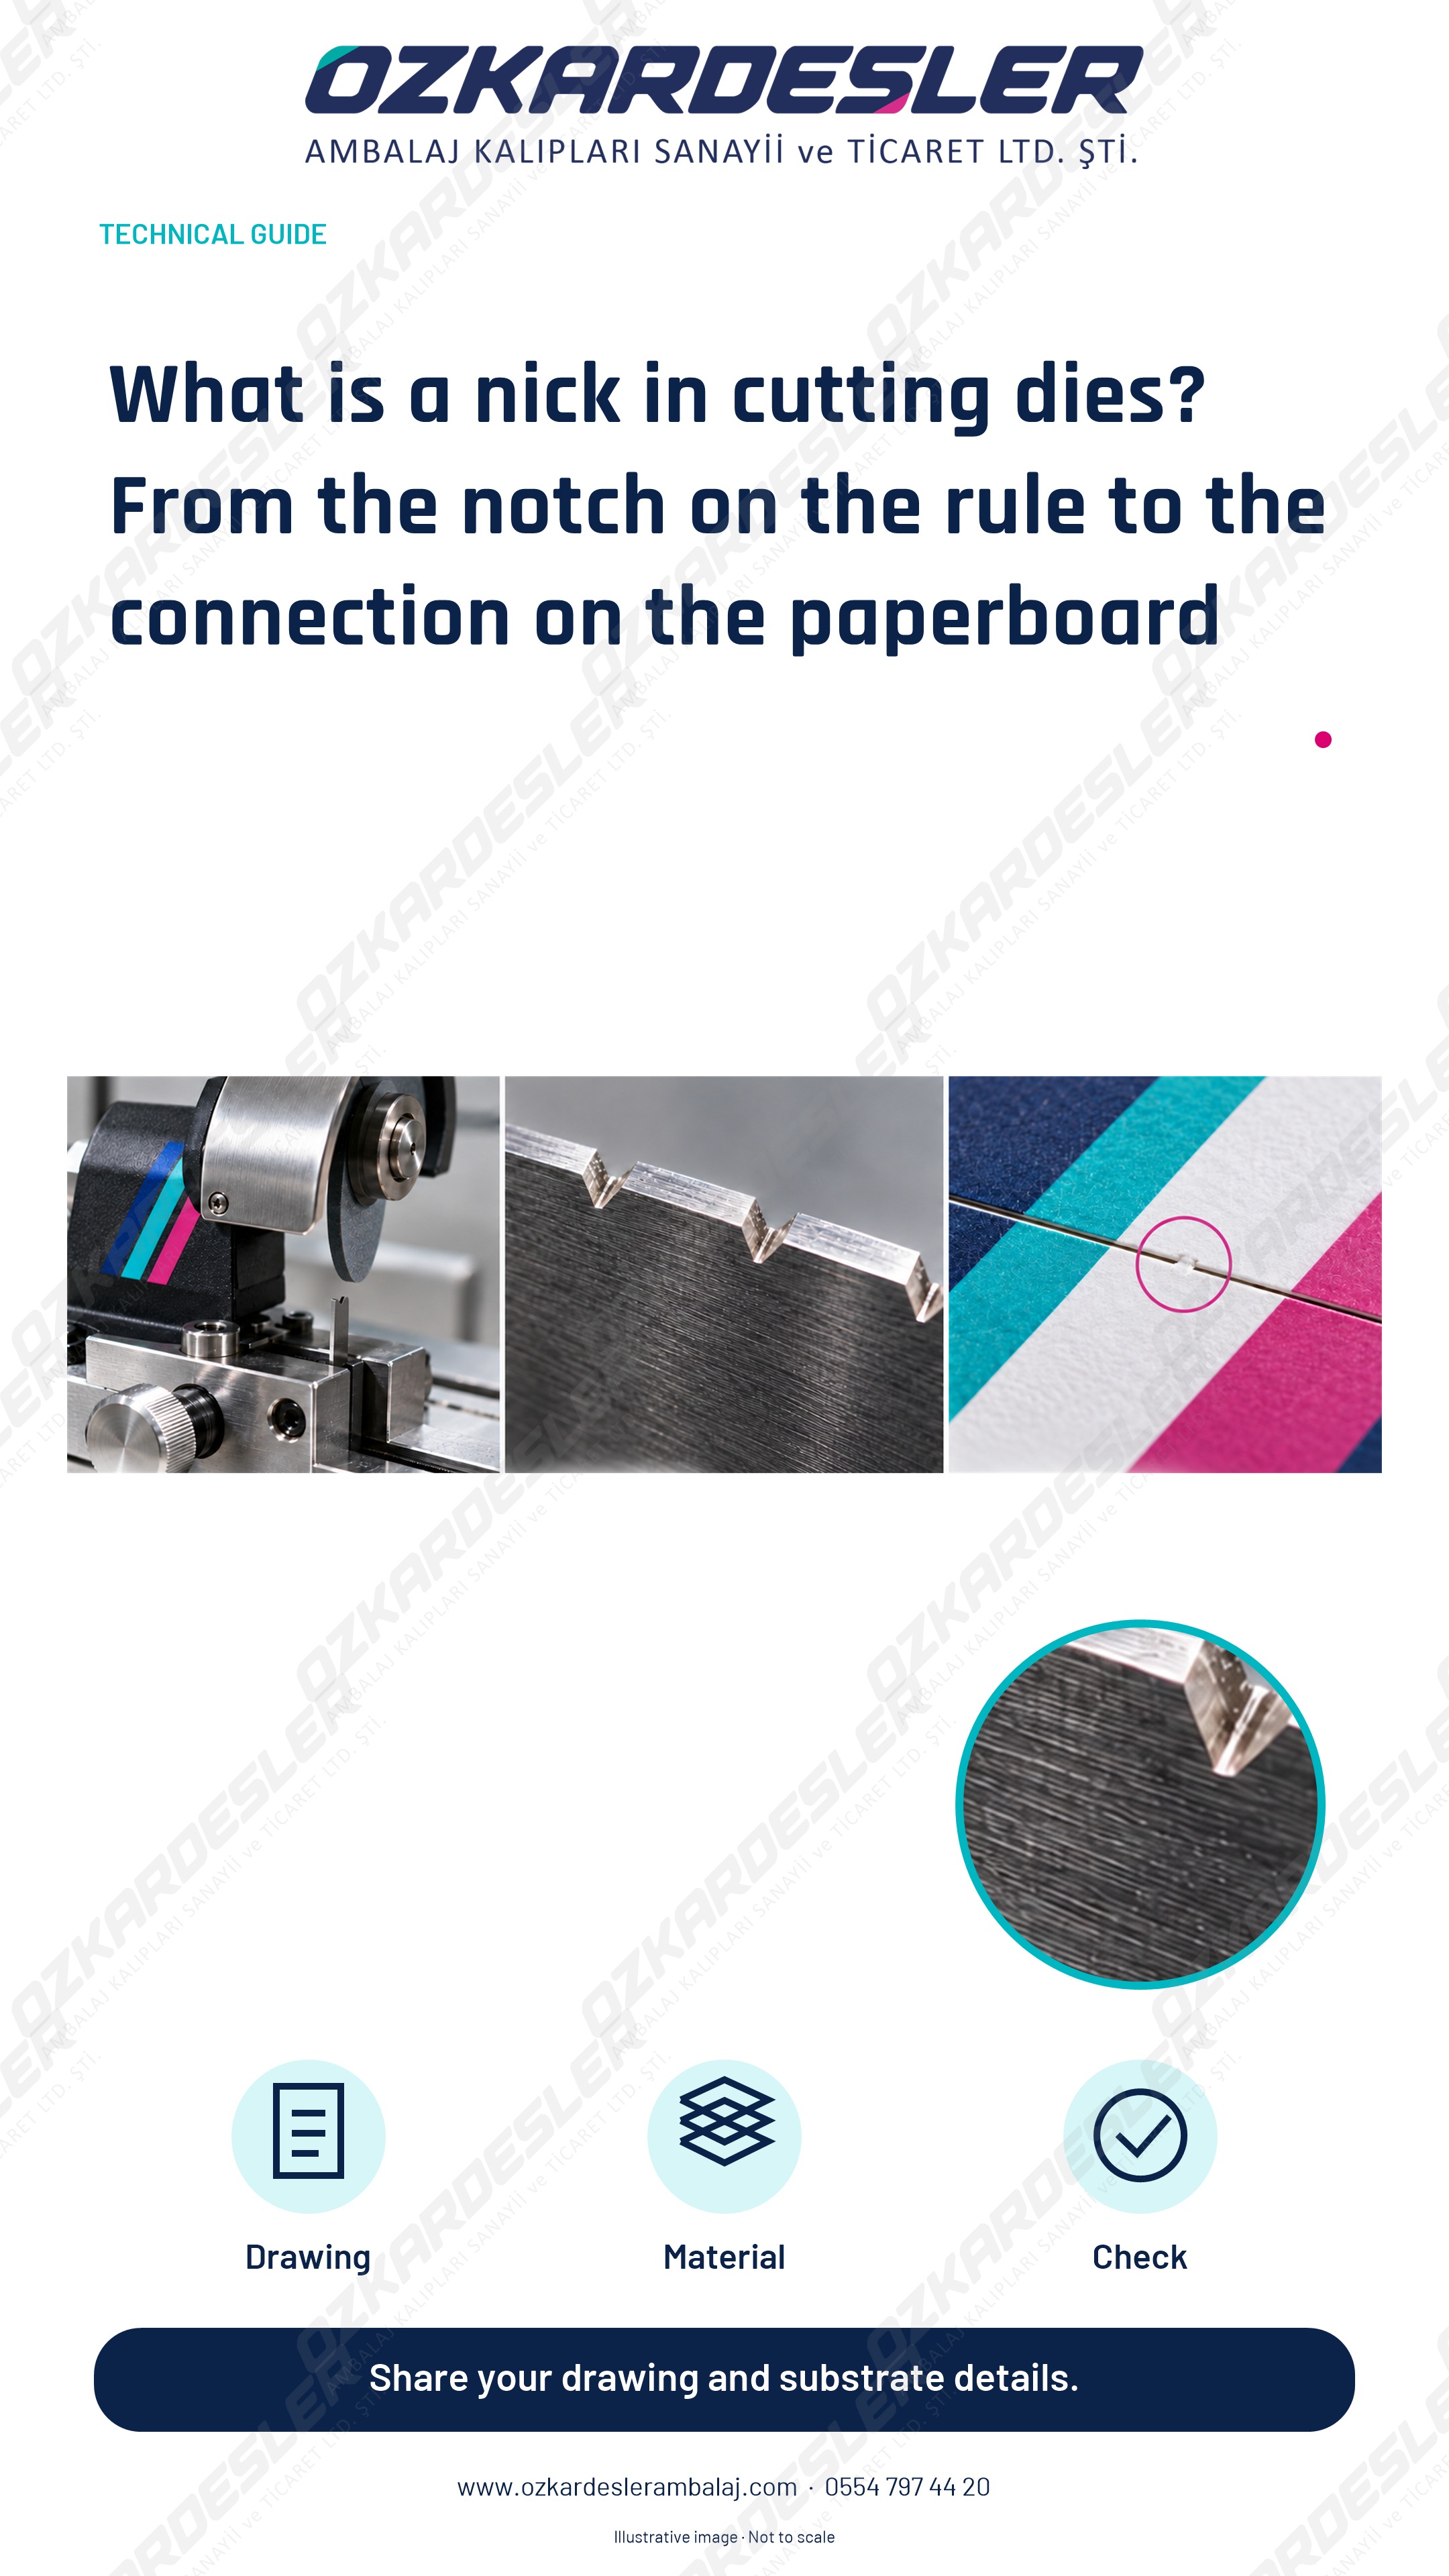
How do nicks work in a cutting die? The nick made on the rule using a nick grinder, the connection on white bristol paperboard, and the controlled separation balance.
Read the article →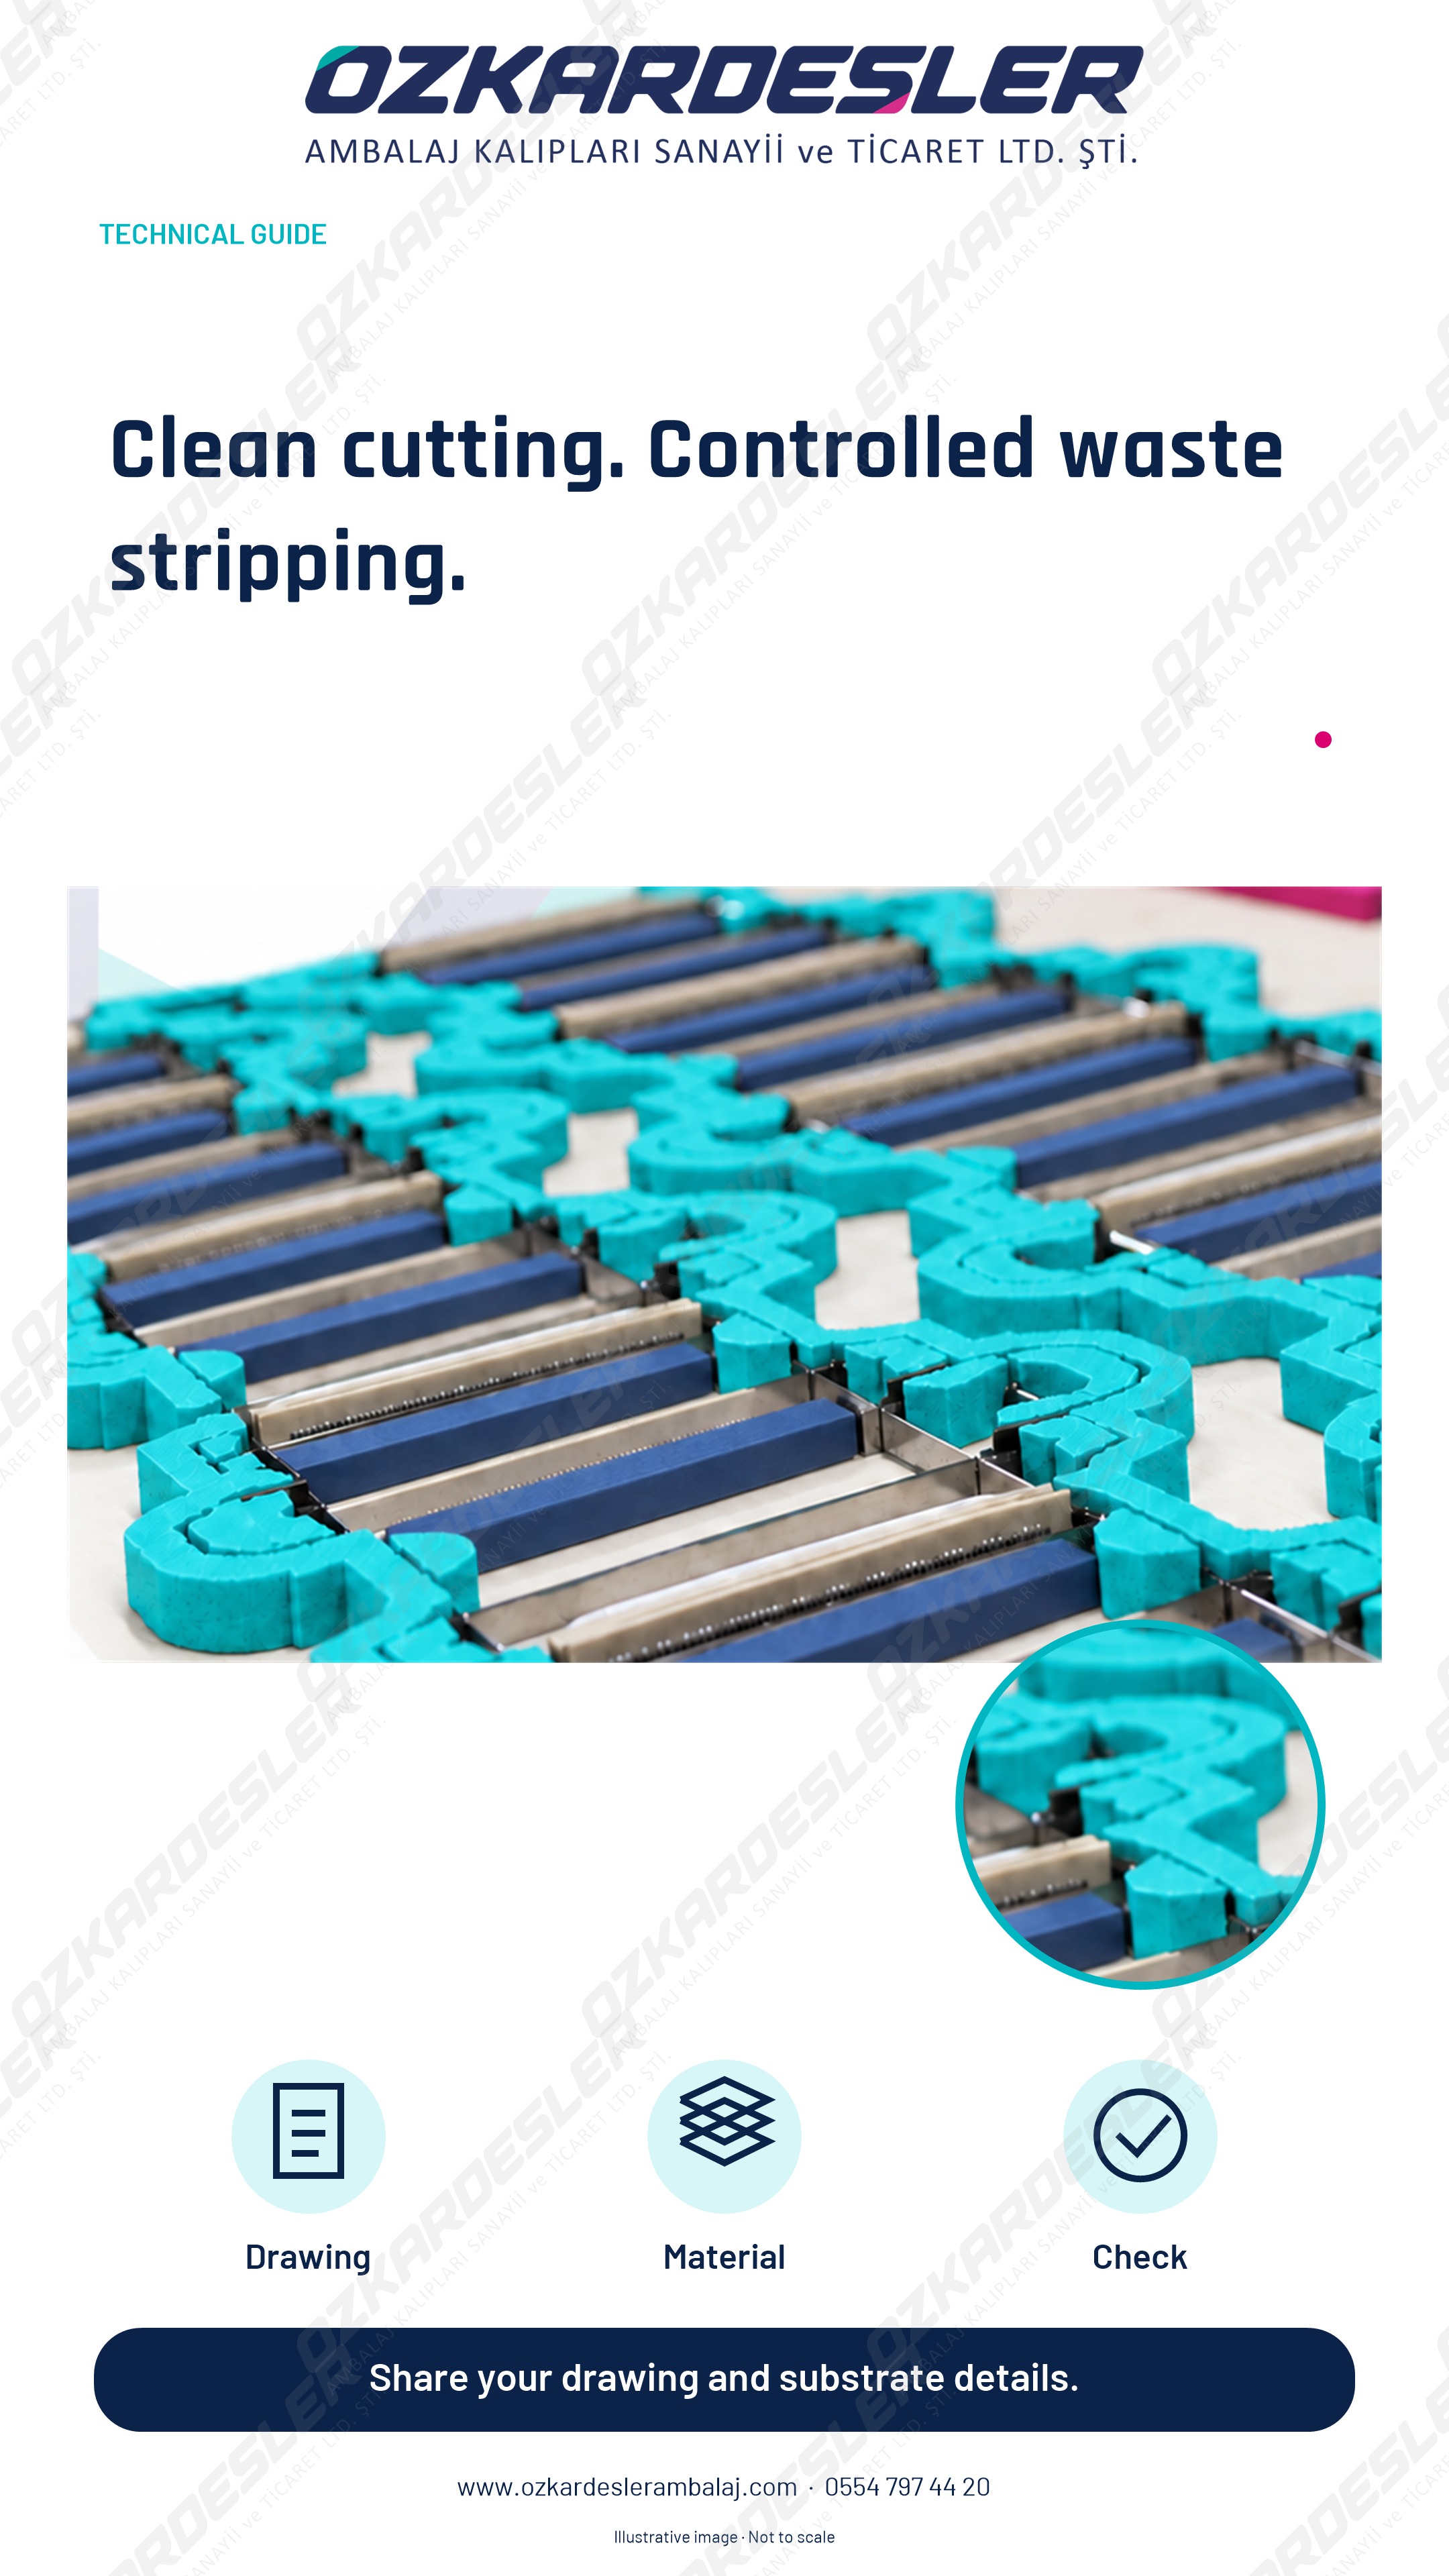
Compatibility of cutting rules, ejection rubber, and waste stripping tooling: Clean cutting and controlled waste separation in packaging cutting dies.
Read the article →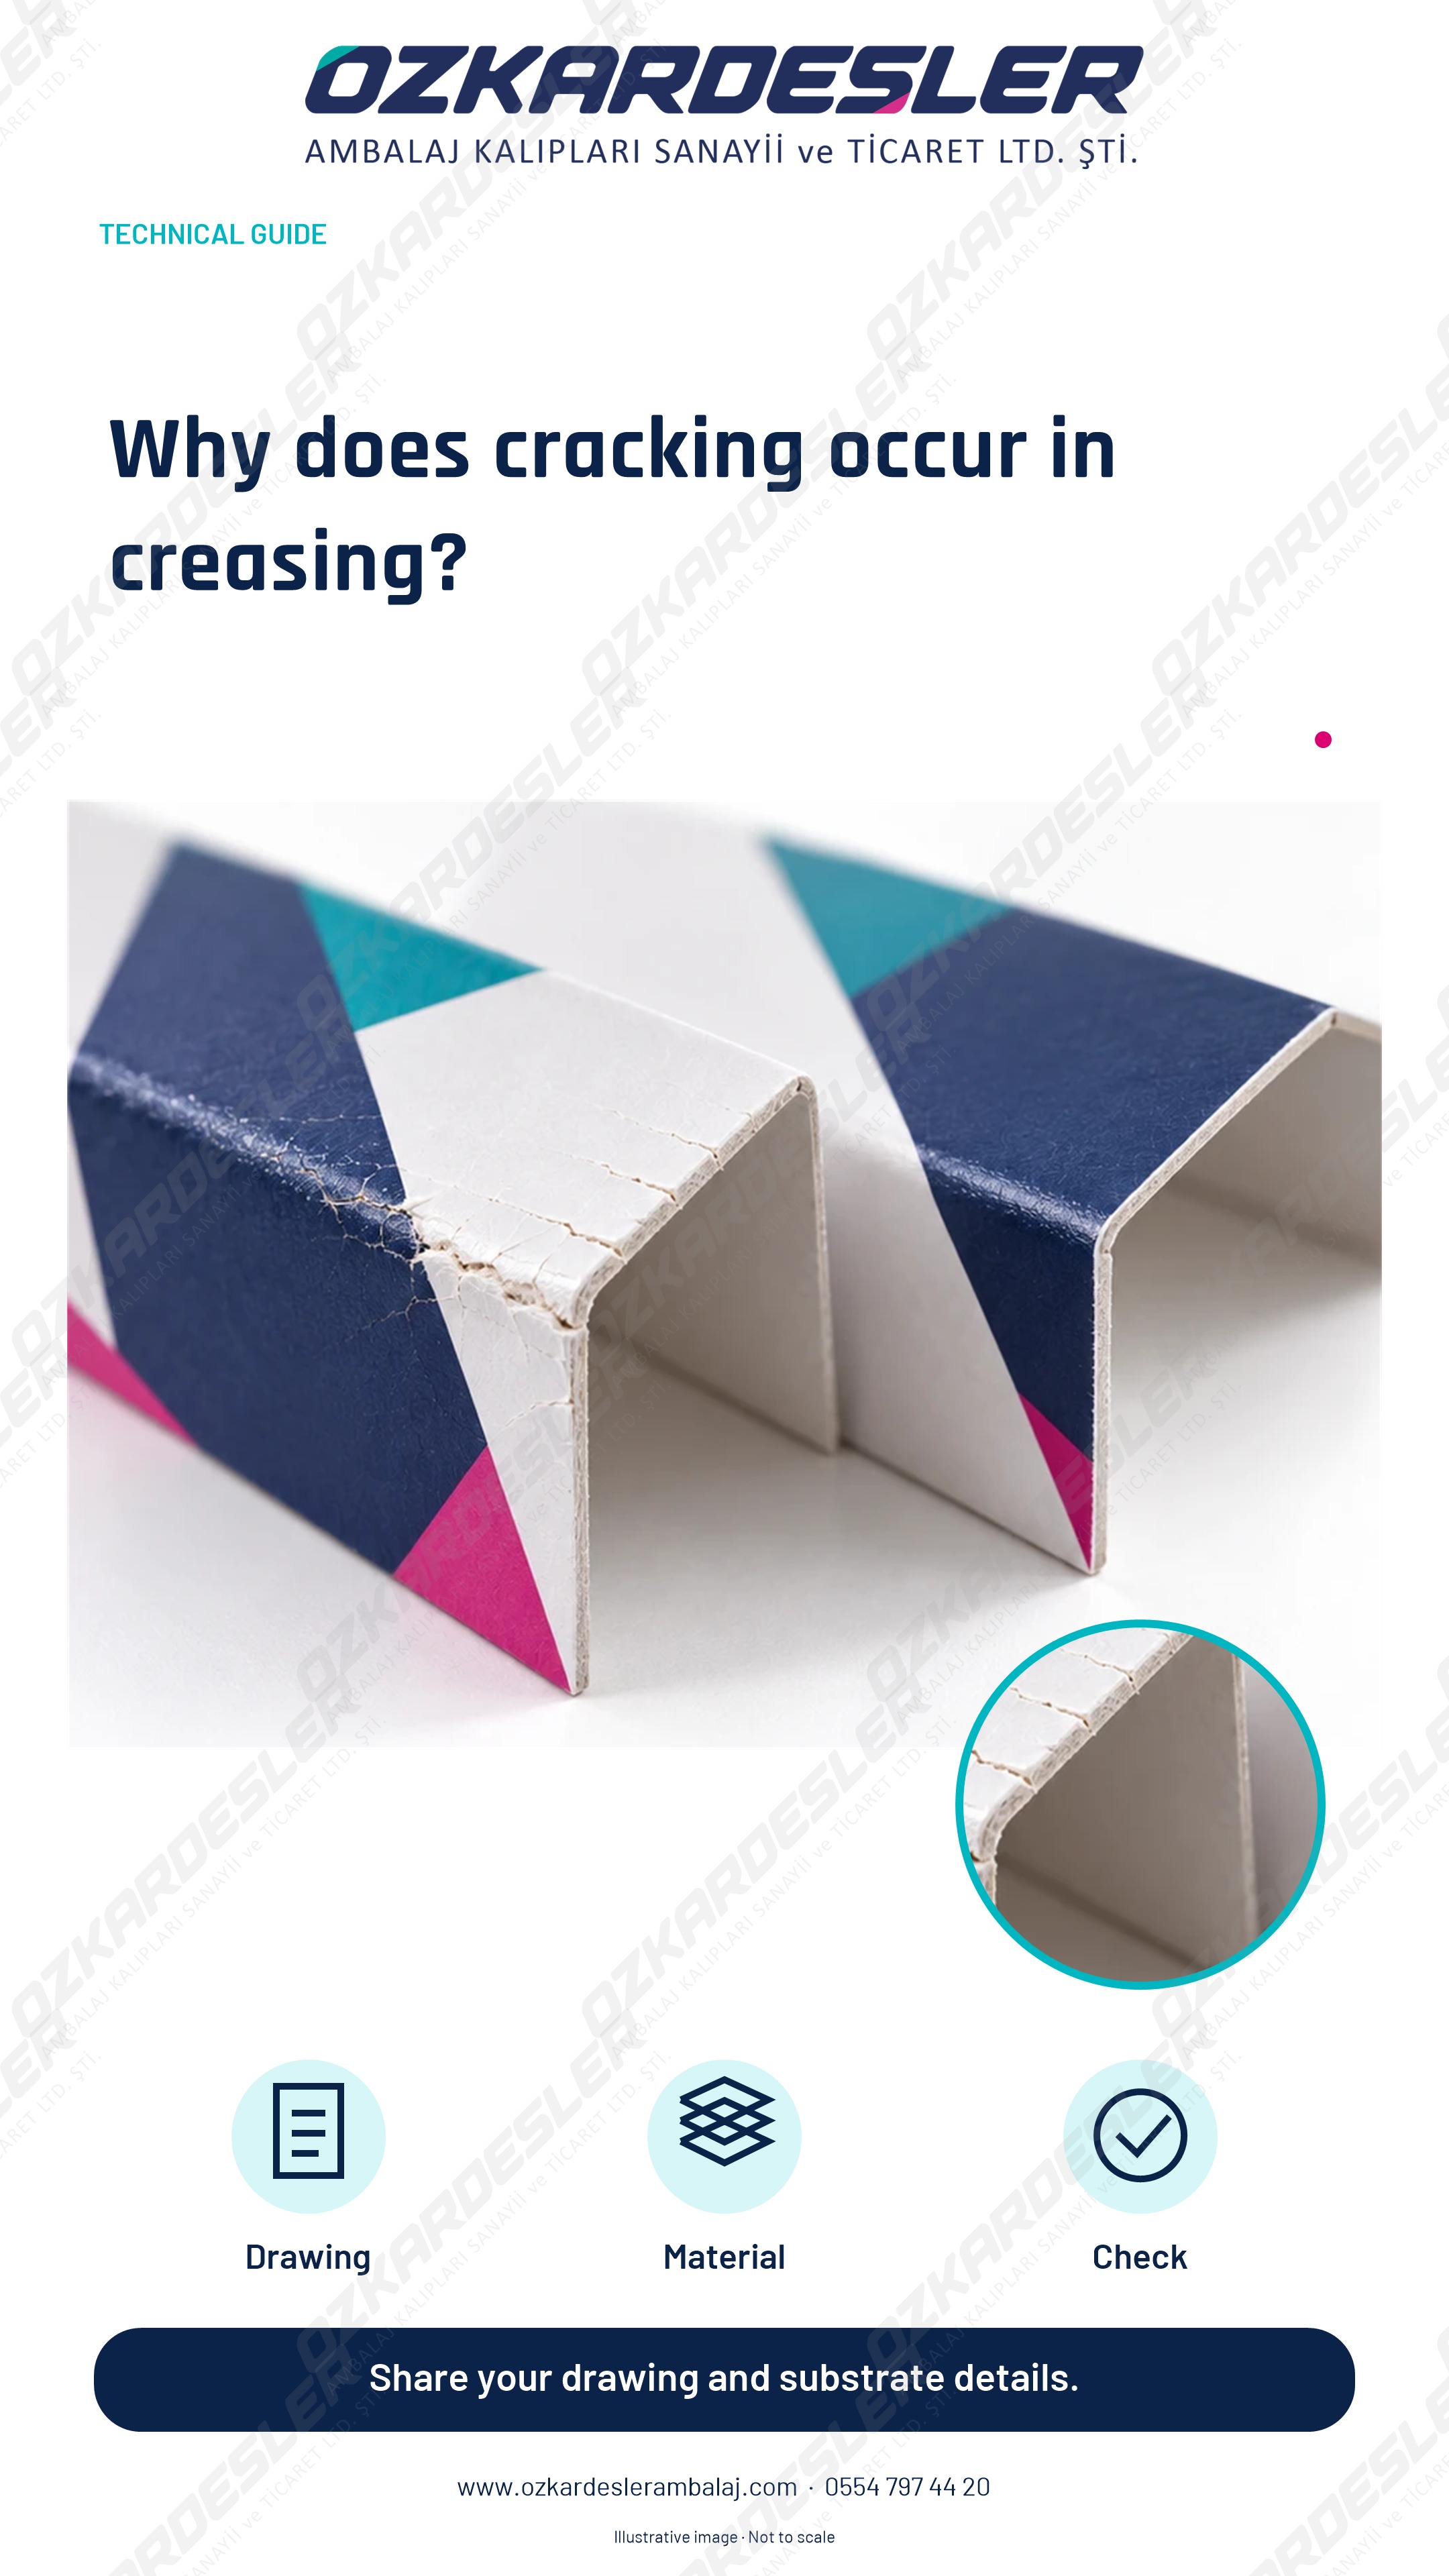
Checking actual thickness, grain direction, creasing-to-channel compatibility, and folded samples when evaluating creasing cracking in paperboard packaging.
Read the article →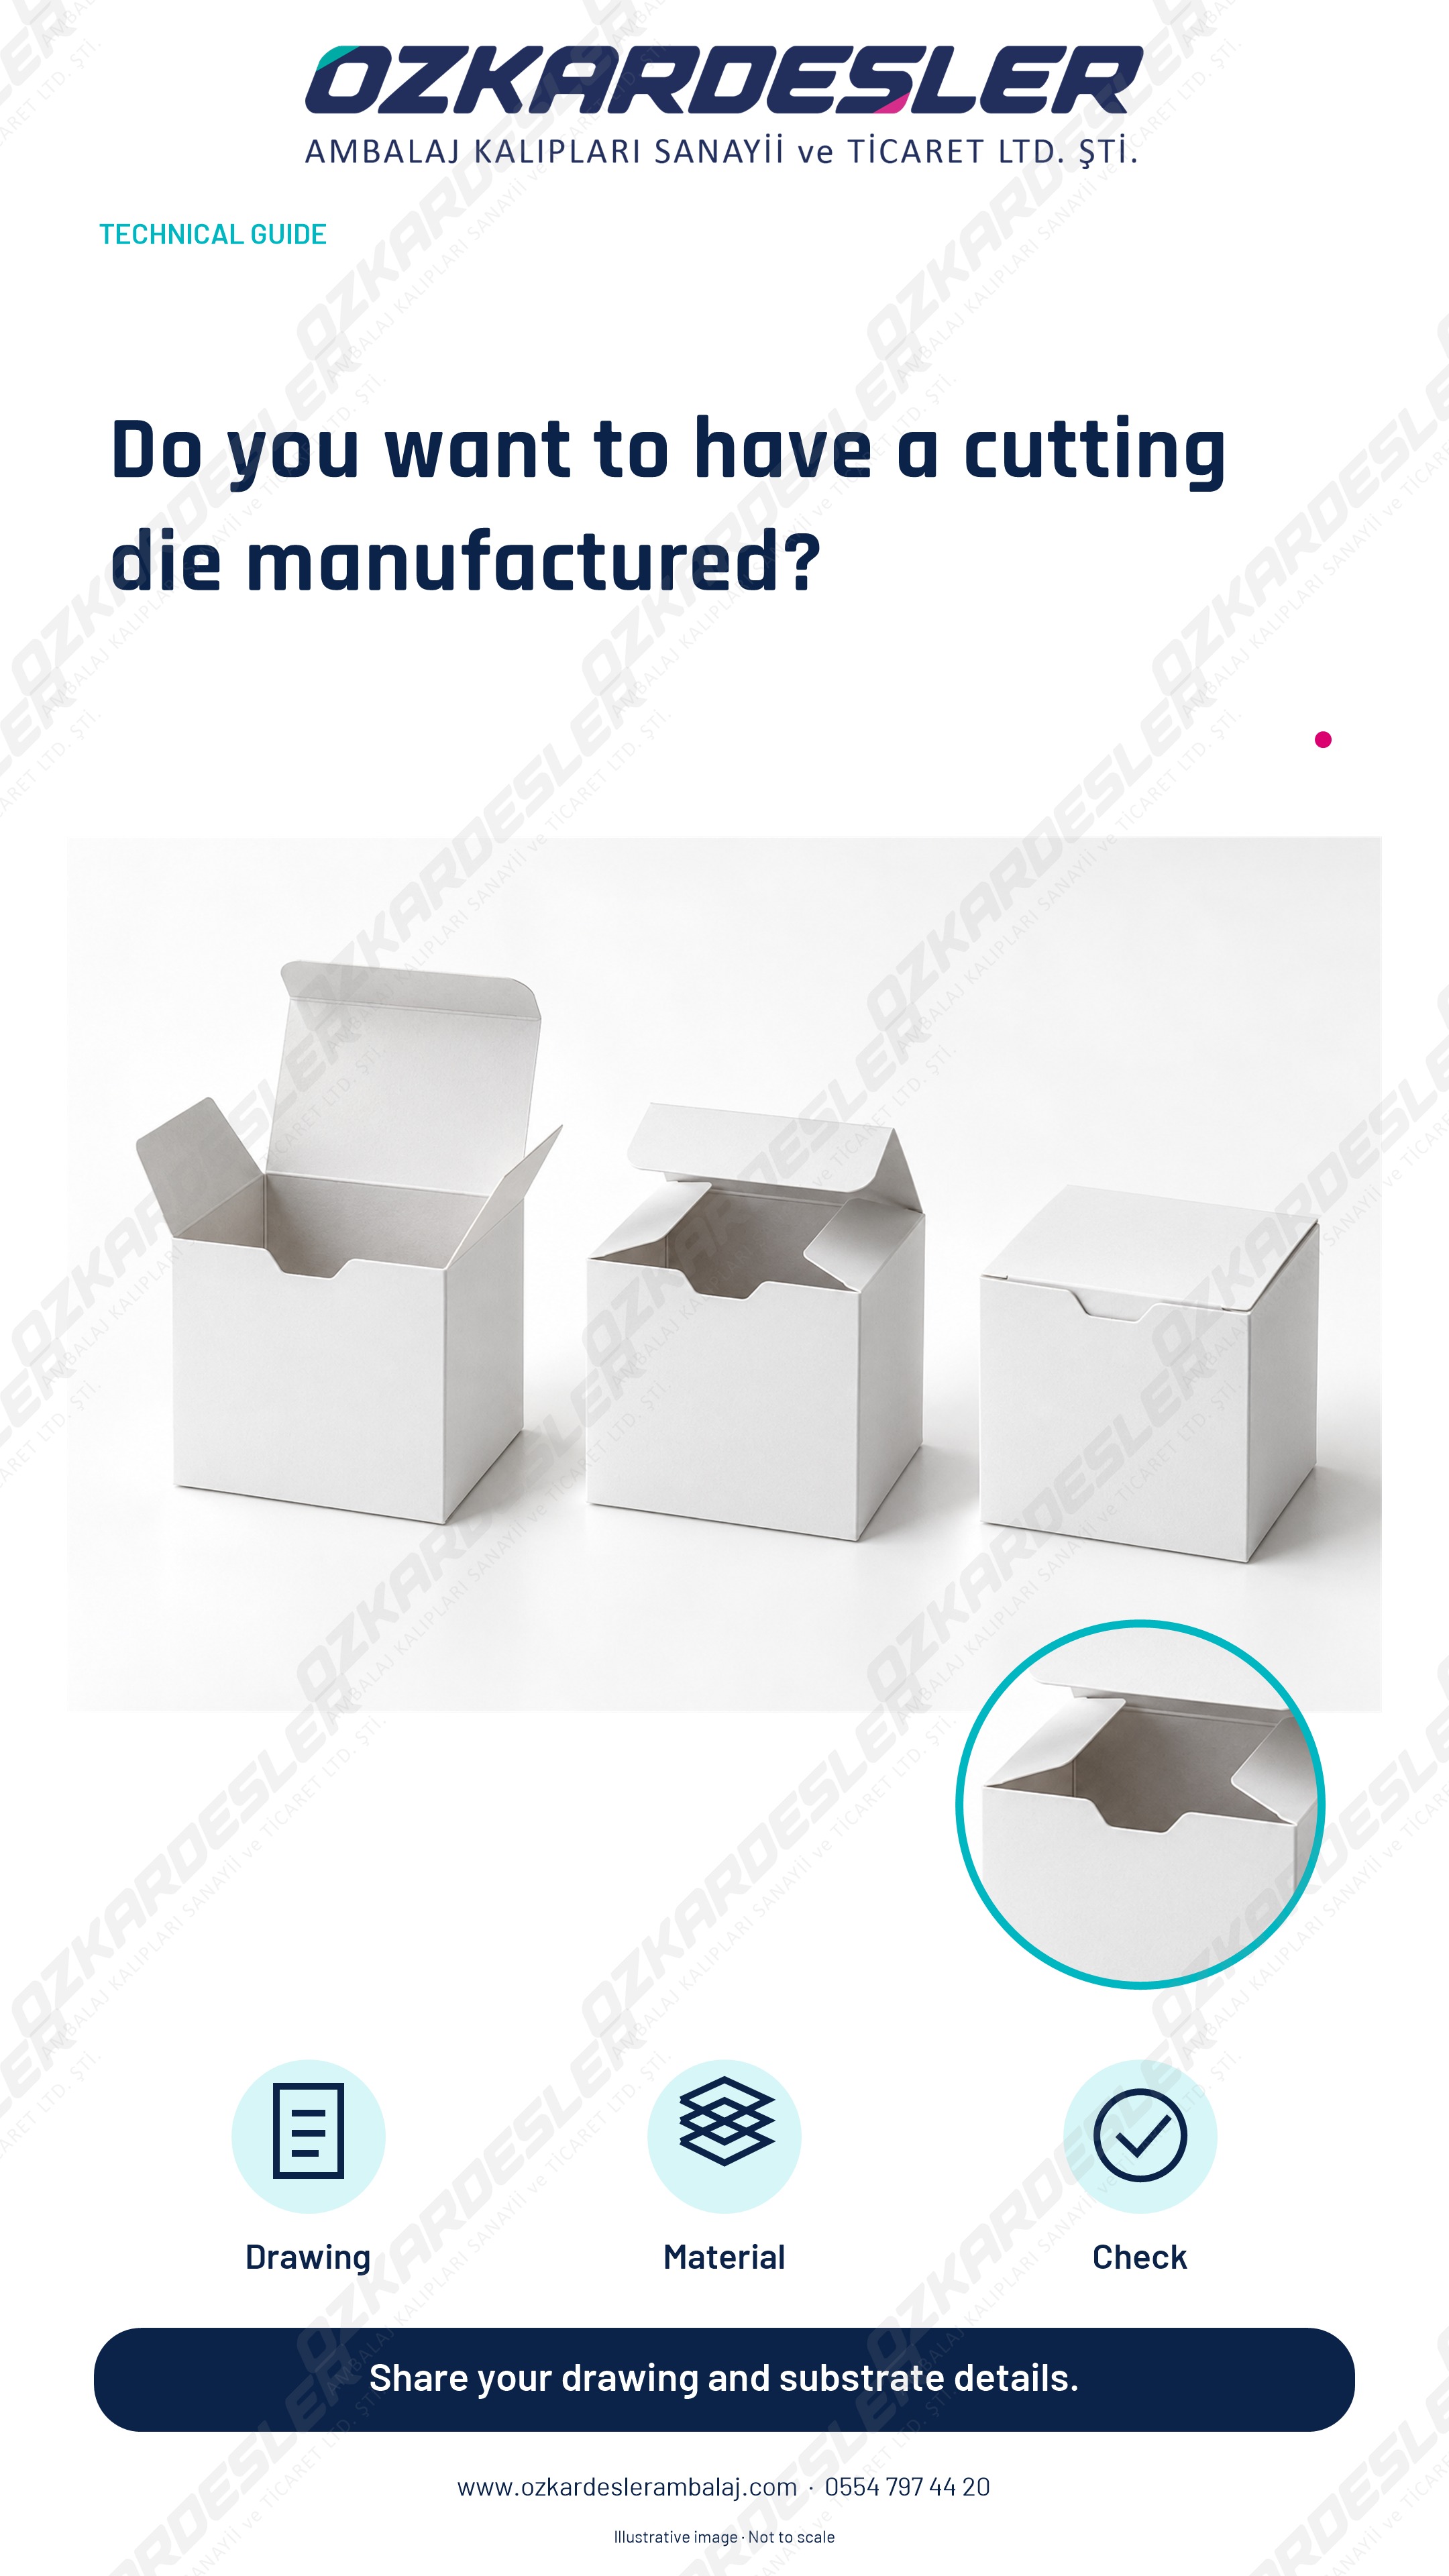
Share your technical drawing, material and sheet dimensions, and the cutting machine you will use with Özkardeşler for your cutting die quote.
Read the article →